
Control4 Smart Home in Manchester
A stunning mock Tudor Edwardian period property located in heart of South Manchester...
A scalable Control4 smart home project that will grow alongside the Client’s requirements
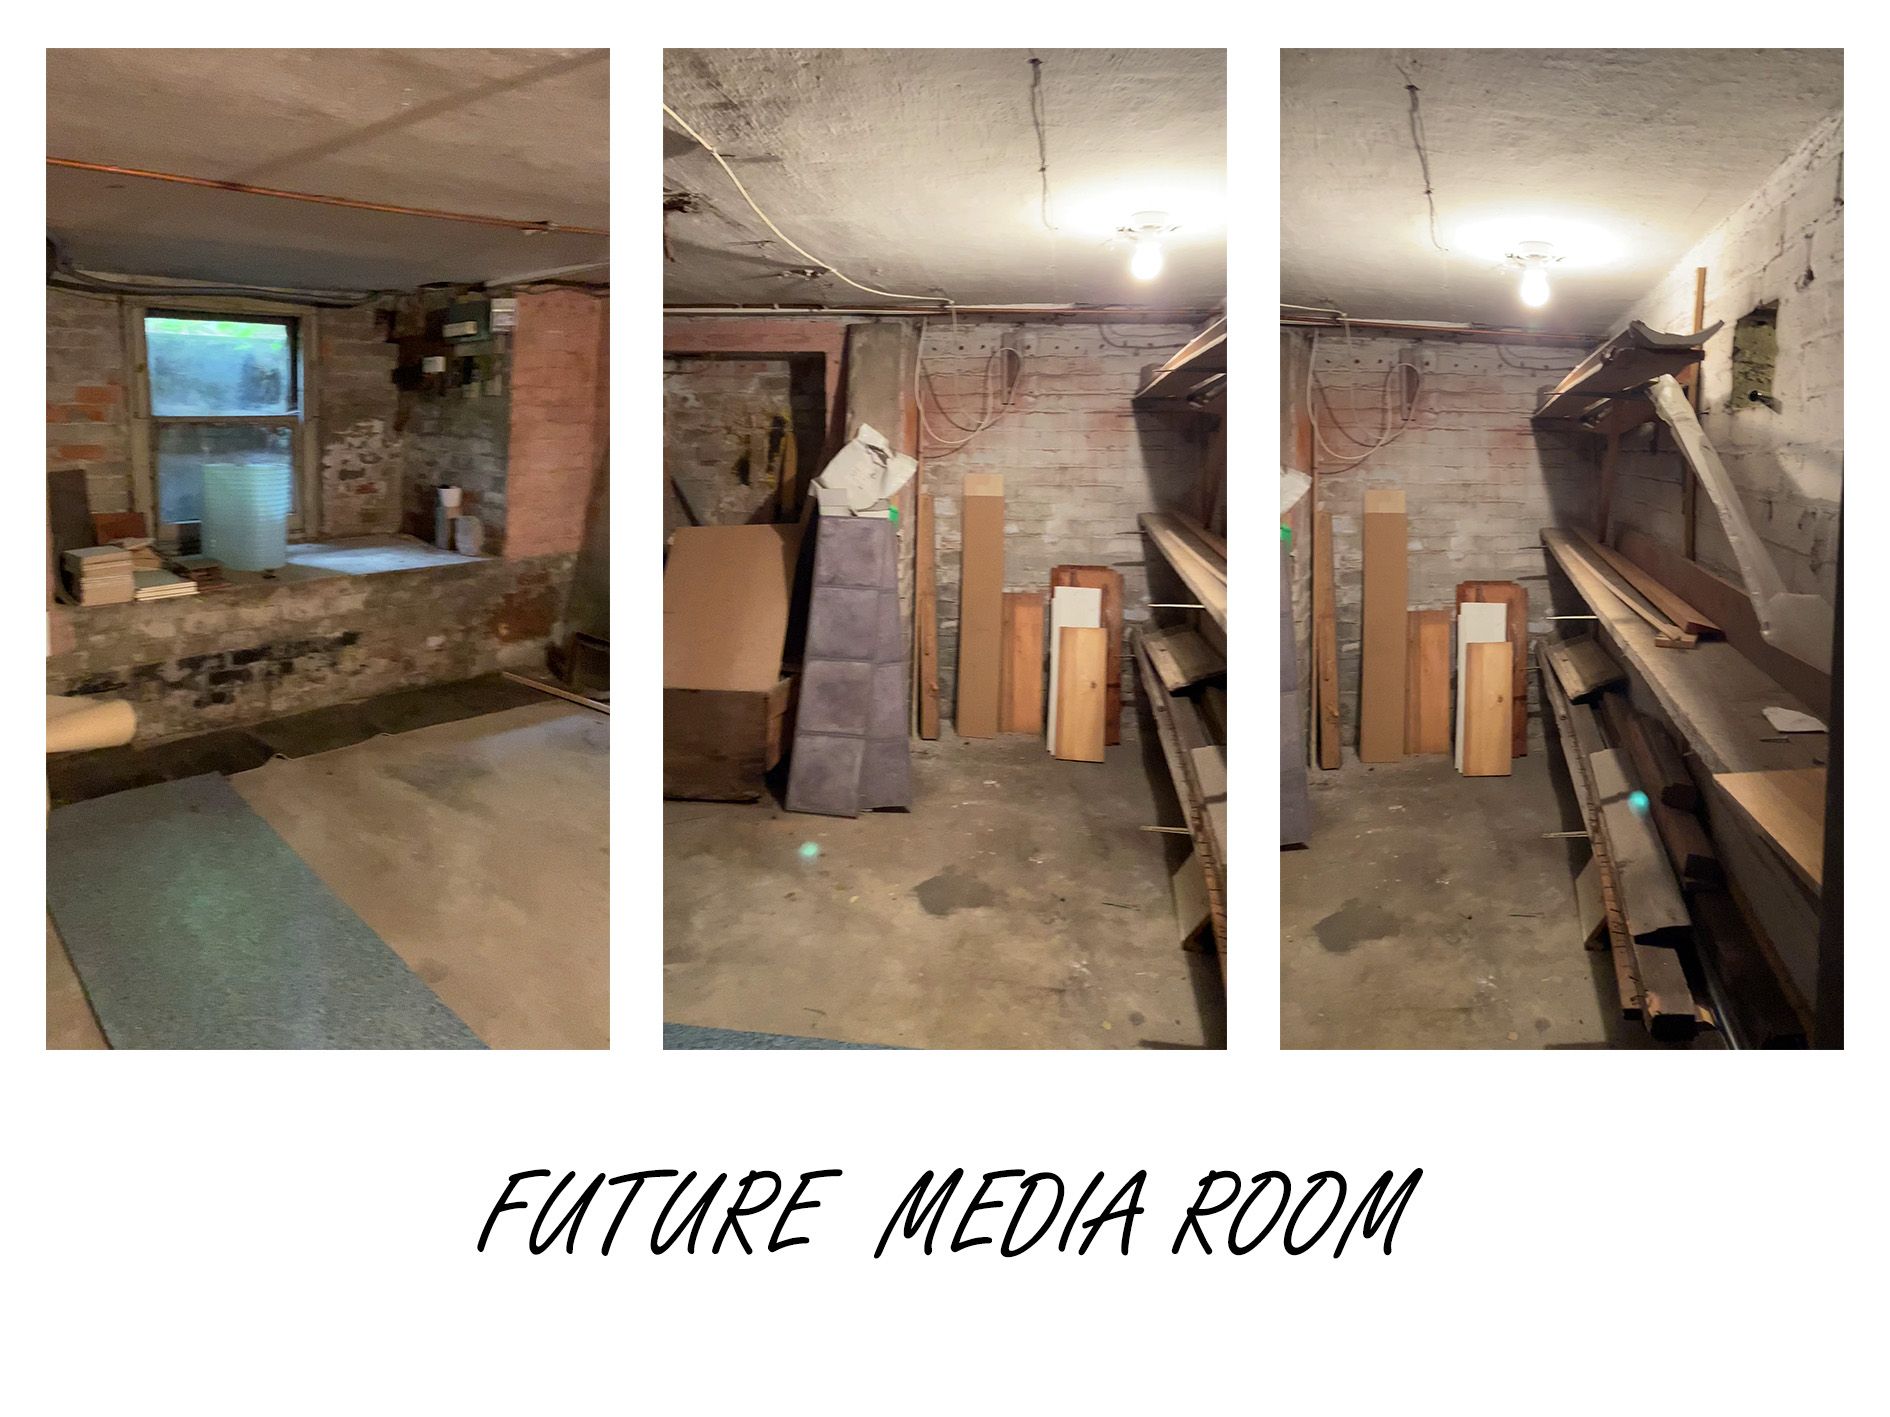
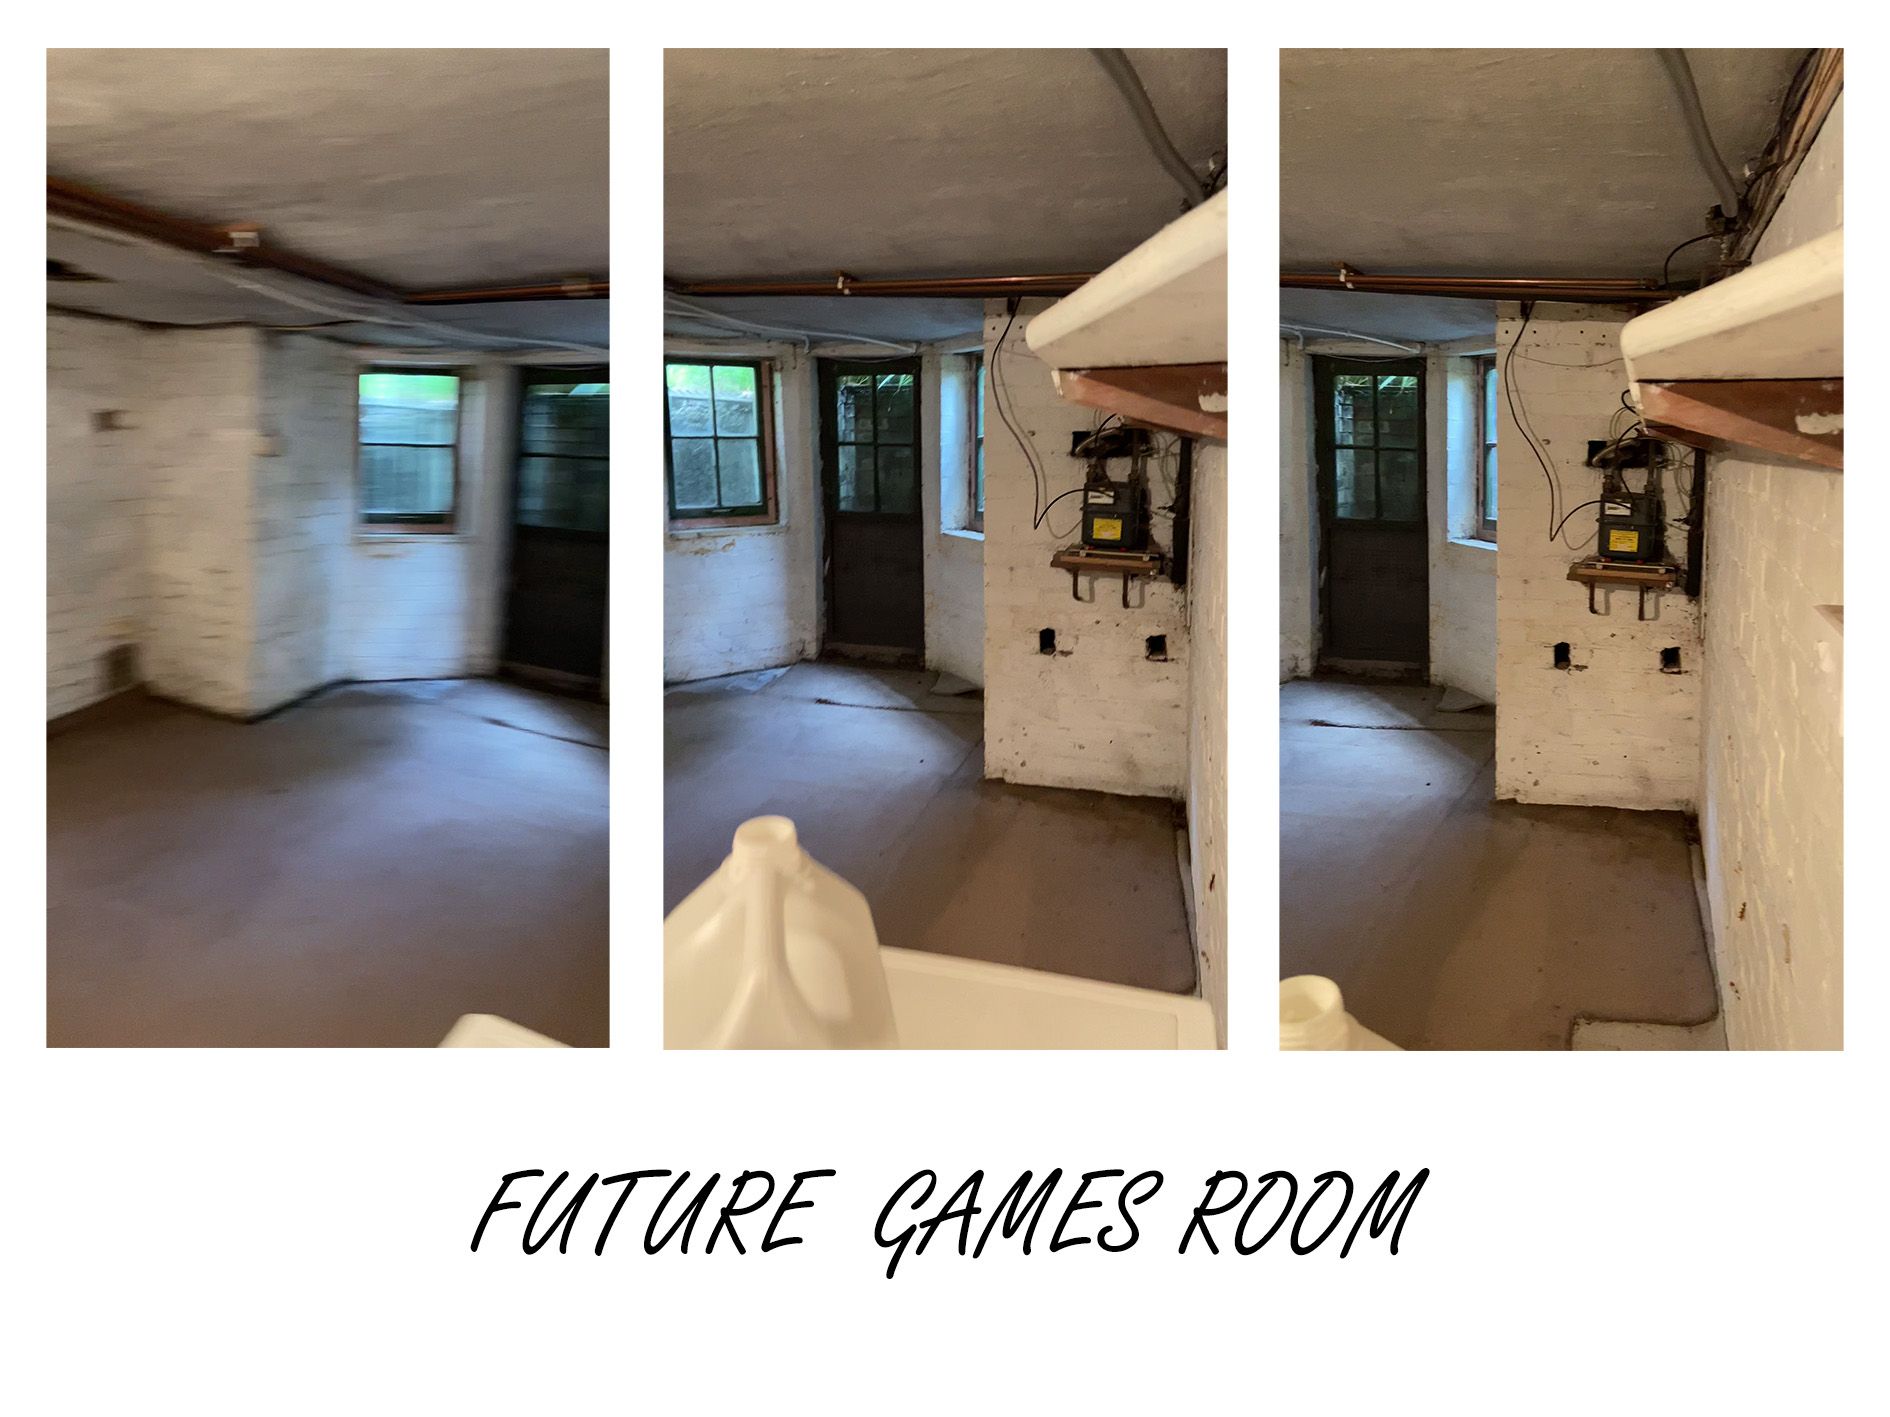
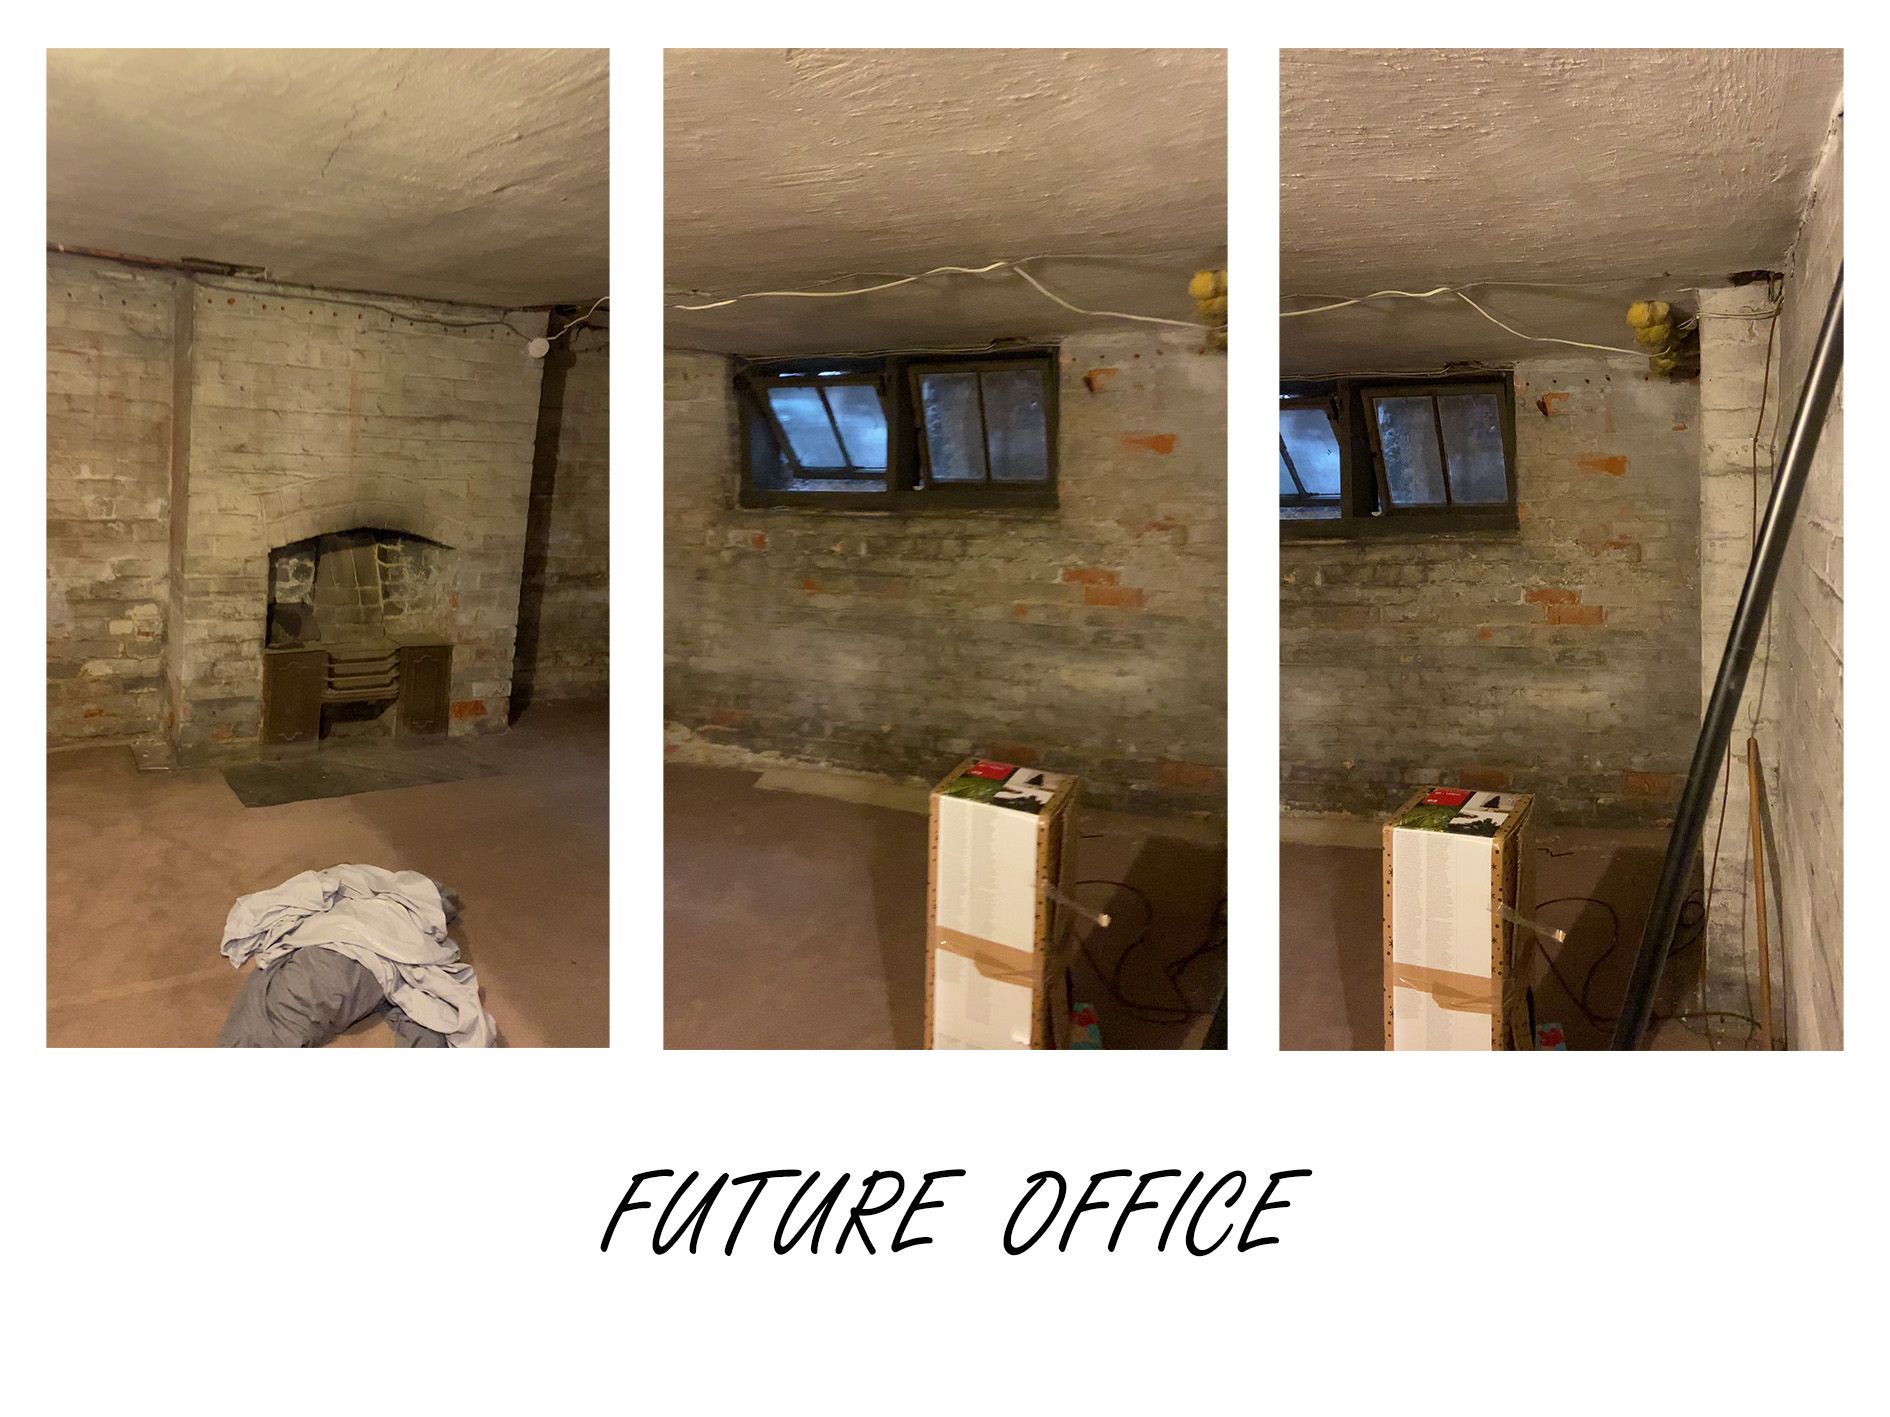
The initial scope of the renovation project for the client involved a major renovation of the basement of their home. This included the creation of the following rooms in the basement:
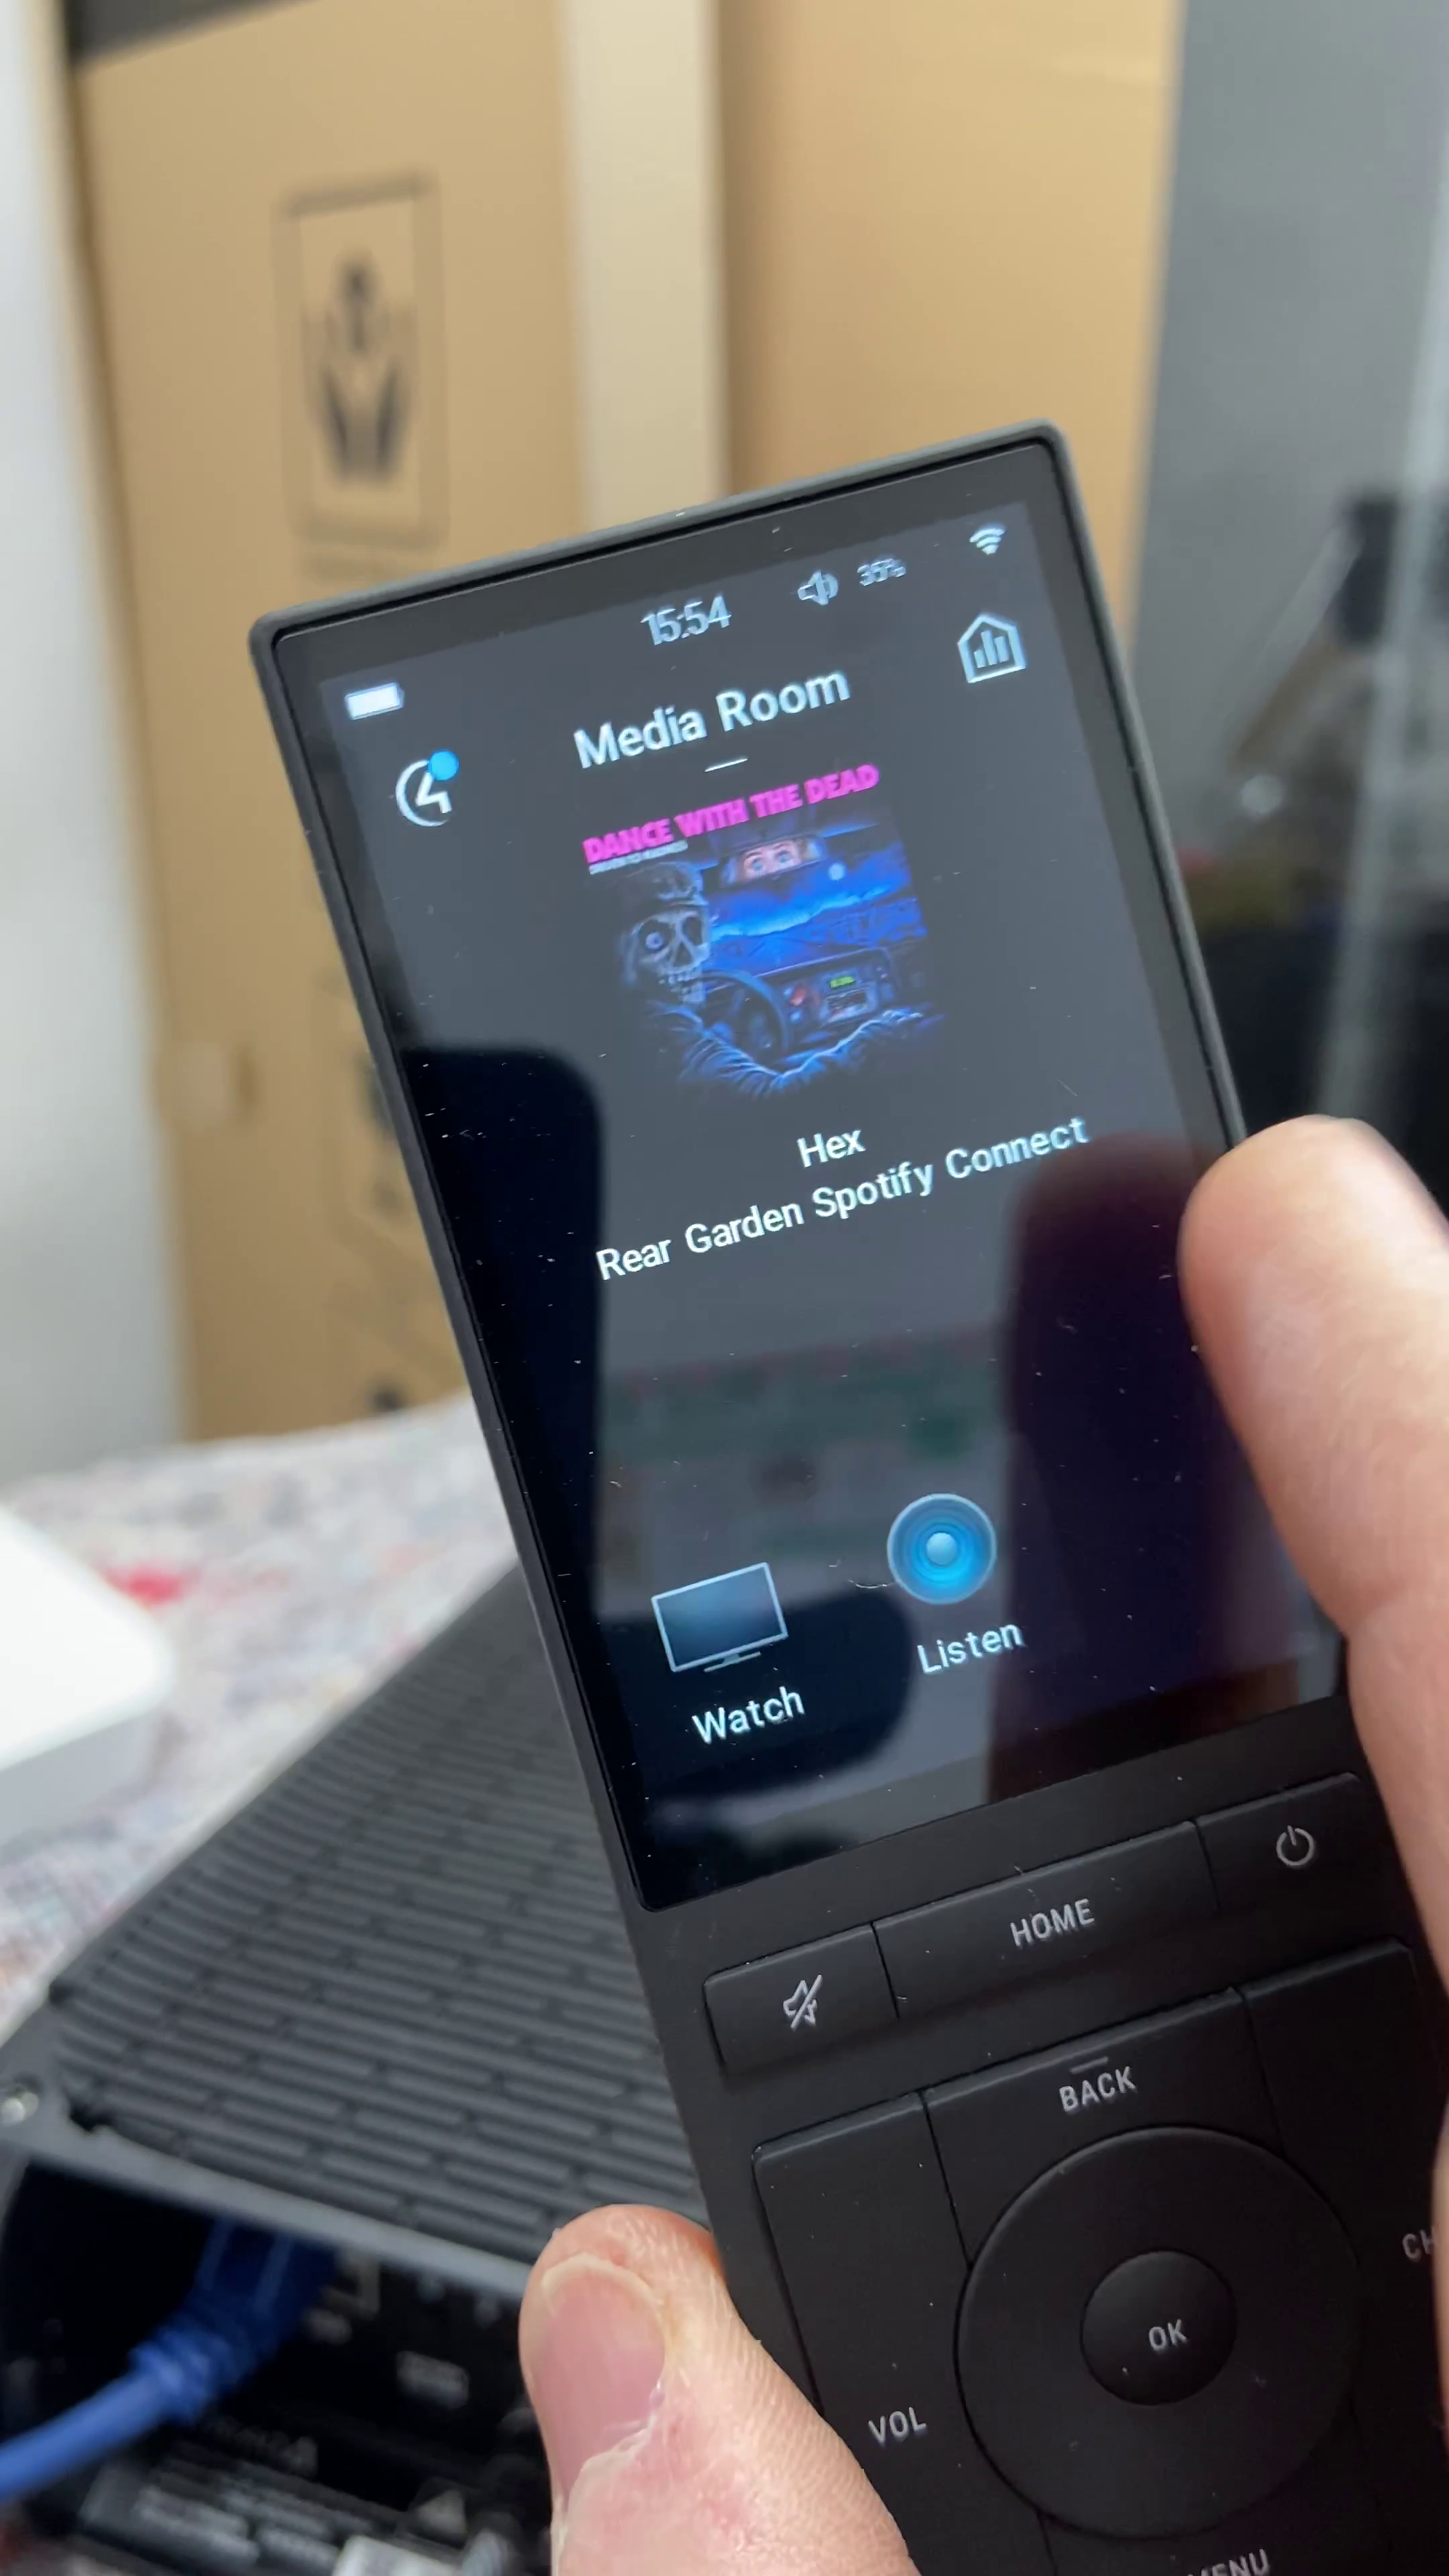
- Media Room
- Office
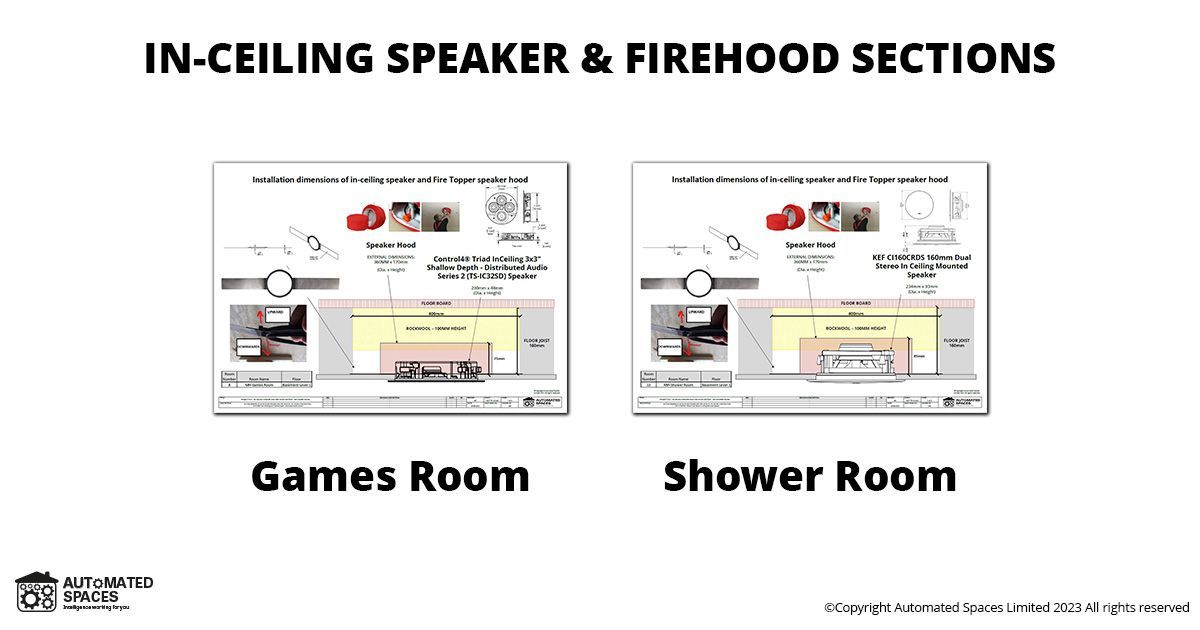
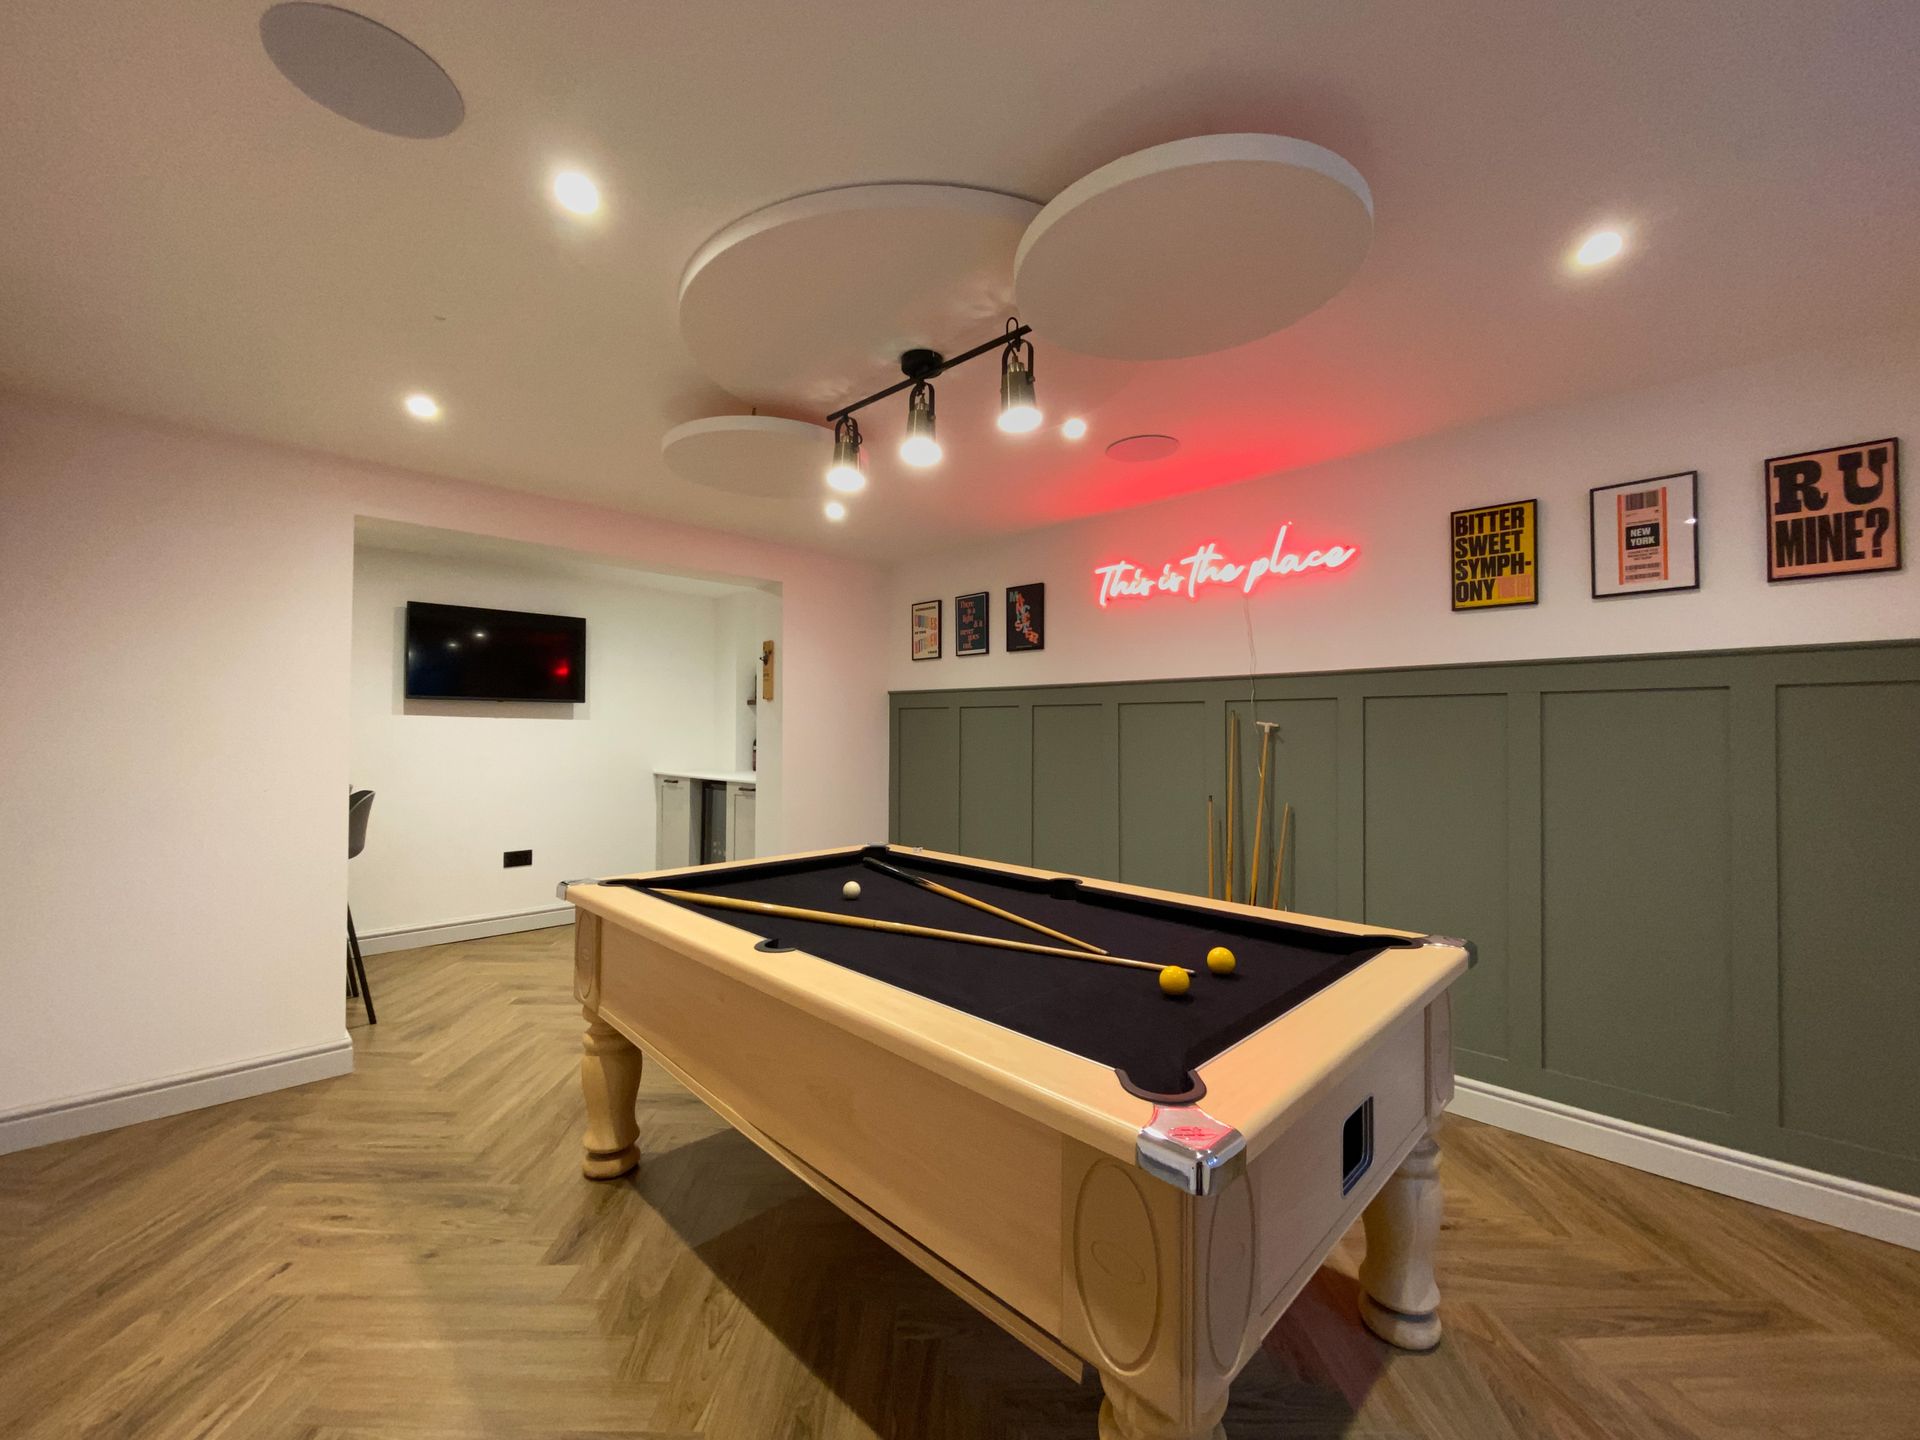
- Games Room
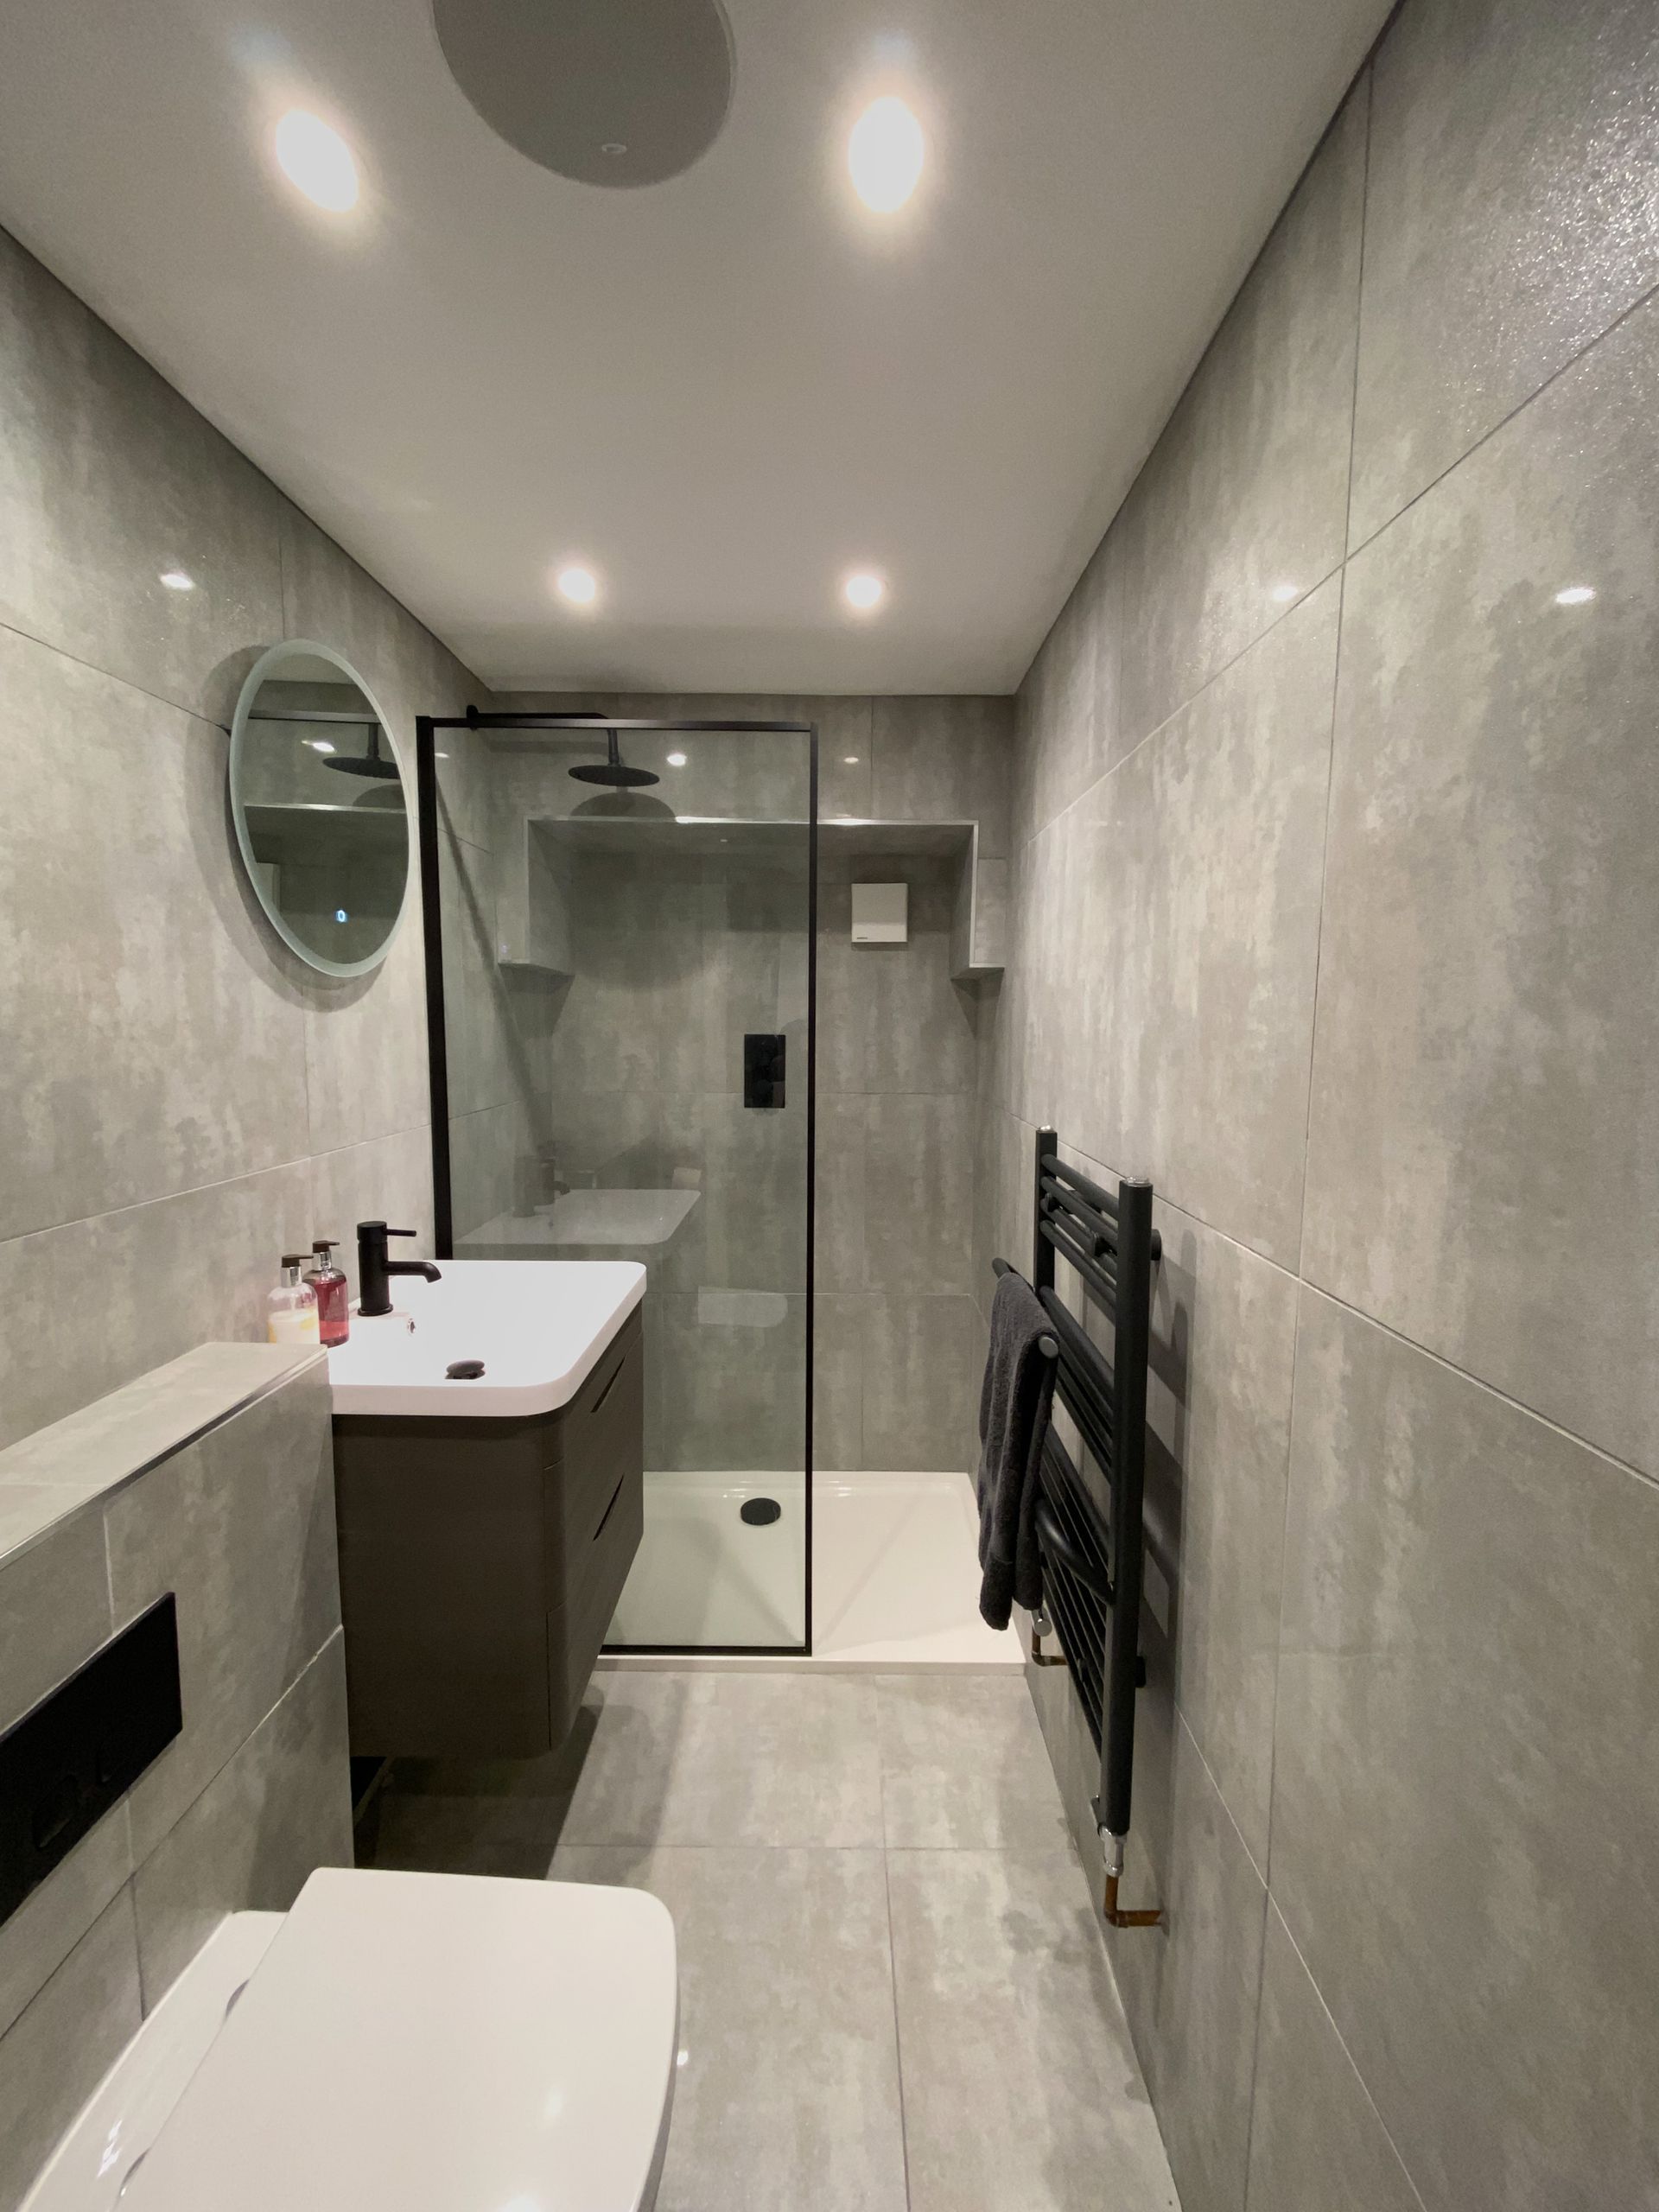
- Shower Room
- Utility Room
- Storage Rooms [2]
The client has future plans to renovate the remainder of their home including a significant ground floor extension which will include a major extension being built on to the rear of the property. This extension will increase the size of the kitchen and dining area as well as allow for the addition of WC and boot room / storage room on the ground floor.
The client also plans to renovate their three bathrooms and ensuites, as part of a rolling phased project, on the 1st and 2nd floors of their property.
Whilst we were only engaged to provide solutions for this initial basement renovation, we felt it was vital to have a consideration for any systems installed to have the capability to expand (where relevant) into these future renovation projects.
The client had several key initial requirements for the project:
- Great wi-fi signal throughout the ground floor and basement of the property
- Ability to listen to music throughout the rooms in the basement
- Create a home network to support working from home
We worked closely with the client to provide them with scalable smart home solution with Control4 at its centre.
Contents of this case study:
- Key project statistics
- Smart home site survey
- Smart home design
- Smart home 1st fix
- Smart home 2nd fix
- Smart home 3rd fix
- Finished smart home
- Summary of installed equipment
If you would like to discuss how we could help you with your specific project, feel free to call us +44(0)1664 500552
Or click the following button to use our online consultation booking tool
Key project statistics
- Up to 8 x Zones of Hi-Res Audio
- 1 x Media Room
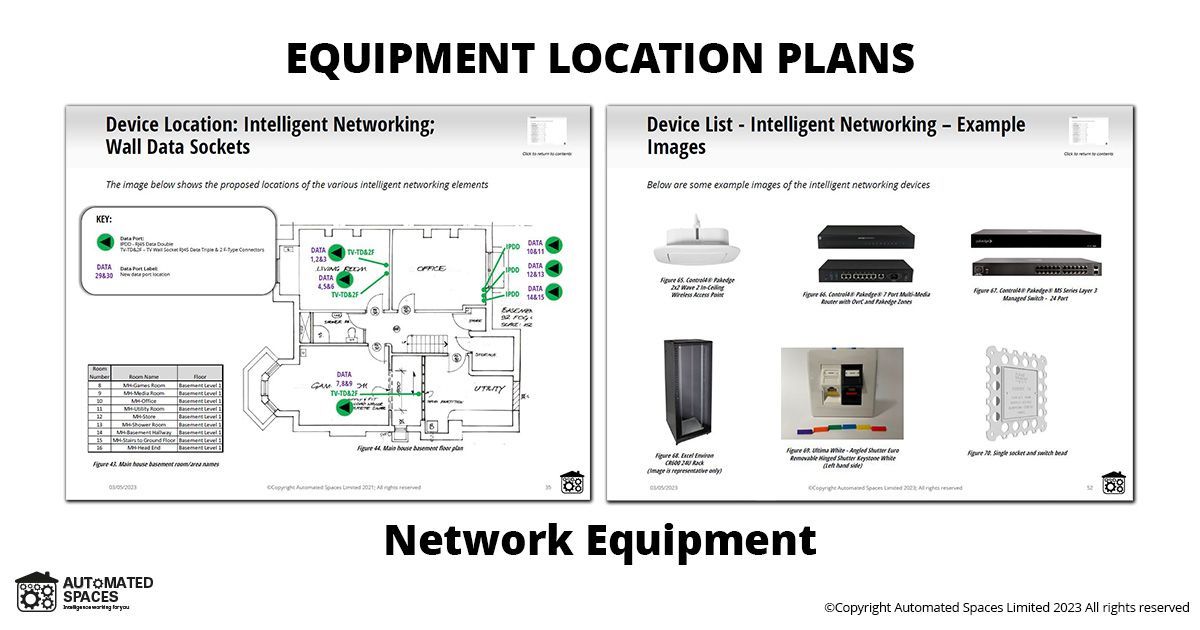
- 15 x RJ45 Cat6A Data Sockets on Walls - with 25 year warranty (labour and parts)
- 2 x Wireless Access Points
A snapshot in time site survey
With basement level that had seen little alteration since the Victorian era, when the property was first constructed, it was a fascinating view back in time to look around the basement of this home.
During the Victoria era, homes were often built with a basement that was designed for storage. It would provide a space to store coal, wood or other fuels during the winter and as a place to keep things cool during the warmer summer months.
Whilst the head height in the basement, is not as generous as the above ground floor rooms, it was more than suitable to provide a very comfortable habitable space.
“With several separate basement rooms, under the entire ground floor of the property’s footprint, the Client had a very clear vision of the fantastic possibility to substantially increase the number of usable rooms in their home that converting this space could provide.”
“The Client had provided us with detailed floor plan architectural drawings and 3D visualisations of their proposed future ground floor extension, but being able to physically walk through the property with the client whilst they described their plans really ensures we can capture all the important nuances in relation to their requirements.”
Alan Matthews, Managing Director Automated Spaces
The site survey really allowed us to understand some of the fabulous elements of this property such as the beautiful period property features:
- Panelled doors with Art Nouveau glass
- High ceilings in the above ground floor rooms
- Substantial rear garden
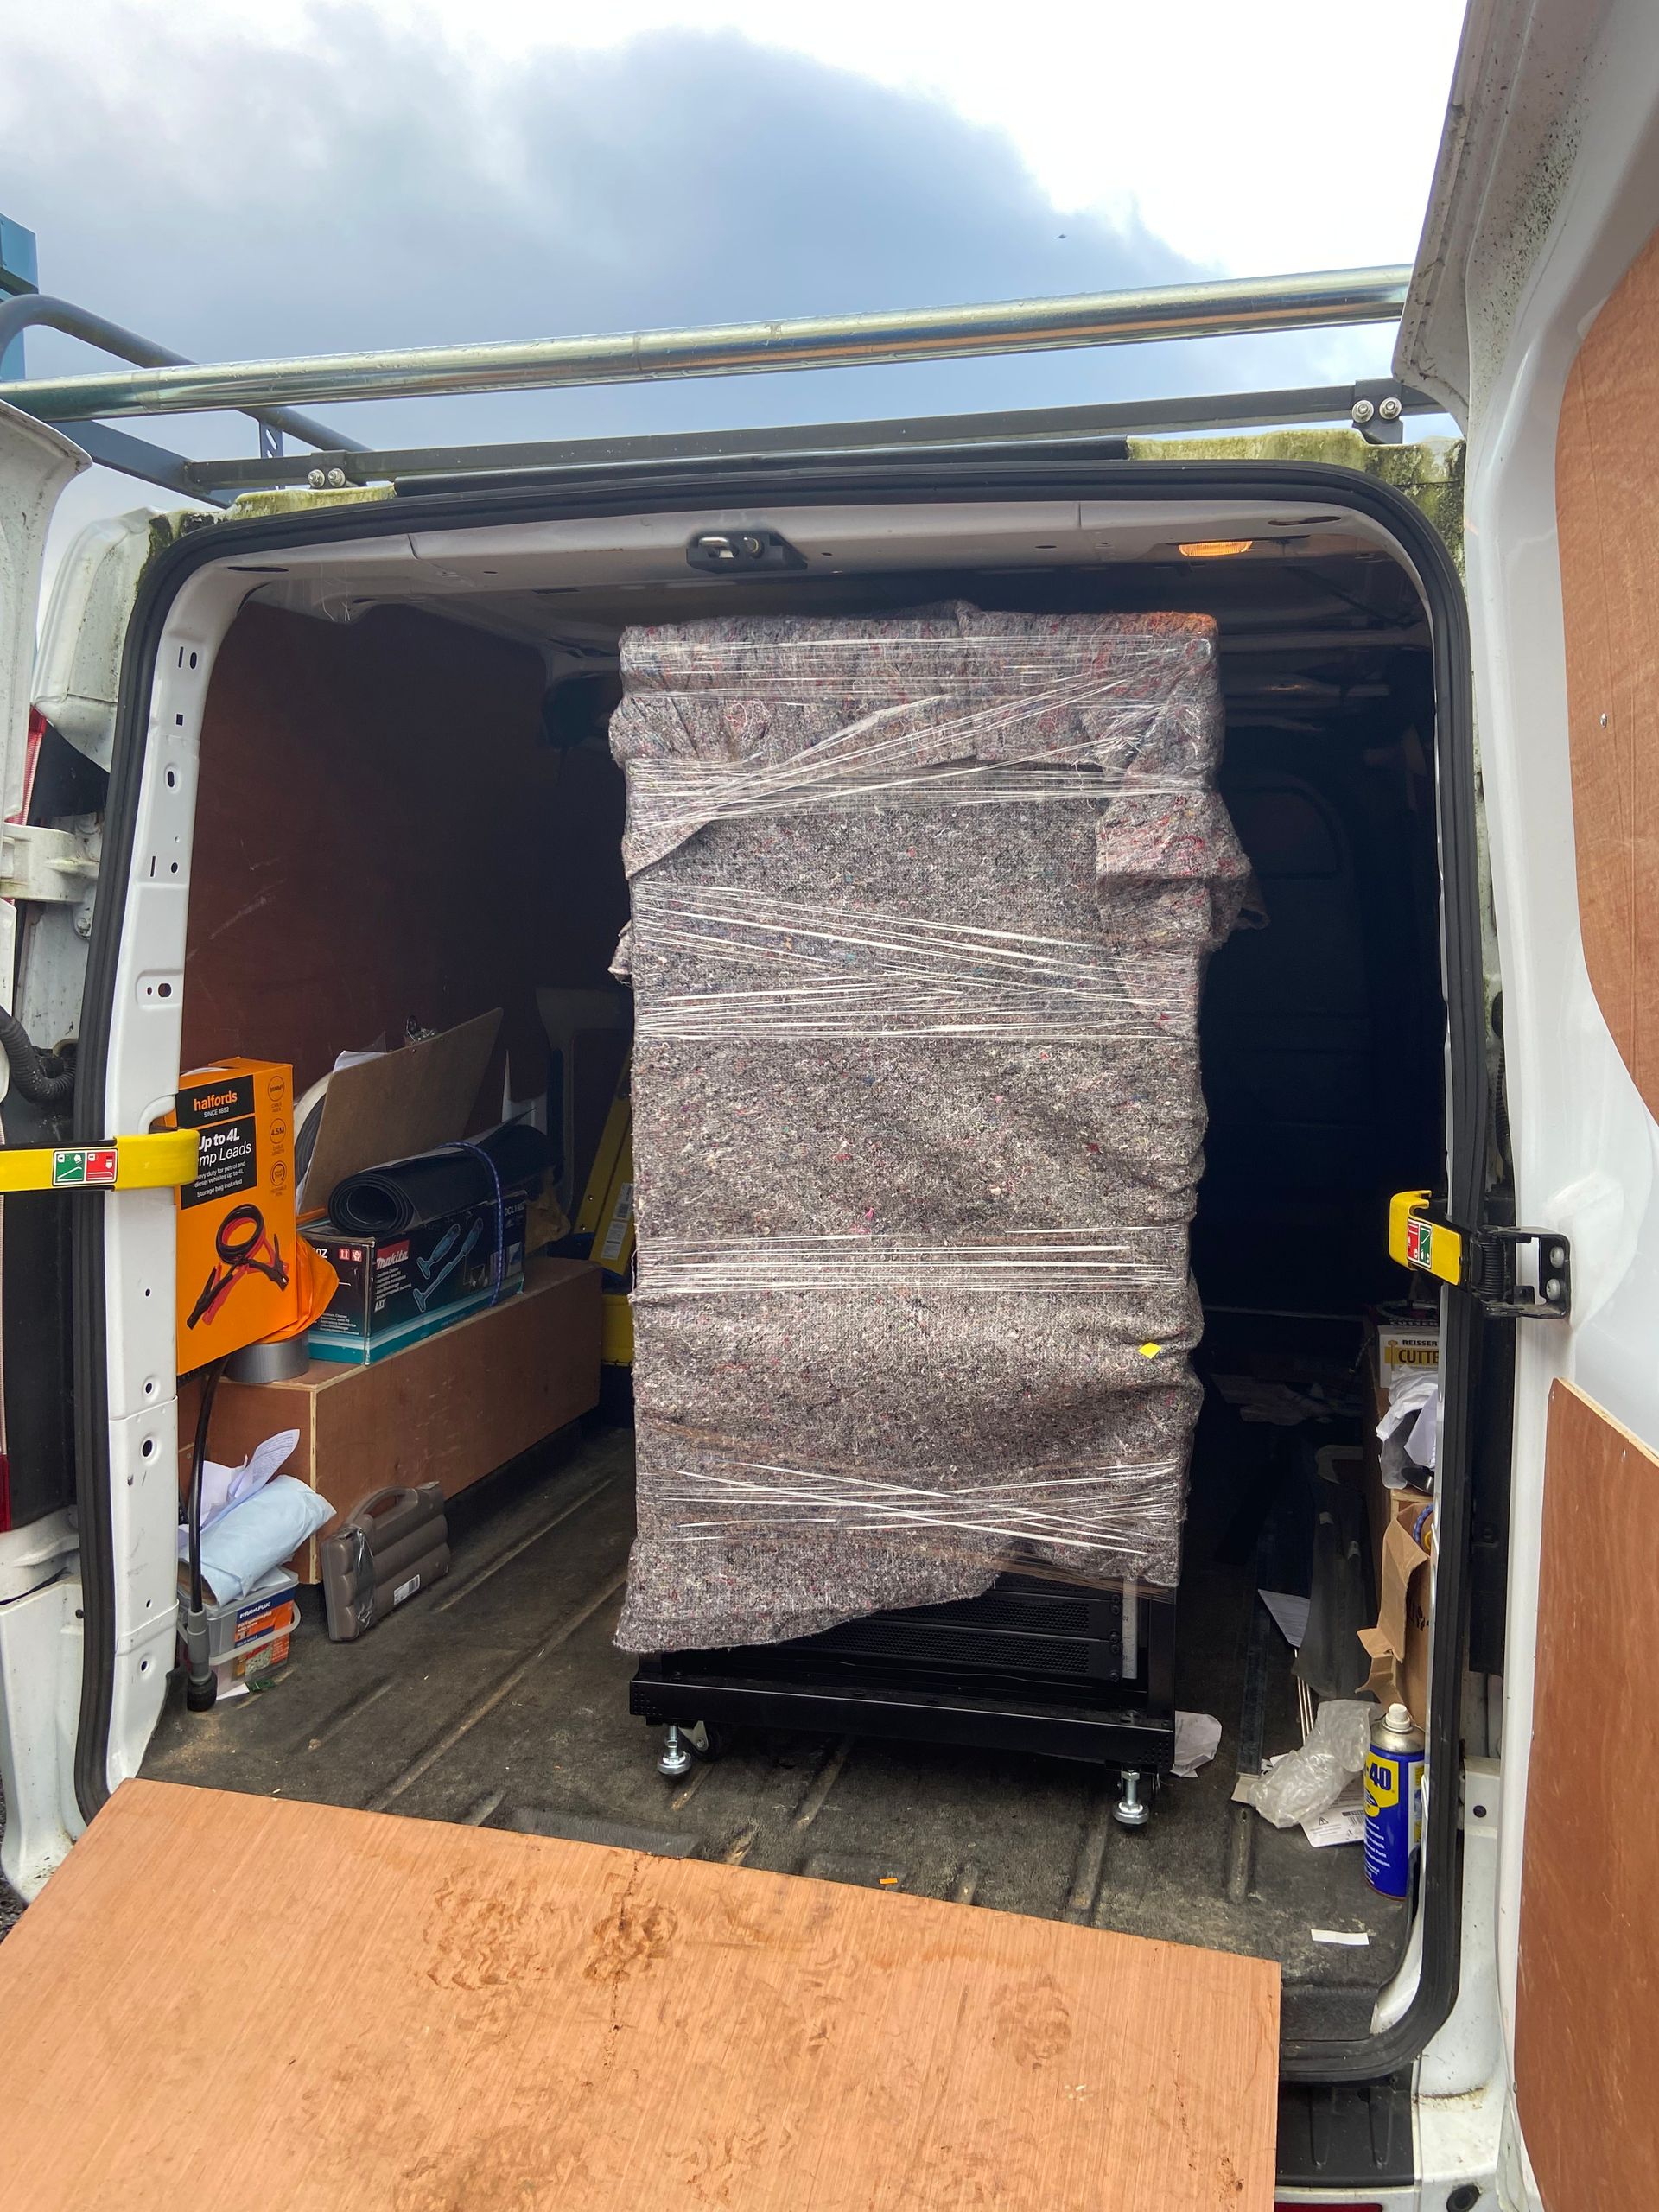
It also allowed us to quickly identify potential physical access constraints associated with getting some of our proposed equipment into the basement rooms e.g., the limited space at the bottom of the stairs that access the basement would mean that we would have to carefully consider the size of any server rack that we might specify in our design. A little for forethought at this site survey stage can really help ensure that we minimise future potential issues during the actual installation phase.
Smart home design
The client contacted us in the initial phases of their renovation project, shortly after they had architect plans drawn up for their proposed initial basement transformation and future ground floor extension.
Utilising our ‘tried & tested’
client engagement process, we had already captured the scope of the client’s potential requirements, then combining this with information identified during the site survey we began the process of creating a couple of proposed solutions with varying specification levels.
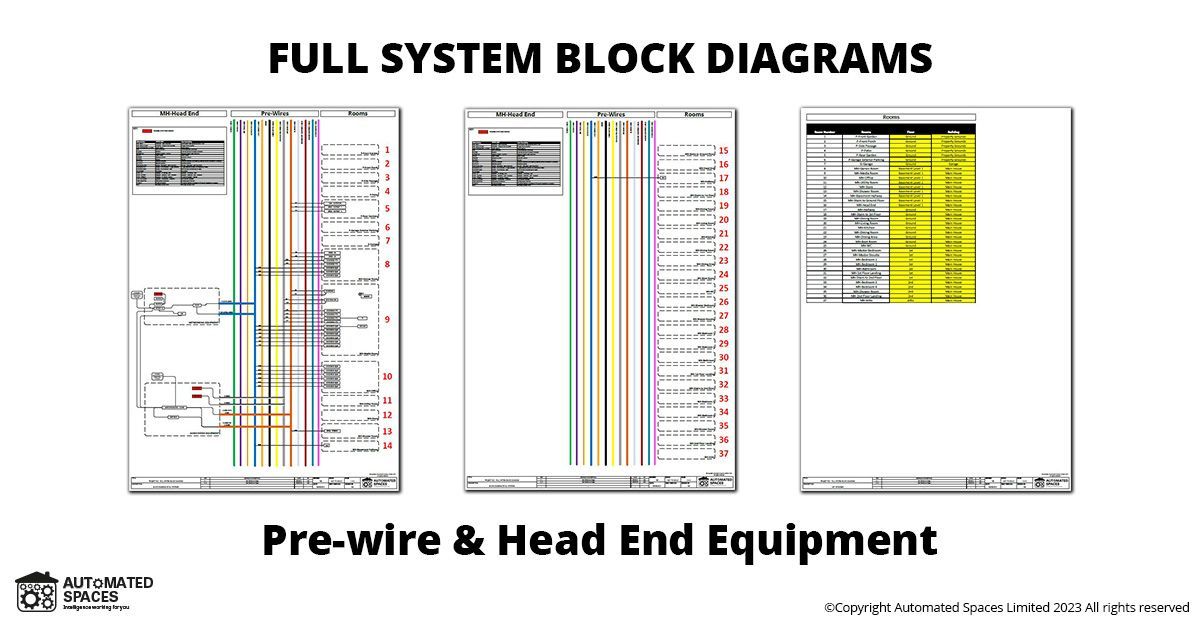
Once the final specification level was agreed we contracted to provide a formal design including some of the following documents:
- Full system block diagram
- Schematics for:
- Network
- Power
- Audio
- Video
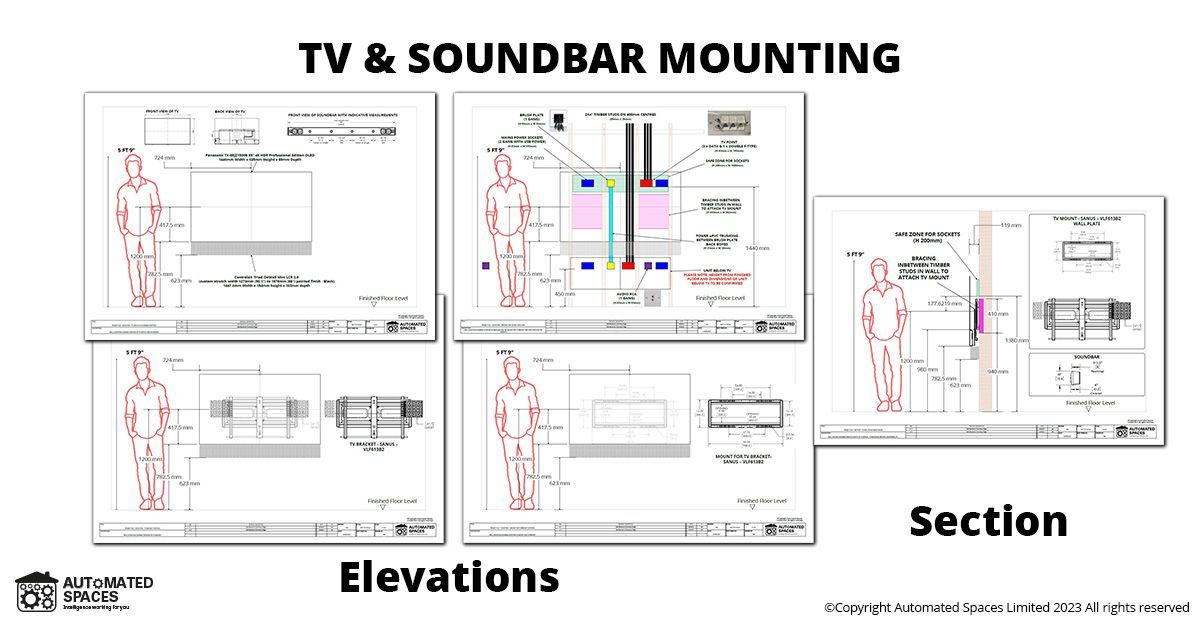
- TV & TV Mounting Elevations/Section
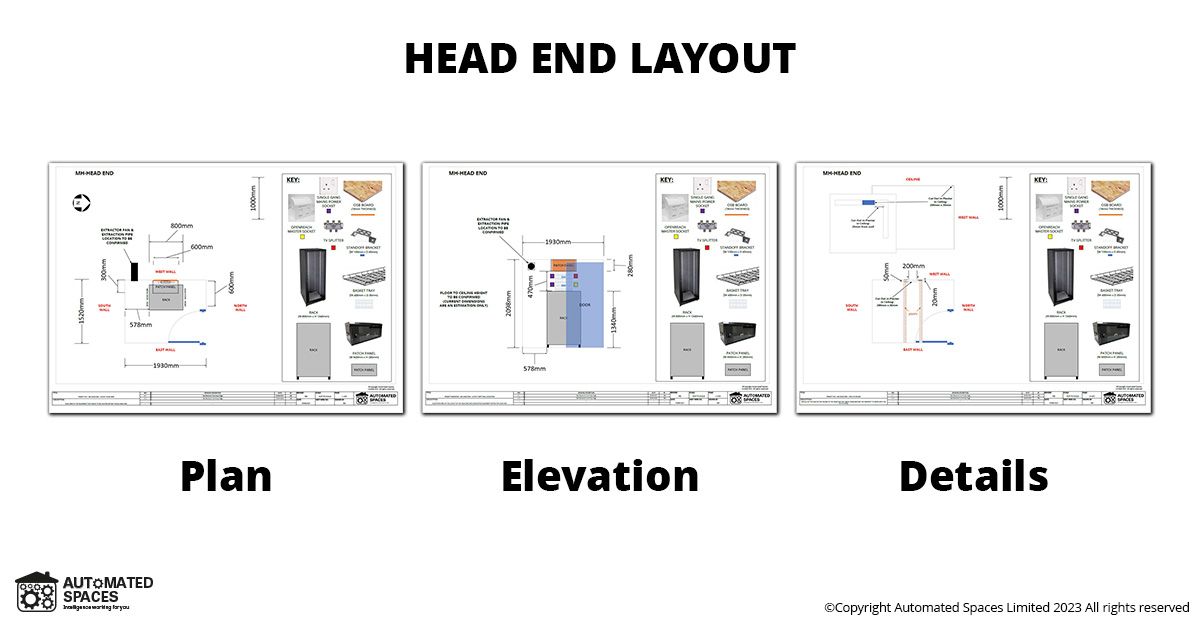
- Head-end room layout
- Rack layouts
- Pre-wire cable summaries

Smart home 1st fix
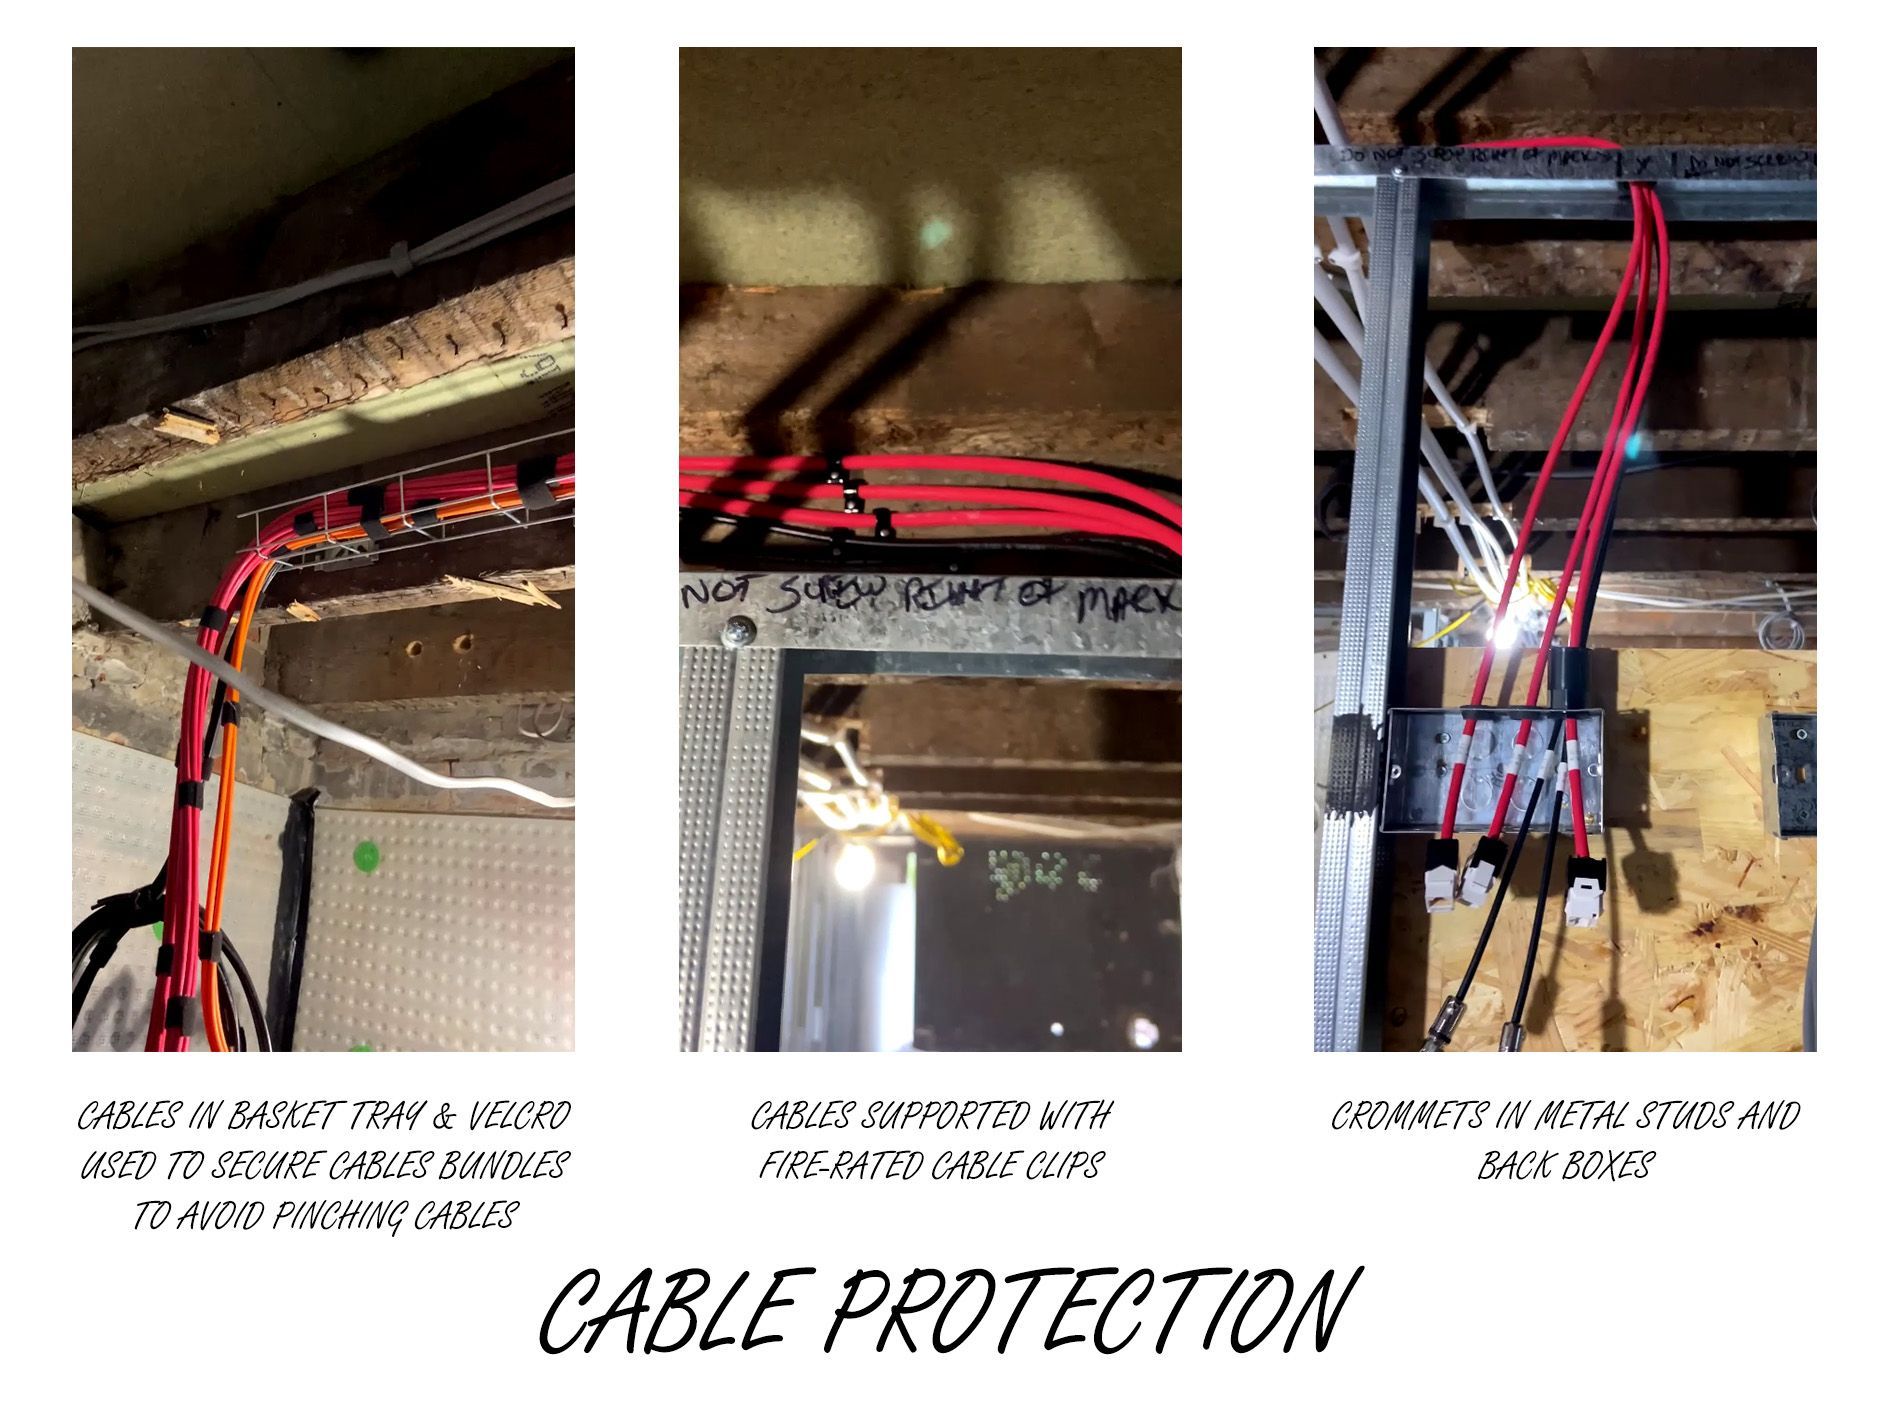
With the ceiling in basement being fully removed, at the start of the construction process, this created an opportunity to efficiently install all the relevant pre-wire cables during the 1st fix. We liaised with the main contractor’s electricians to ensure that our cables routes didn’t clash, and we could maintain the maximum cable separation as possible in the limited spaces we had available.
We also identified a future route to install the cables, that would be required during the future ground floor extension, from the kitchen down to the future location of the patch panel in the head-end room.
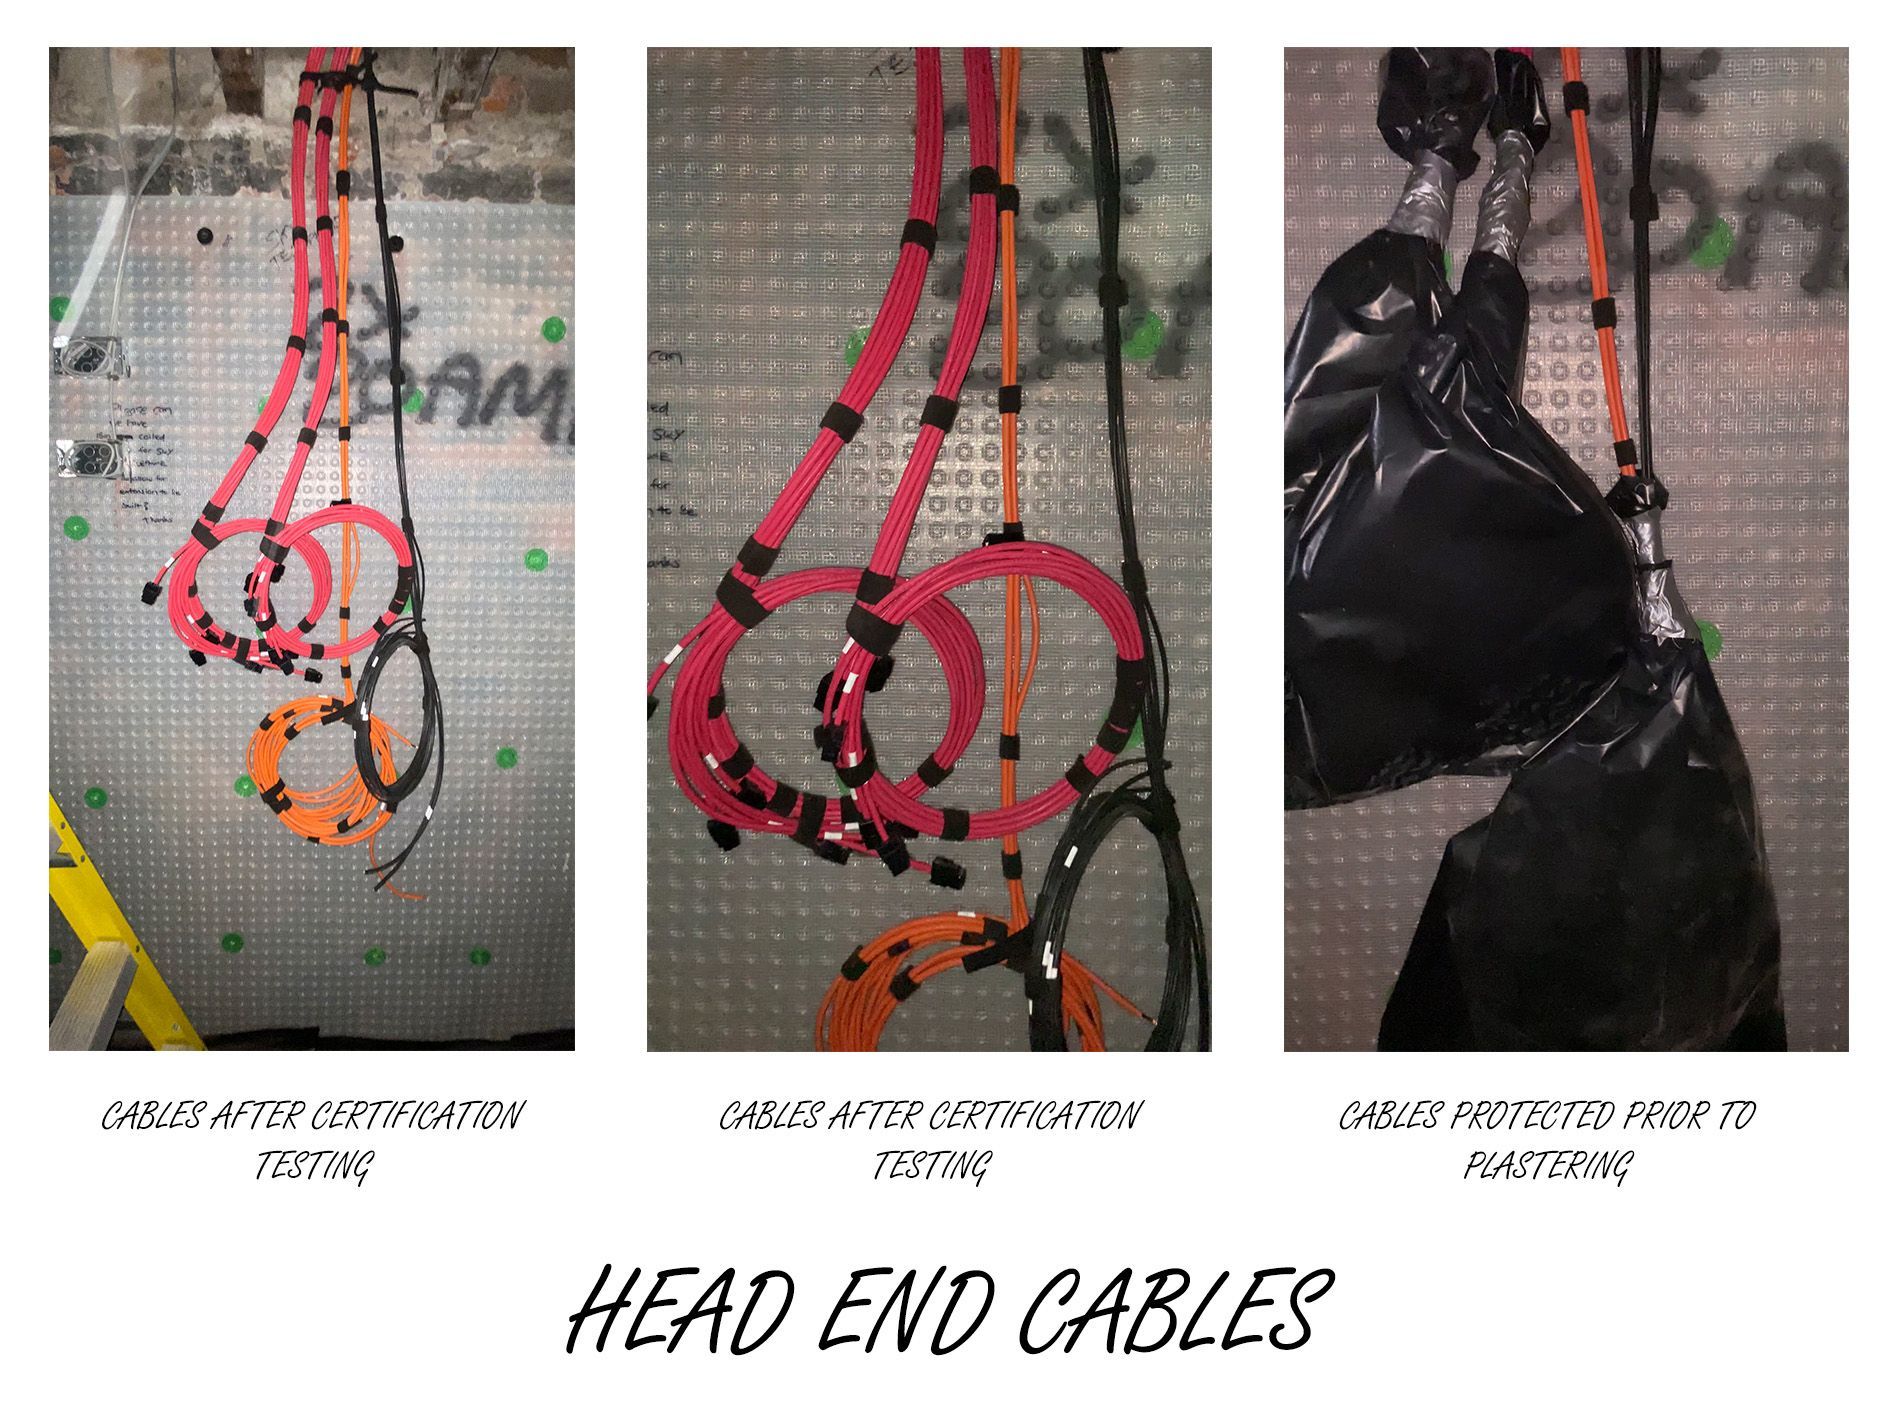
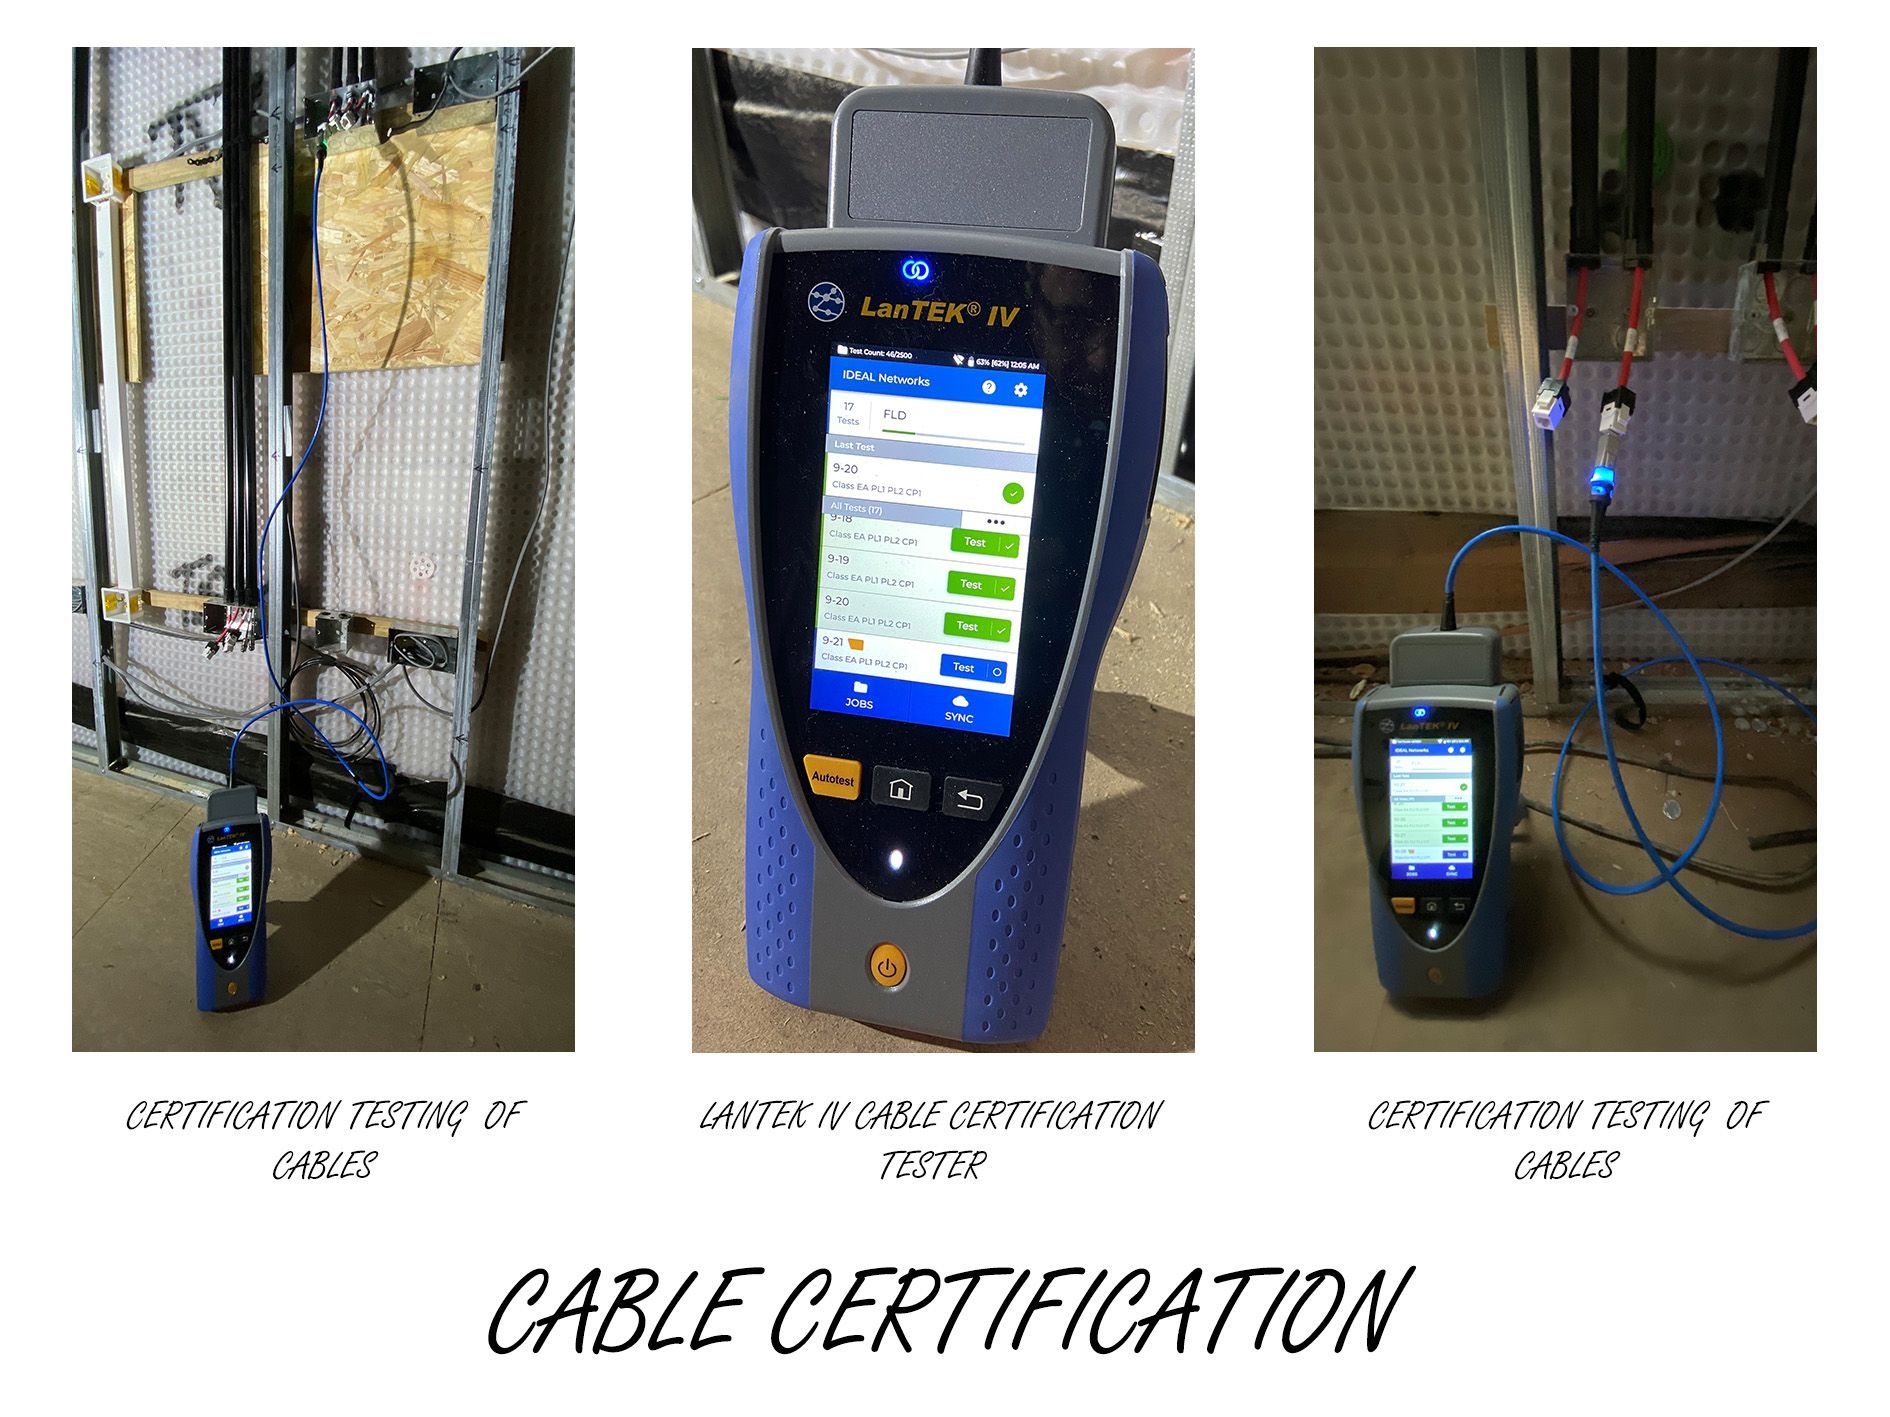
After installing all the relevant pre-wire cables, as part of our
25-year networking cable warranty service, we carried out certification testing of the CAT6A cables. This also allowed us to ensure that all the relevant cables were functioning as expected prior to the main contractor plastering the walls and ceilings. This avoids any potential future messy and costly remedial construction works to replace potential faulty cables, as they are all proved to be achieving the correct transmission rates during the certification testing process.
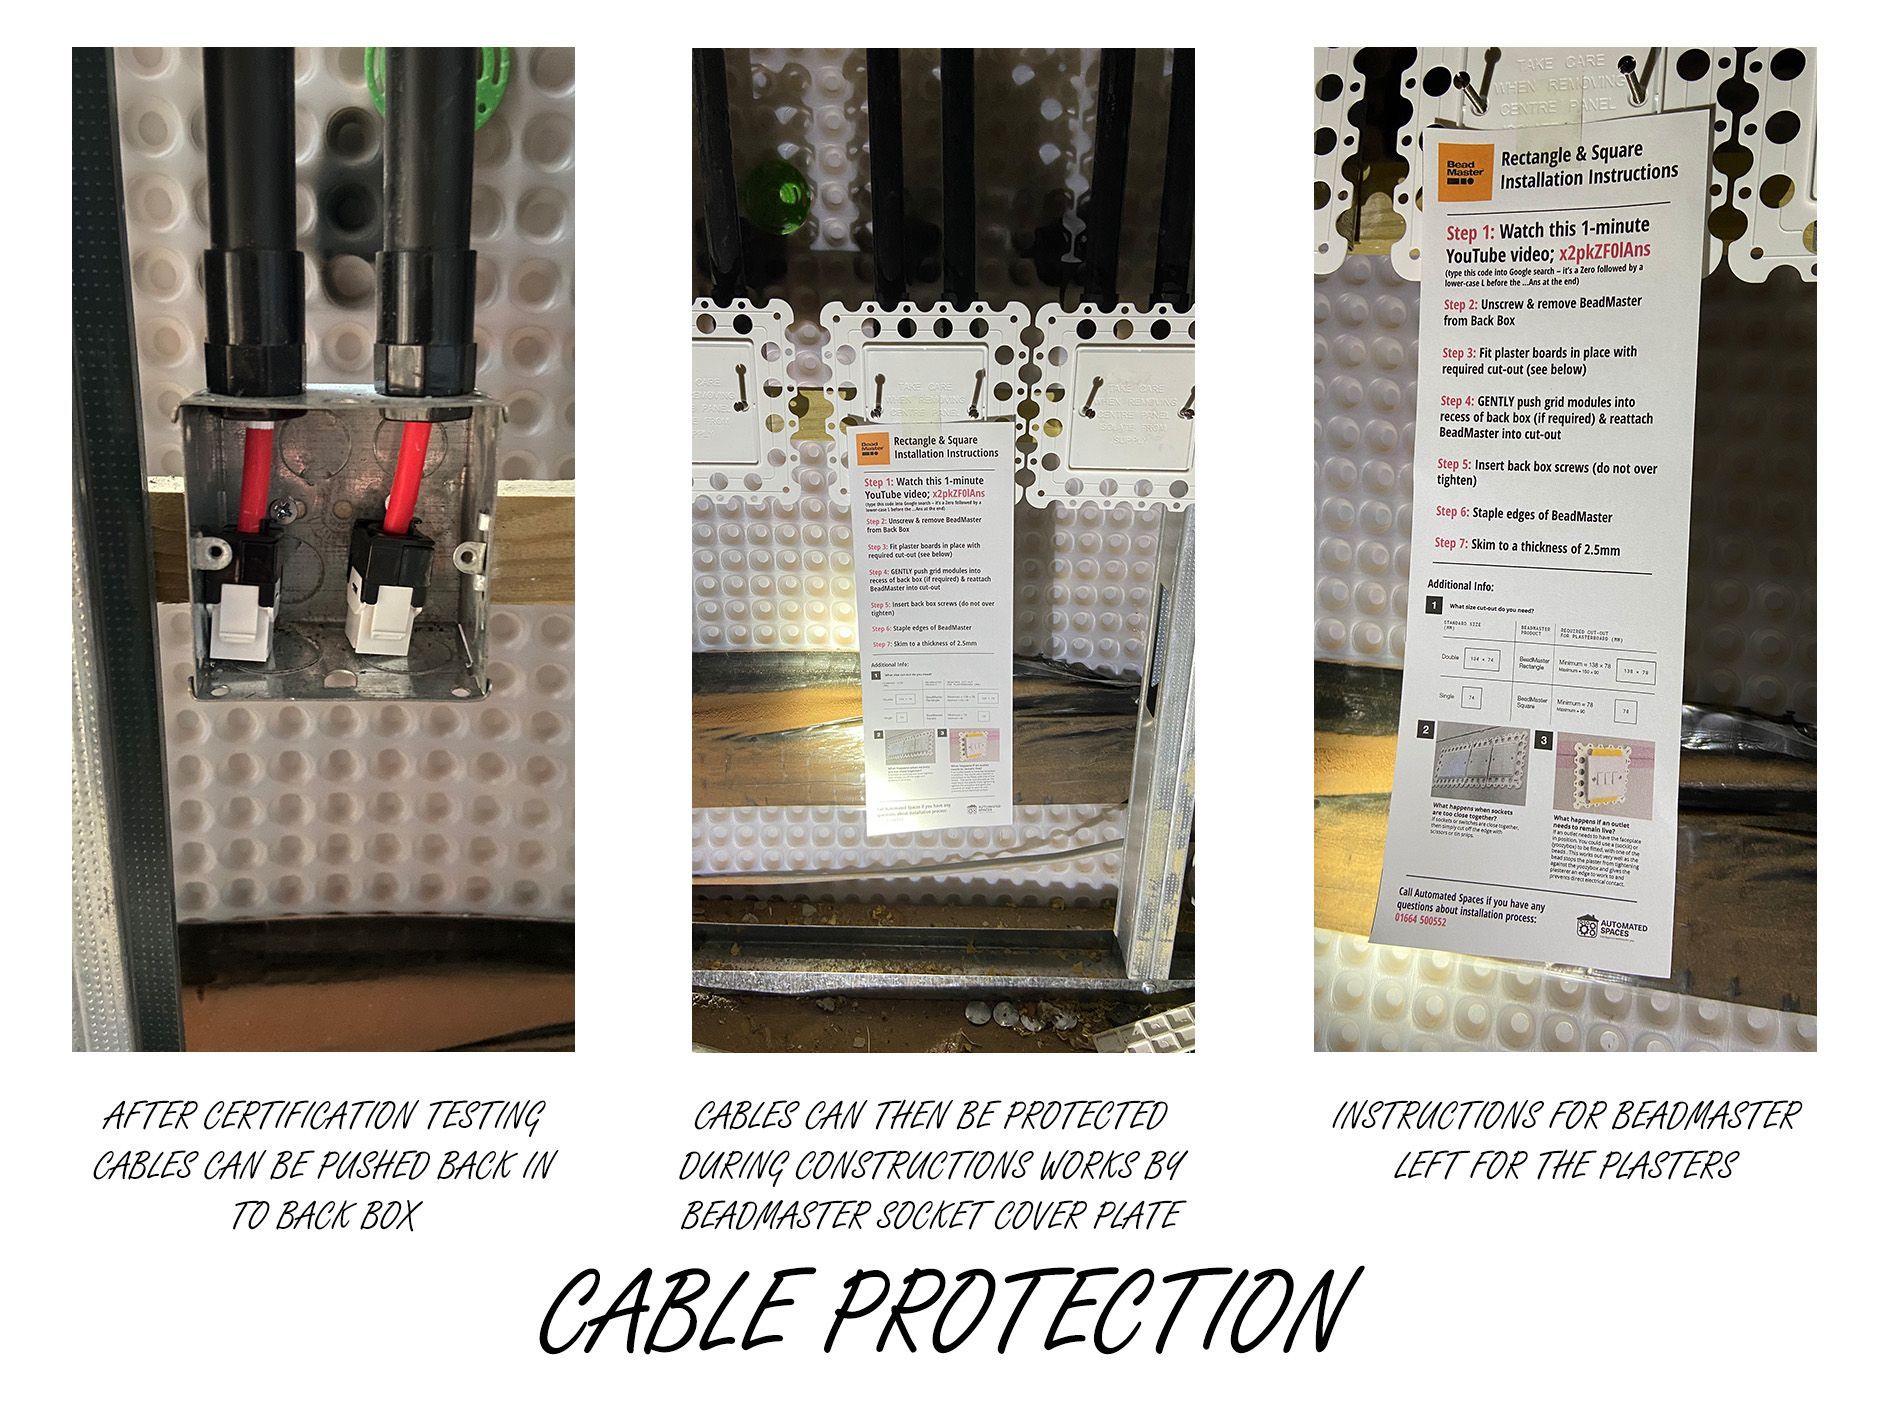
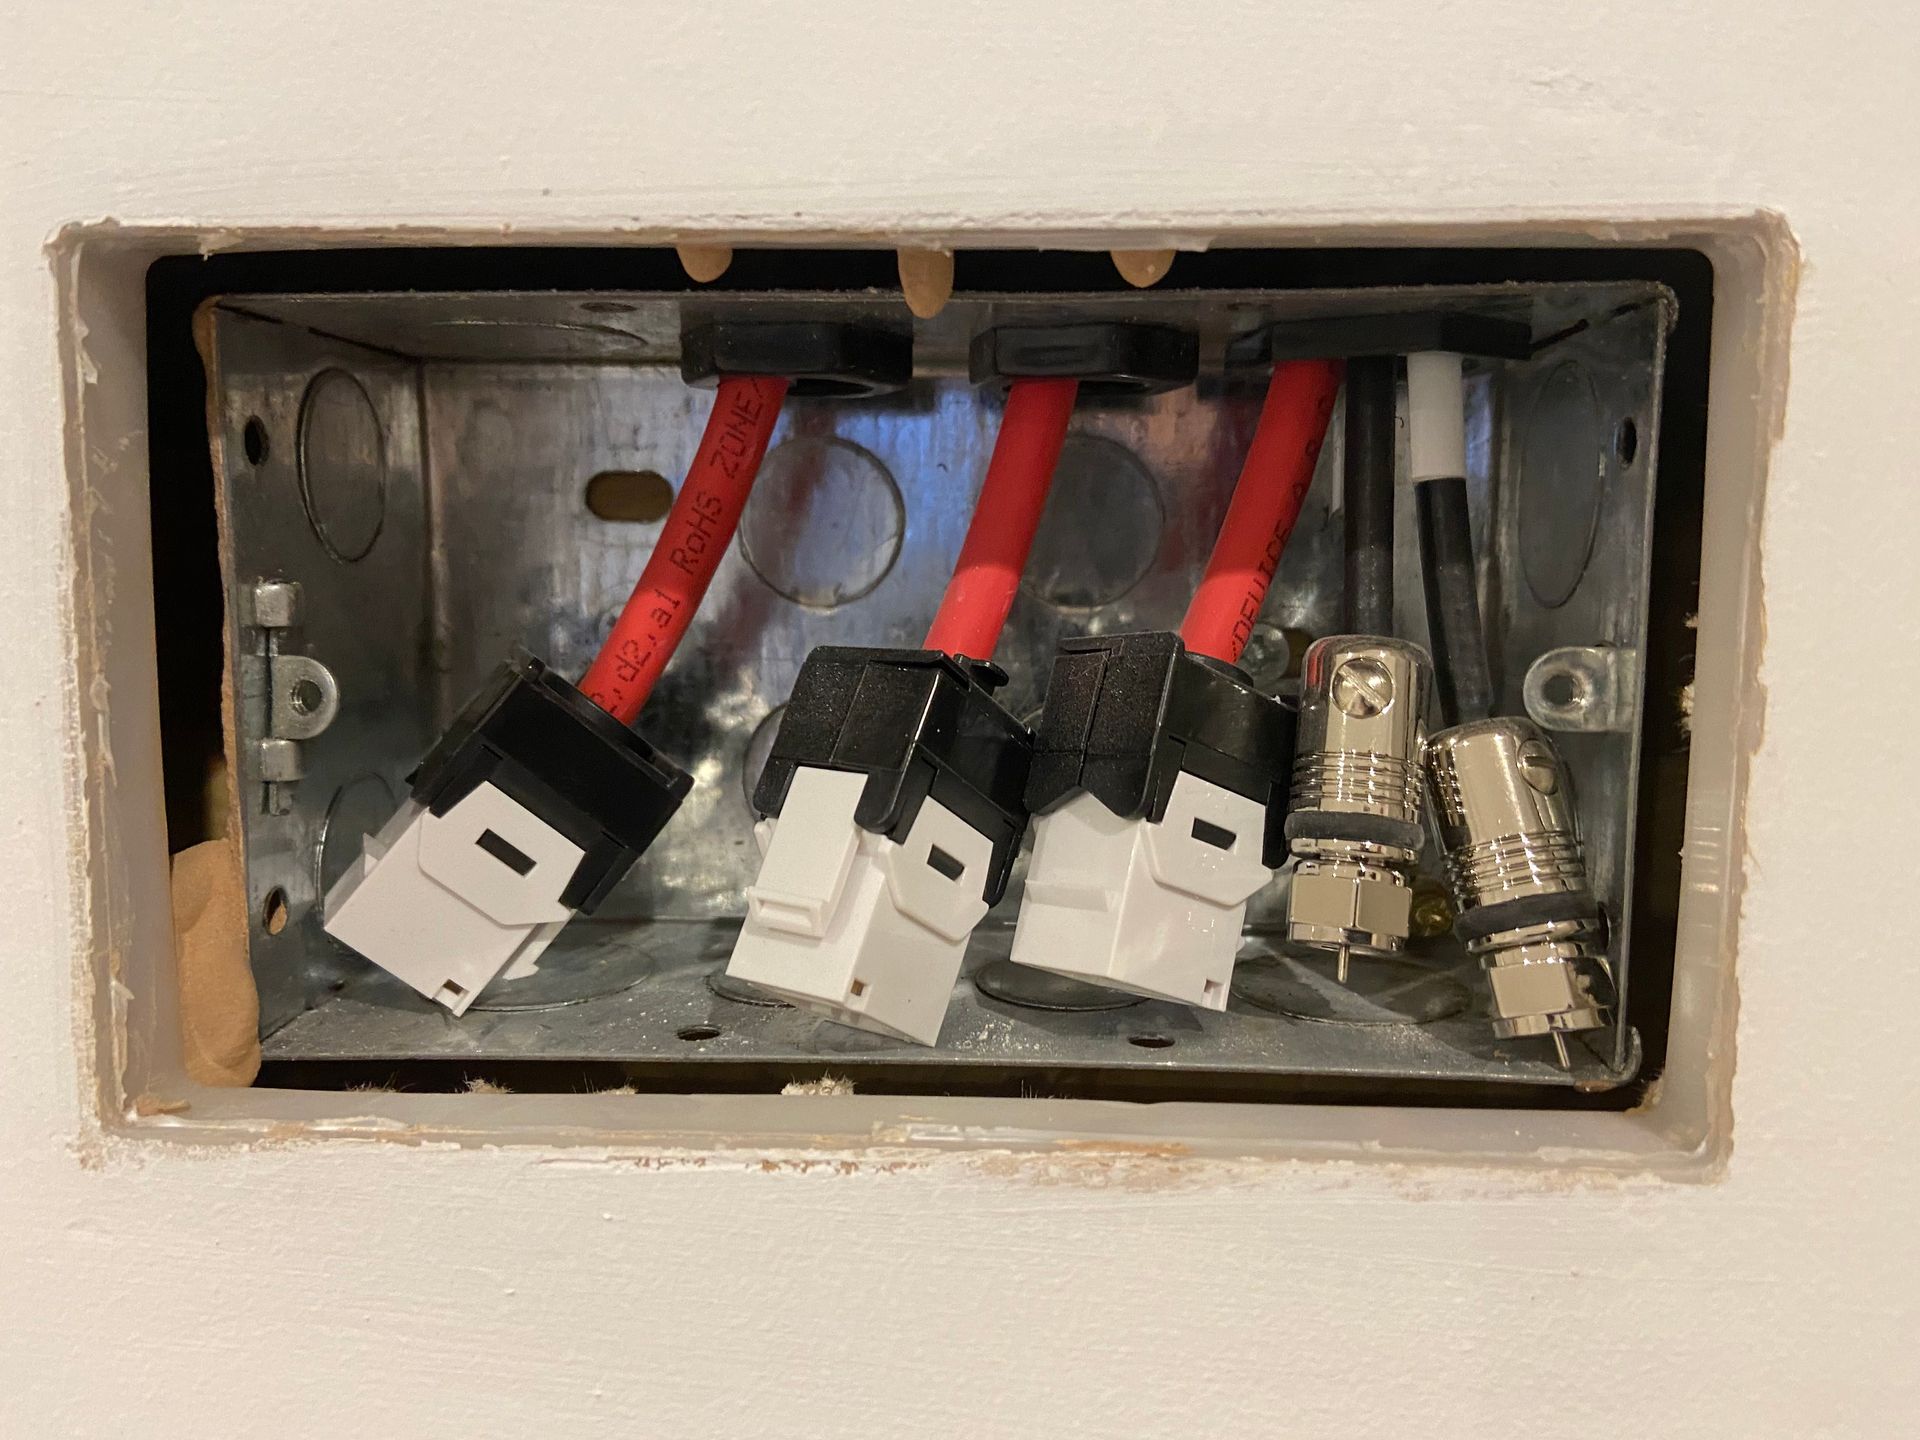
Next, we utilise BeadMaster socket plate covers to protect our cables in their relevant back boxes during the remaining construction works. They also provide a superior finish to the plaster around the back boxes at the final fit out phase.
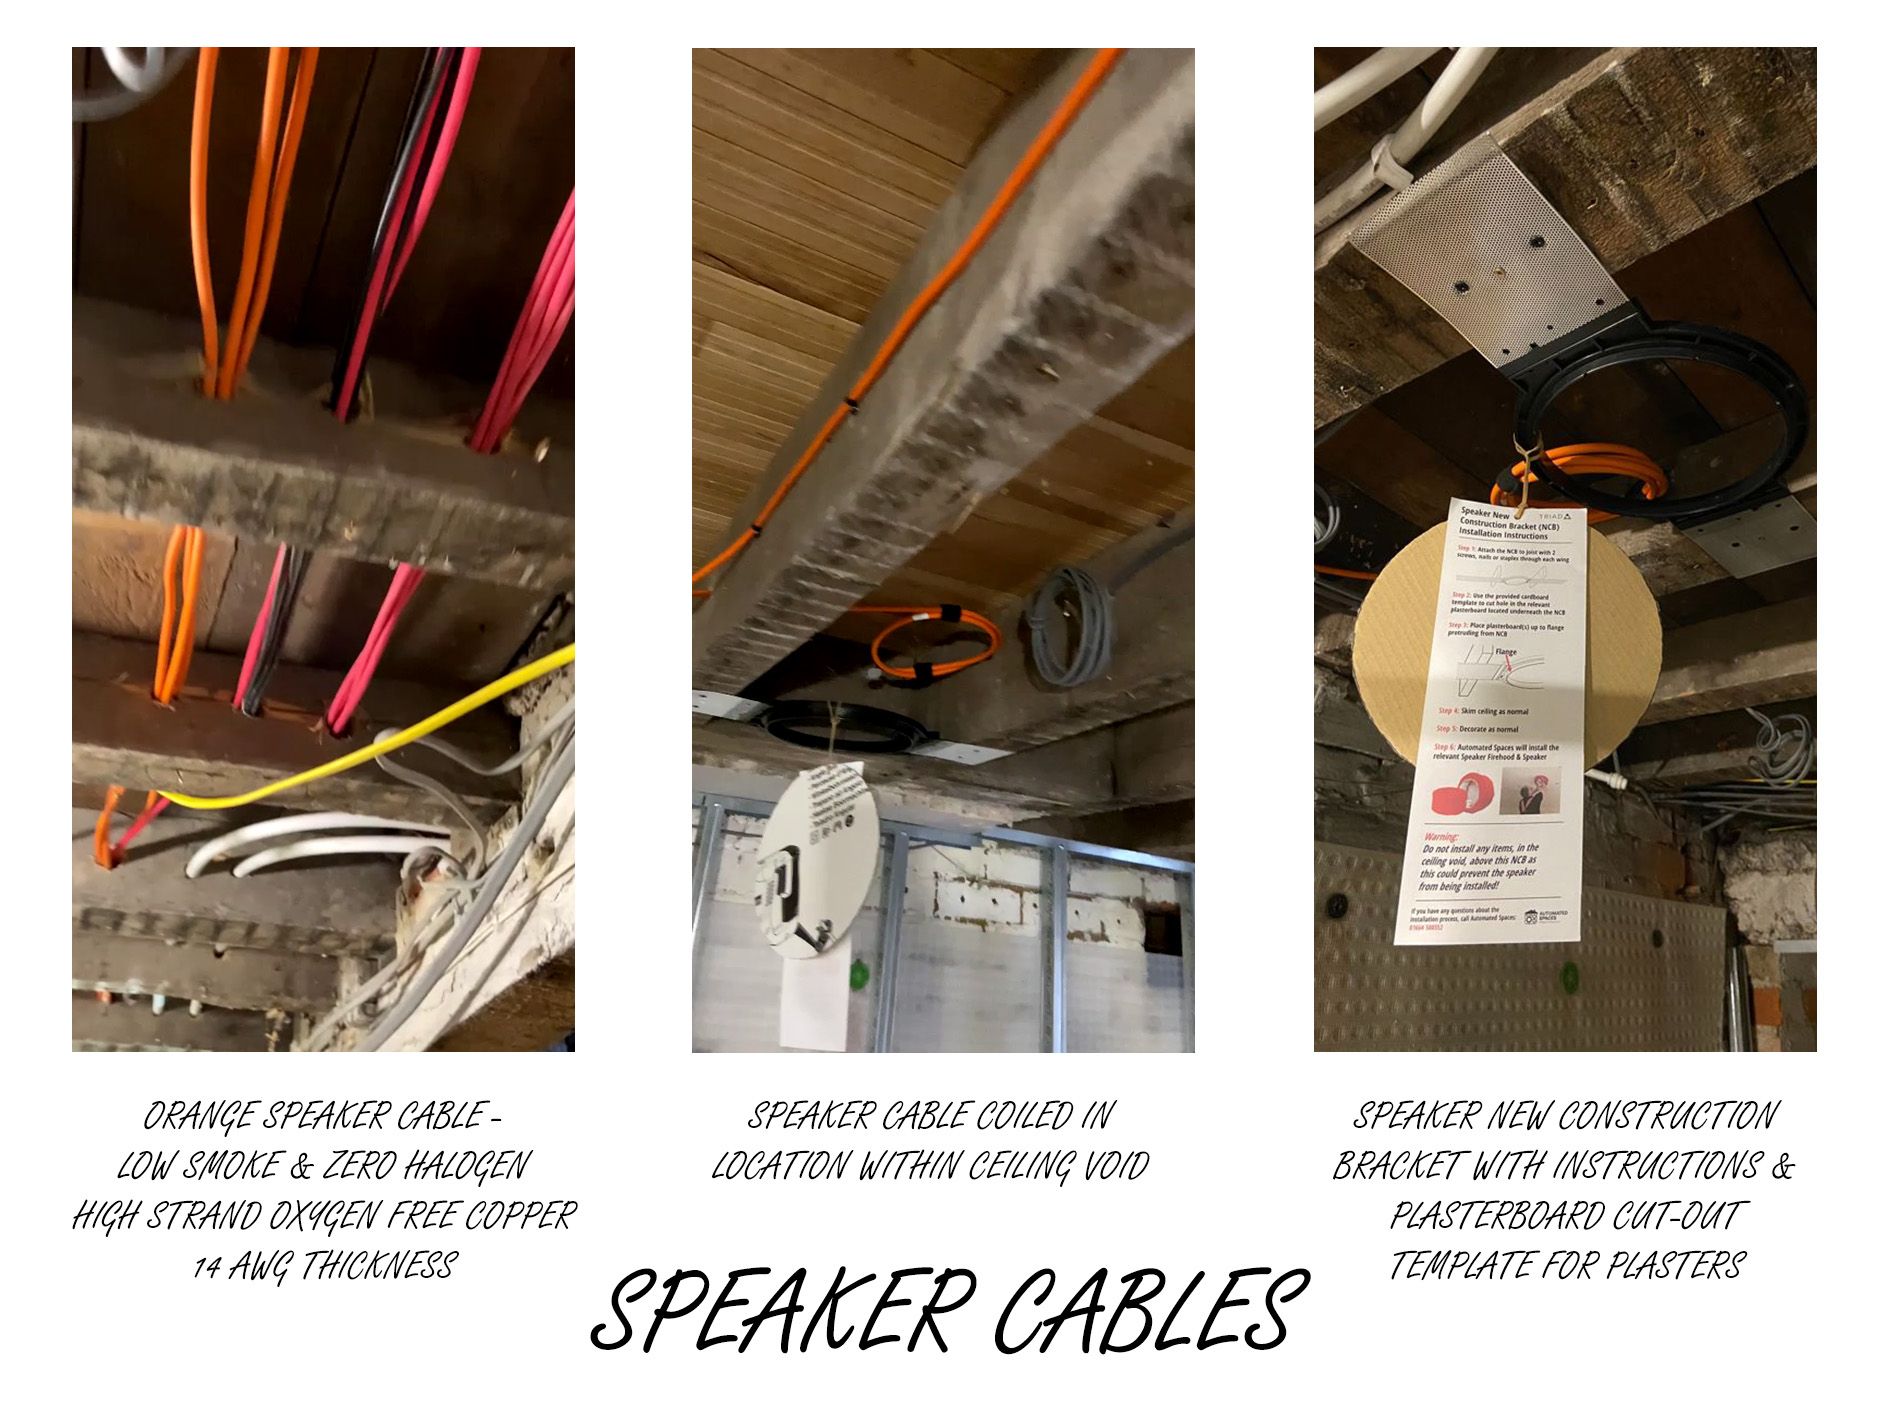
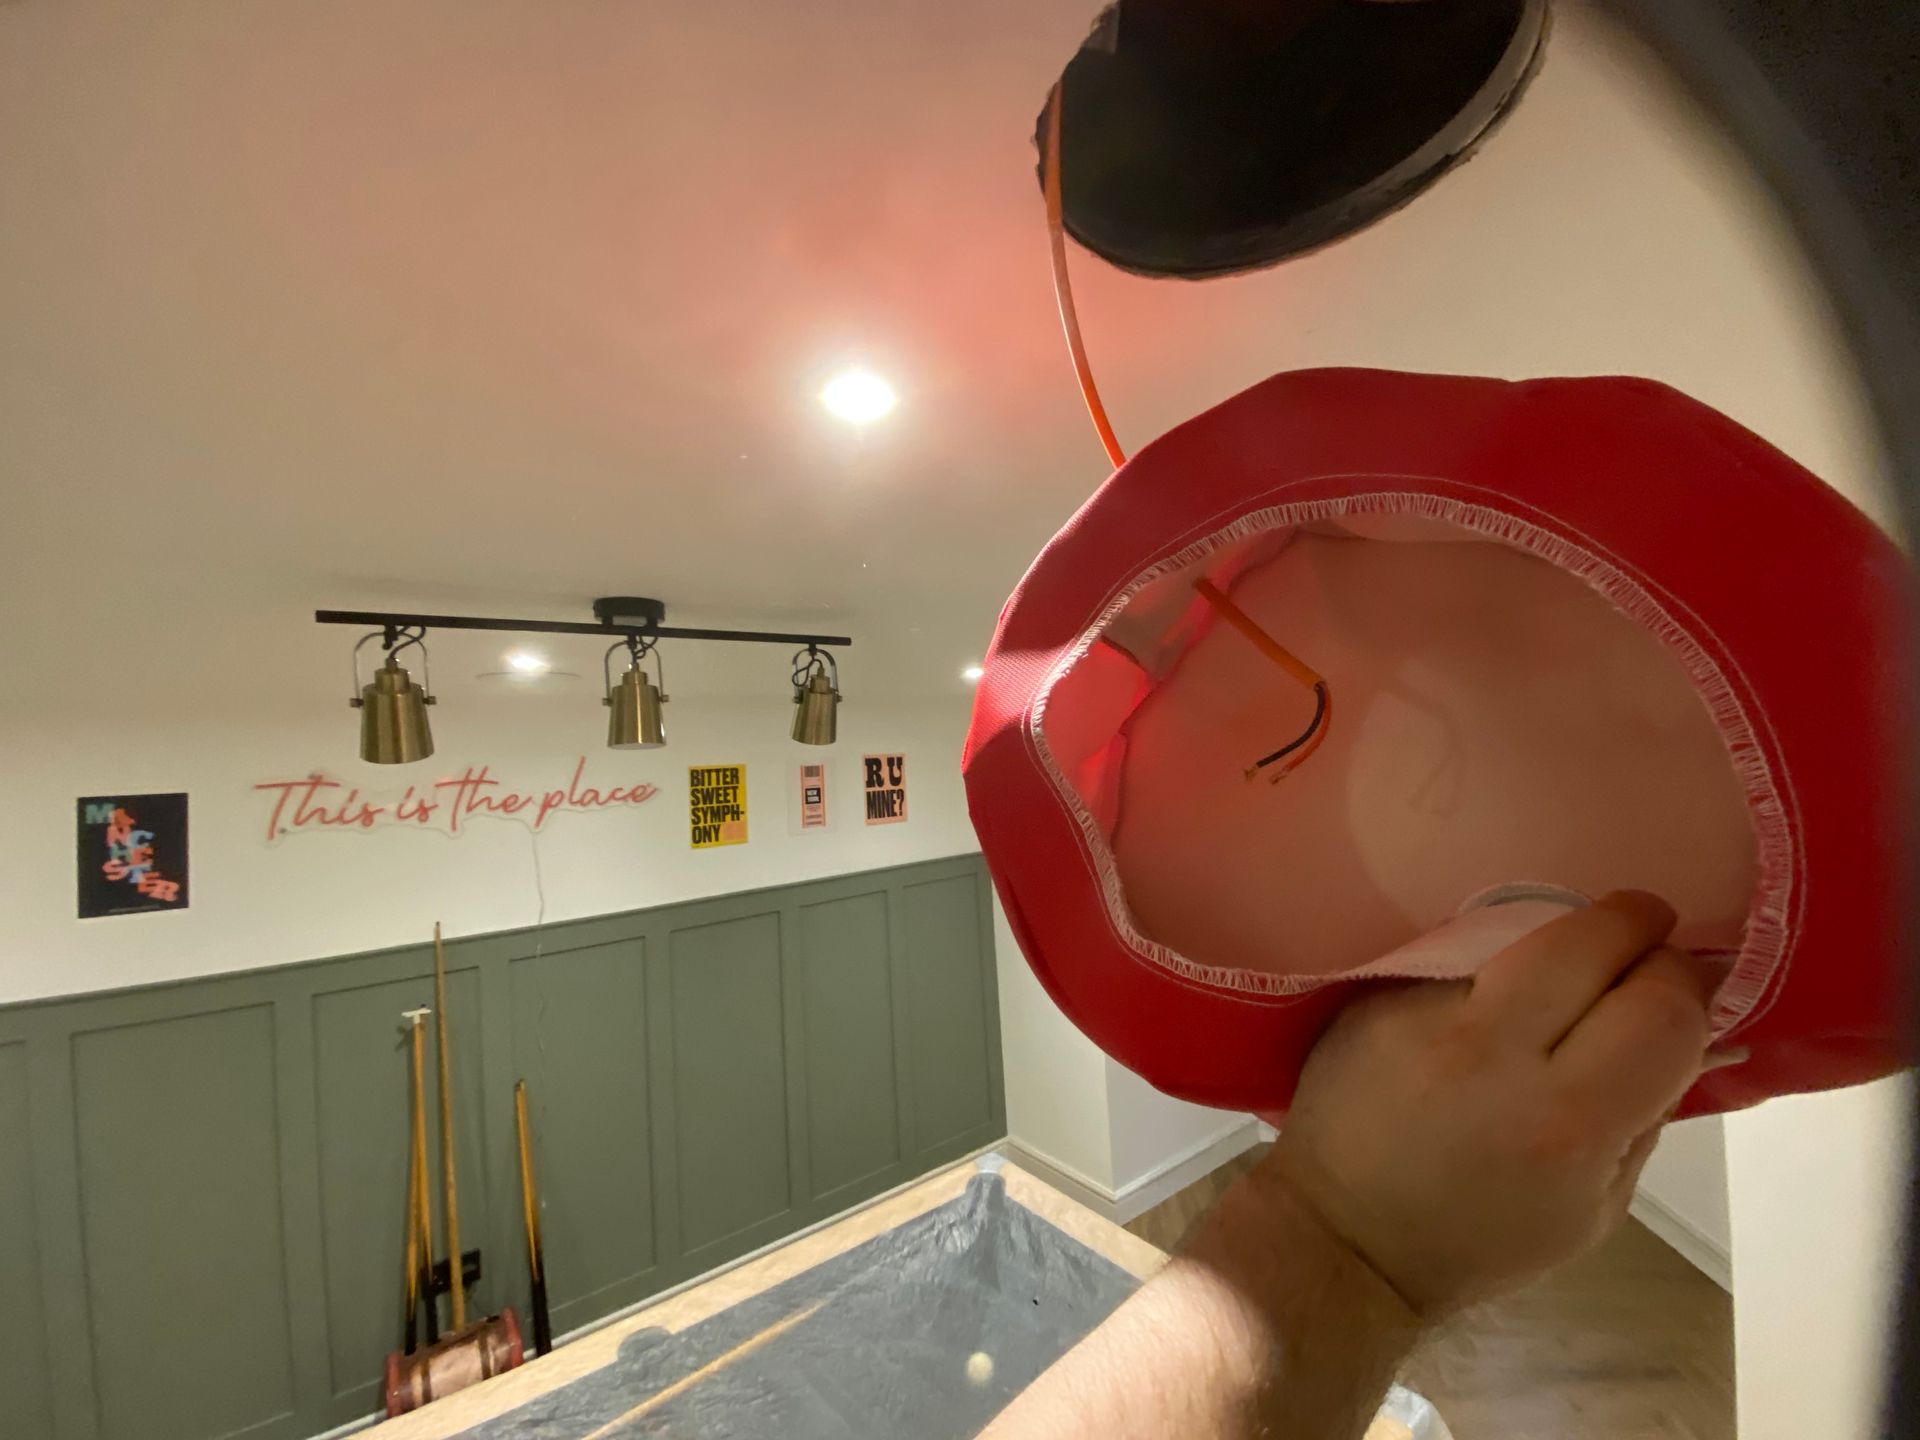
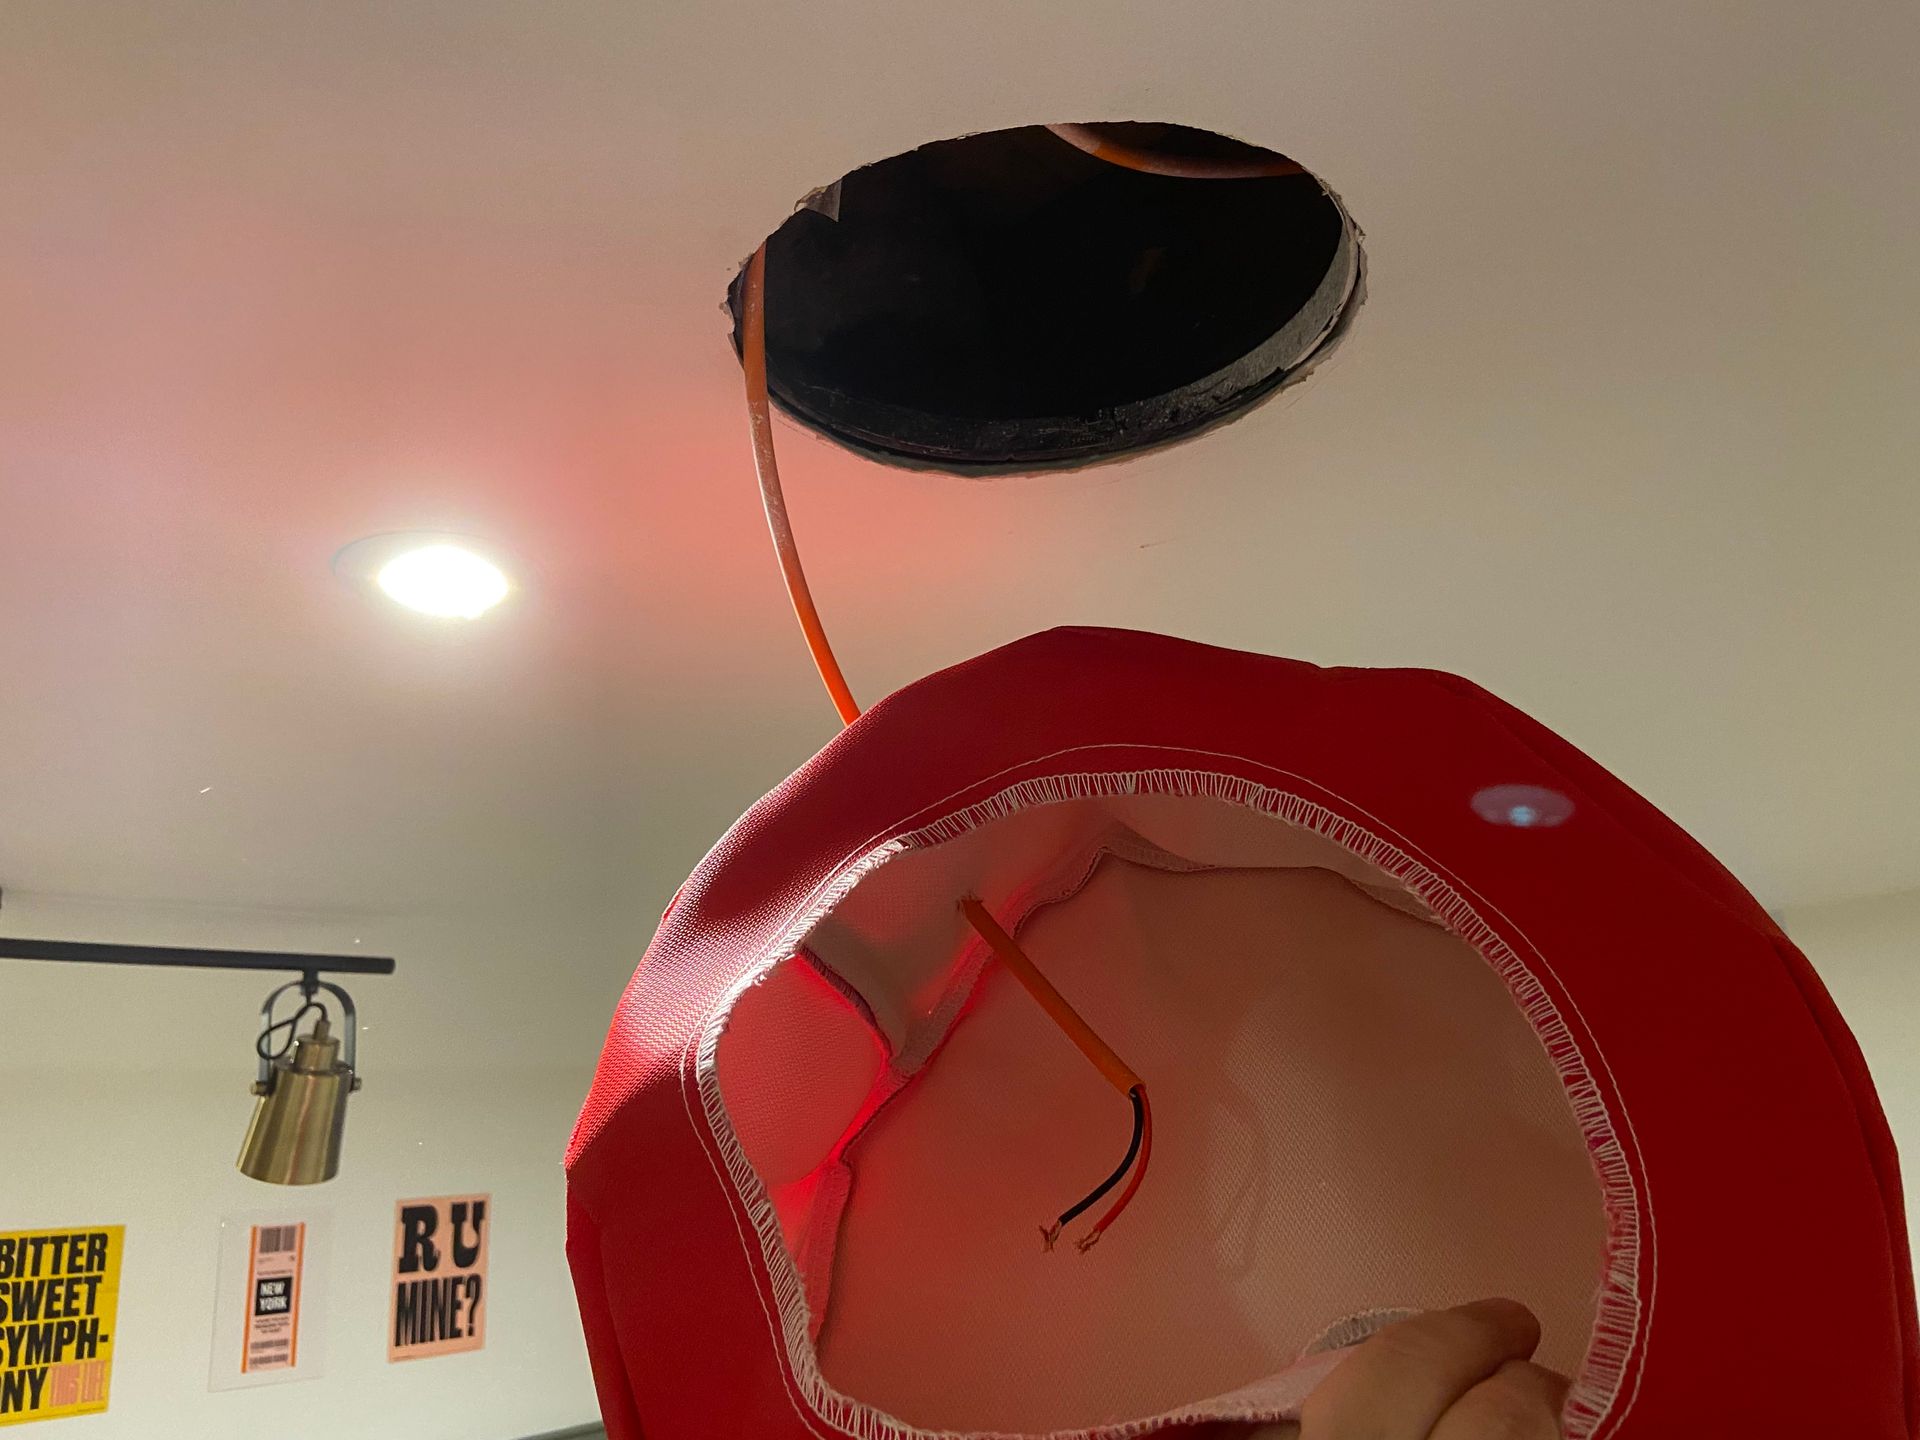
We then installed the speaker new construction brackets, which are used to identify the future location of the in-ceiling speakers, so that other trades can avoid installing elements in the ceiling space that would interfere with the speaker installation.
We then left instructions for the plasters regarding the use of the Speaker New Construction and BeadMaster socket plate covers as not all plasters have seen these solutions previously.
Smart home 2nd fix
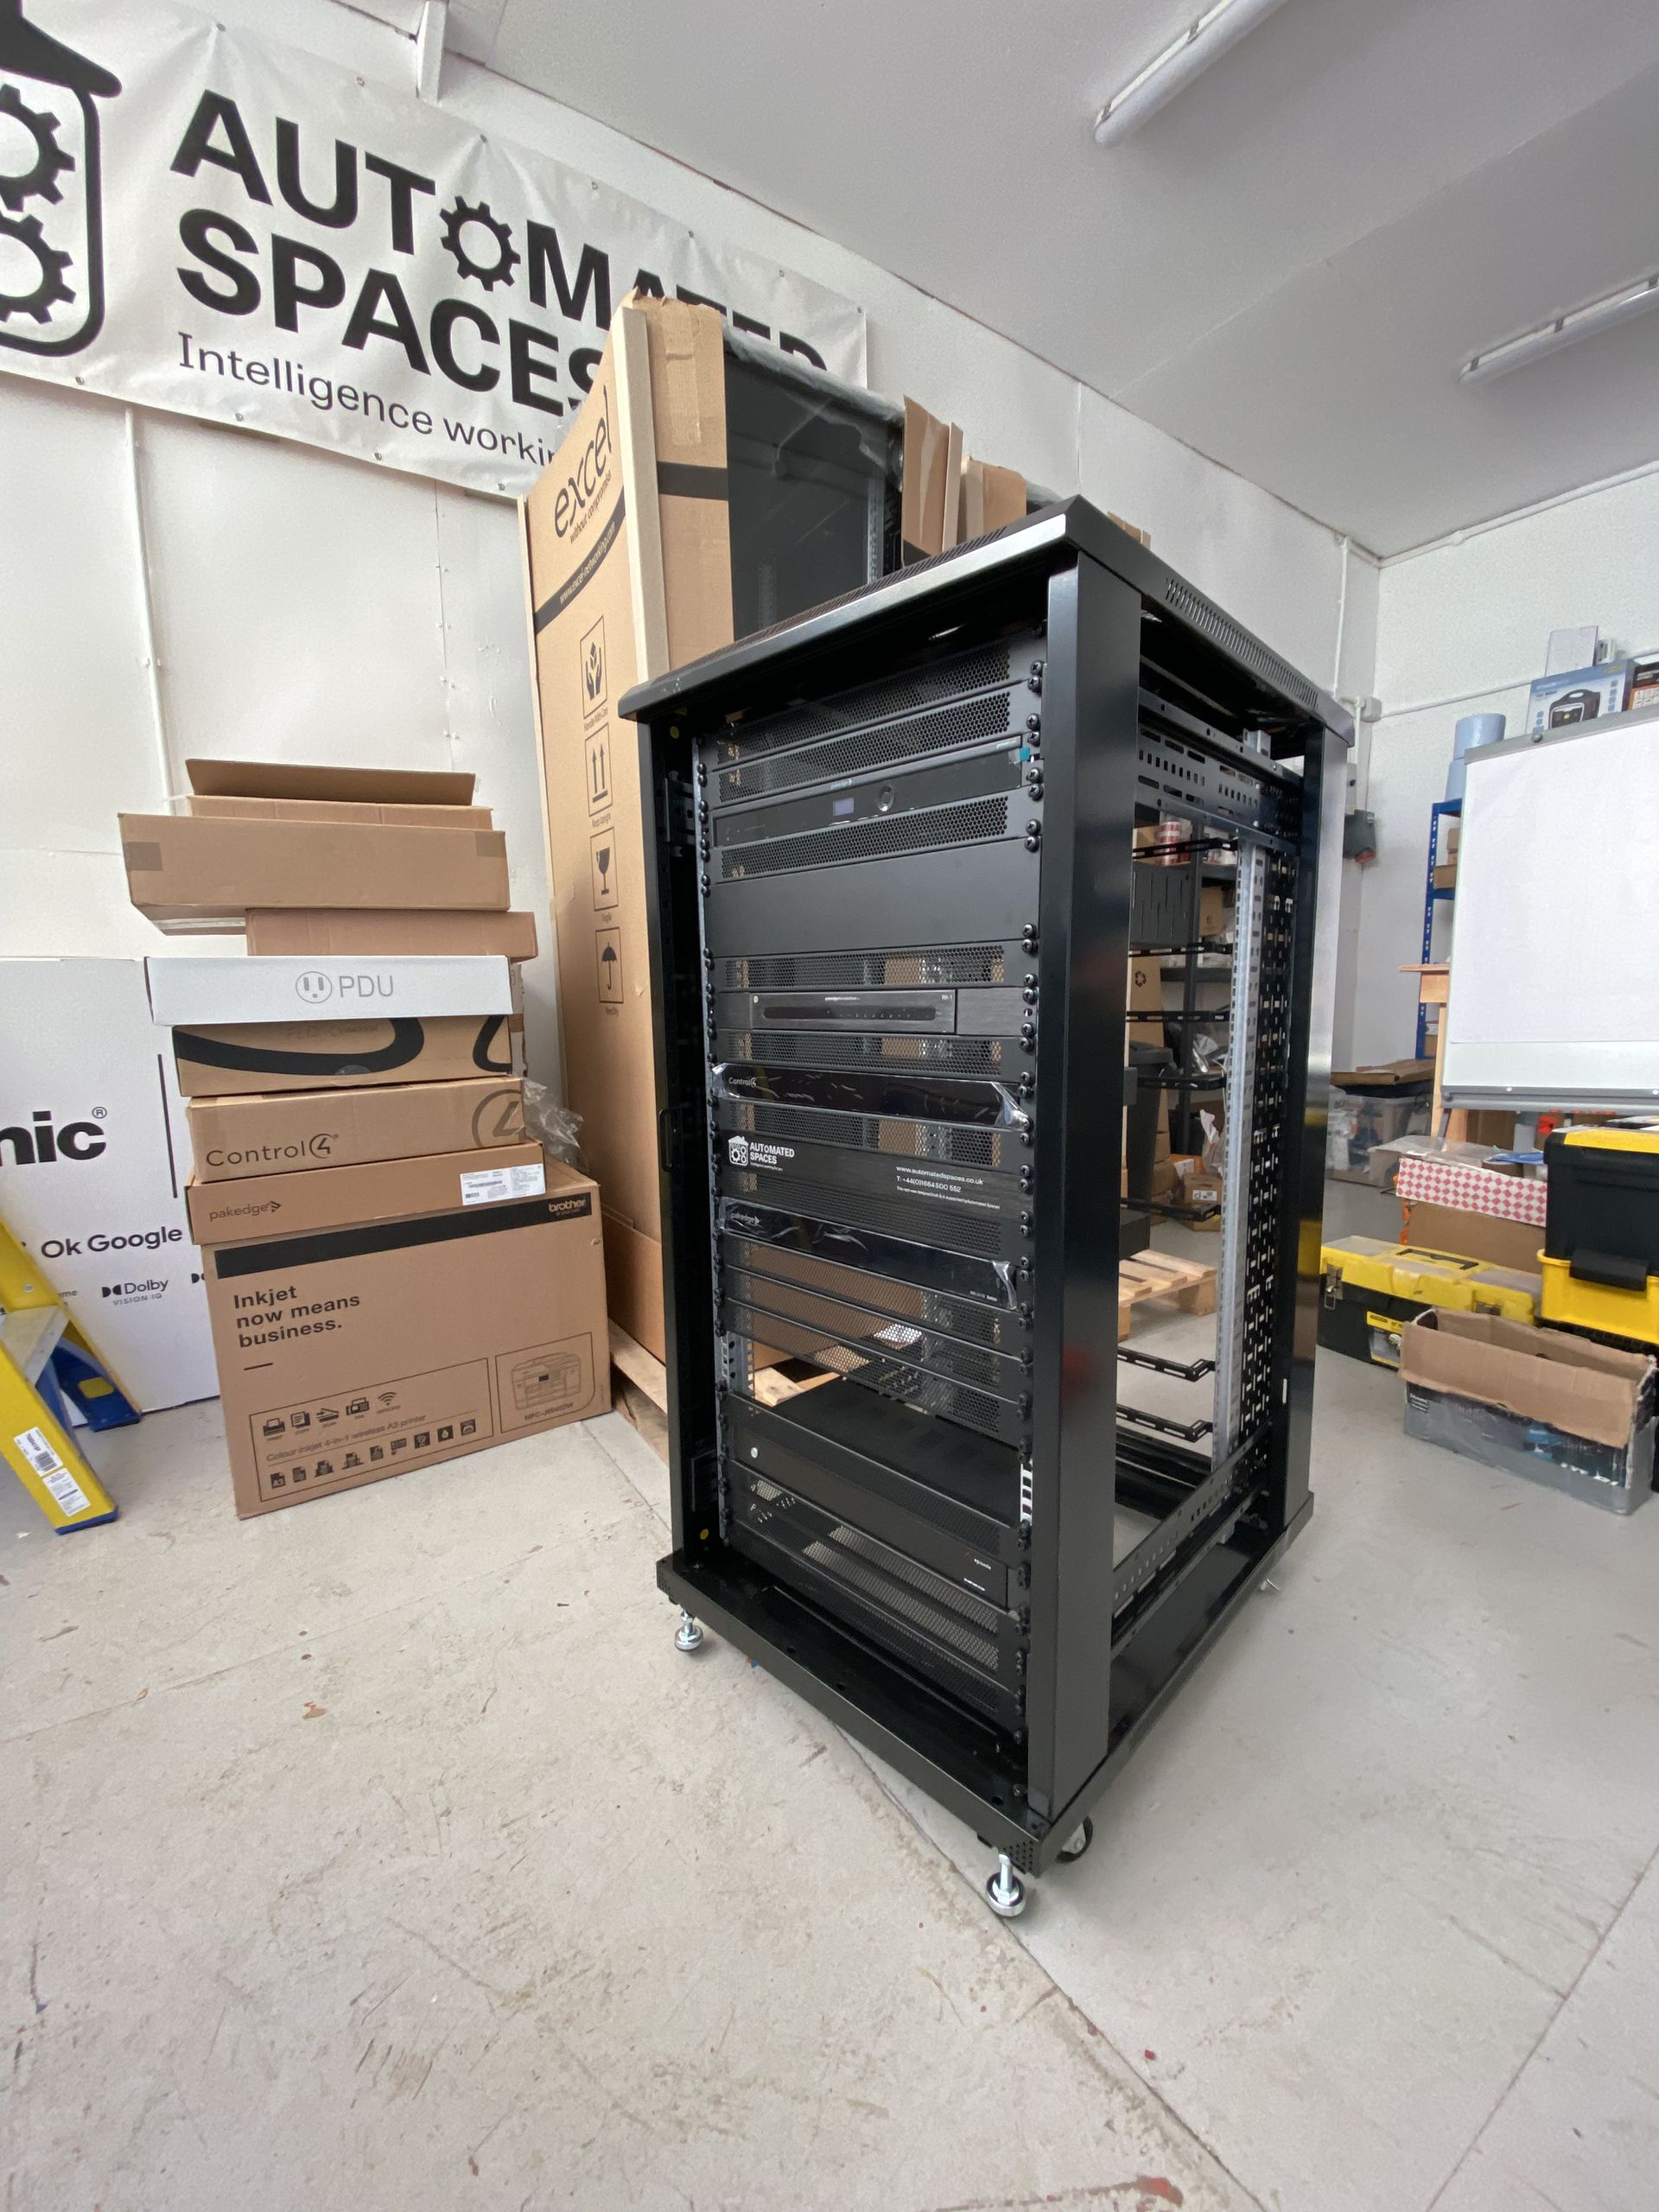
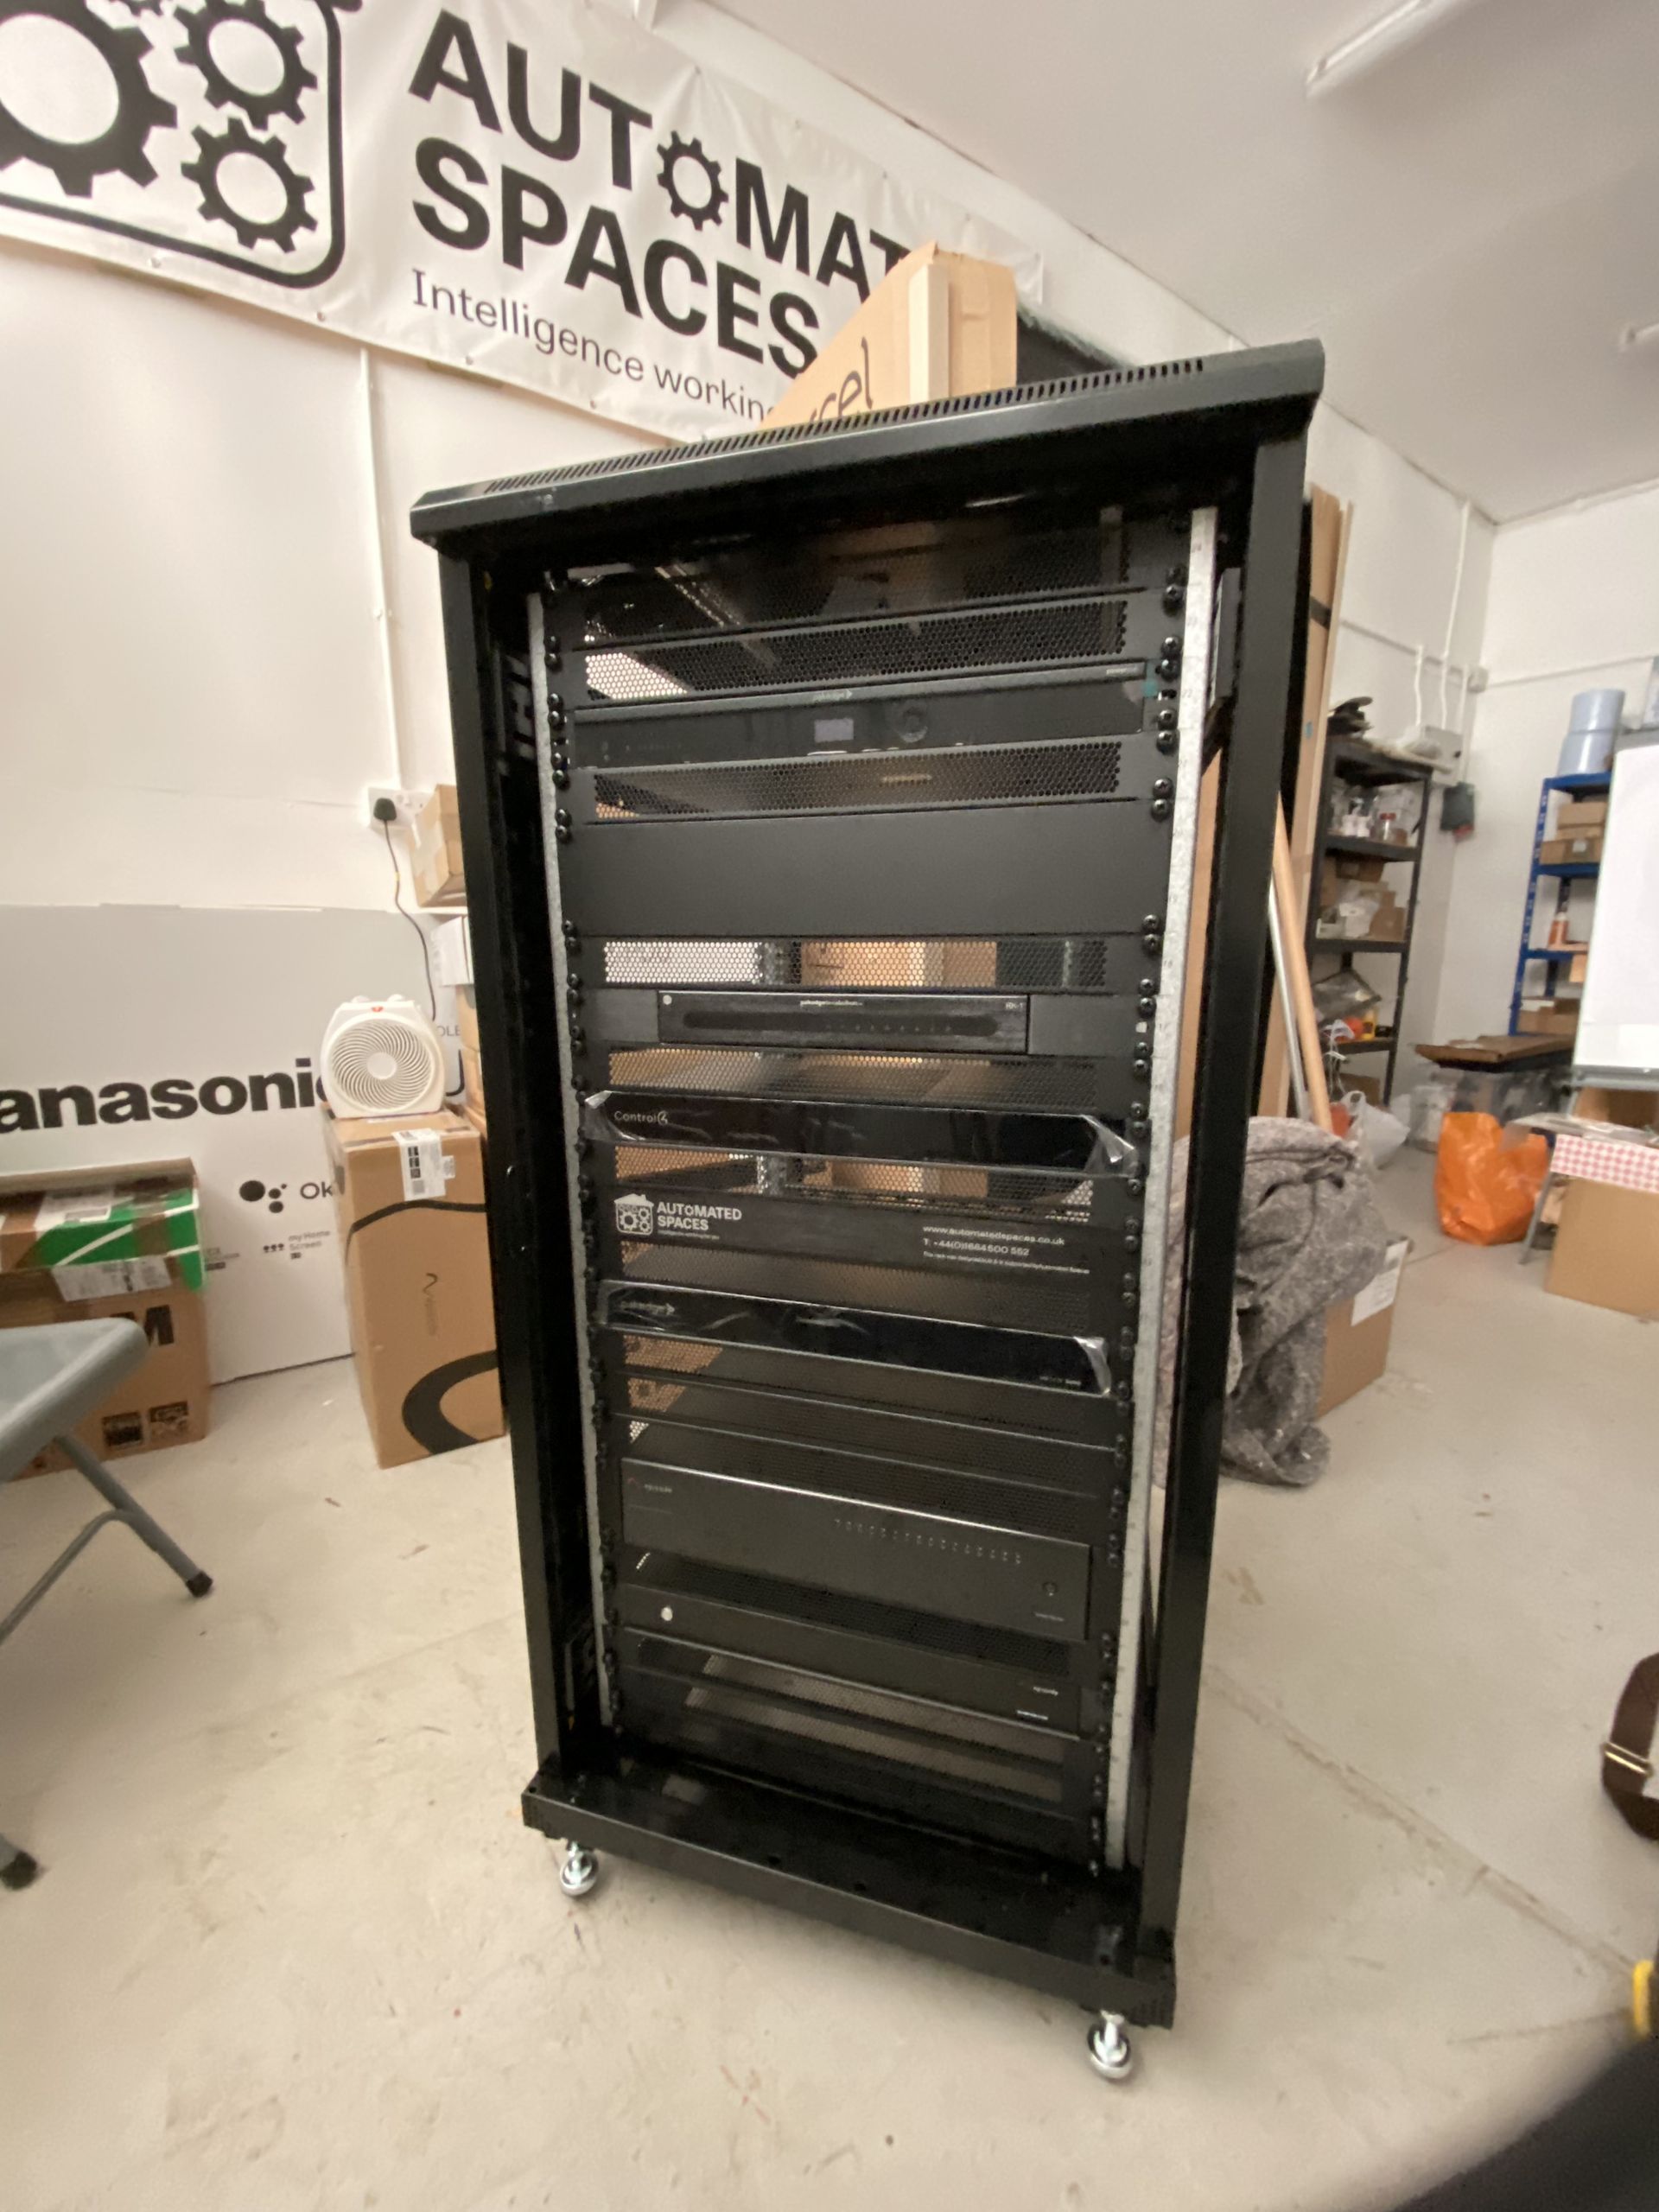
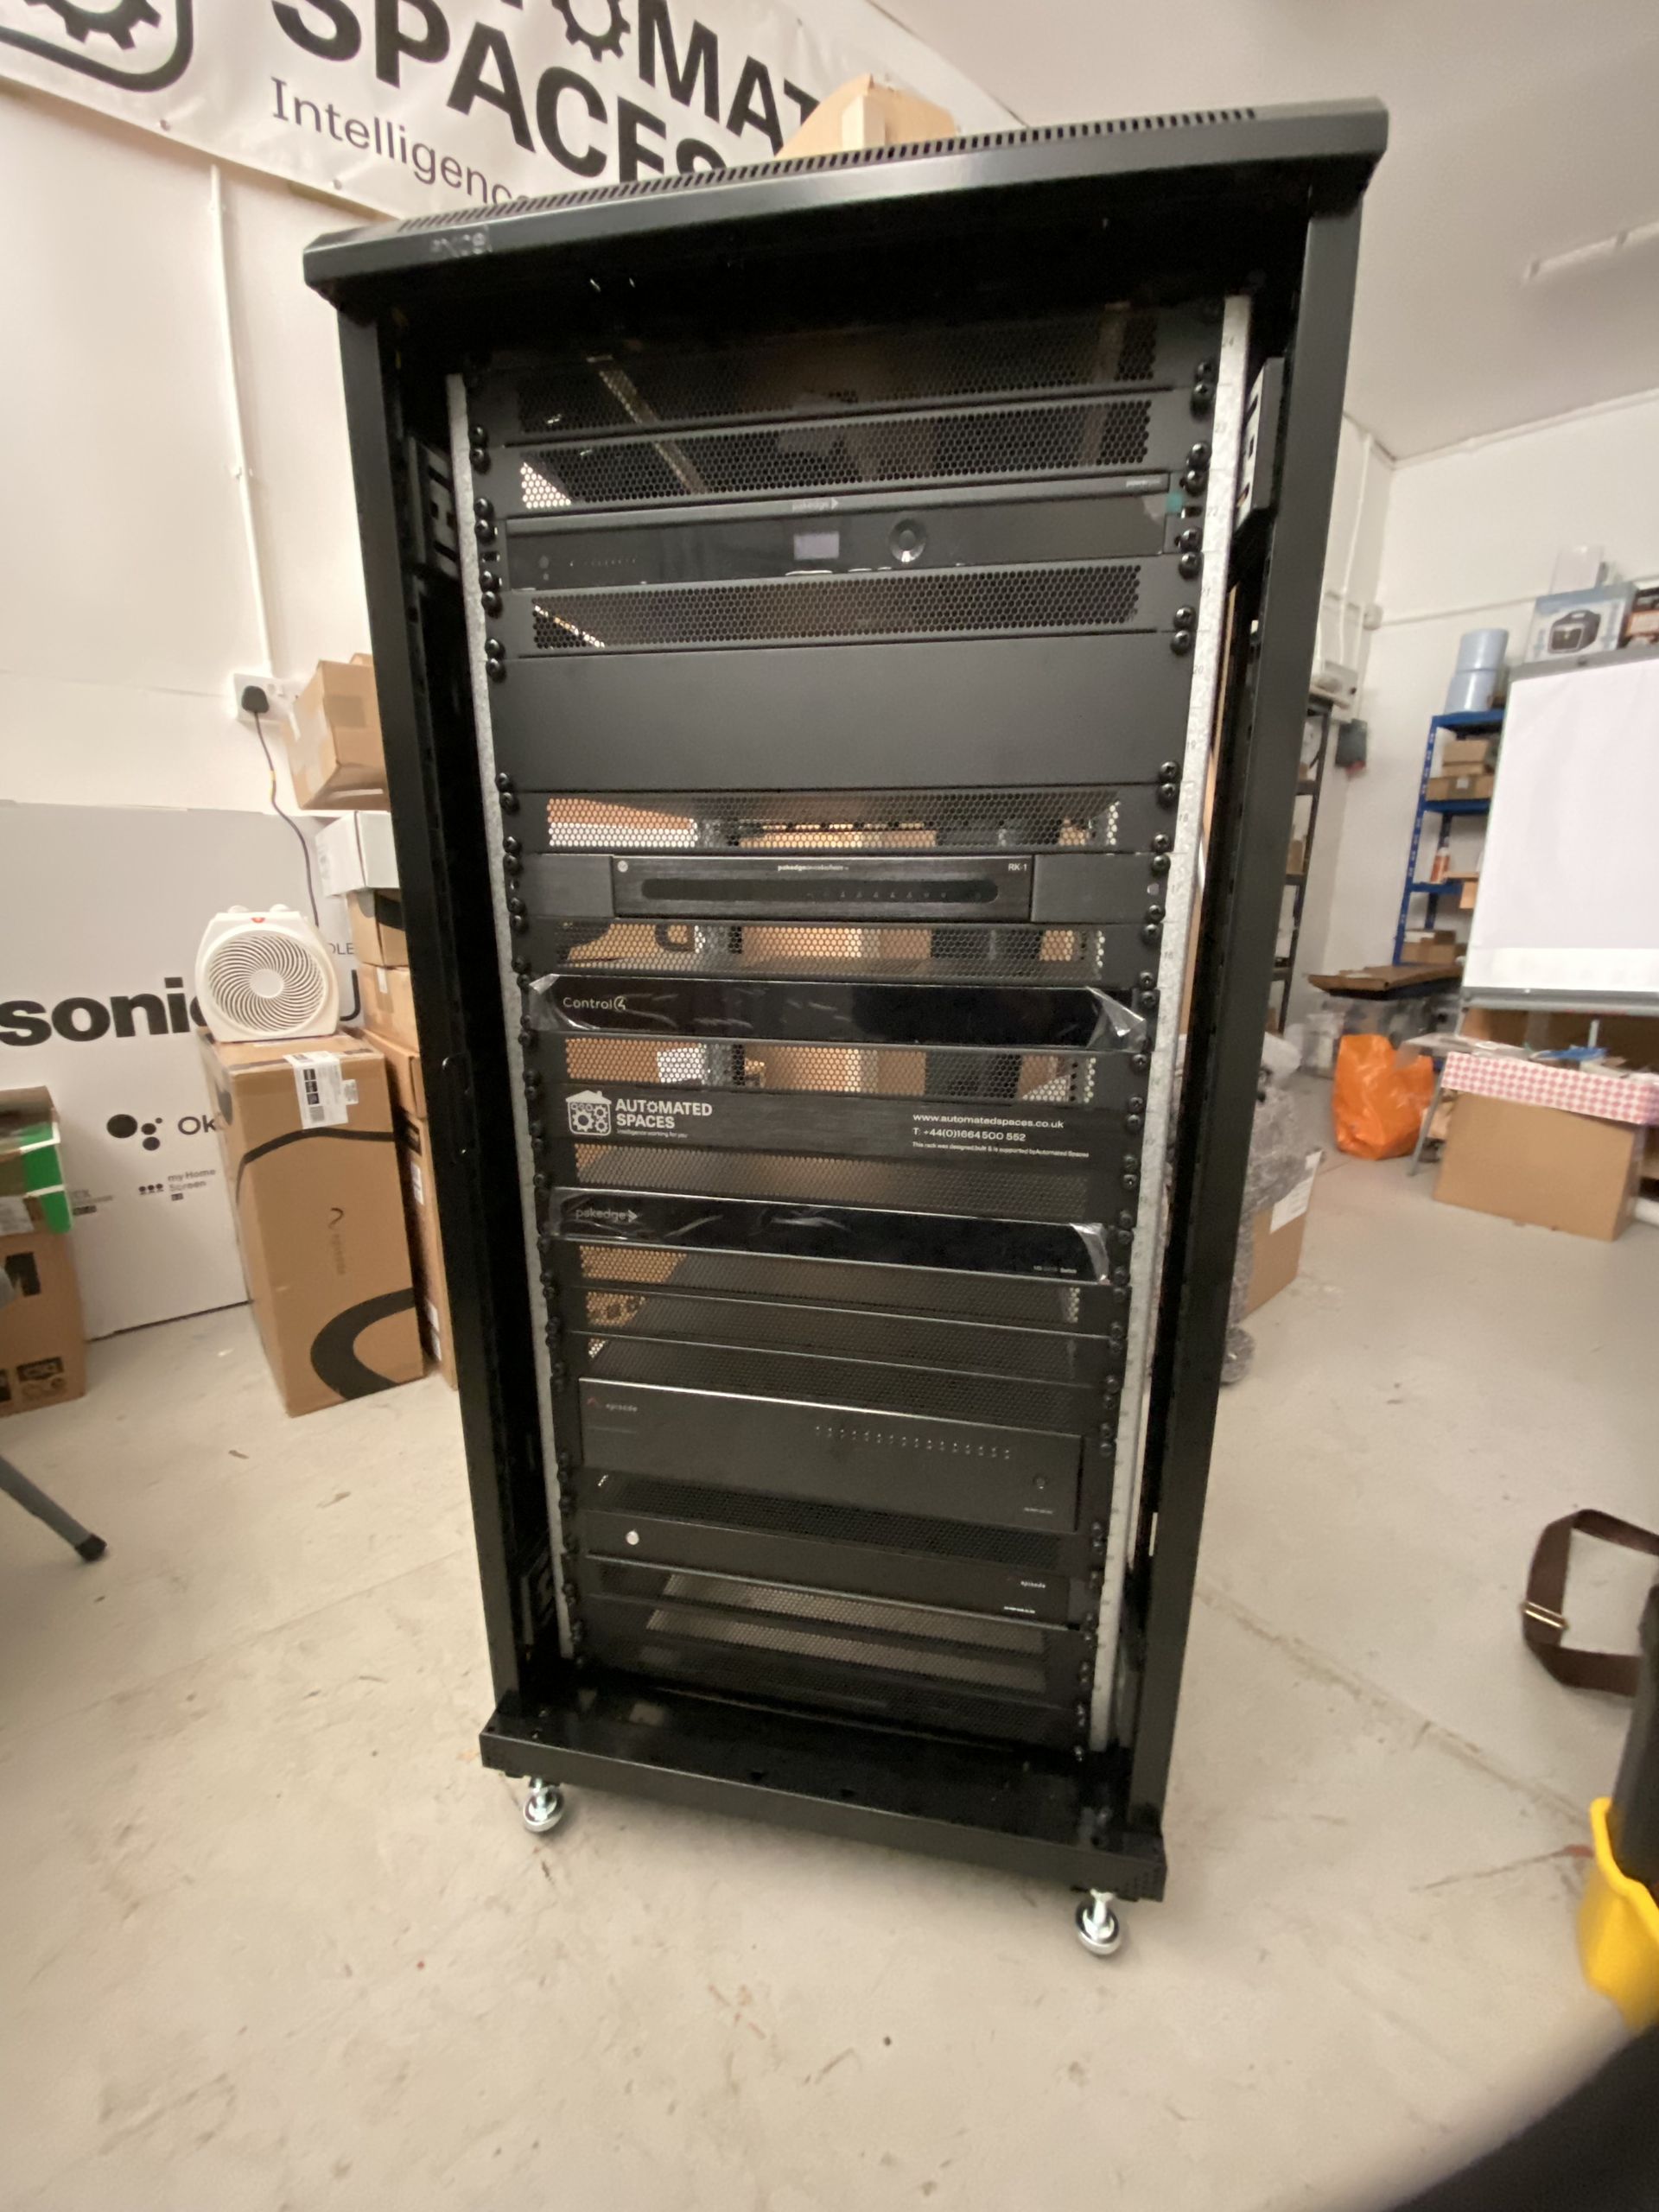
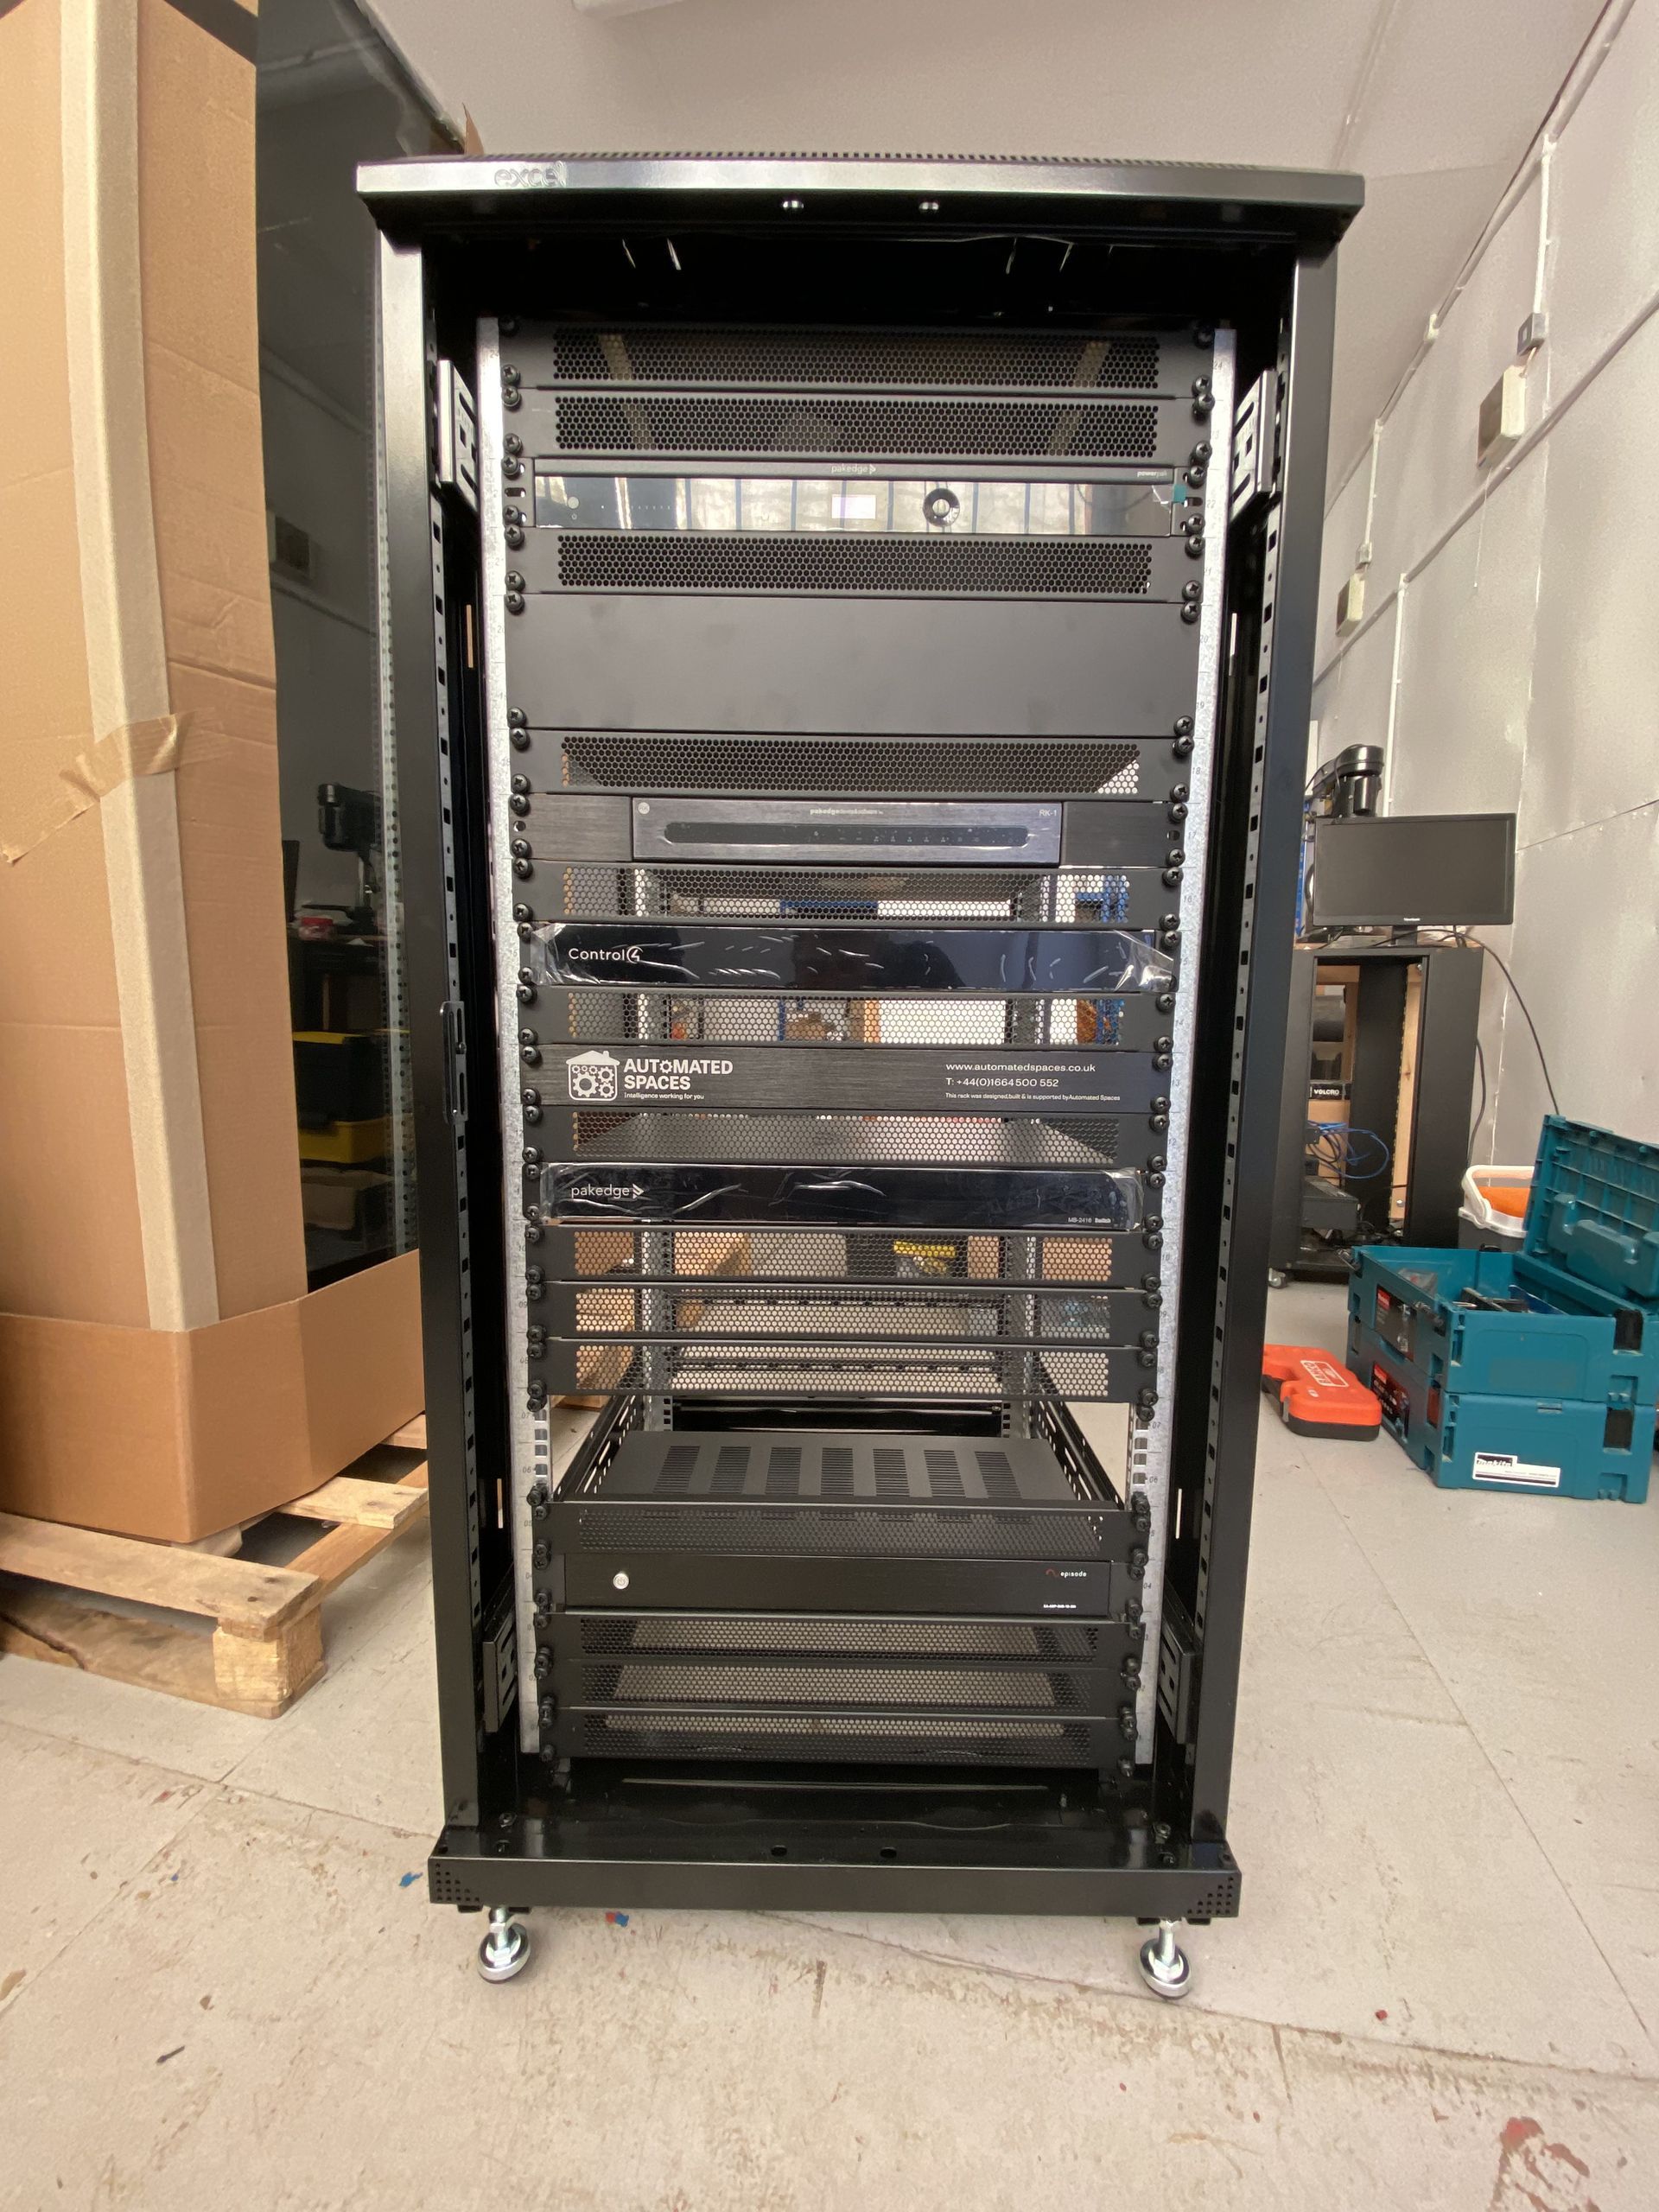
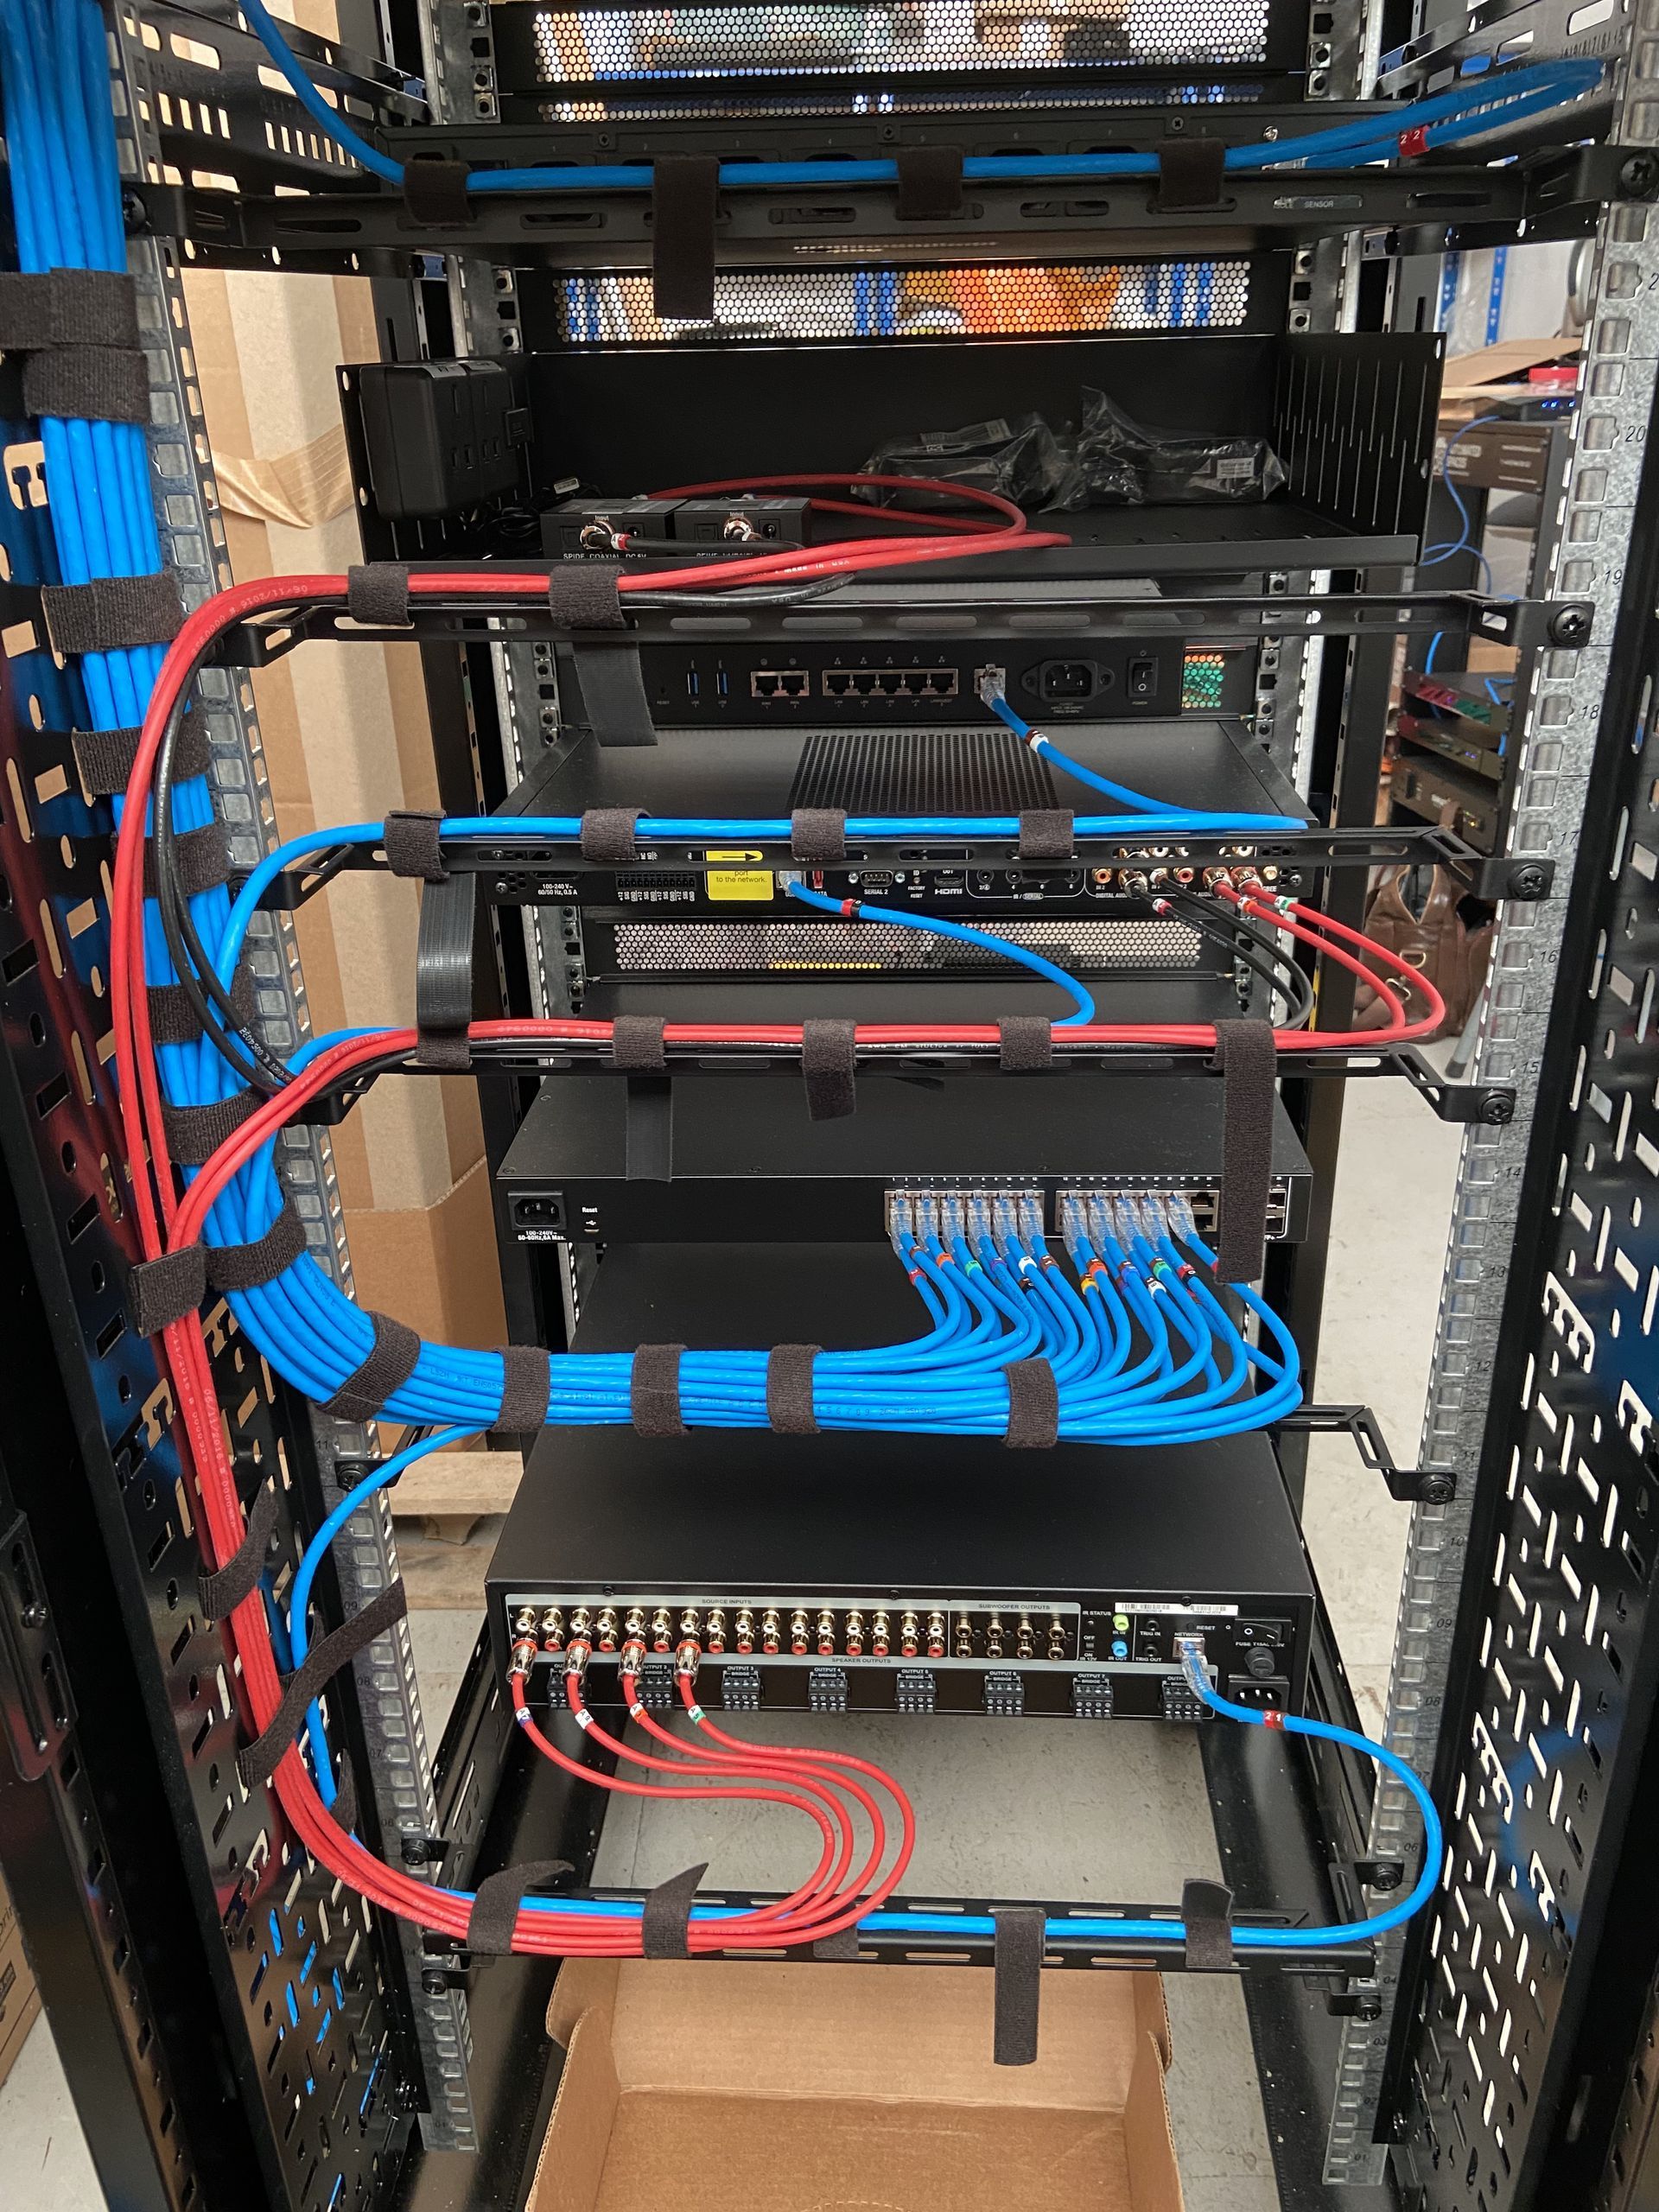
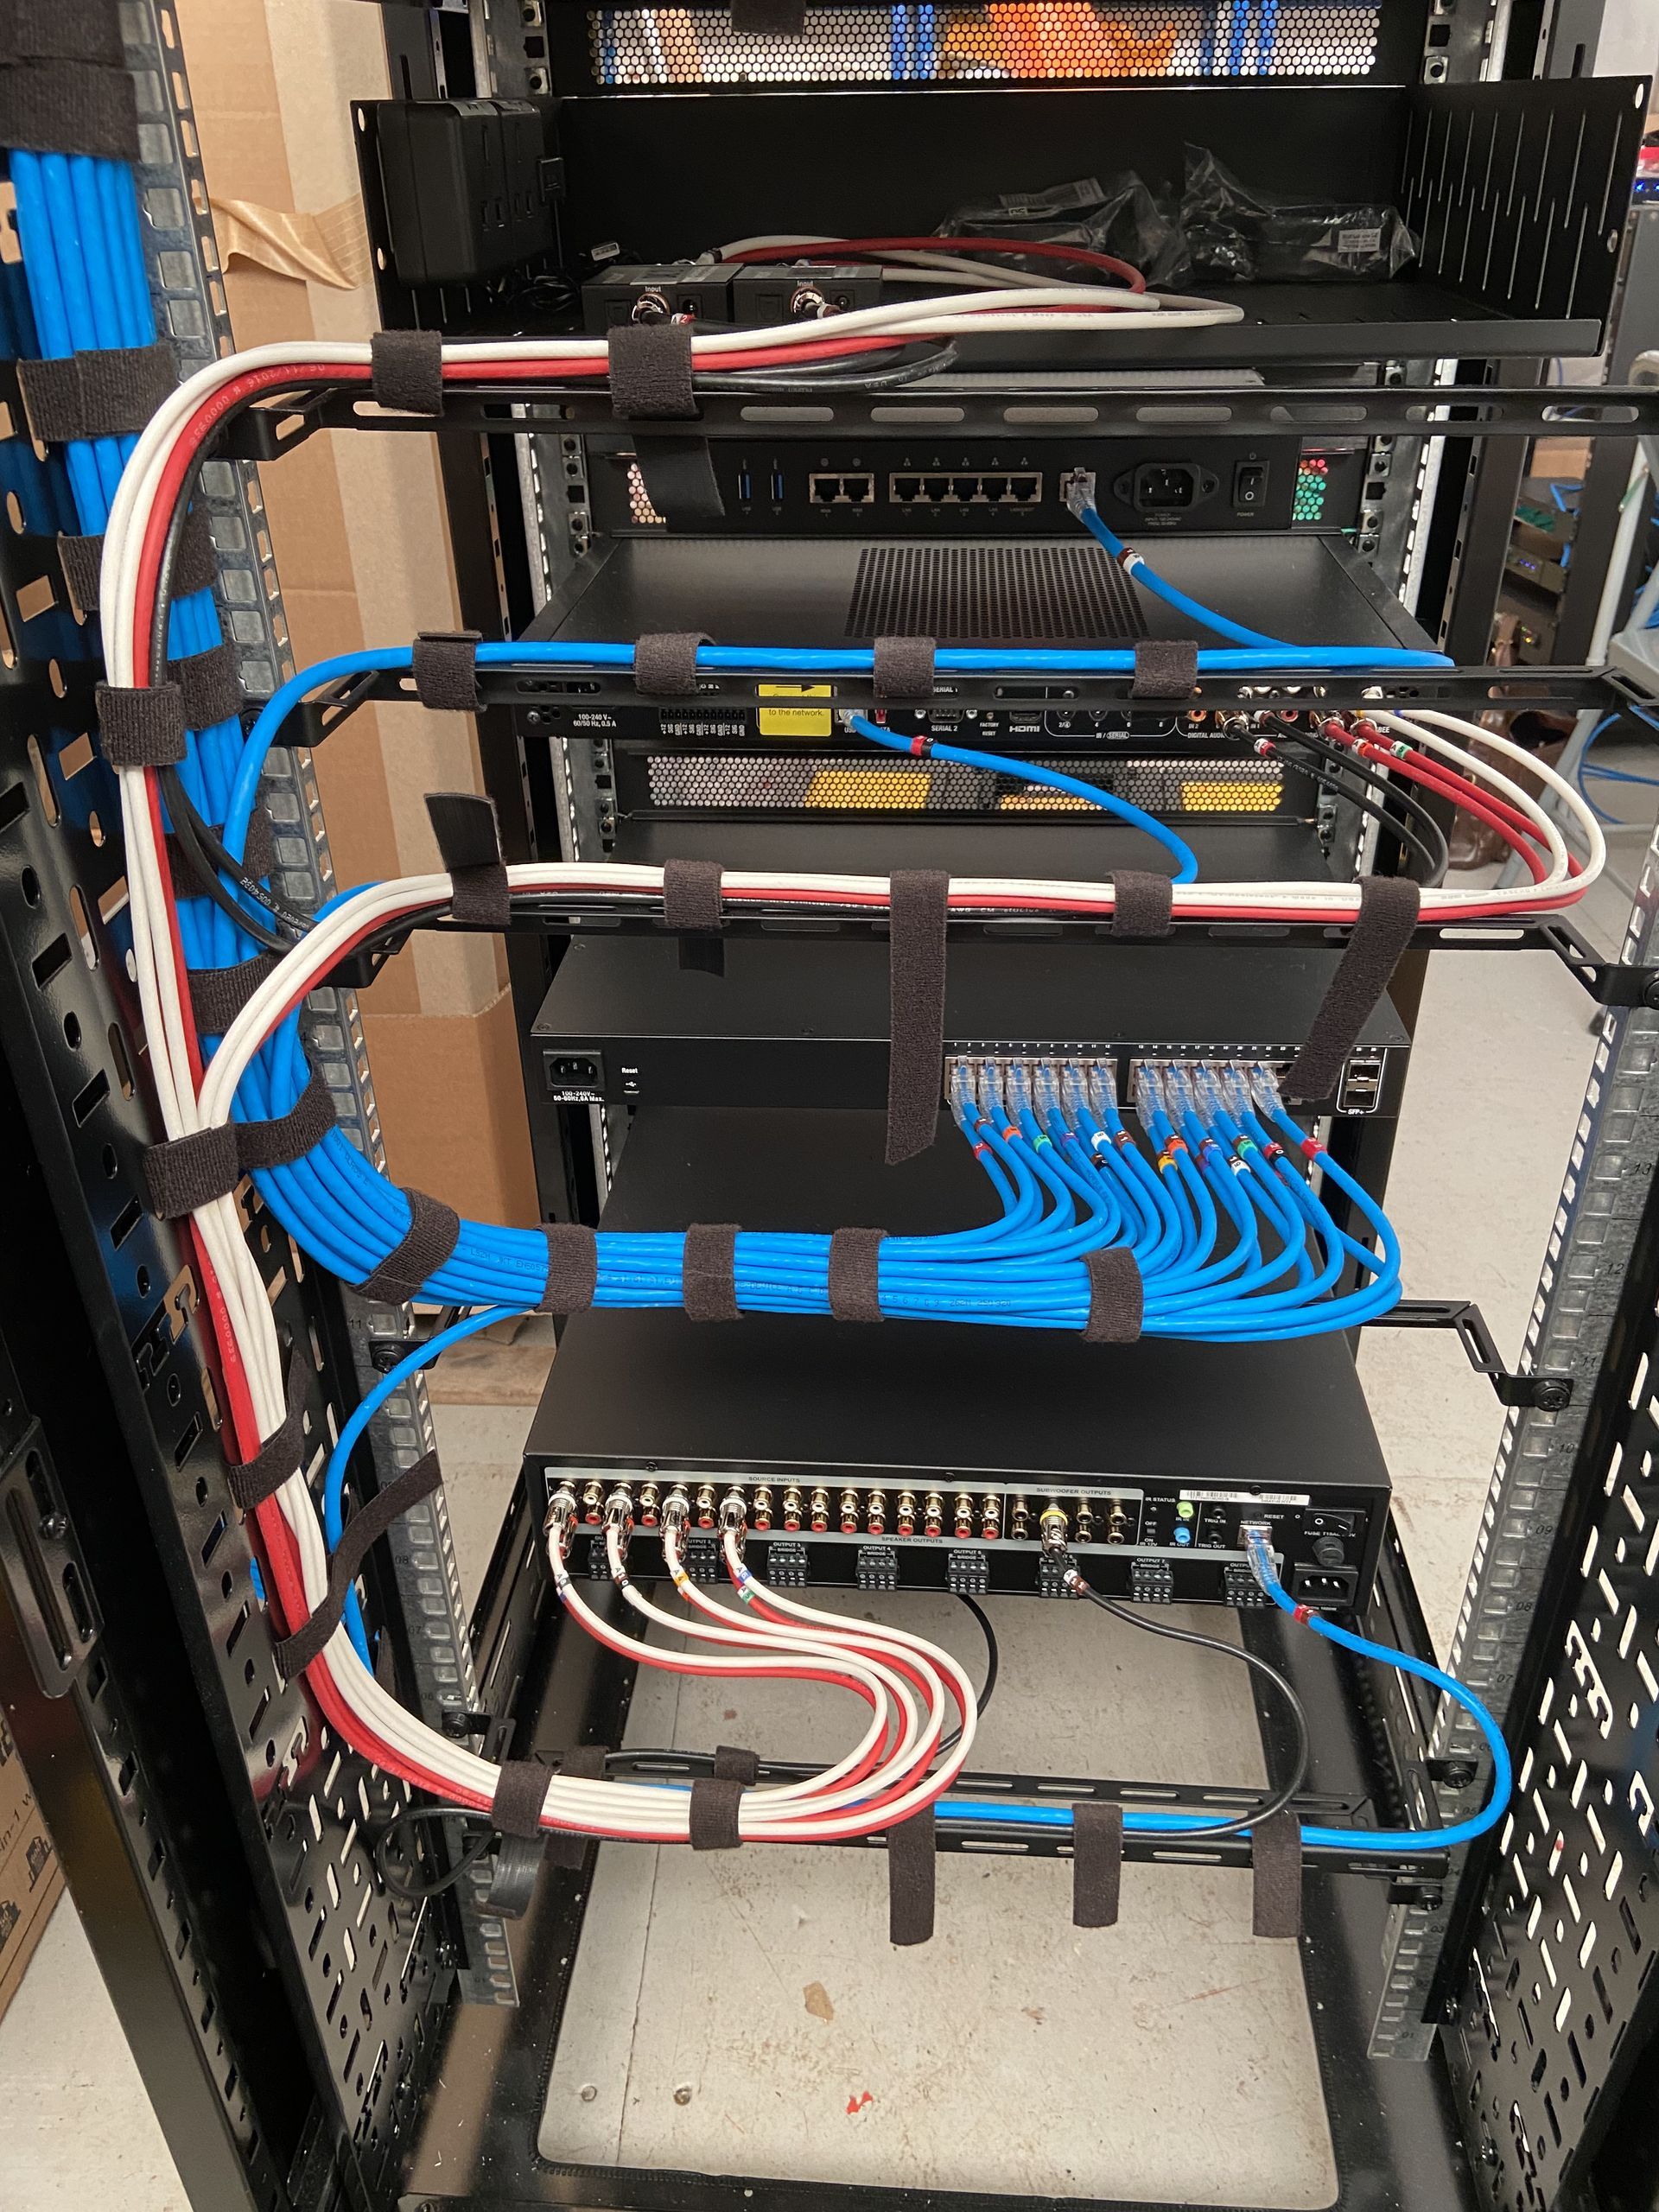
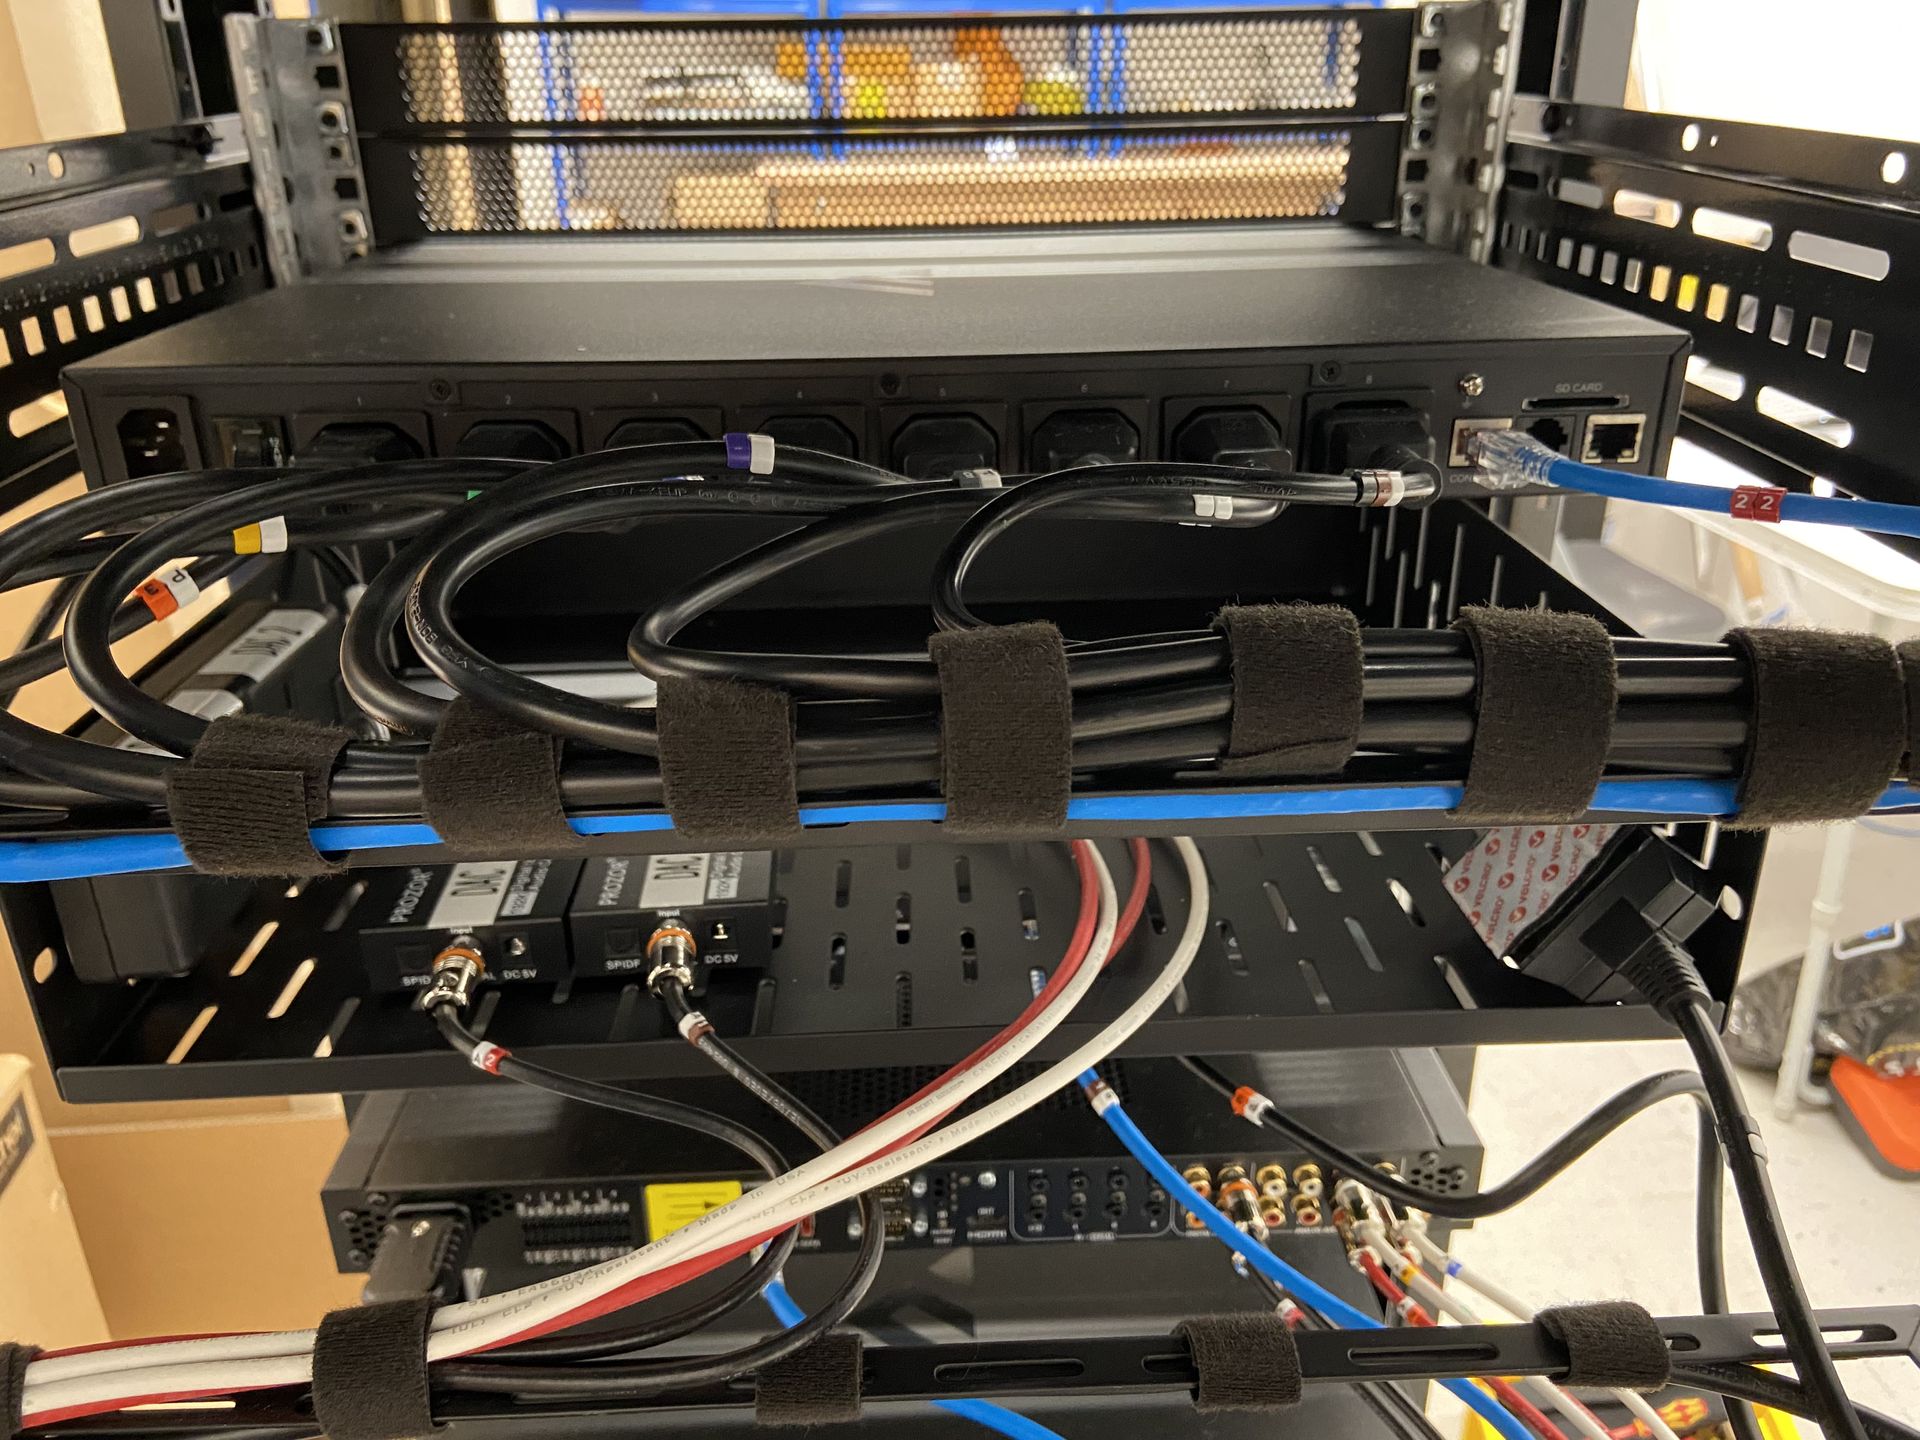
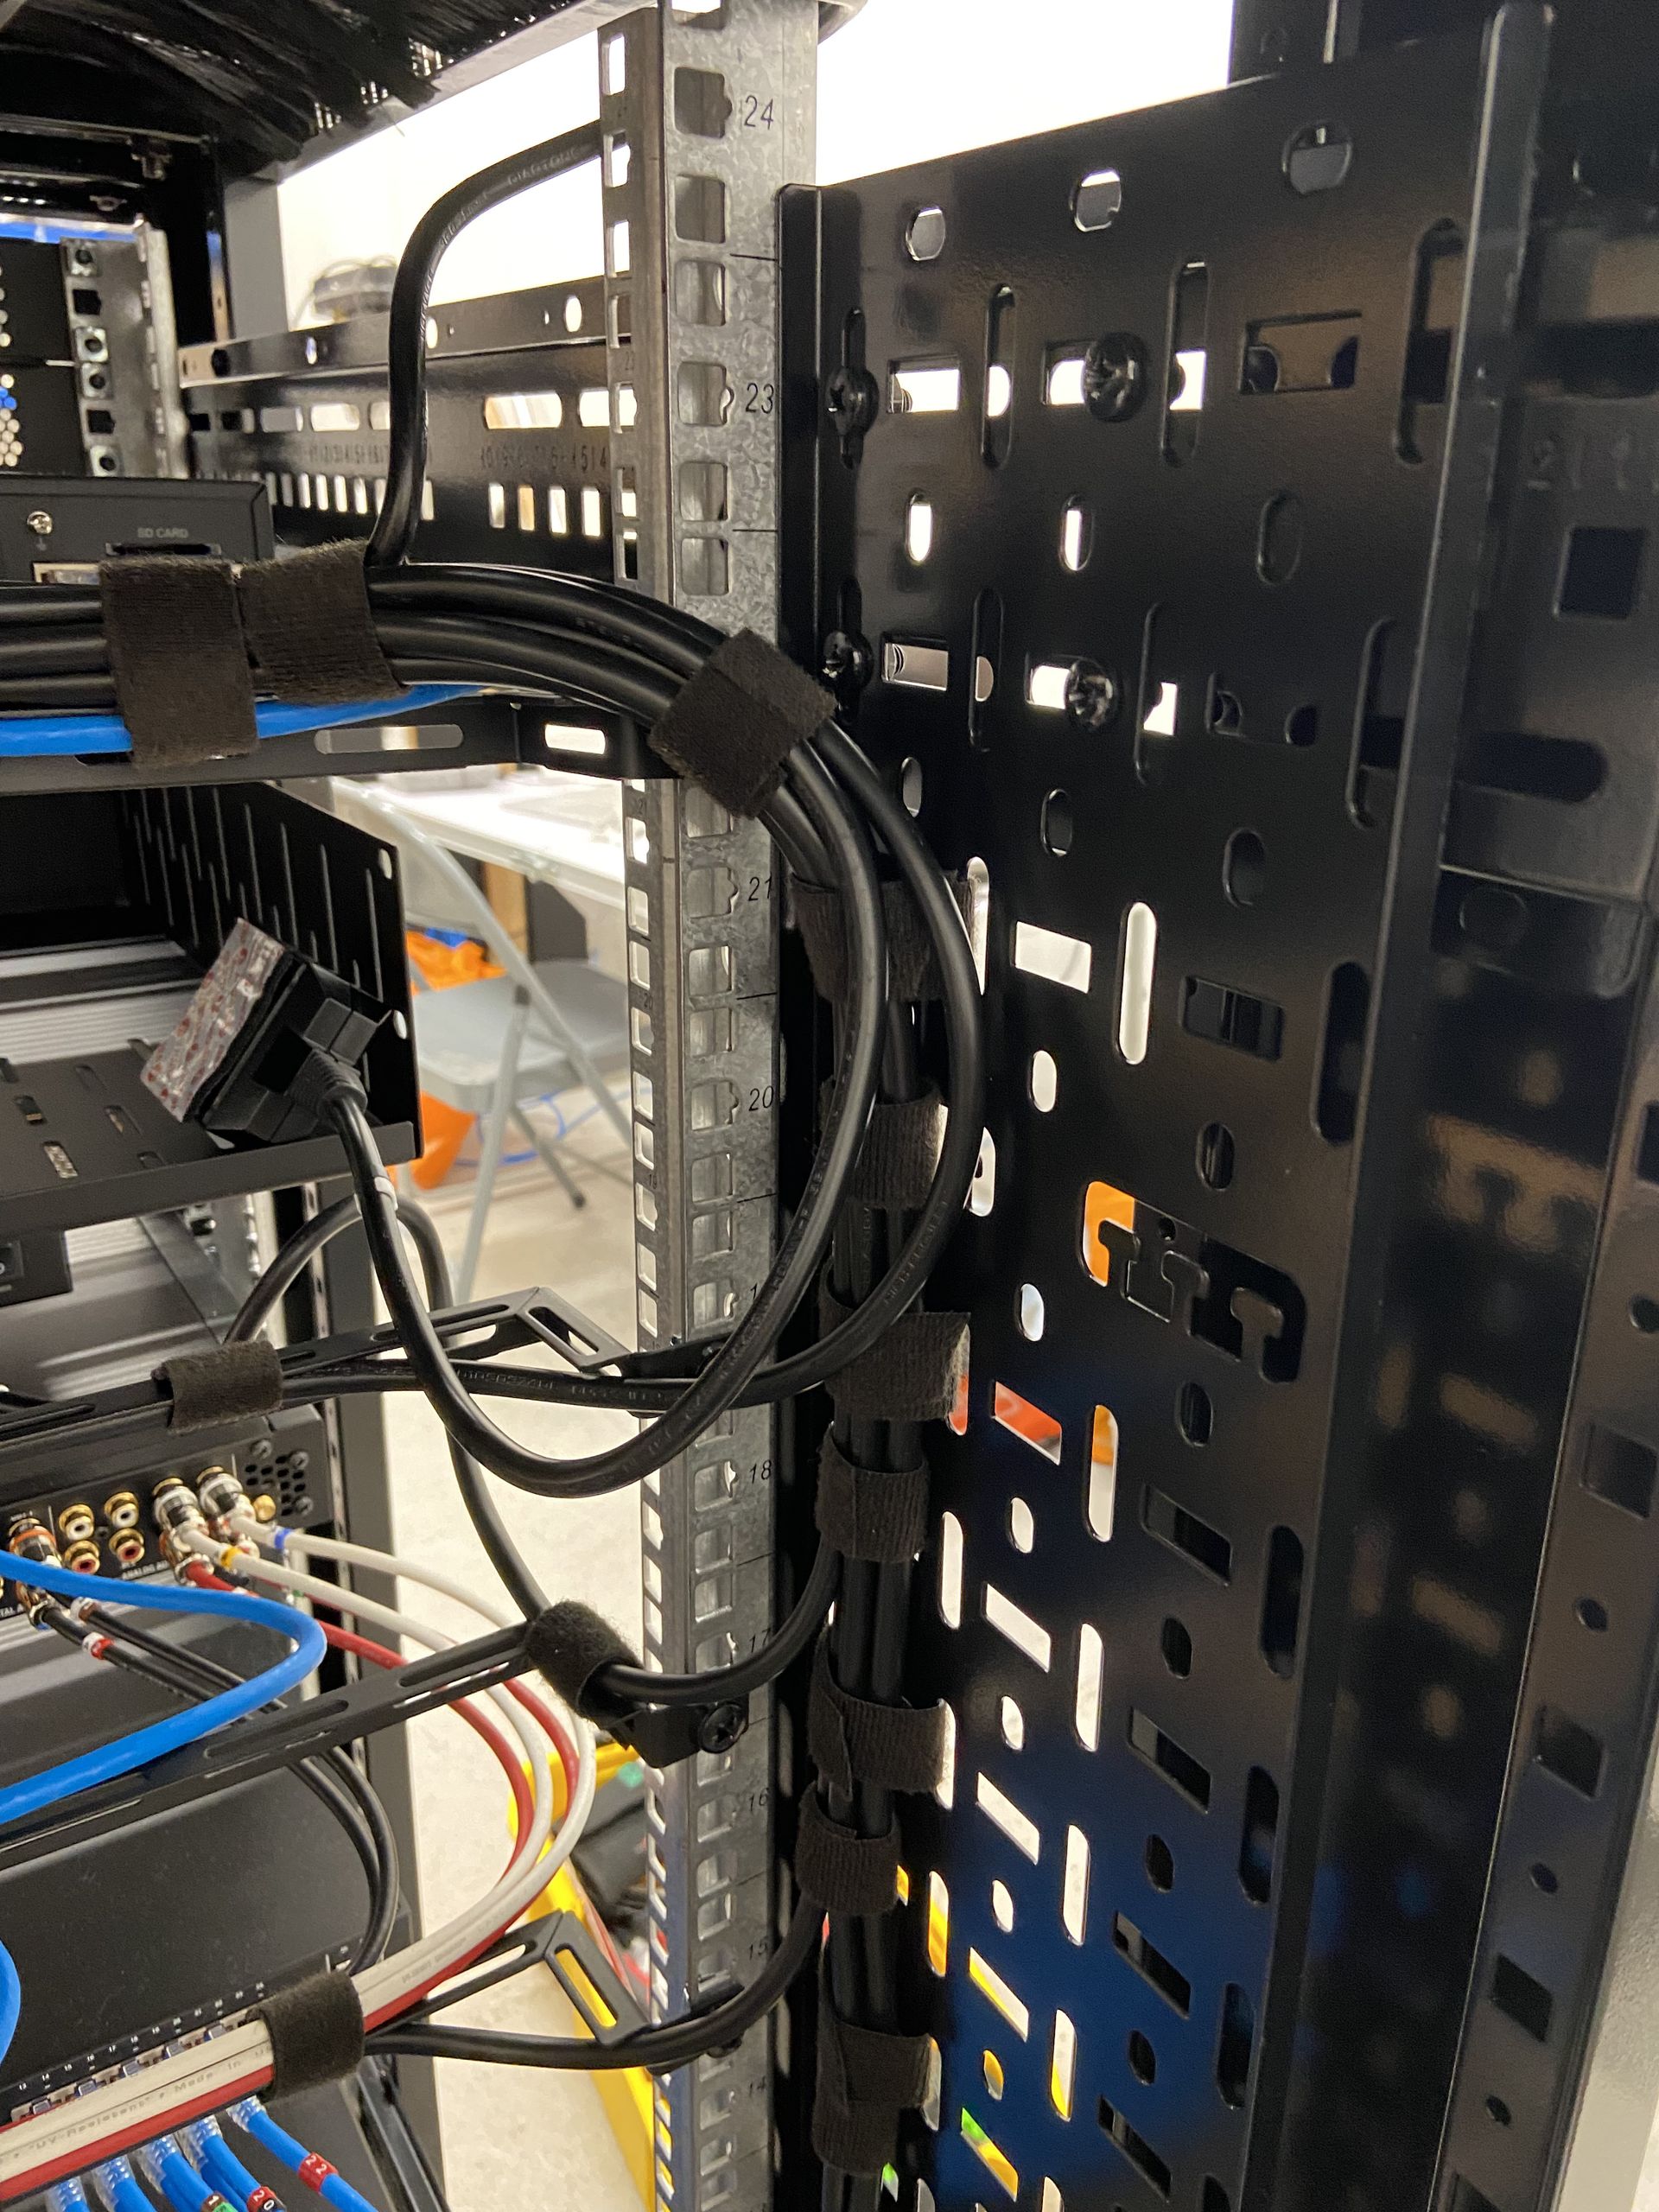
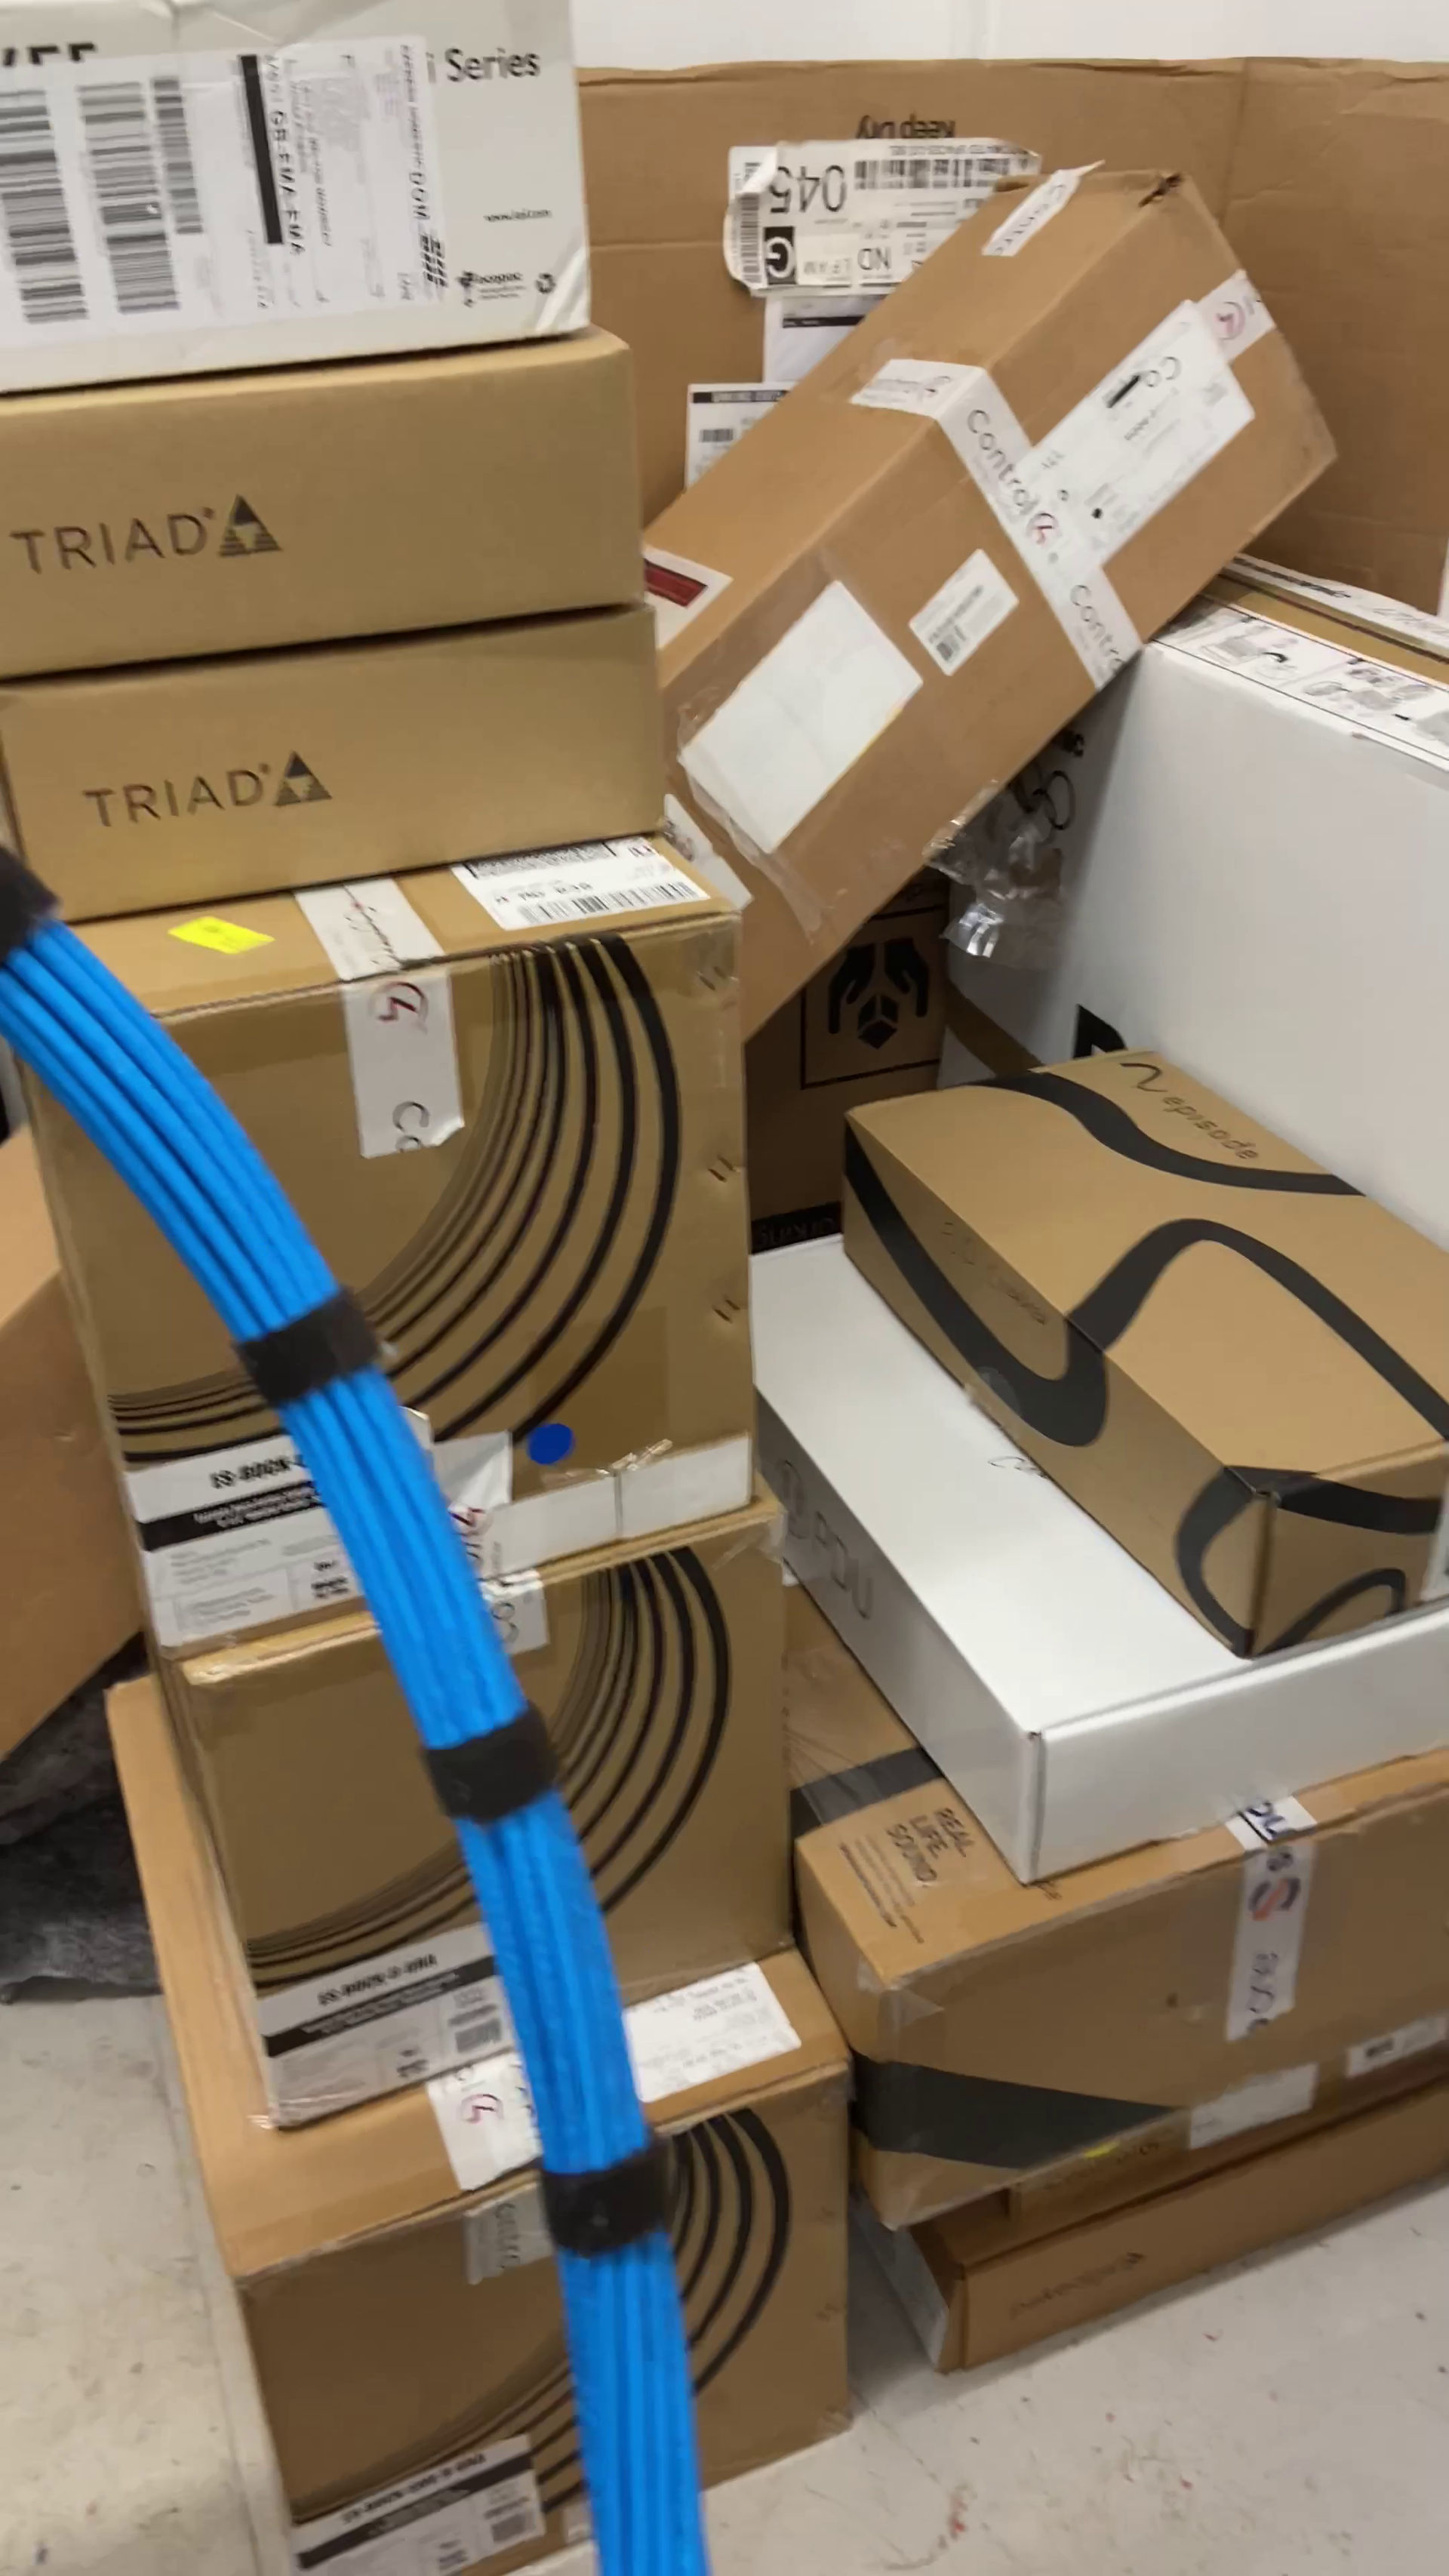
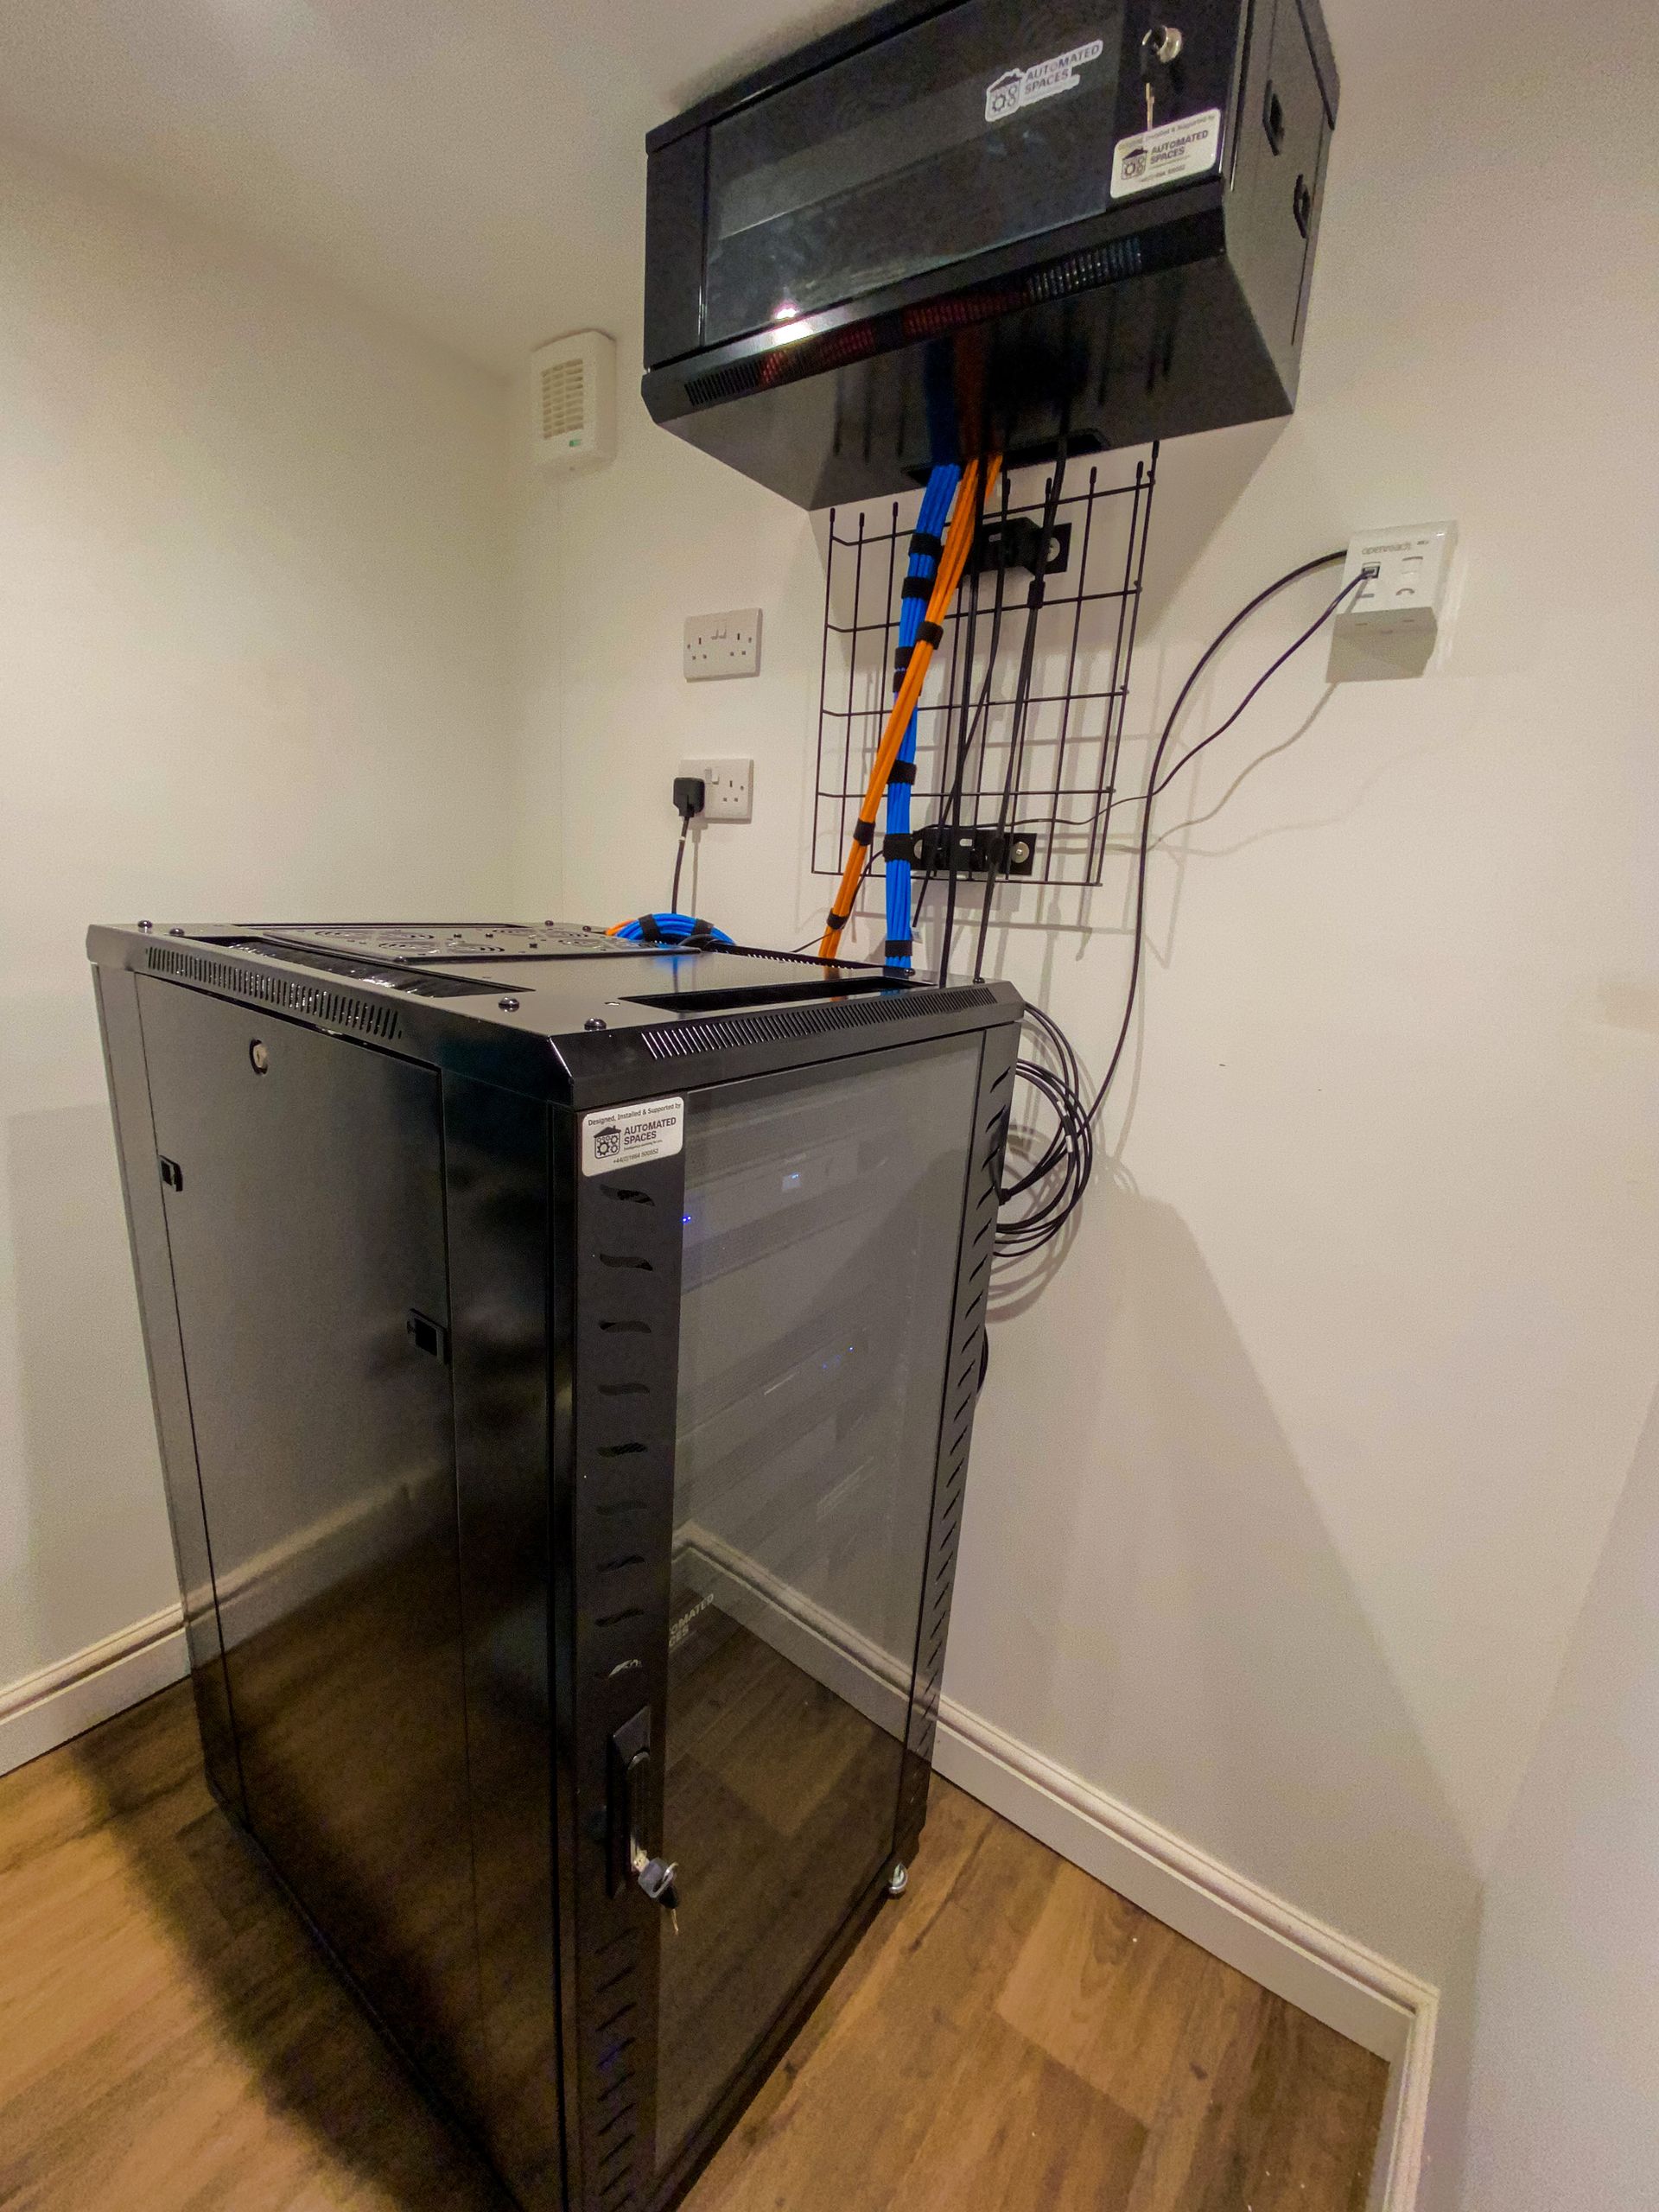
The initial requirements for this project only called for a 24U server rack. Whilst it might only be a relatively smaller rack compared to other larger projects, as we do with all our projects no matter the scale of the implementation, we utilised all the best practices we have adopted as a company when building any rack.
If we do something...no matter the size...we do it right!
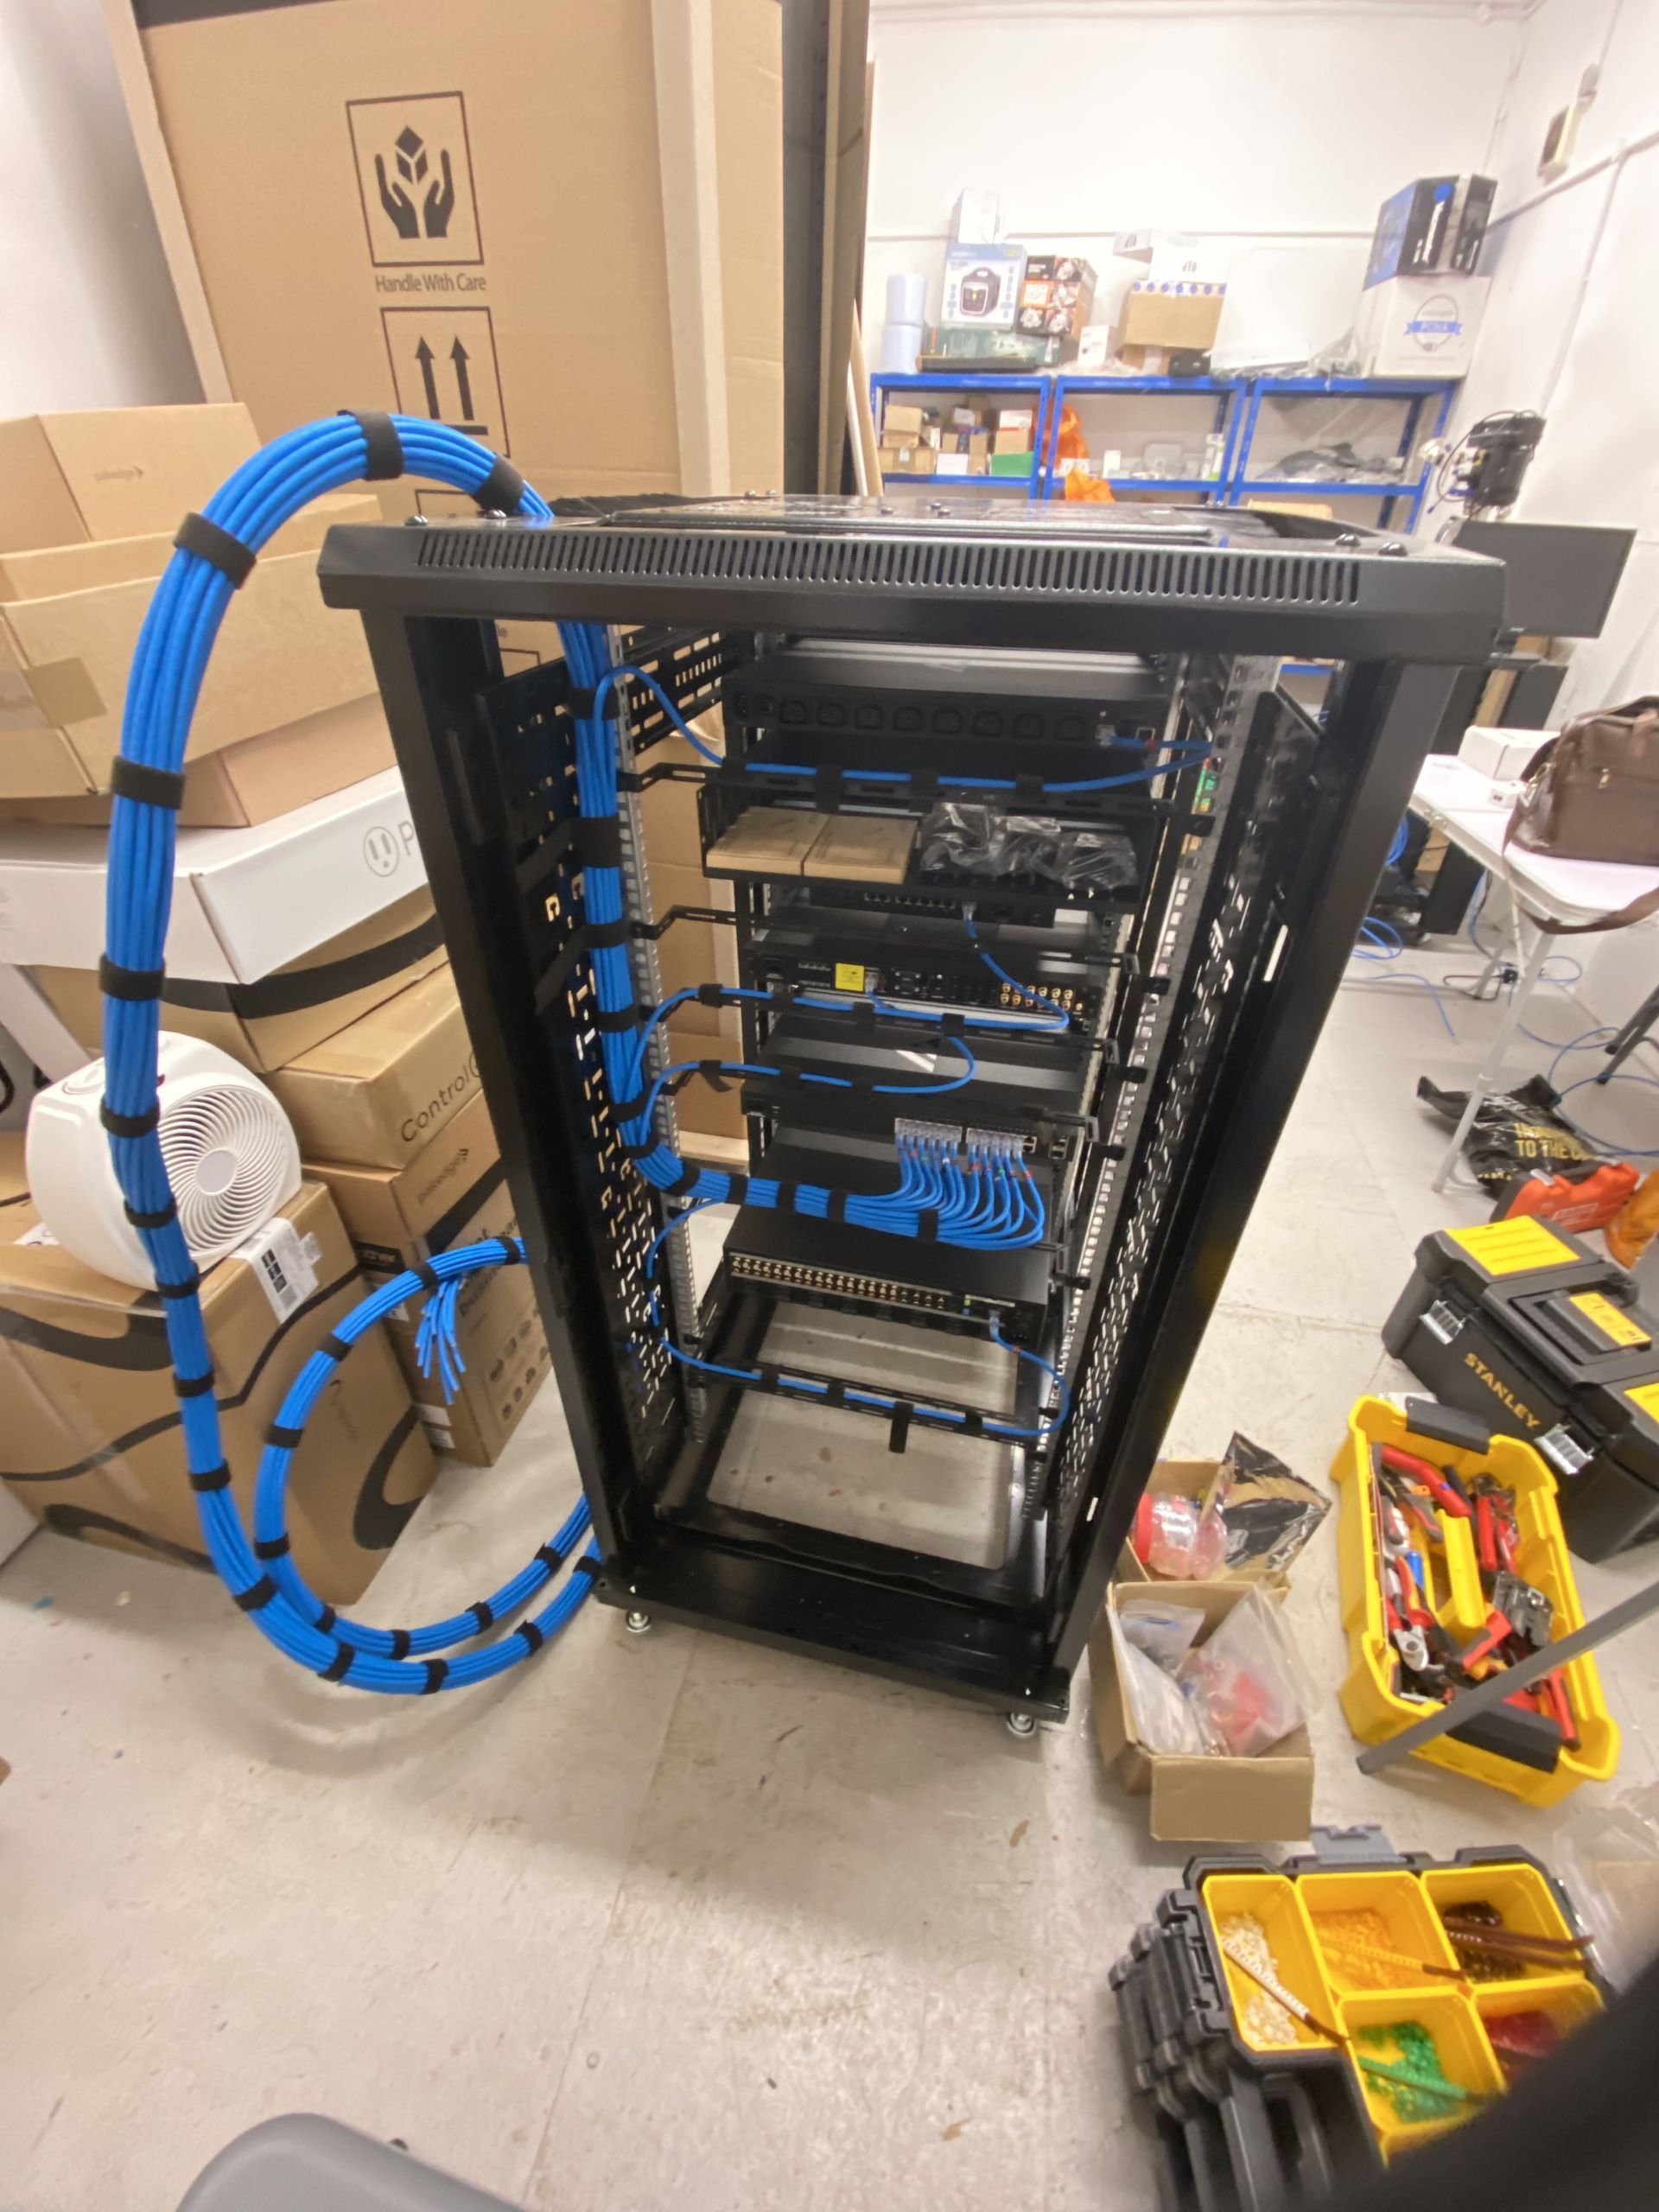
The 2nd Fix construction phase, at a client site, is typically when the site environment is the dustiest, has lots of sources of water present, has the most inconsistent power provision with frequent planned and unplanned power outages and has the highest amount of physical other trades people onsite moving around materials and tools.
So, our preferred approach is always to build racks away from the client site at one of our facilities.
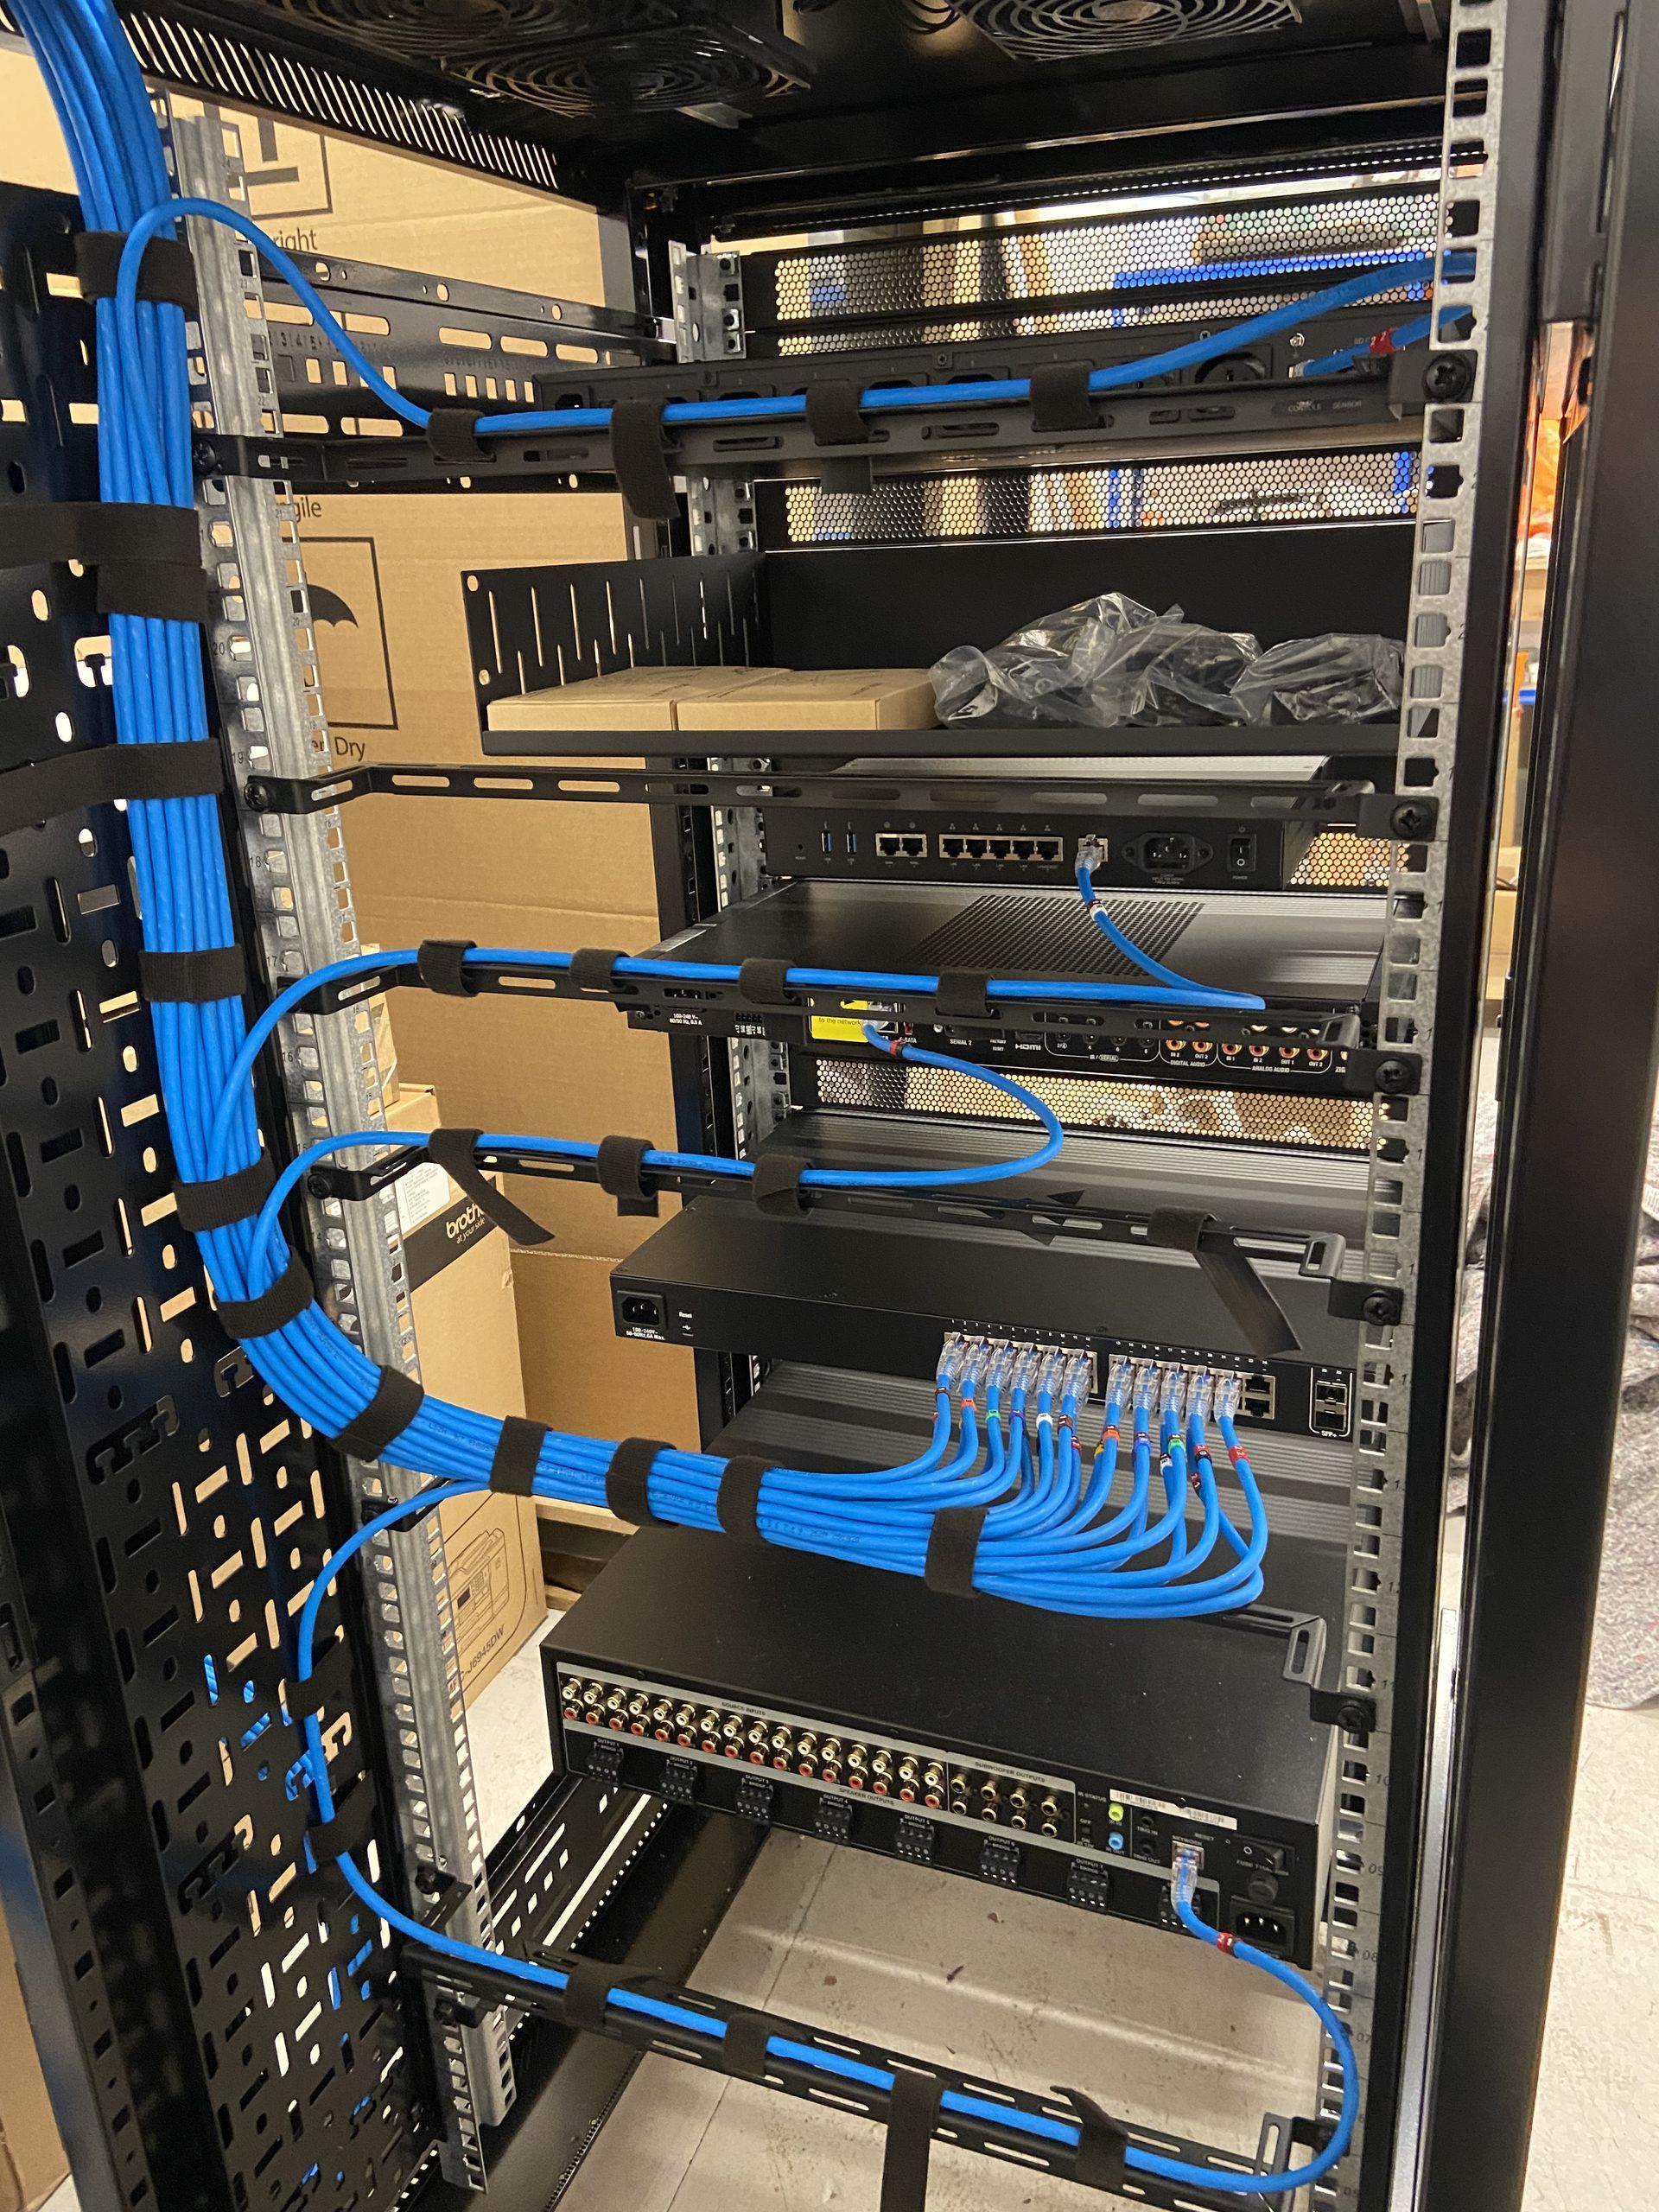
We adhere to industry best practice with regards to rack design and building including many of the Rack Building for Audiovisual Systems AVIXA Standard (F502.01:2018).
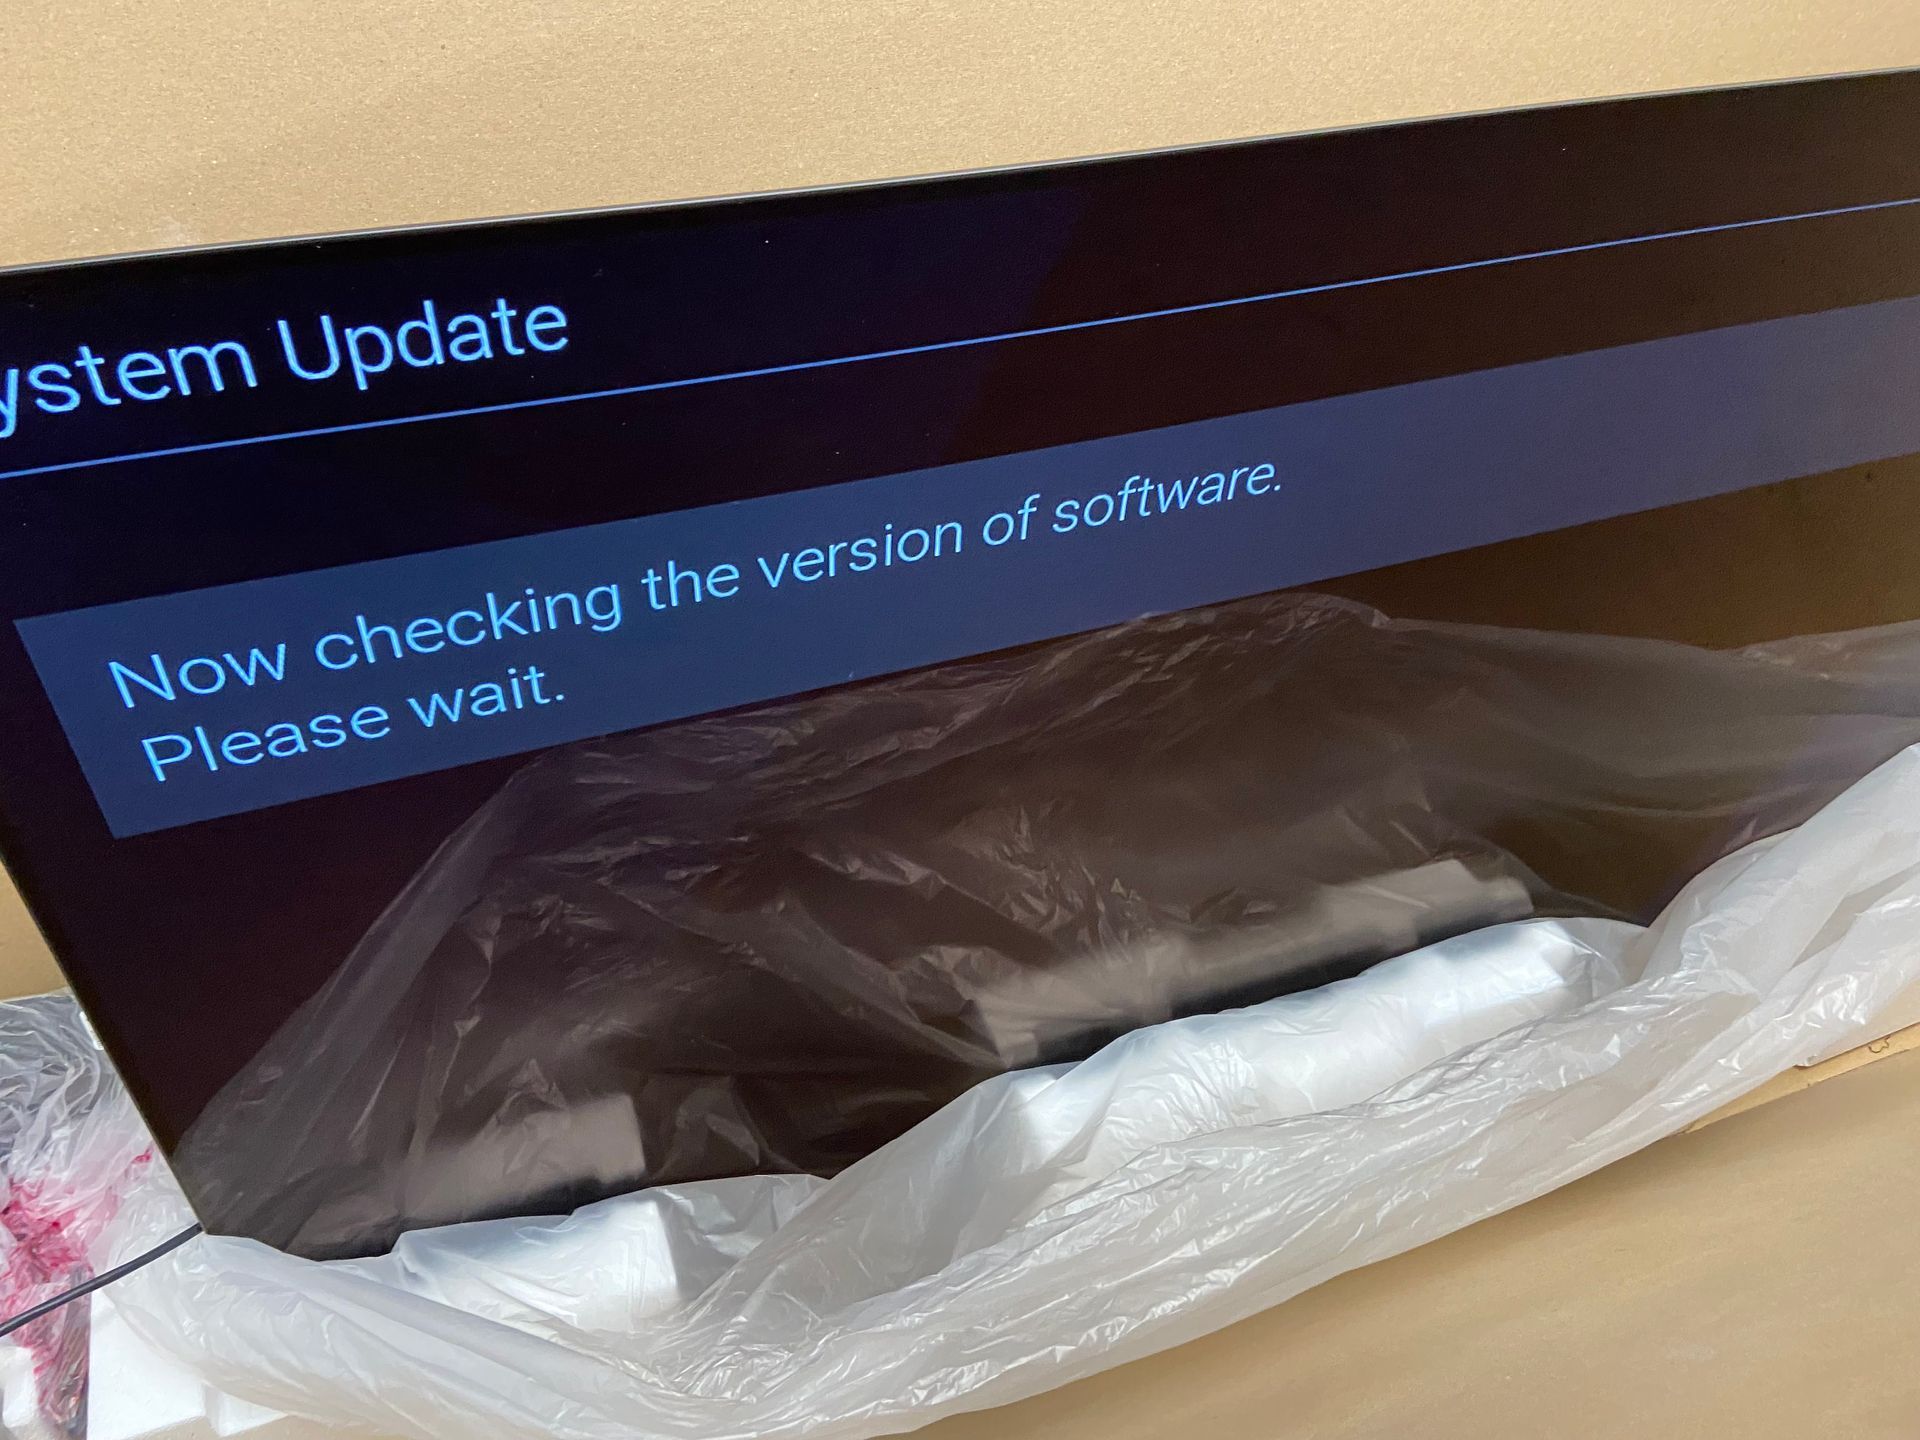
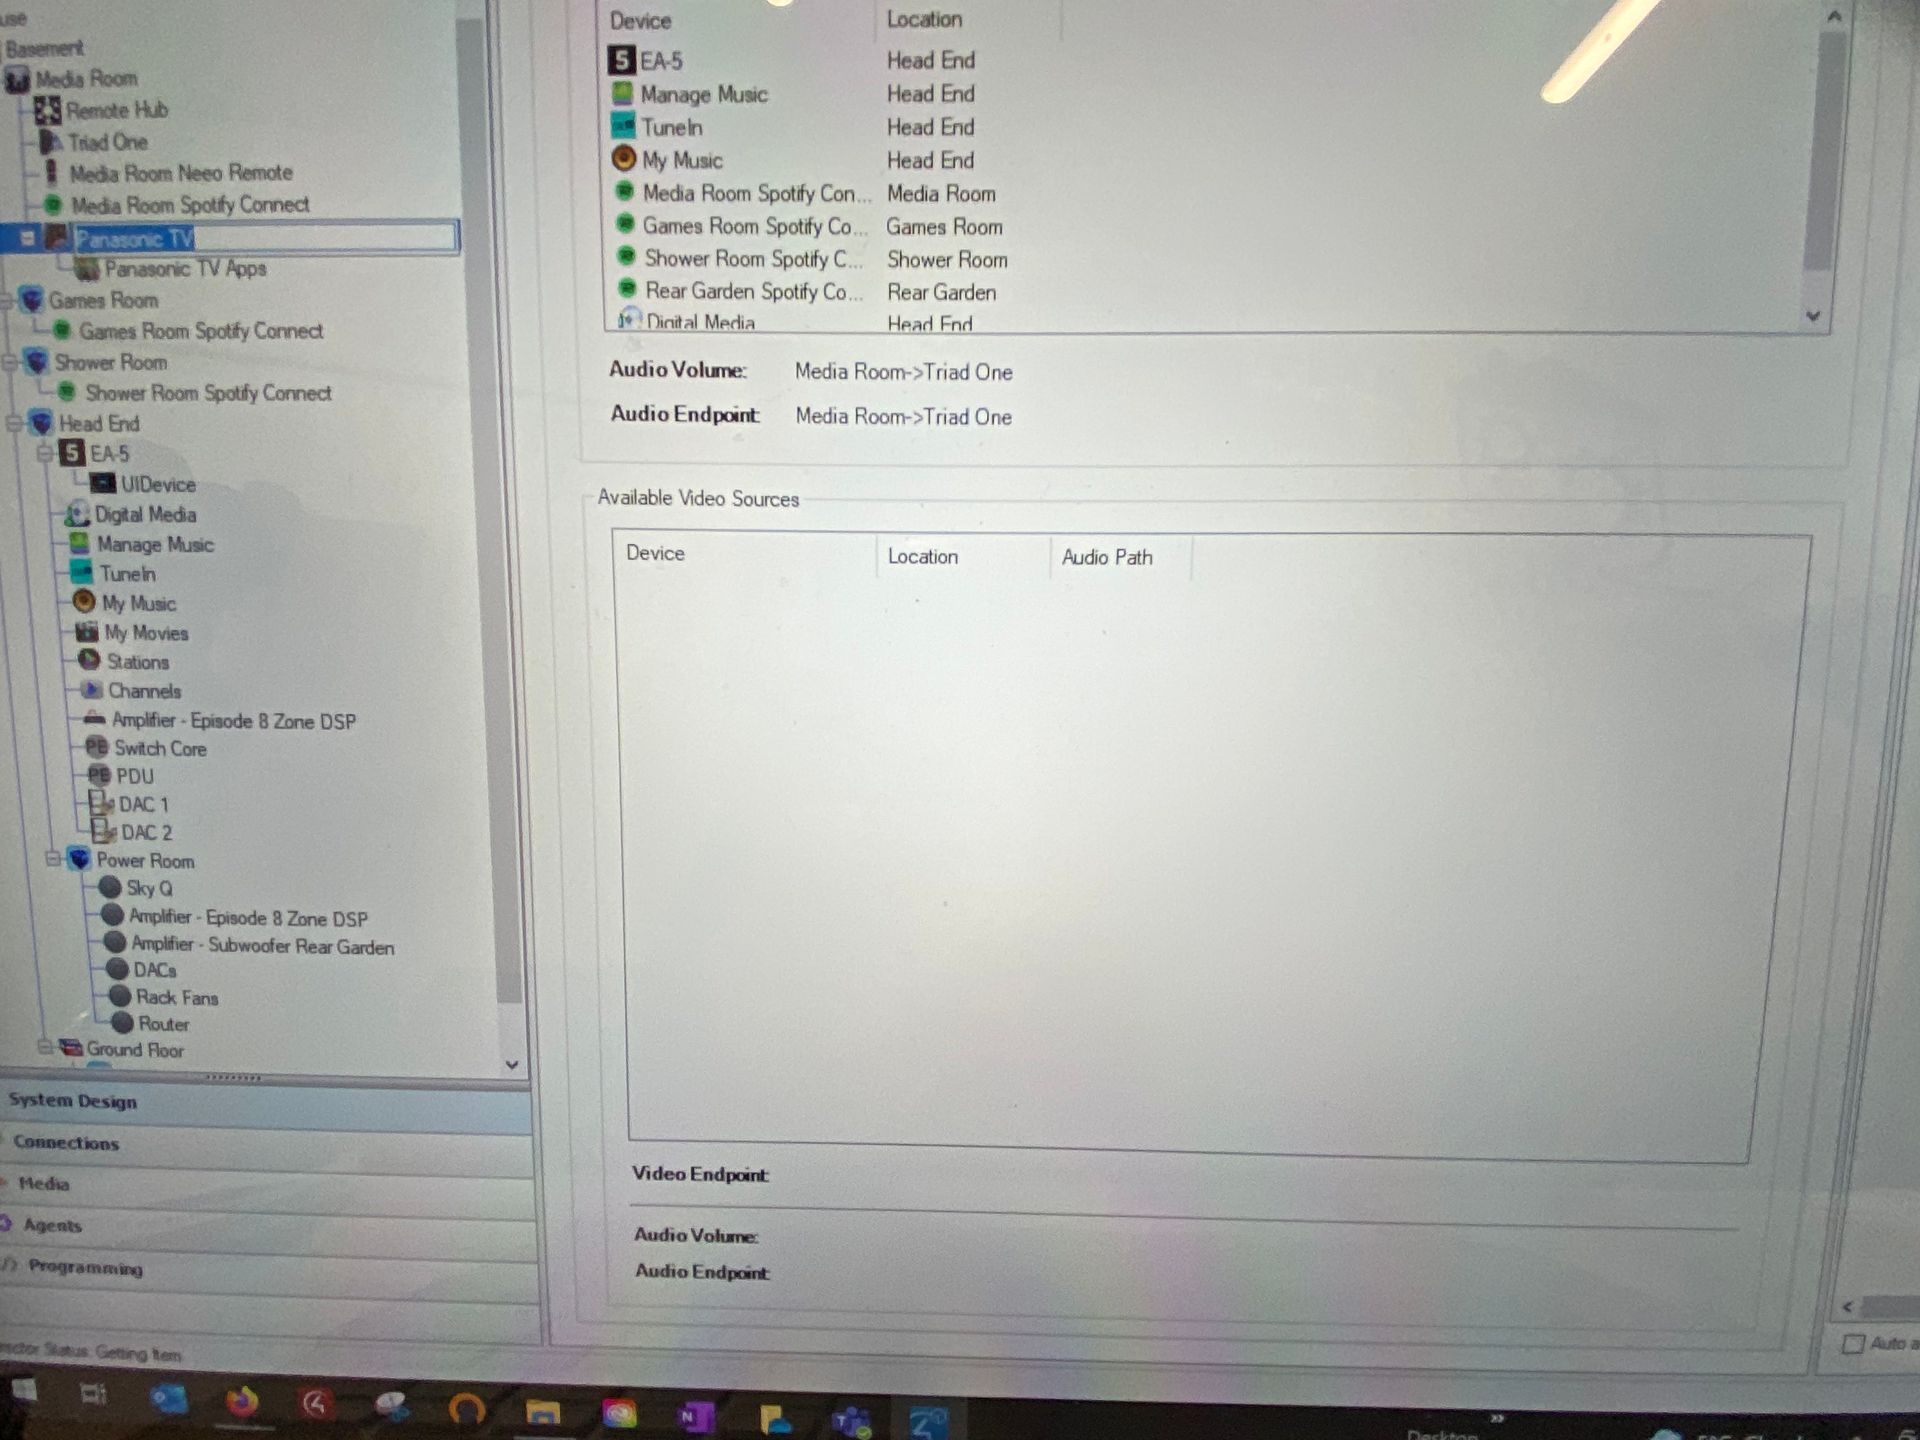
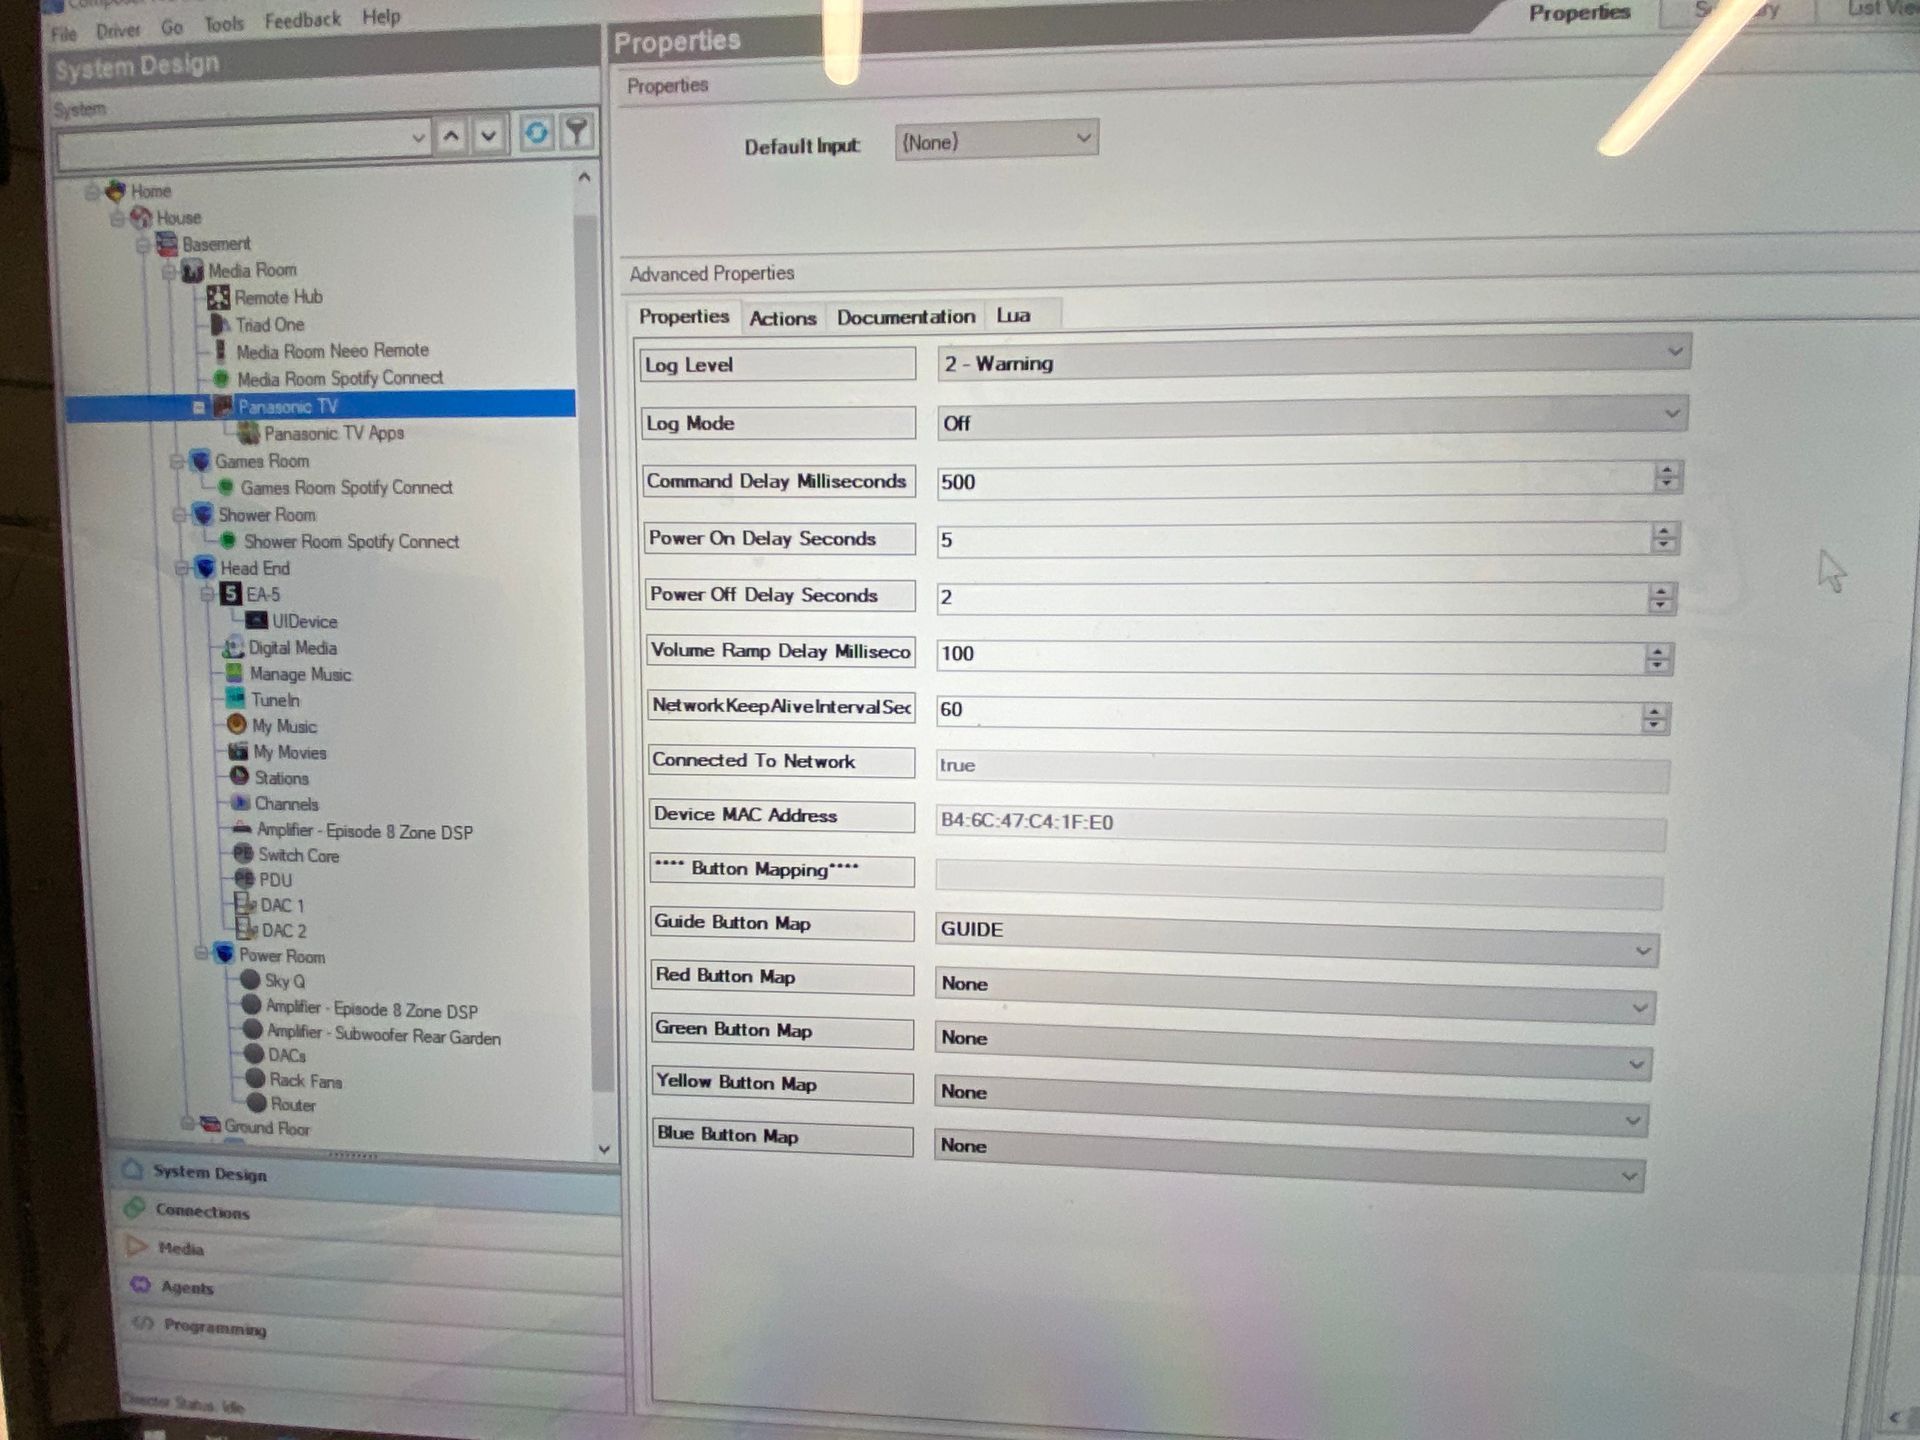
We also create the project within Control4 Composer and carried out the initial configuration of the systems. We also download and then update the relevant firmware and software patches to the latest releases for all equipment.


Smart home 3rd fix
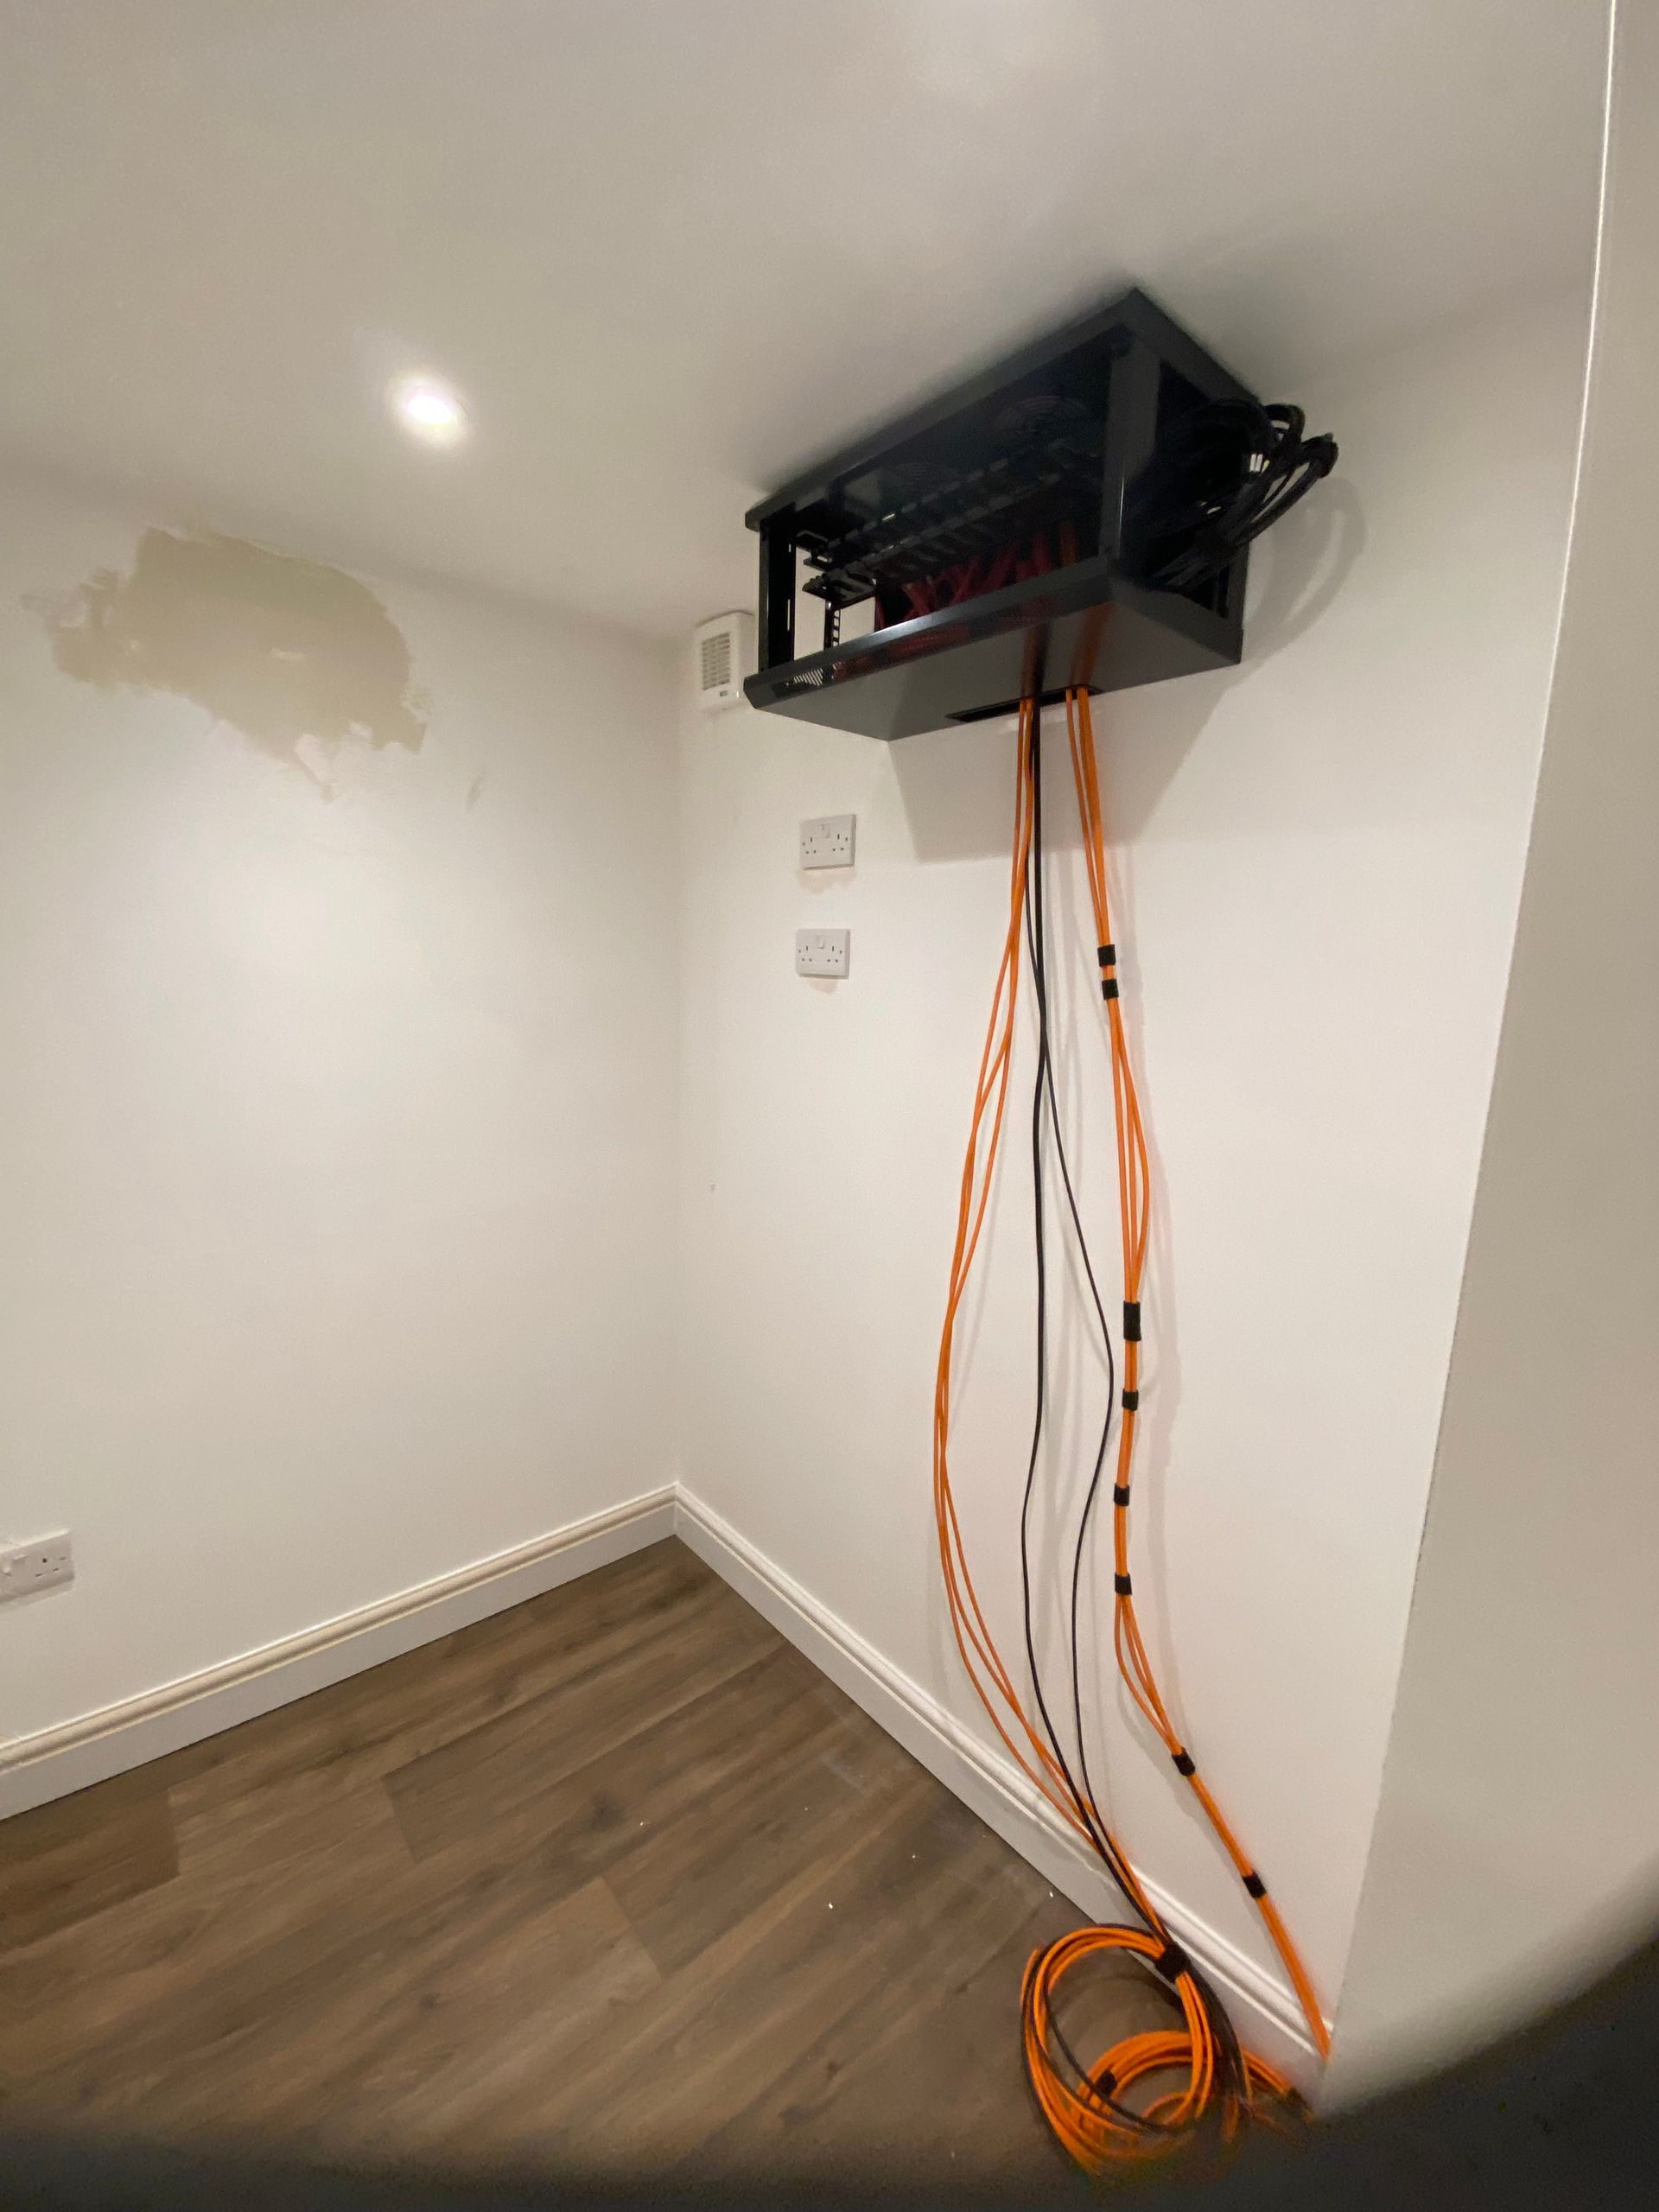
During the 3rd fix phase, we carried out the hardware installation around the property including:
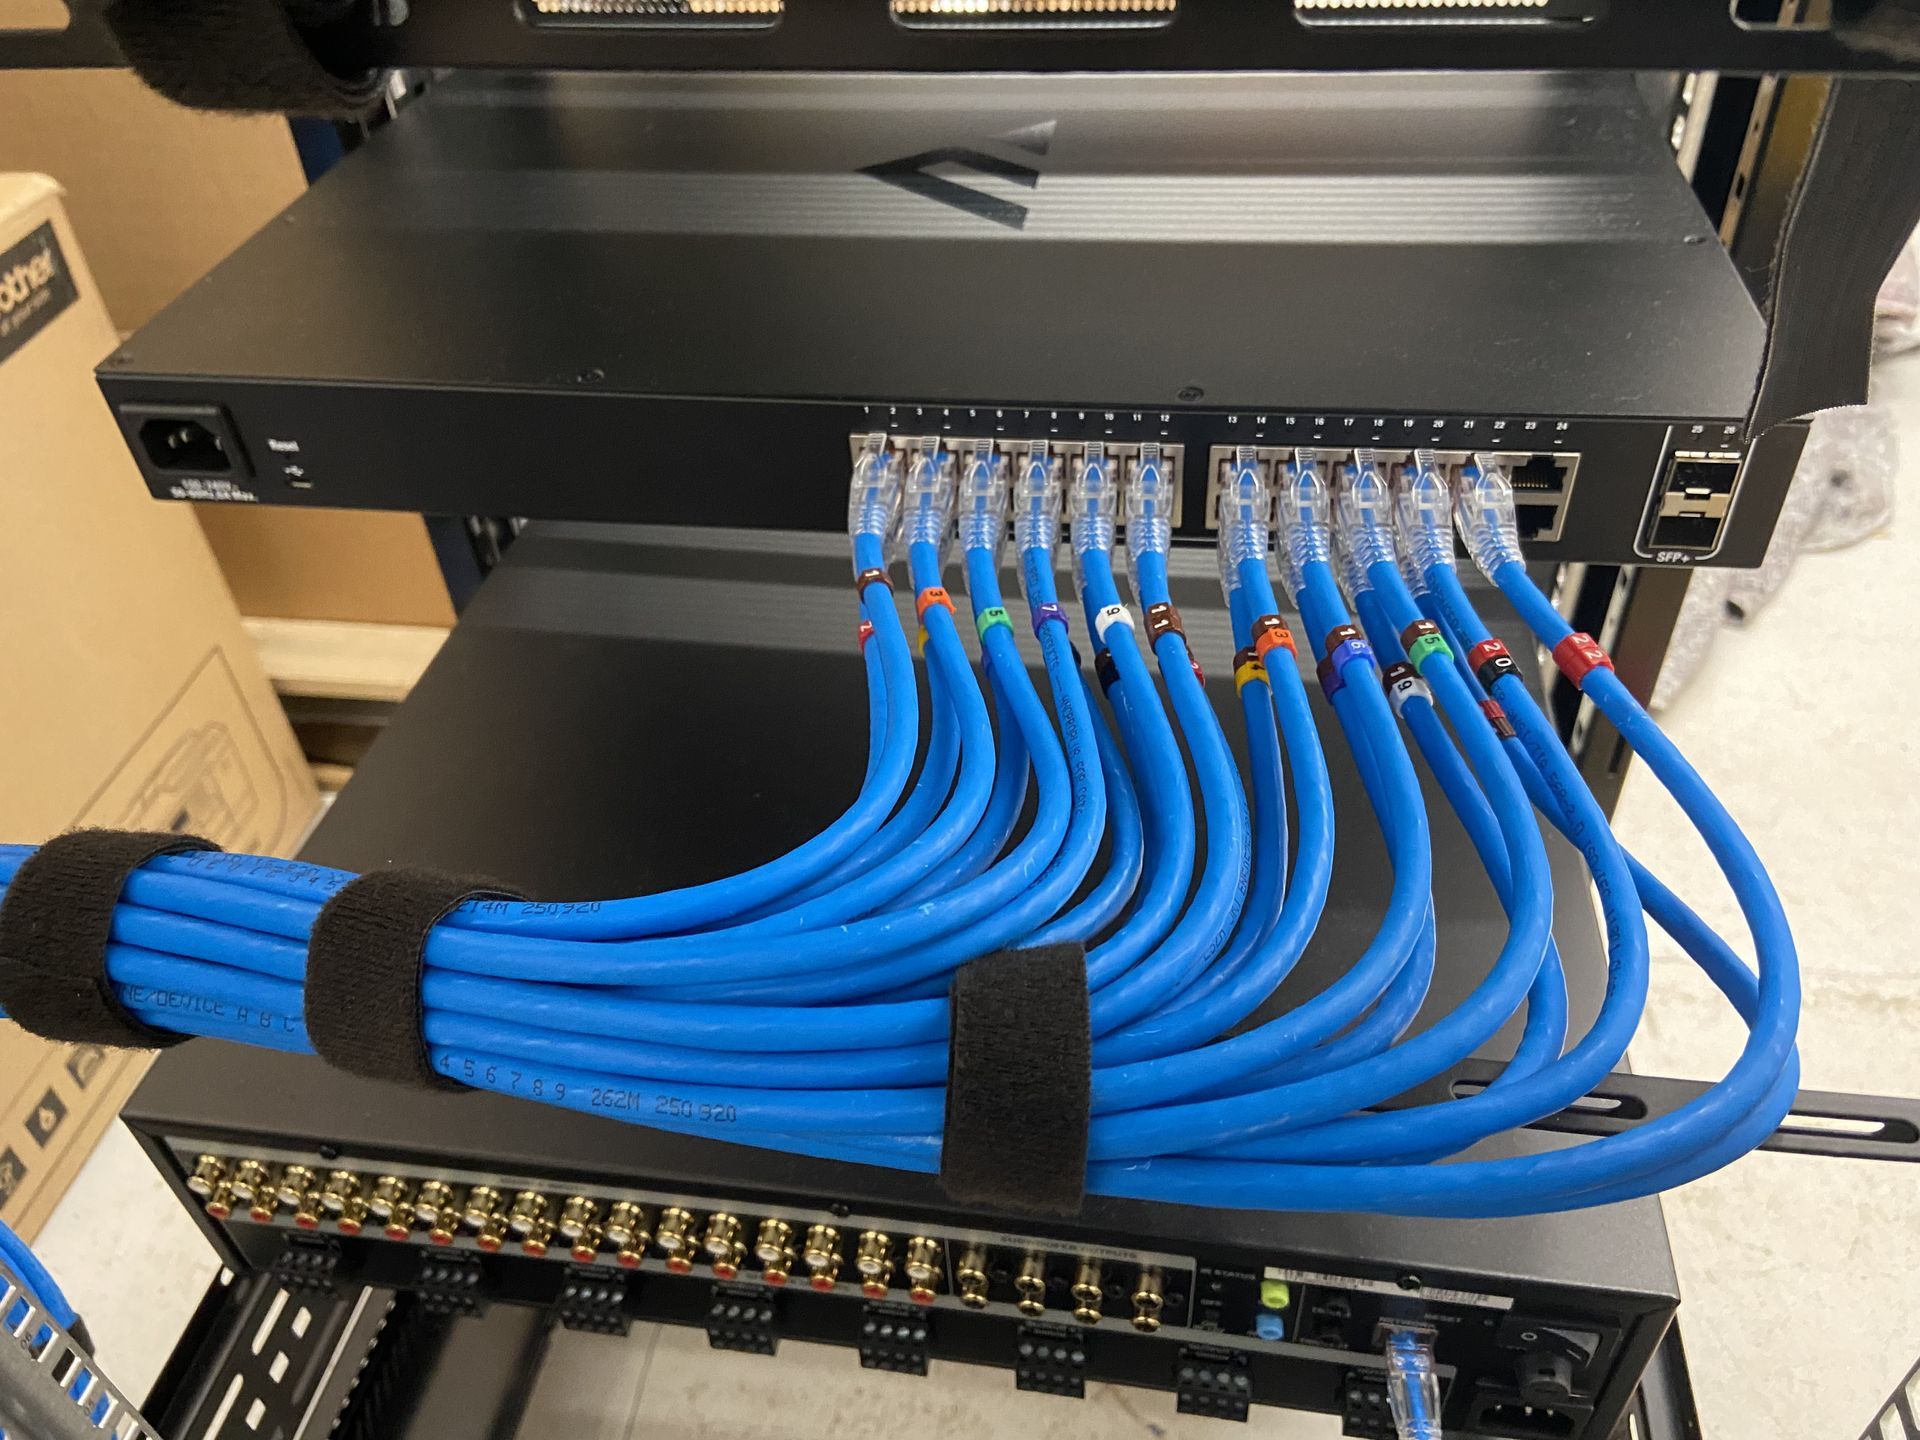
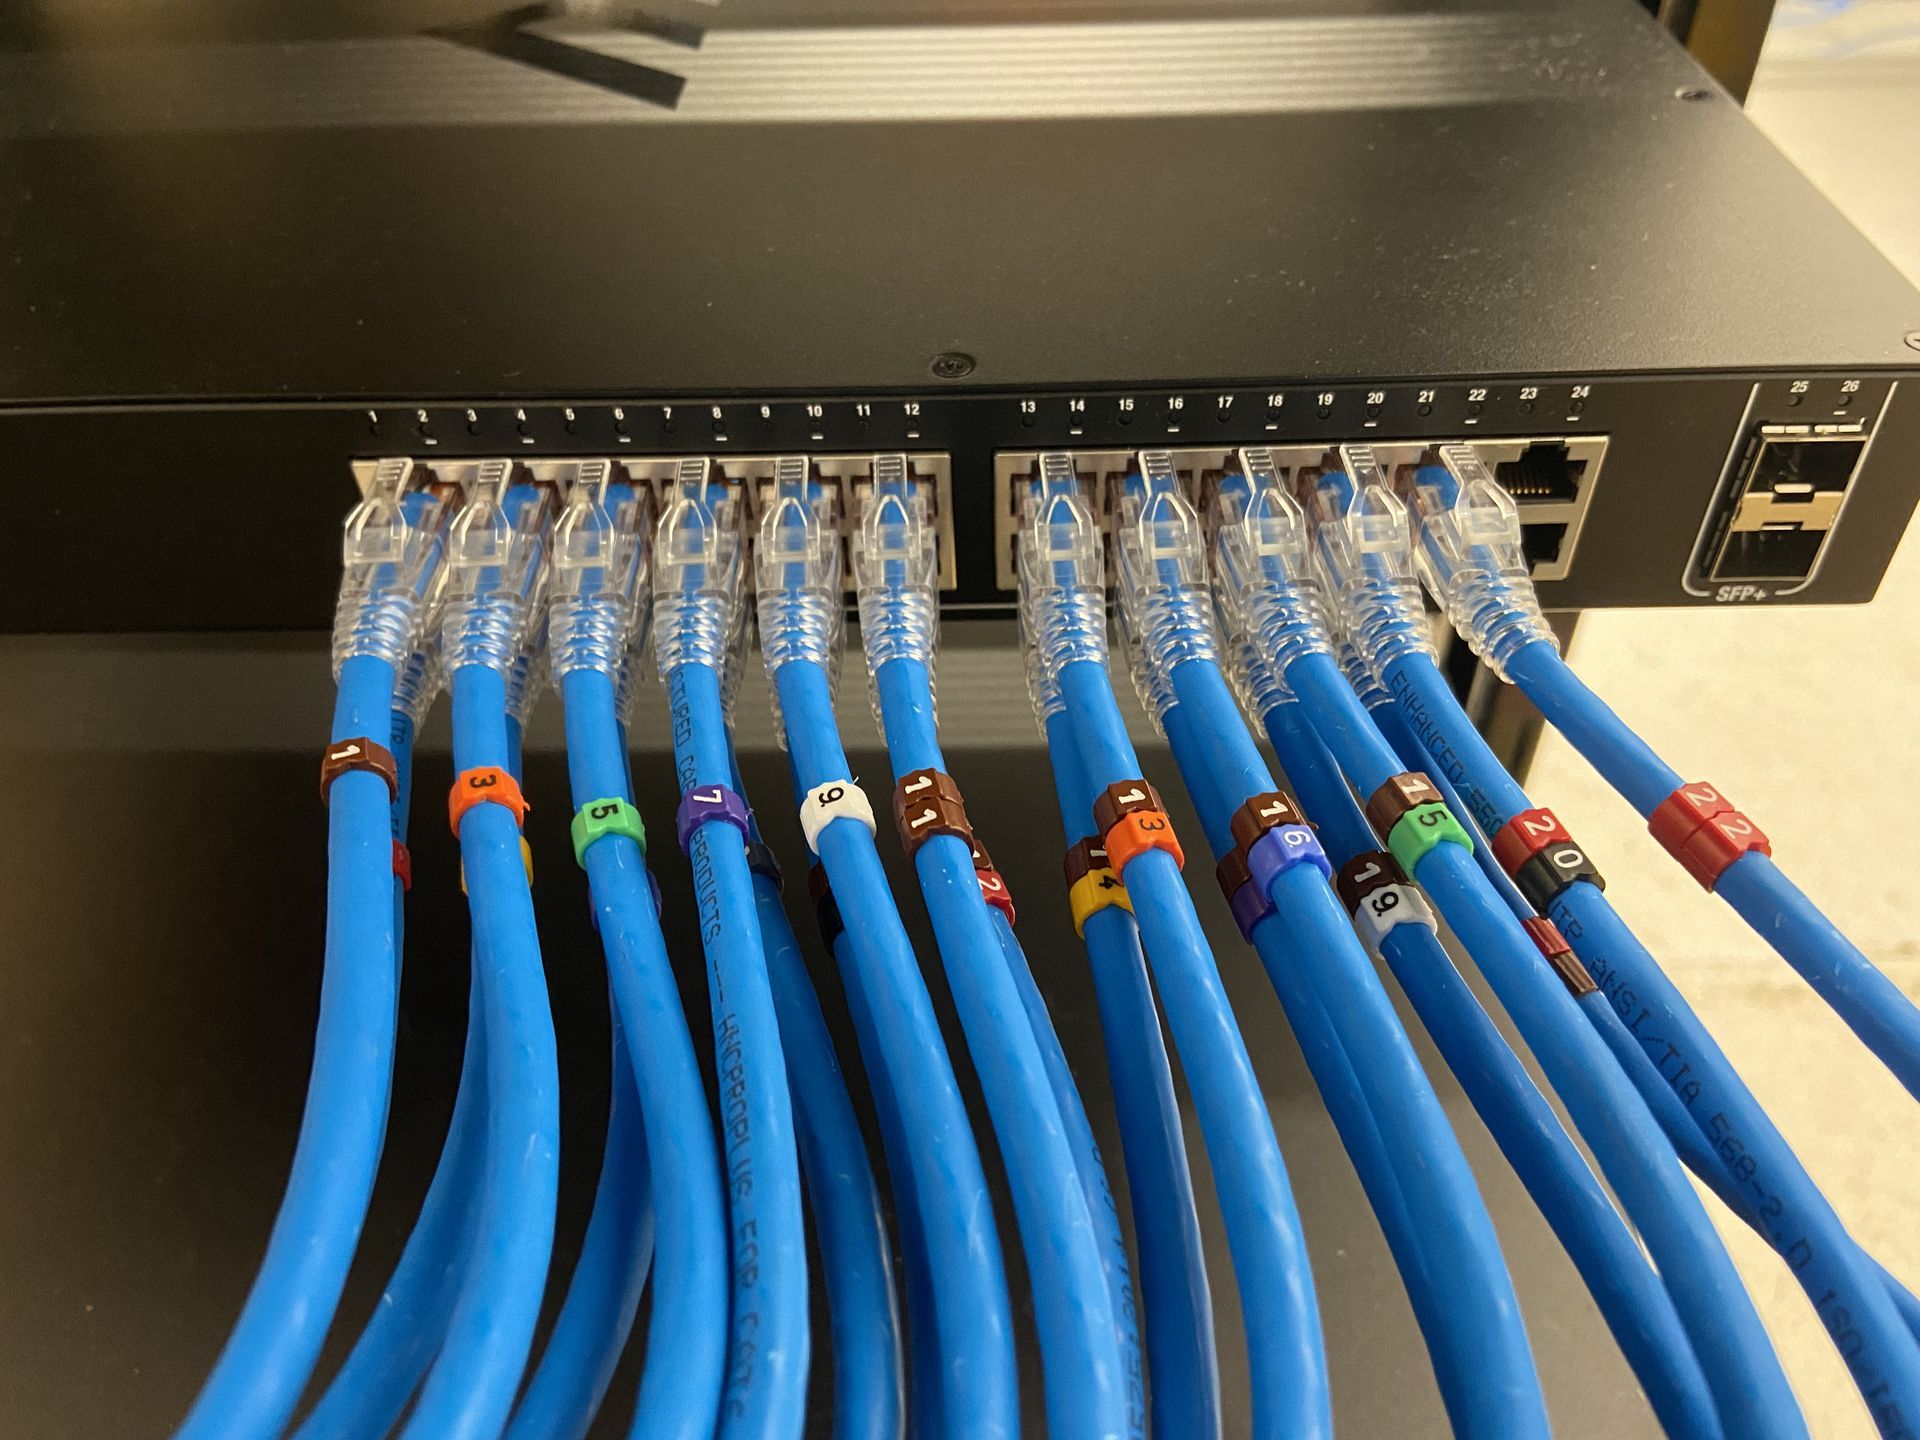
- Patch Panel Installation
- Speakers:
- In-Ceiling
- Soundbar
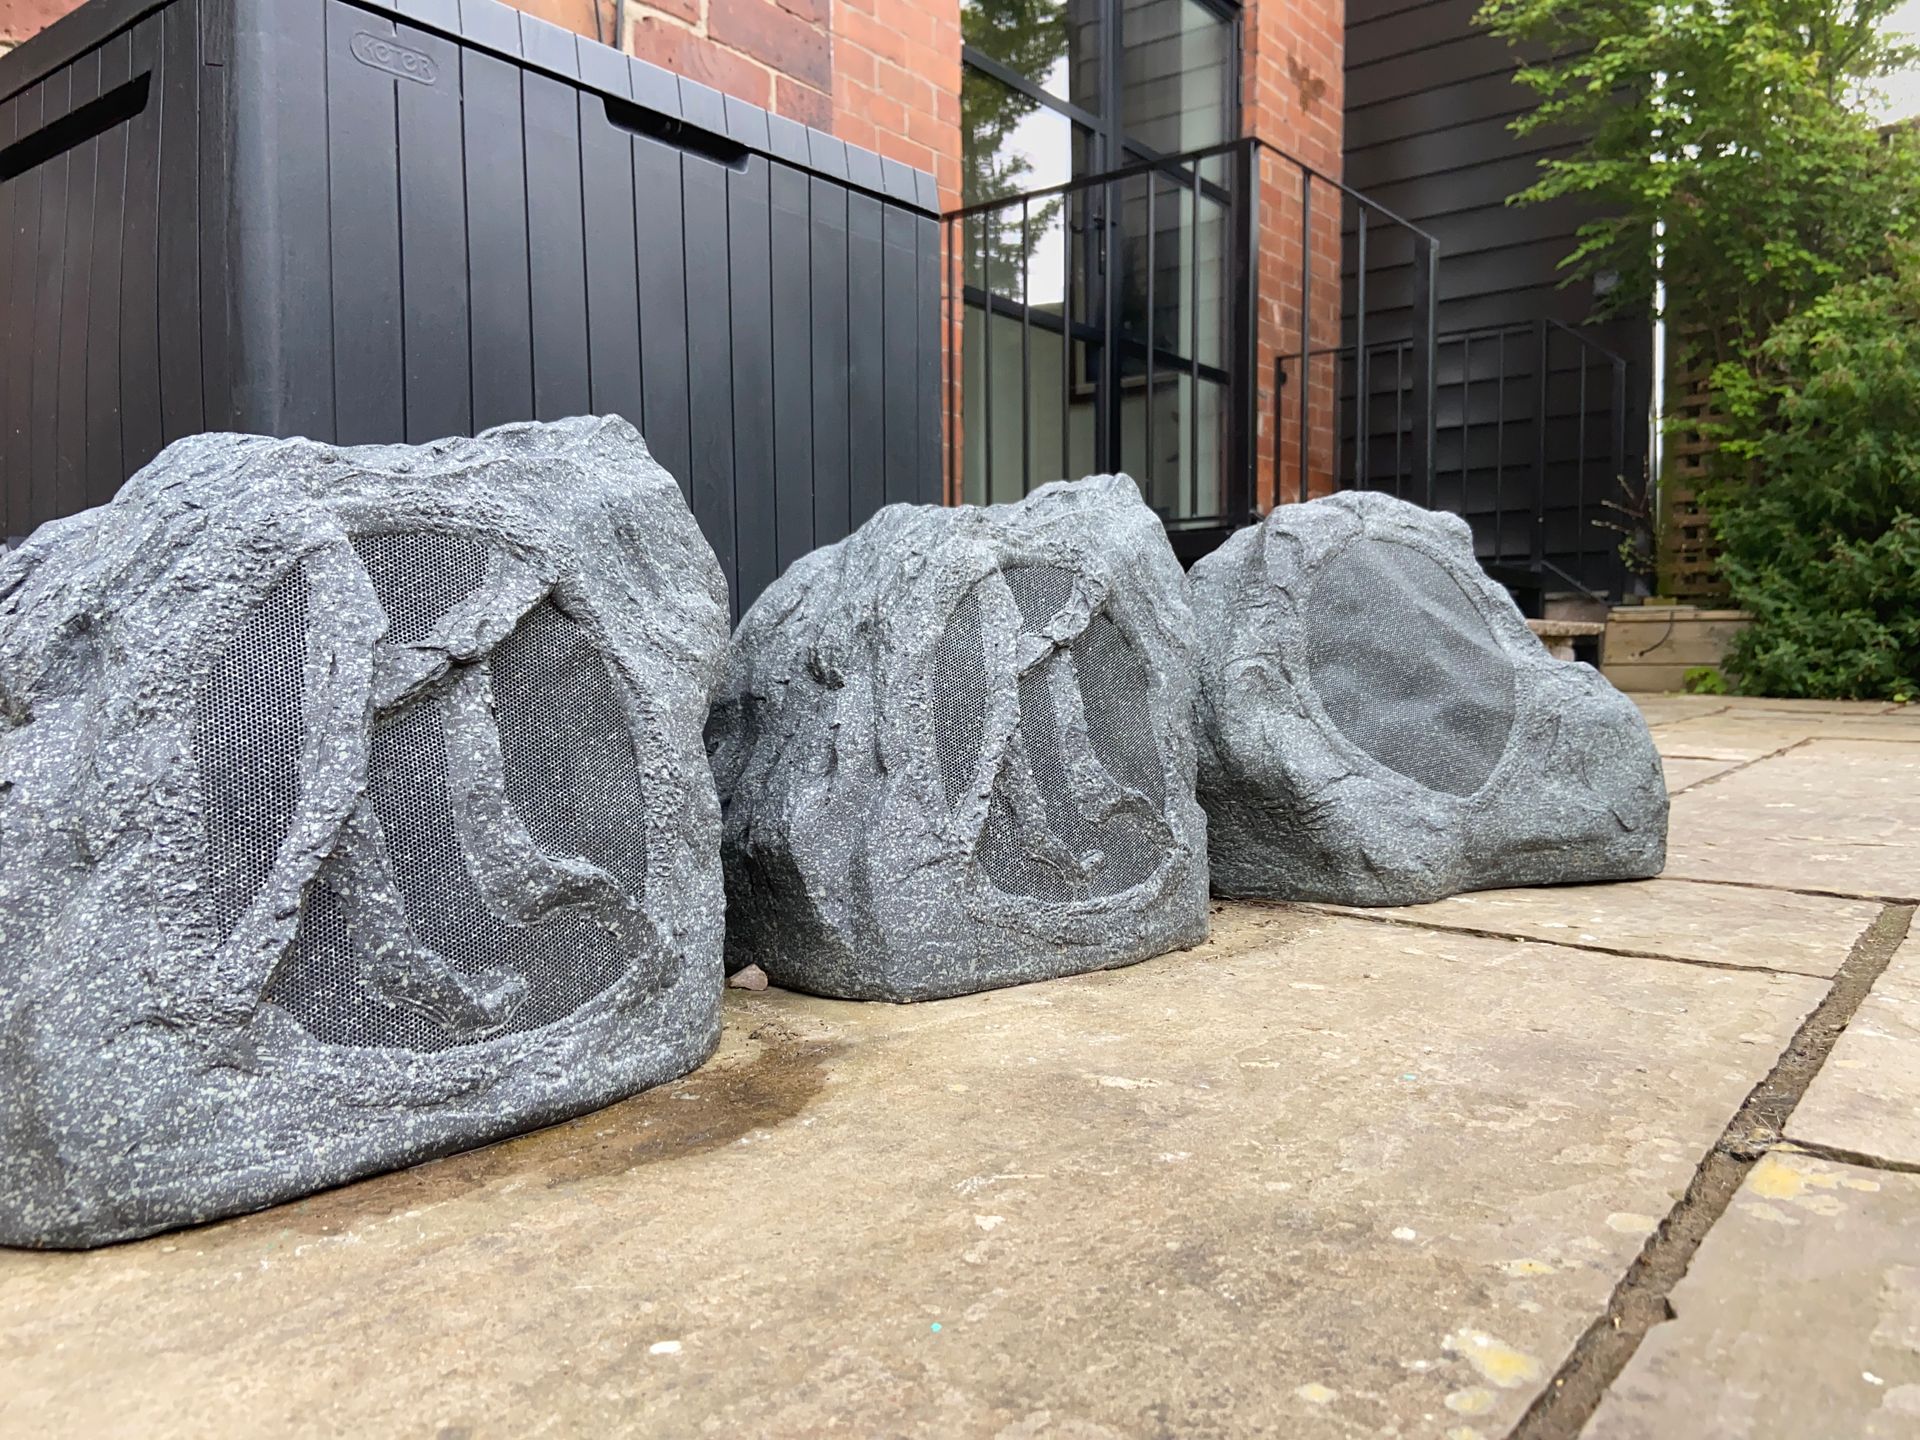
- Outdoor Rock
- TV Mount
- 65” TV Display
- Wireless Access Points
- Data socket wall faceplates
- TV socket wall faceplates
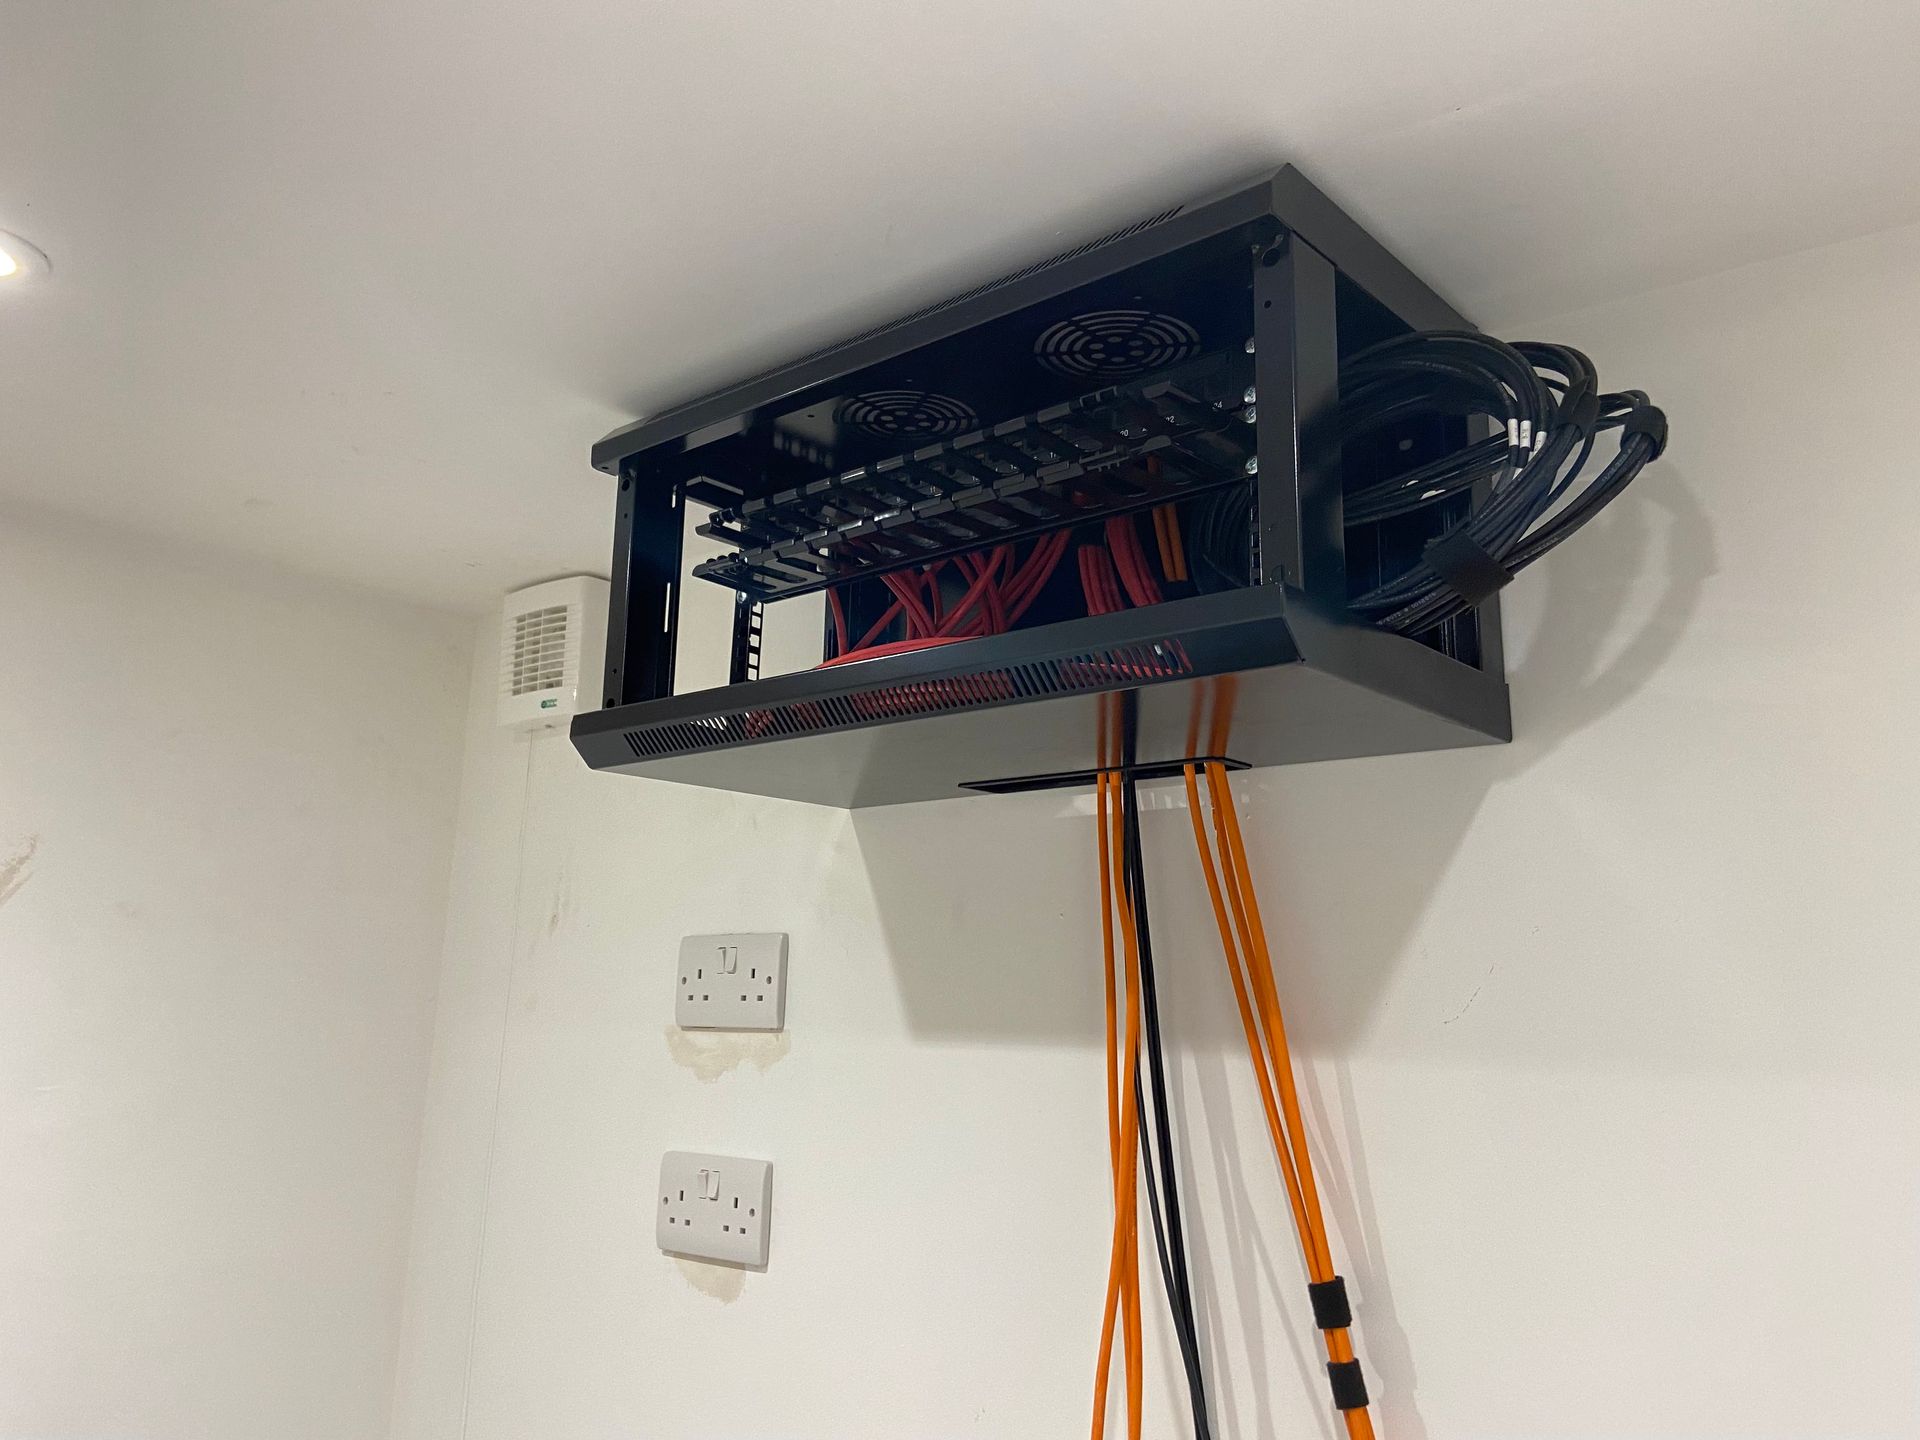
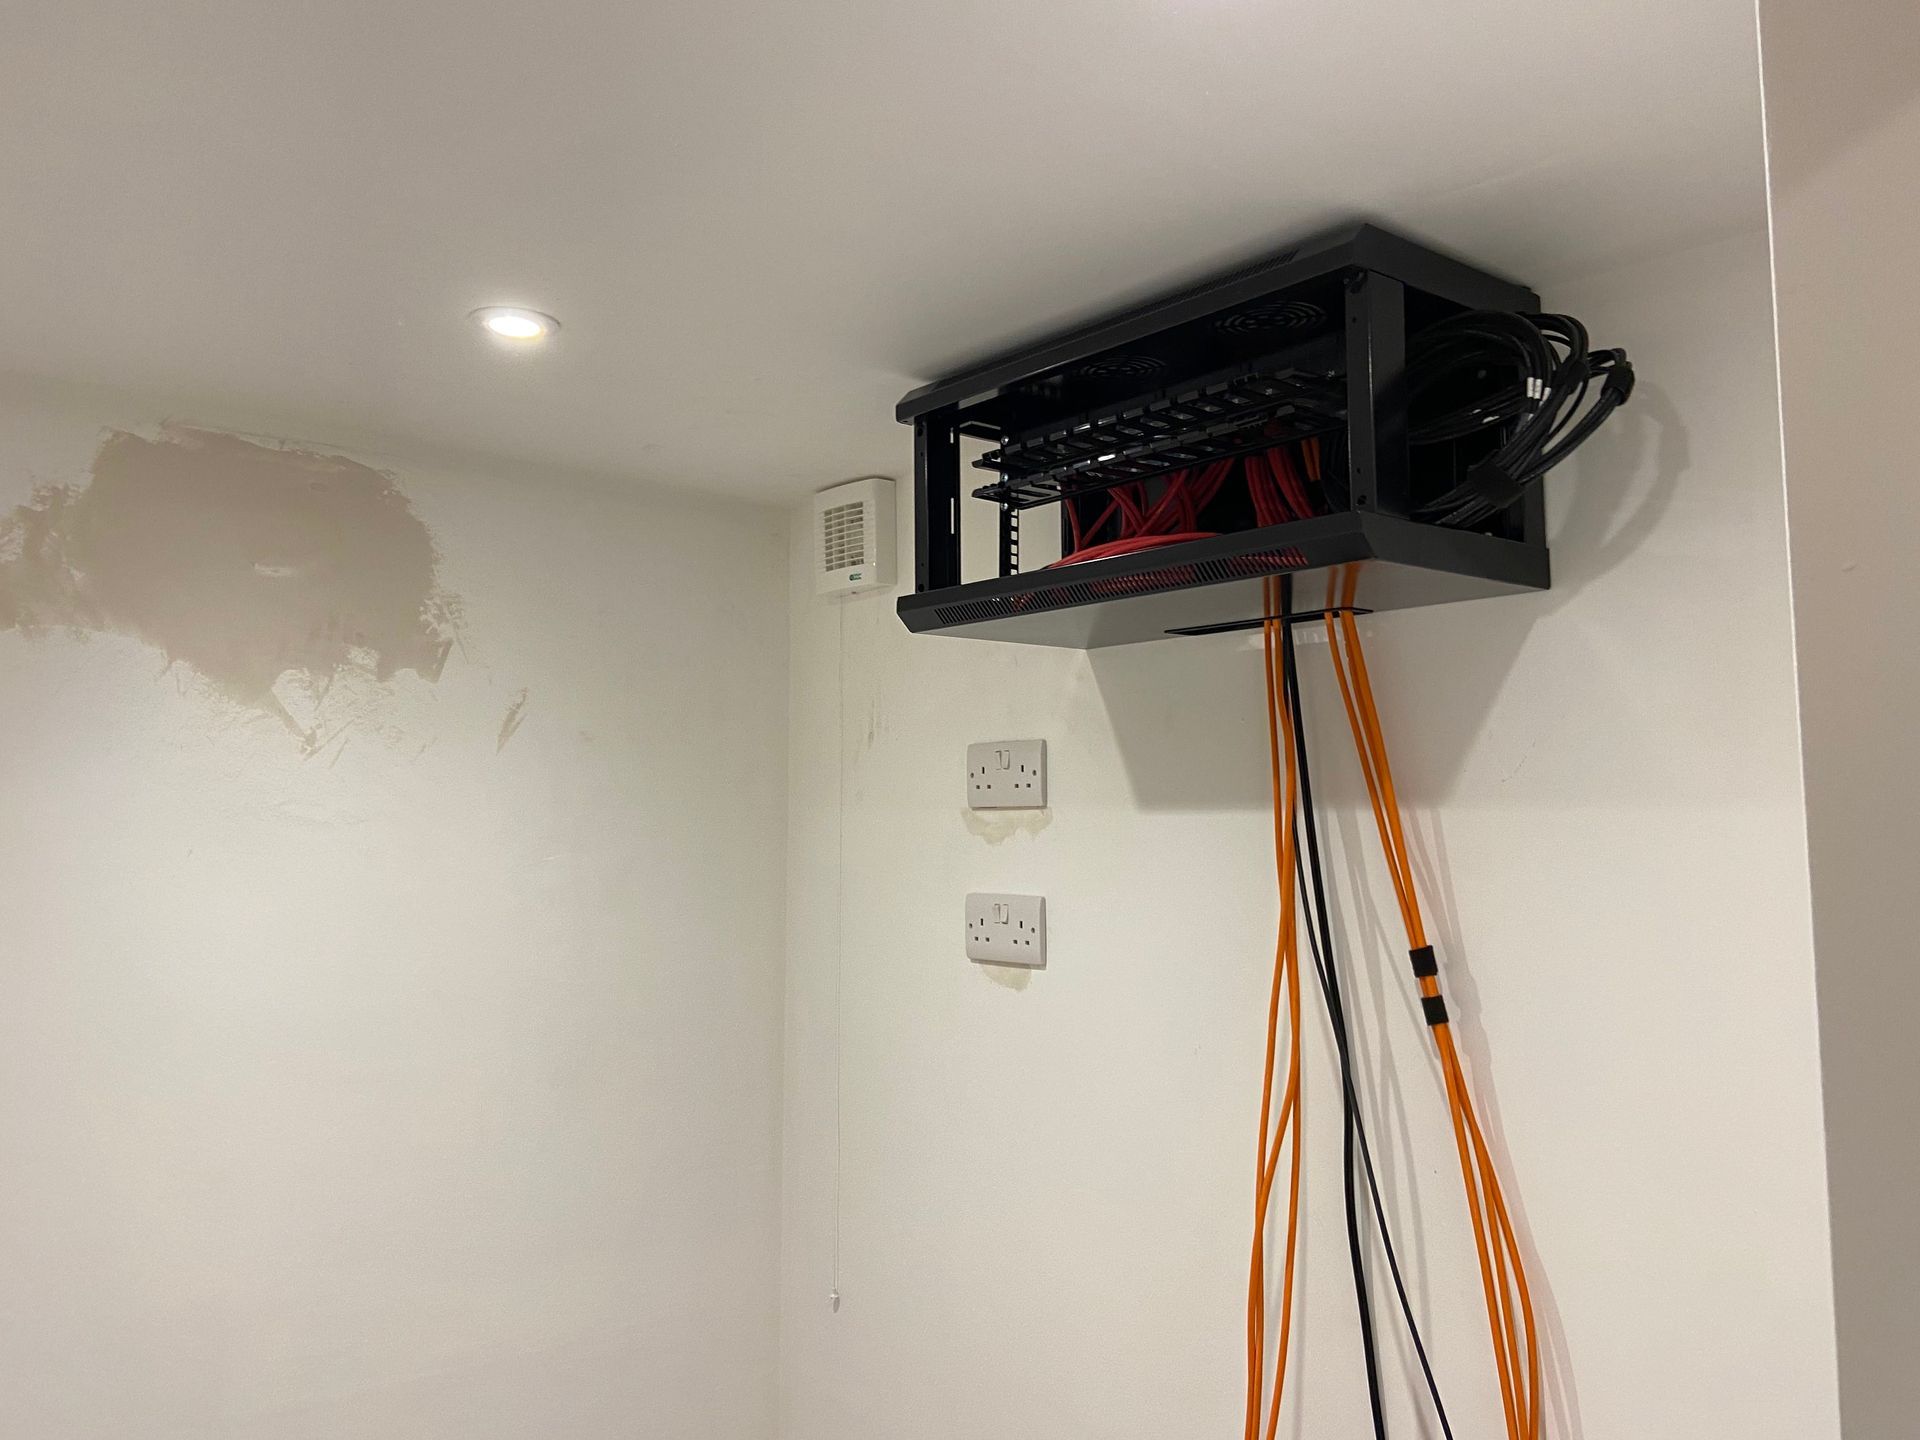
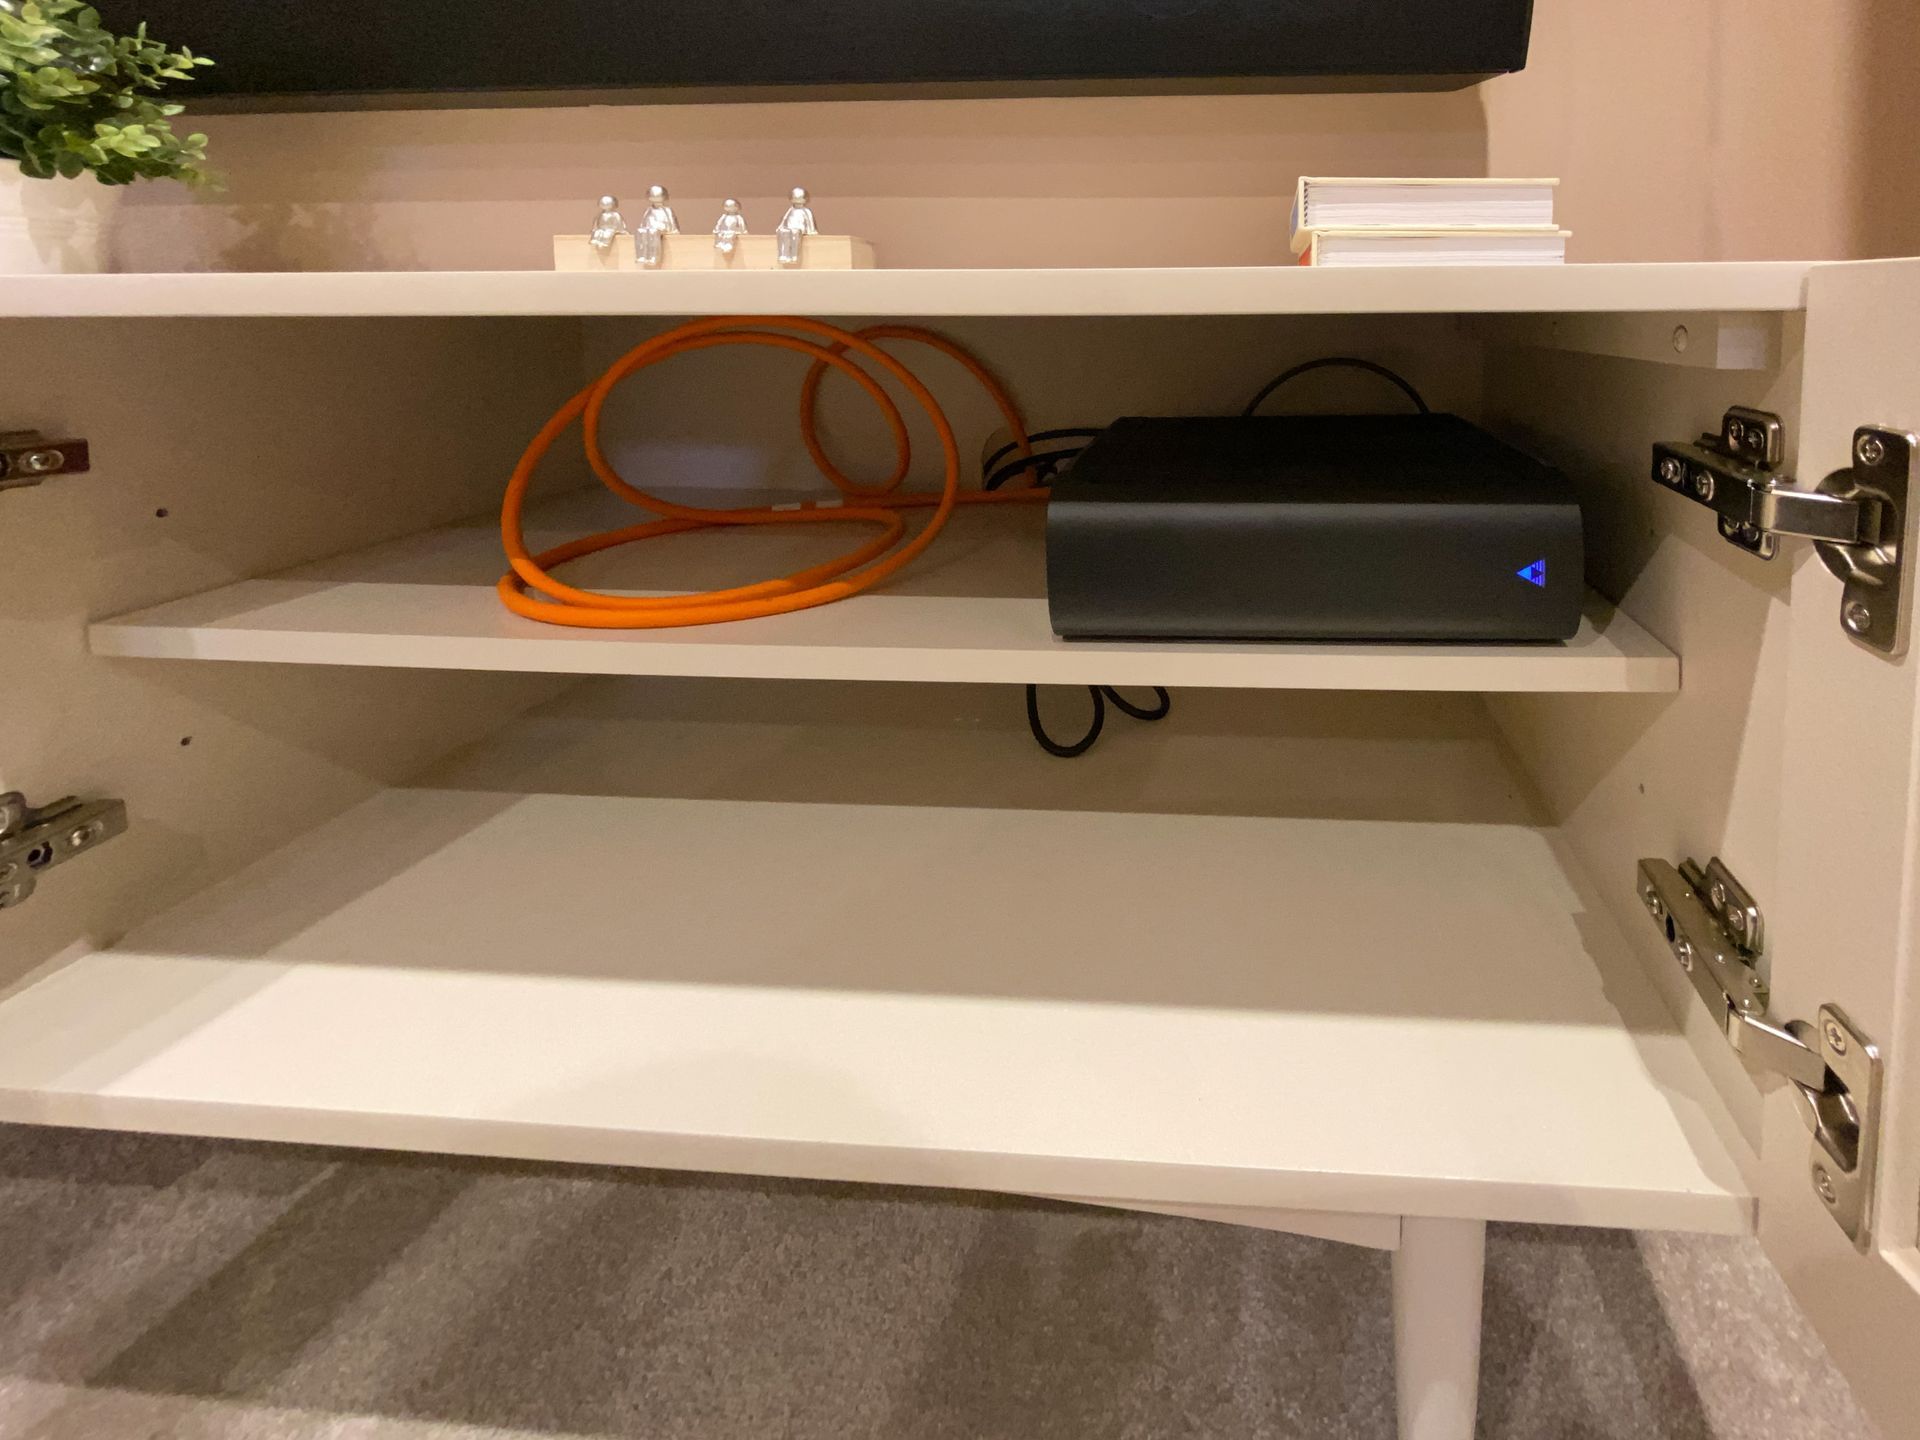
After transporting the empty rack into the Head-End we then reinstall all the rack mounted equipment into the rack. We next connect the patch cables back into the relevant rack equipment and install the other end of the patch cable umbilical bundle into the relevant patch panel port.
We then commissioned all this hardware onto the network, followed by comprehensive testing of each of the sub-systems and the overall combined smart home elements.
Once we confirmed that all the systems were operating as expected we then provided the client with familiarisation training.
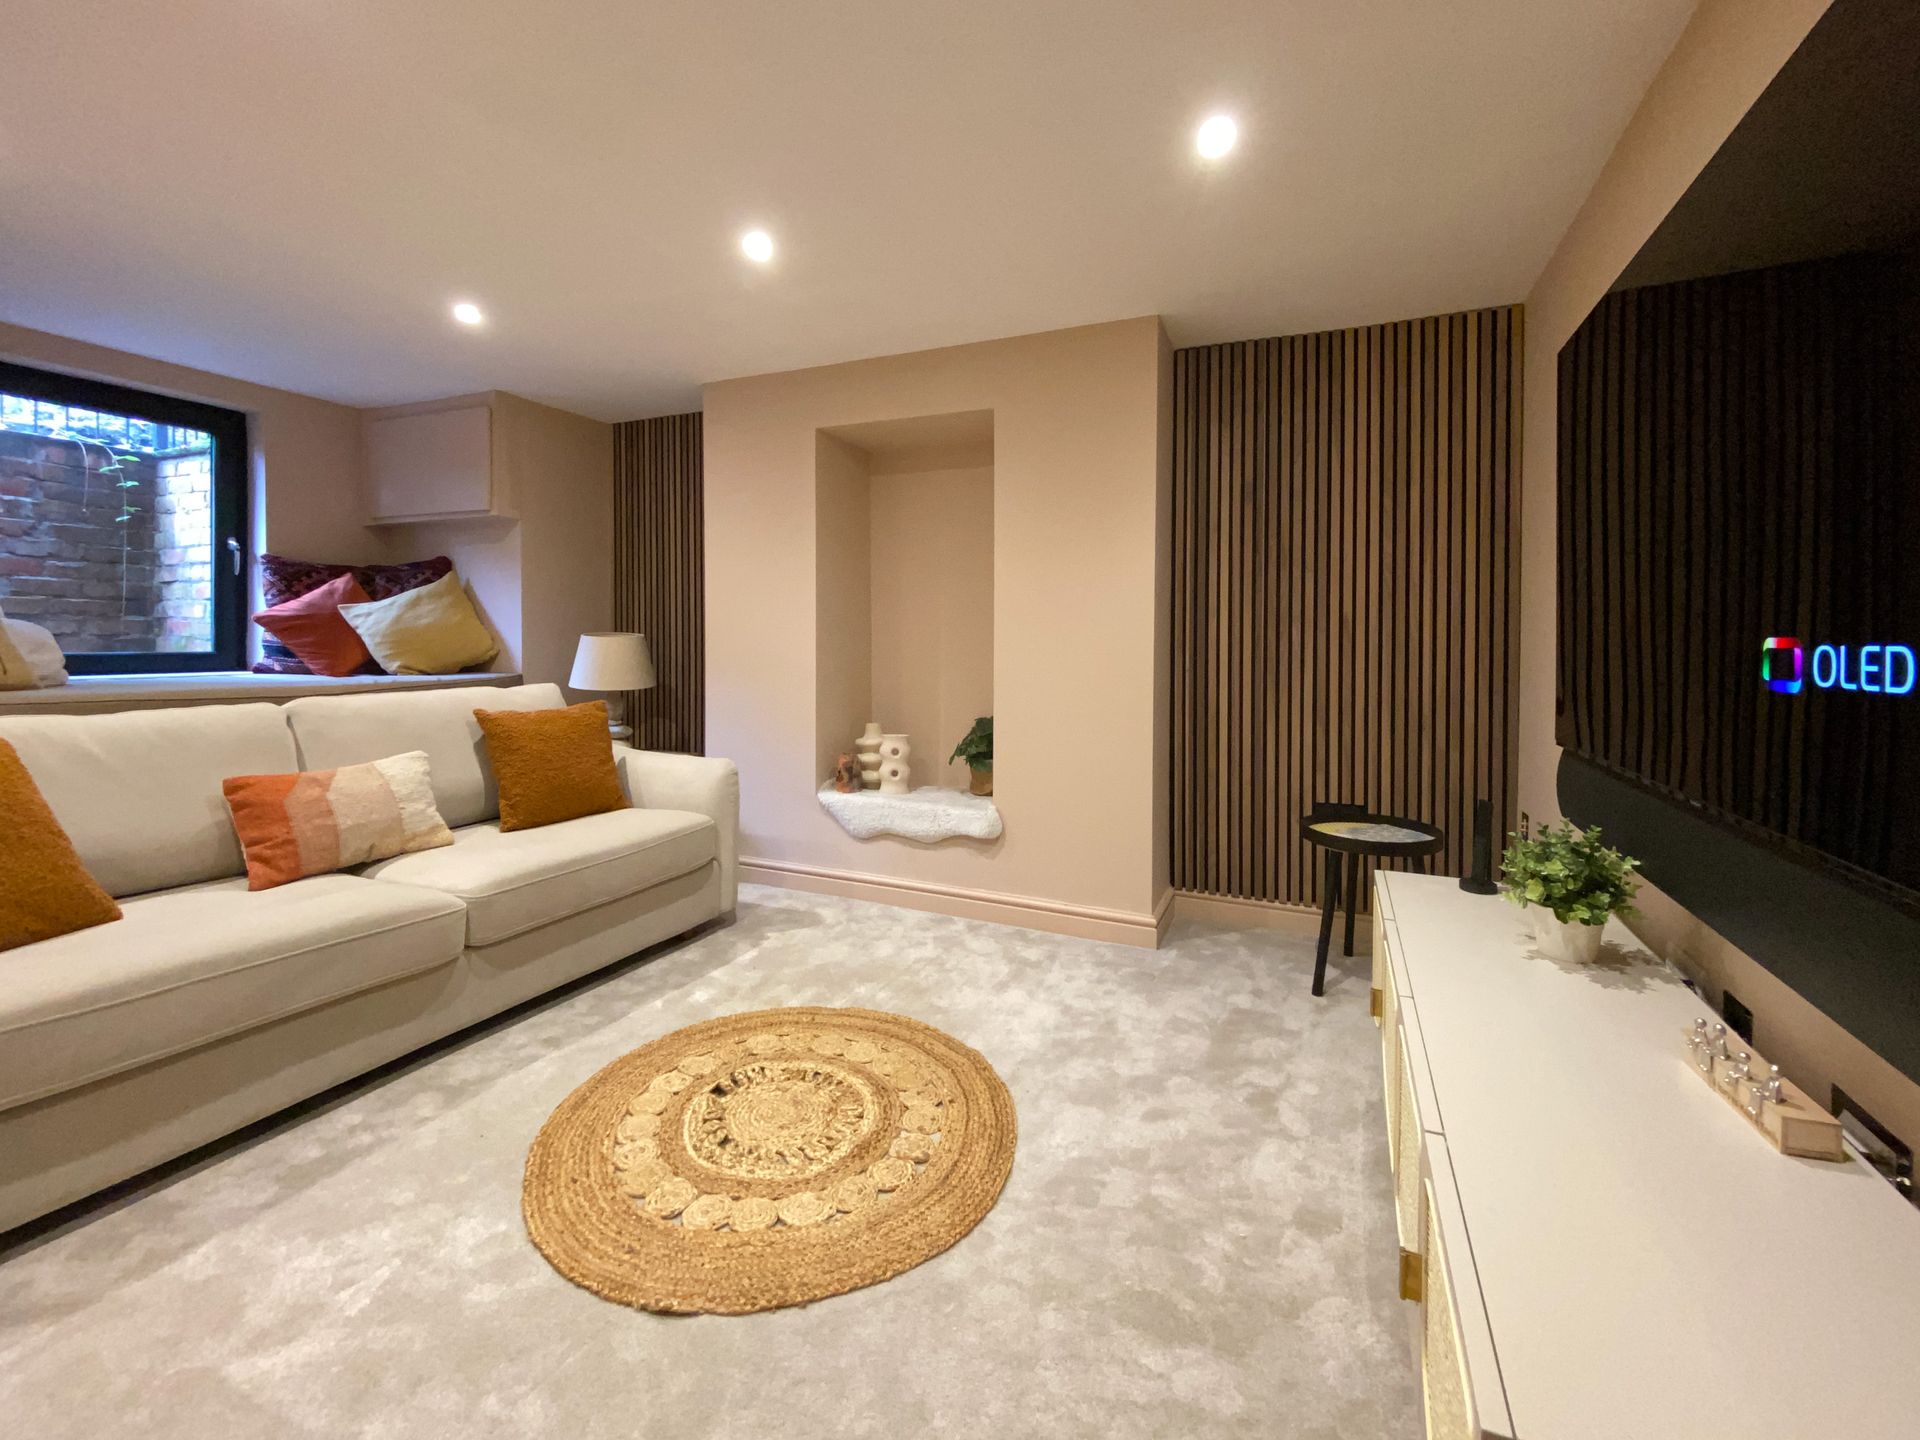
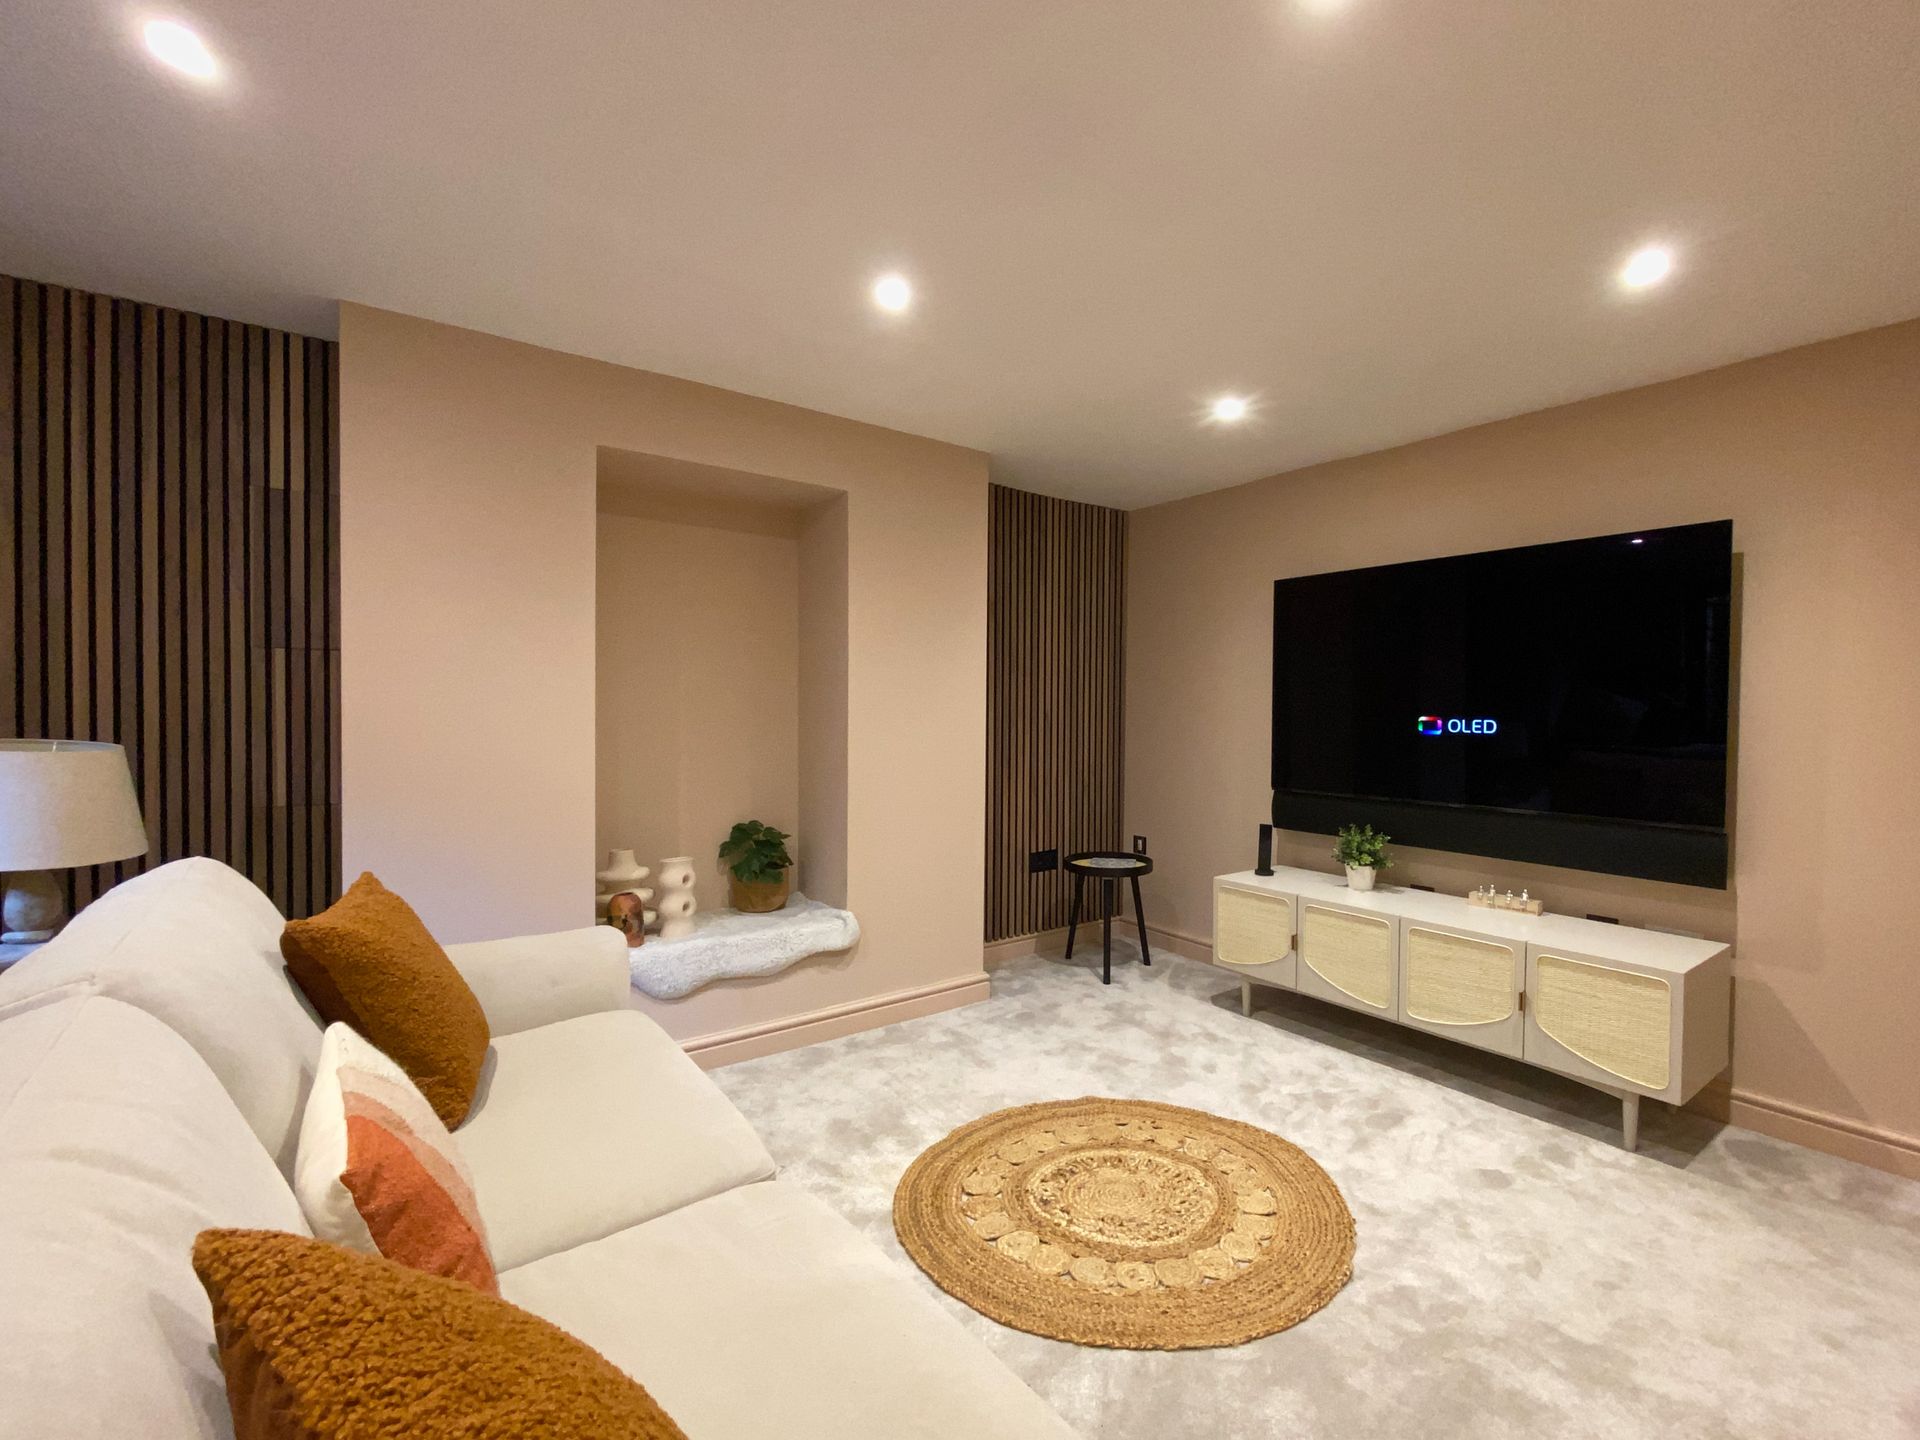
Finished smart home
After the client furnished their home…we think the basement of their home is a great additional space to work from home, watch a great movie as well as party with family and friends…if you would like a similar installation, fill out the contact form below for a
Free of Charge & No Obligation Initial Consultation.

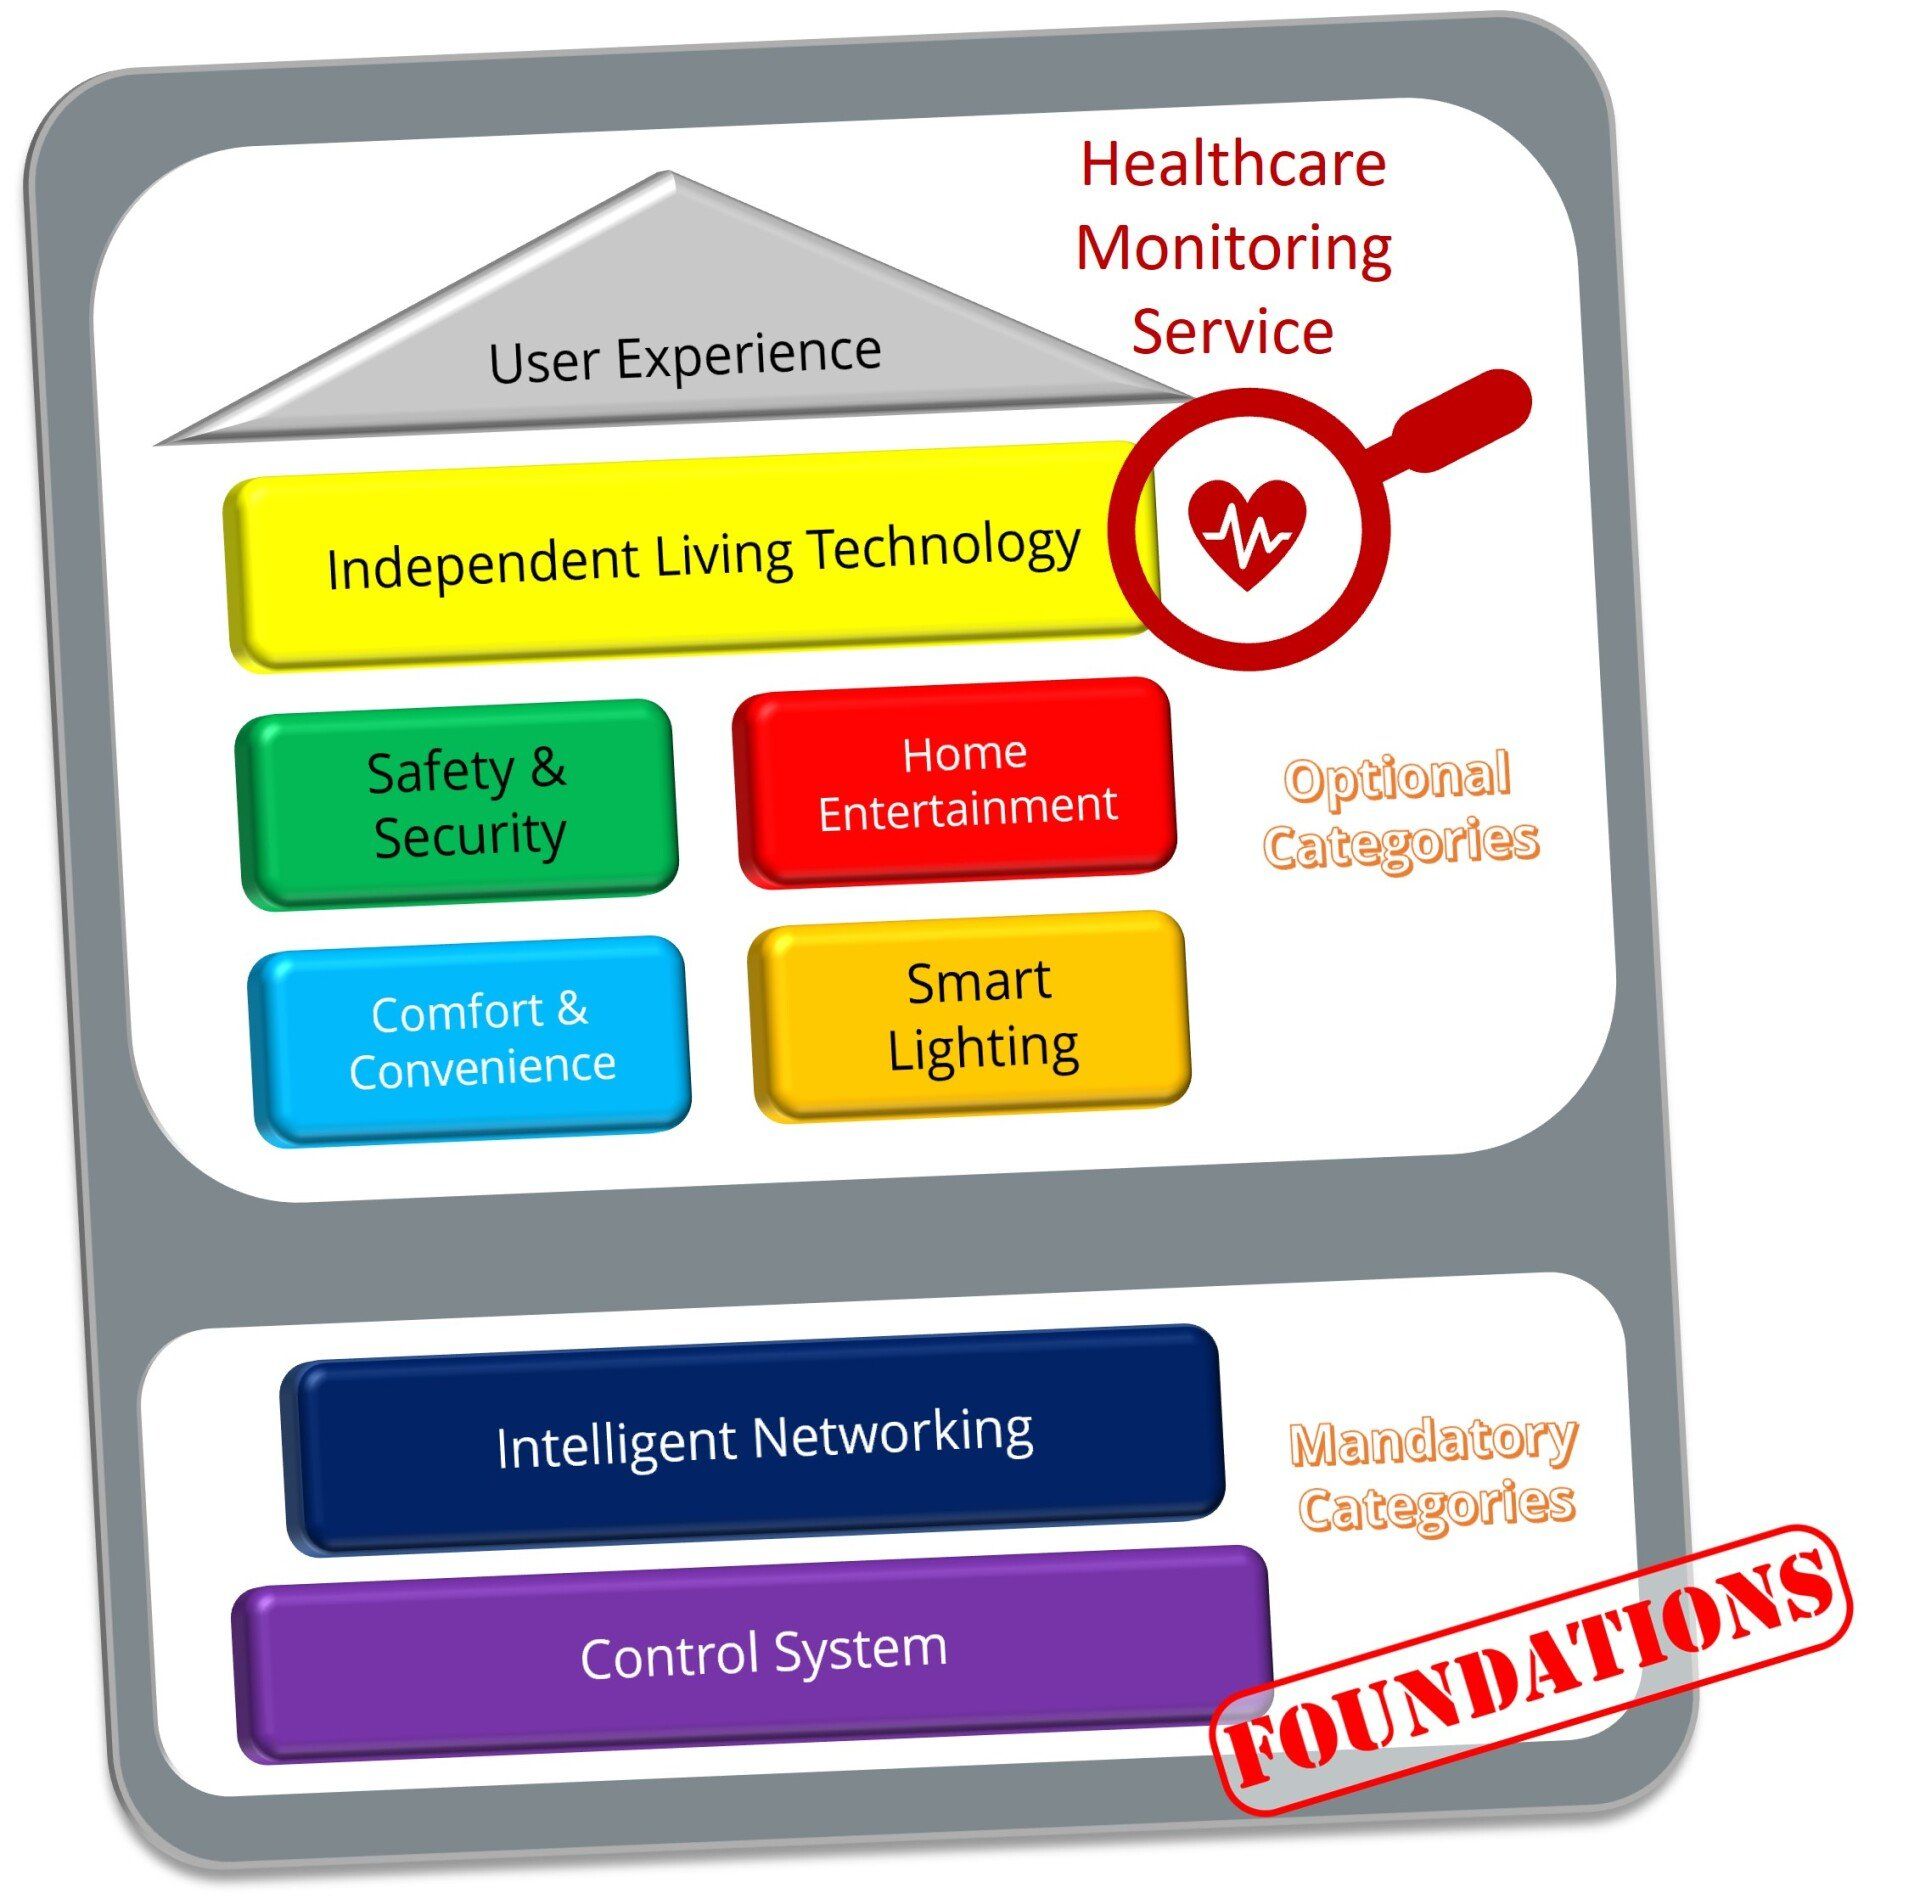
Summary of installed equipmentmart
Safety & Security - Future Option
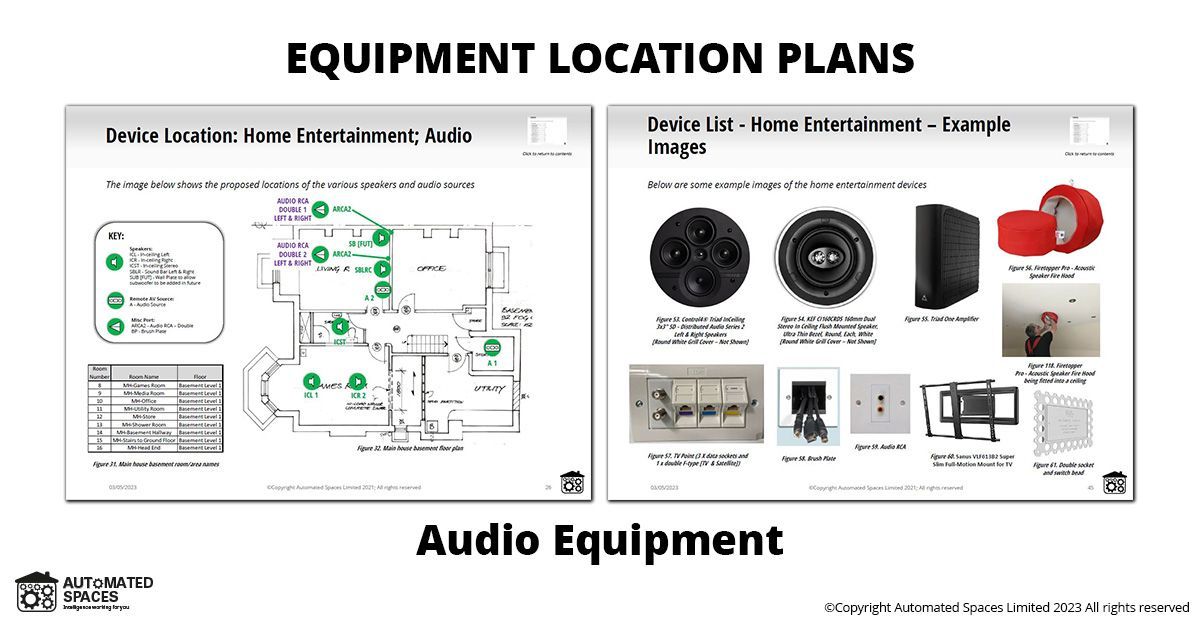
Home Entertainment
- 1 x Media Room, with:
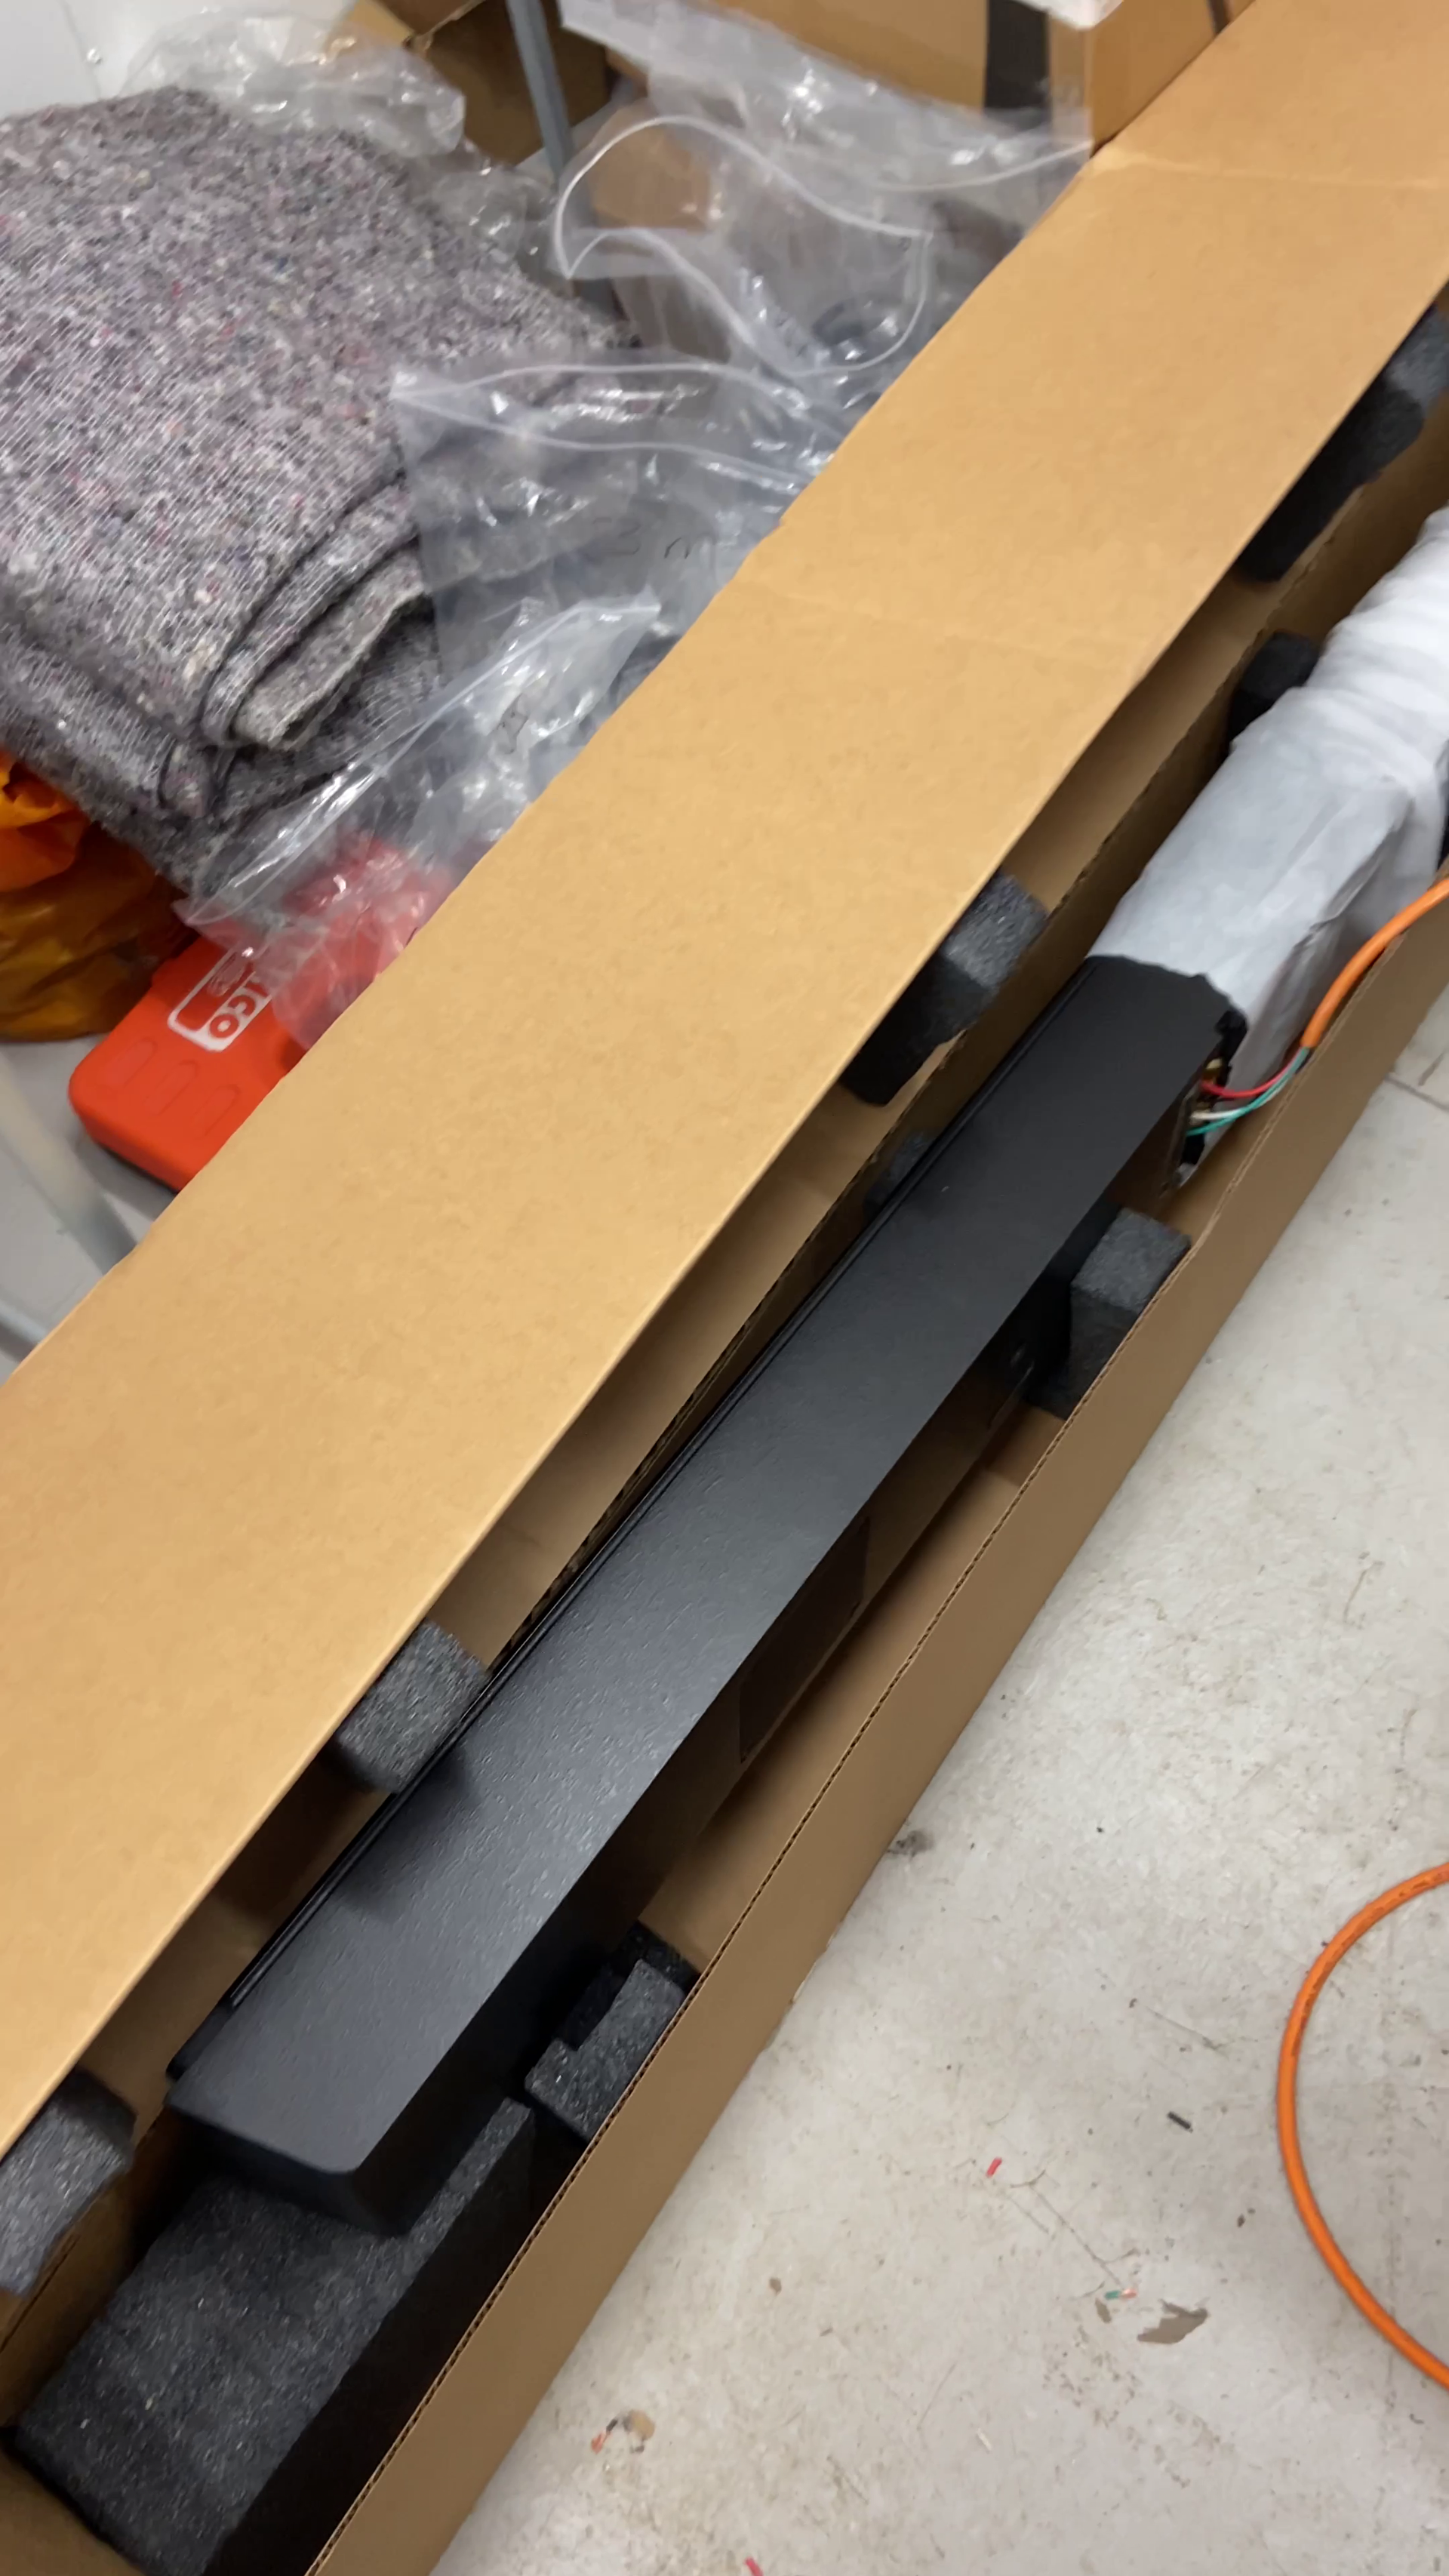
- 1 x Triad® LCR Soundbar – Custom made to match width of TV
- 1 x Triad® Amplifier
- 1 x 65” Panasonic 4K OLED TV
- 1 x SANUS TV Mount
- Multi-Room Video
- 3 x TV Wall Sockets
- Multi-Room Audio (indoor and outdoor)
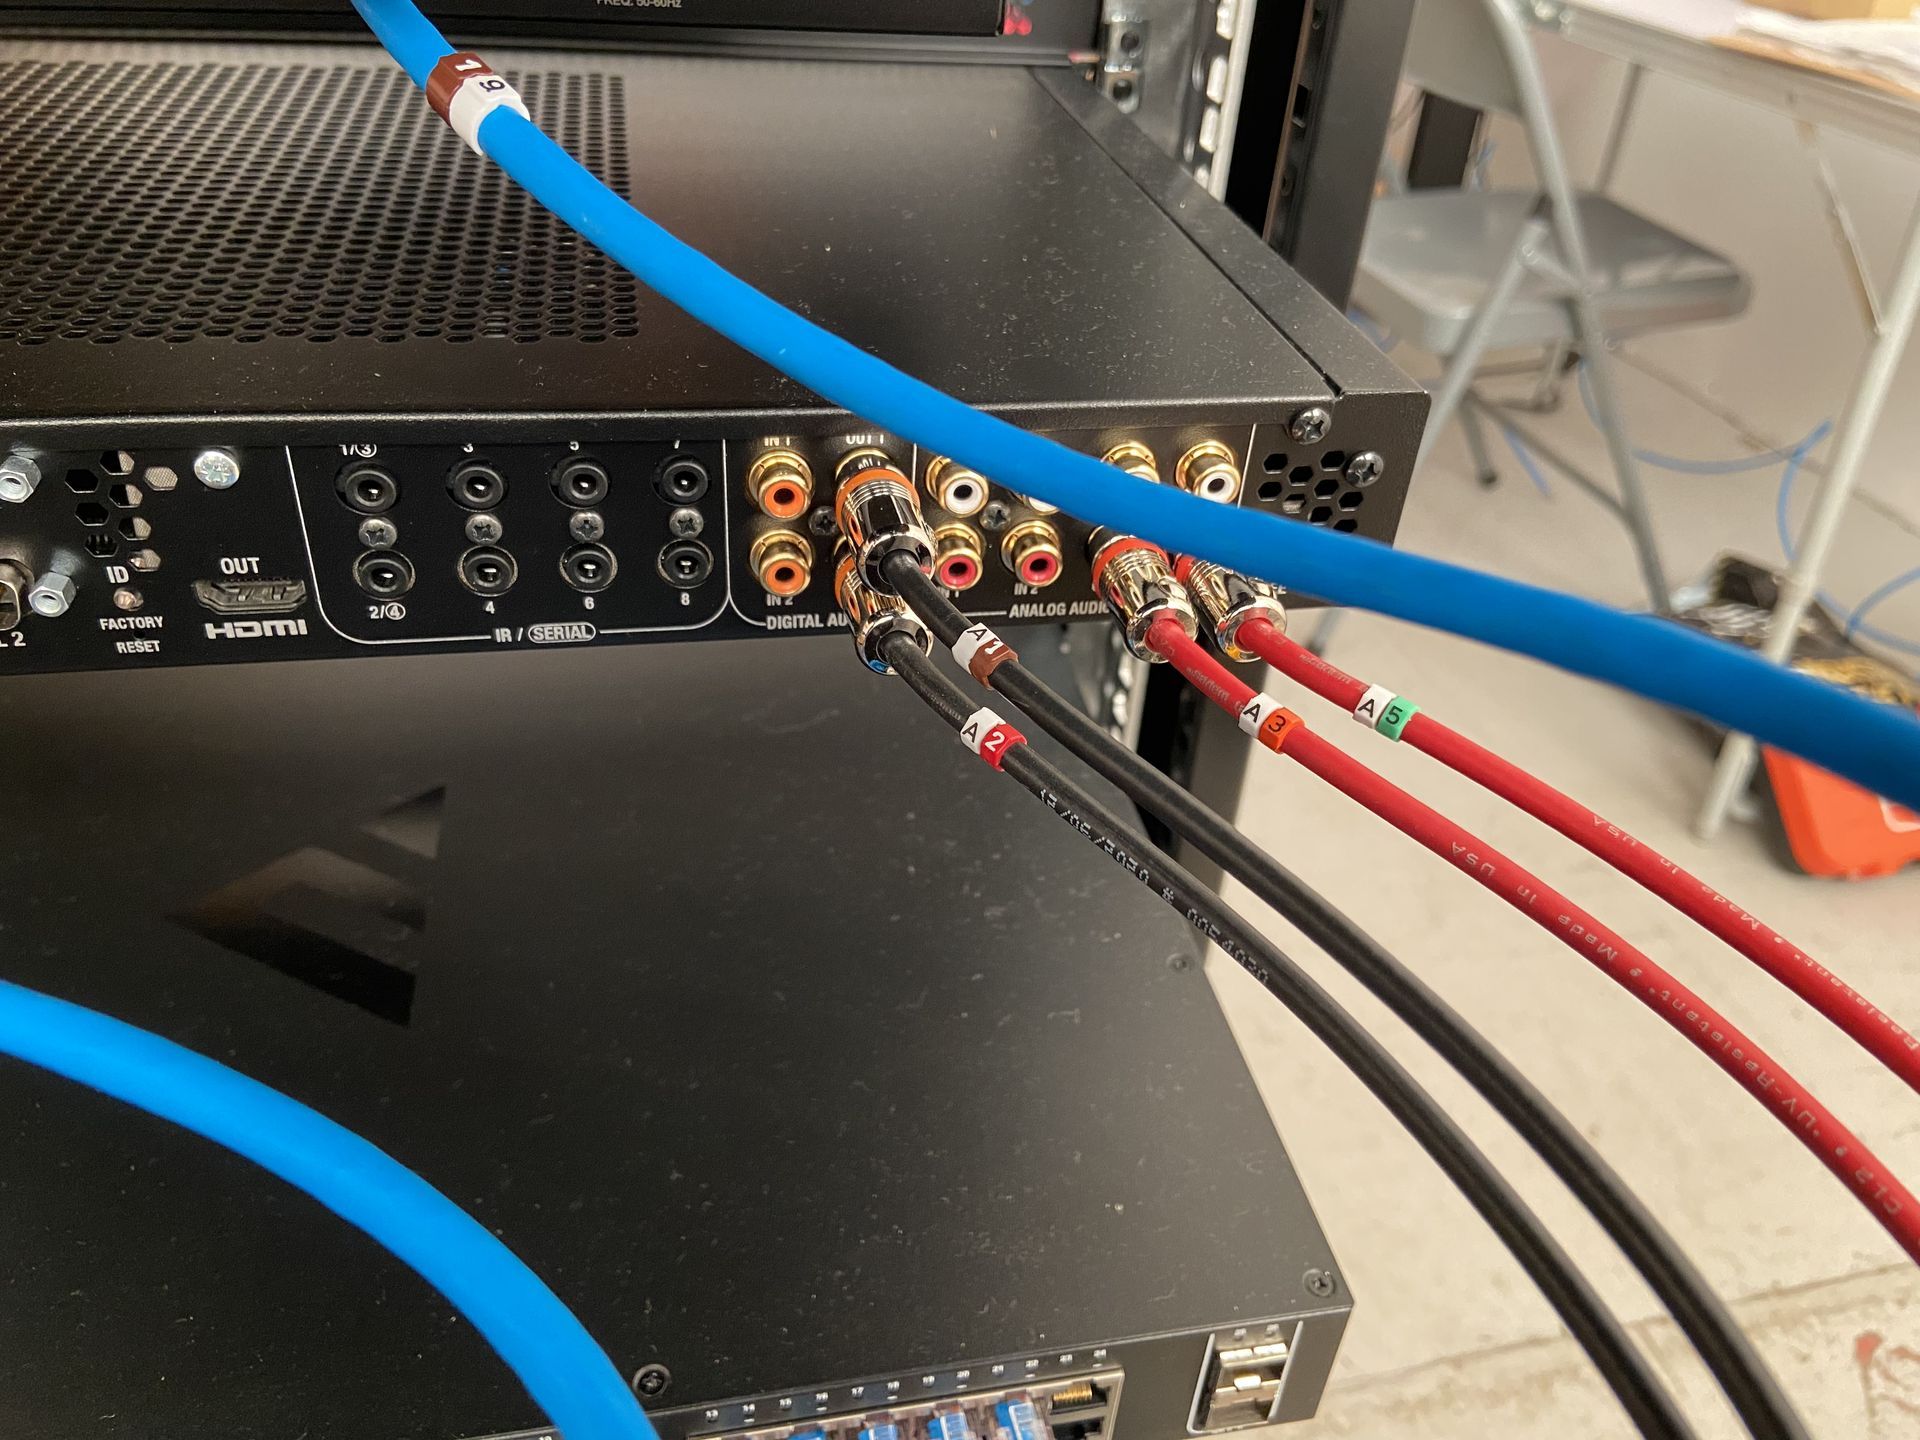
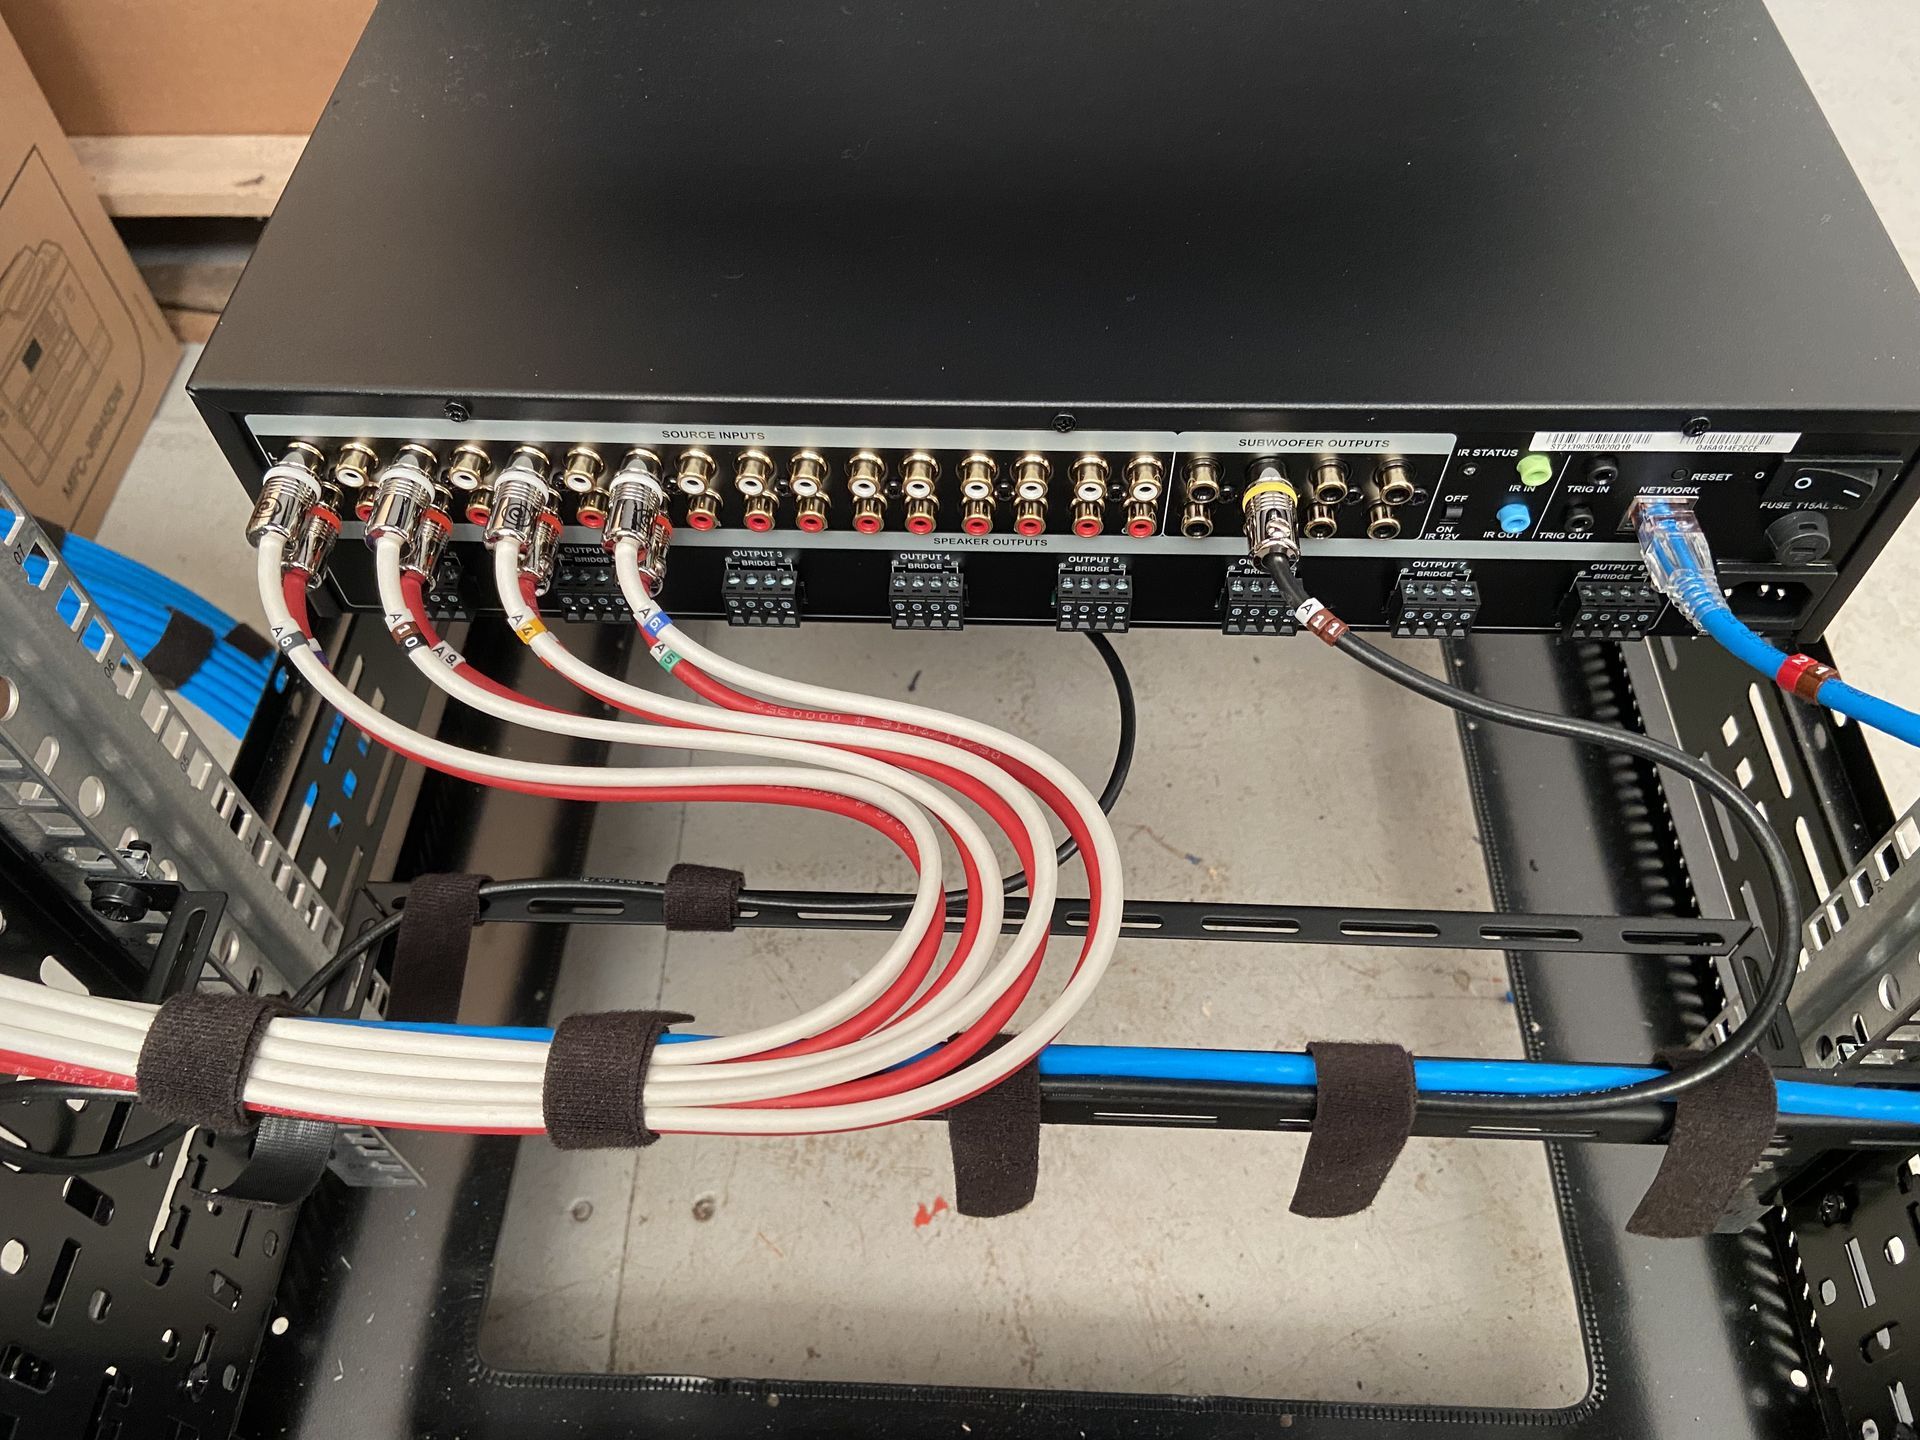
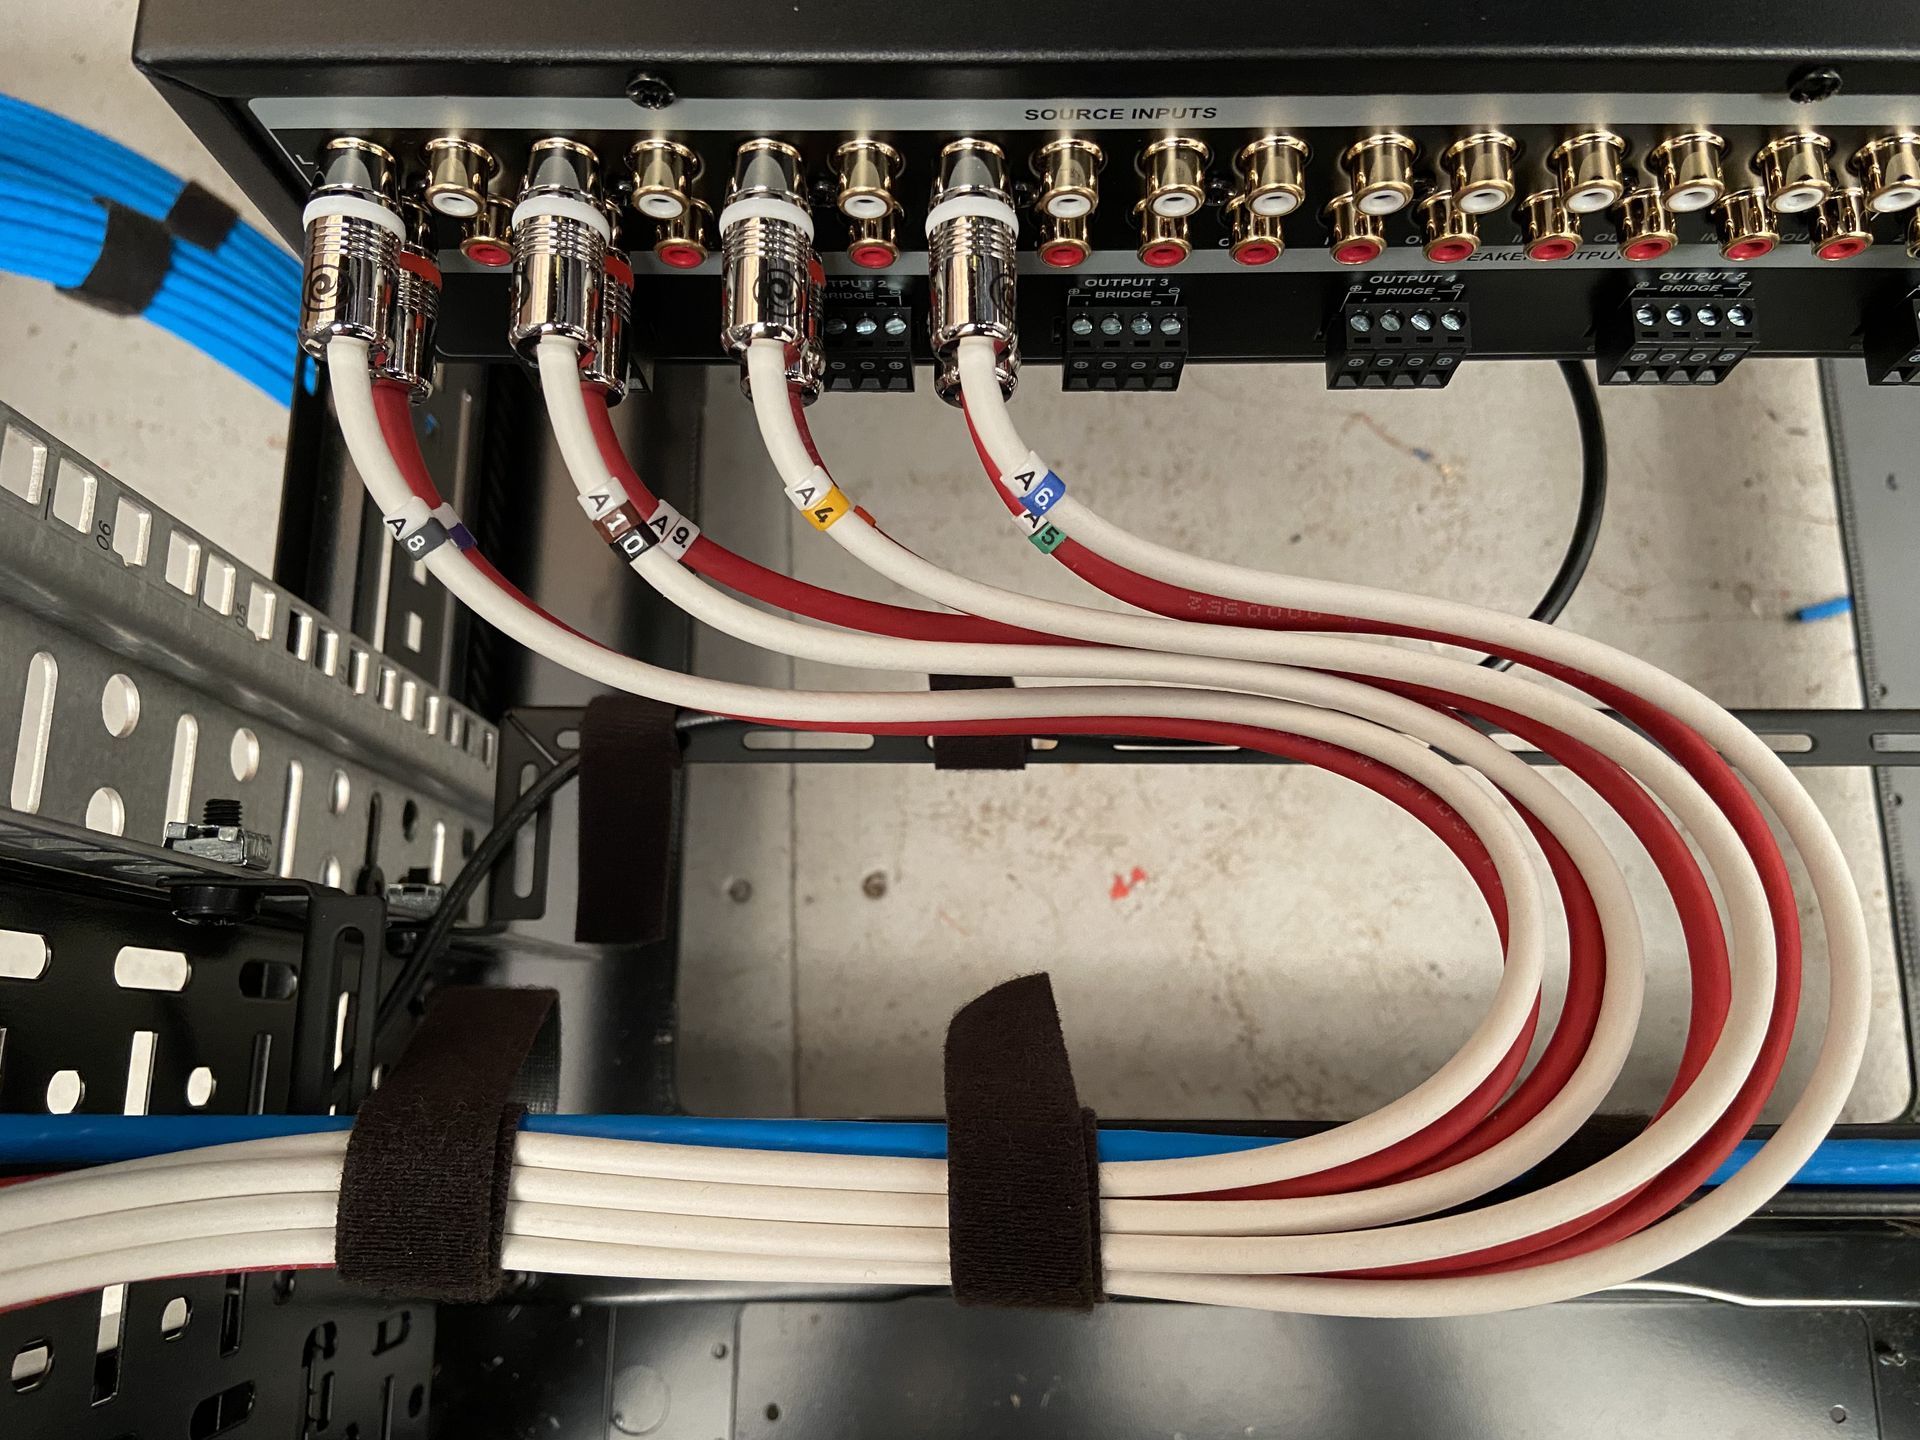
- 1 x Control4® Episode® Audio Matrix/Amplifier – 8 Zone
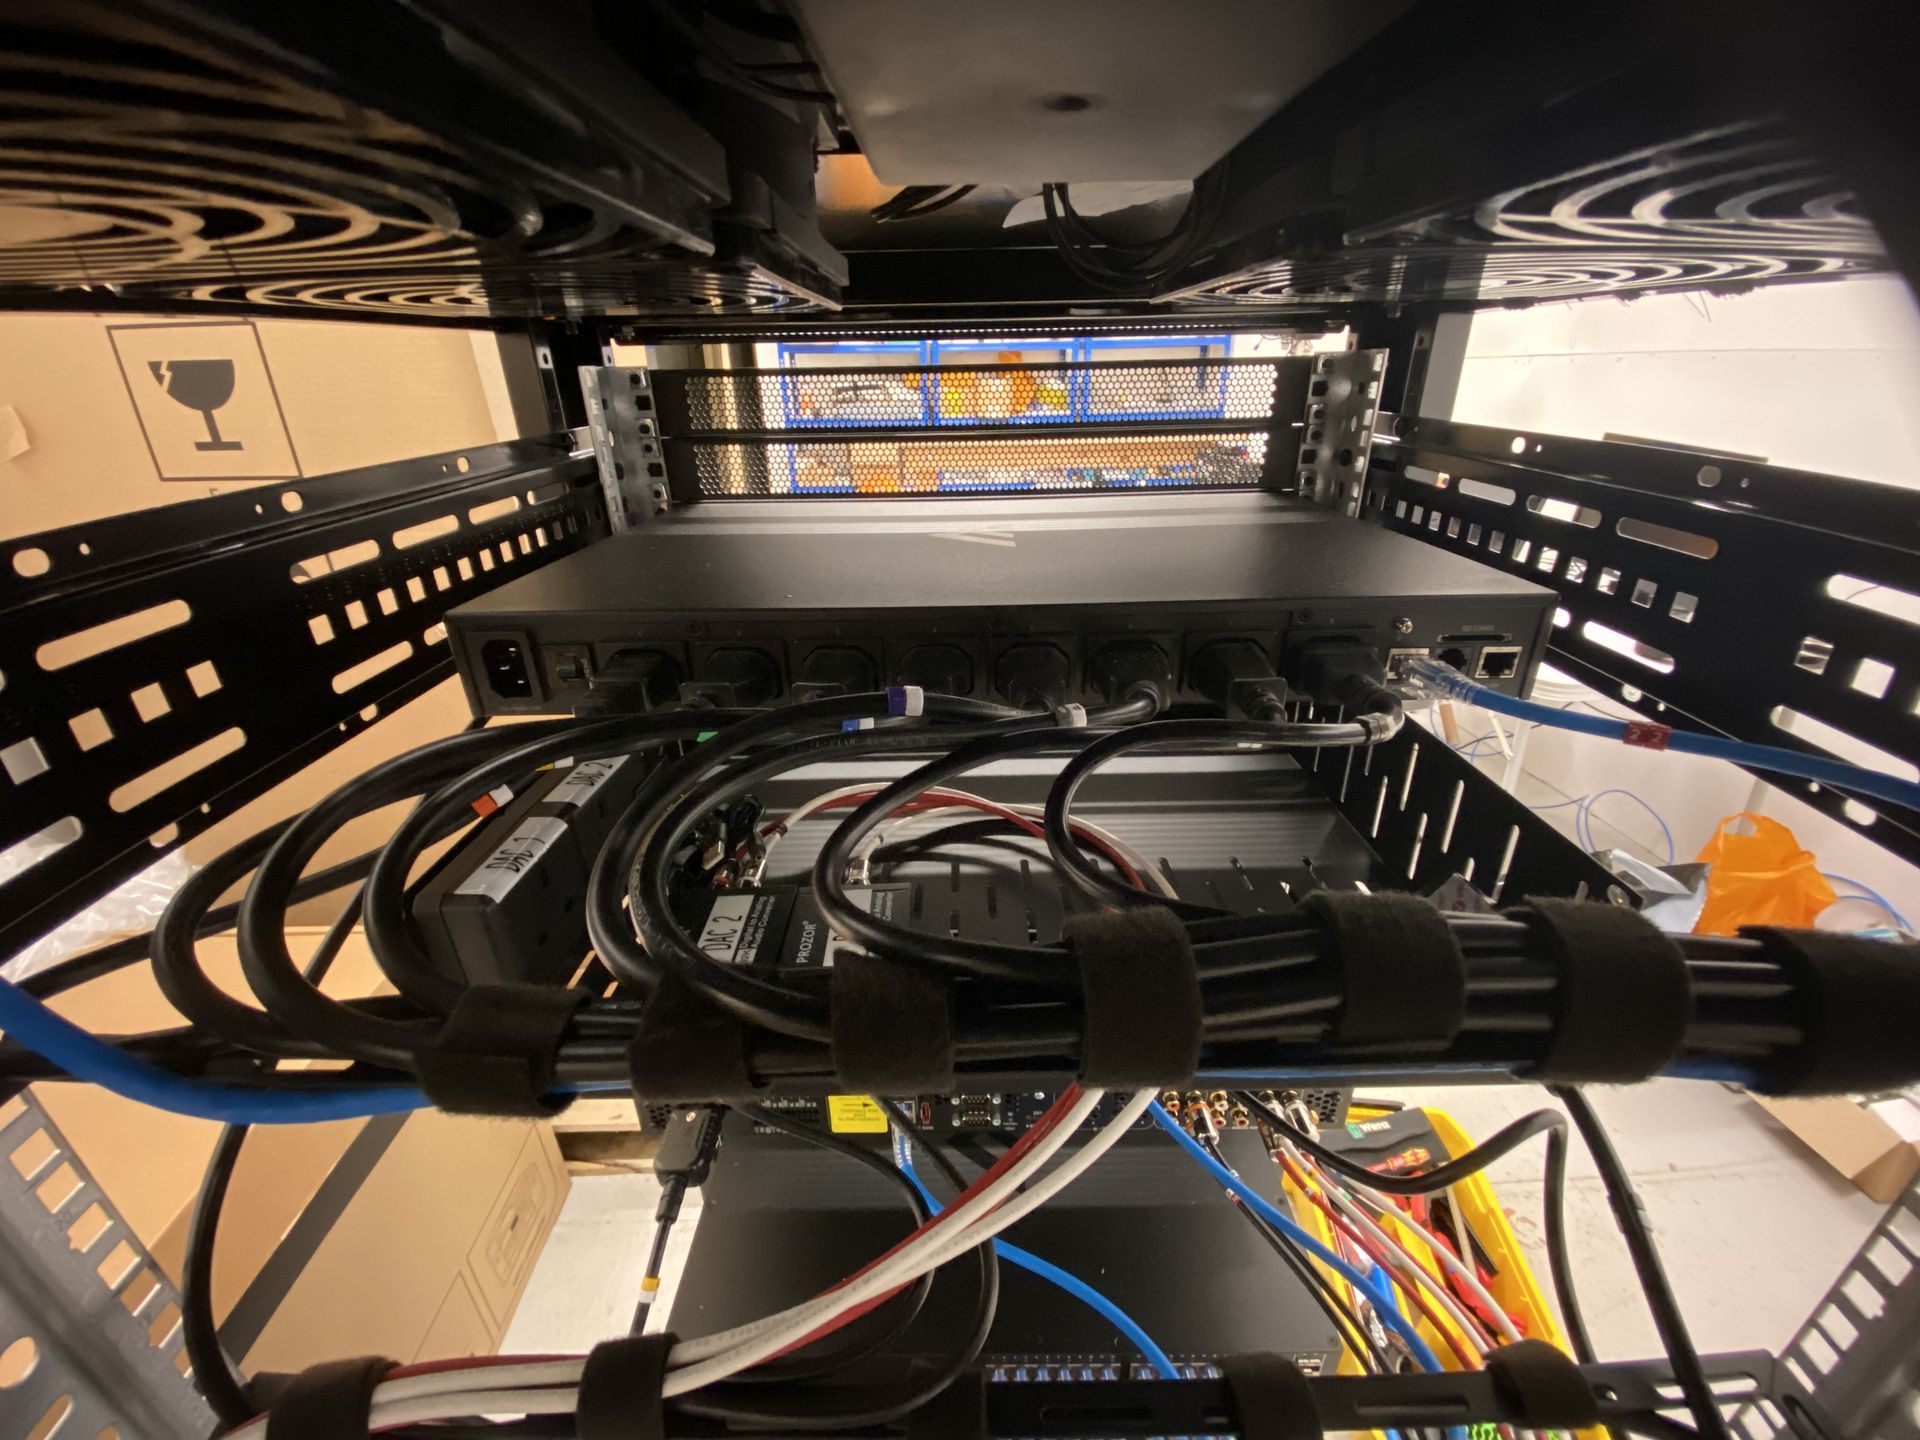
- 2 x Digital Analogue Convertors (DACs)
- Triad® In ceiling speakers – 1 Room
- KEF® IP Rated In ceiling speaker – 1 Room
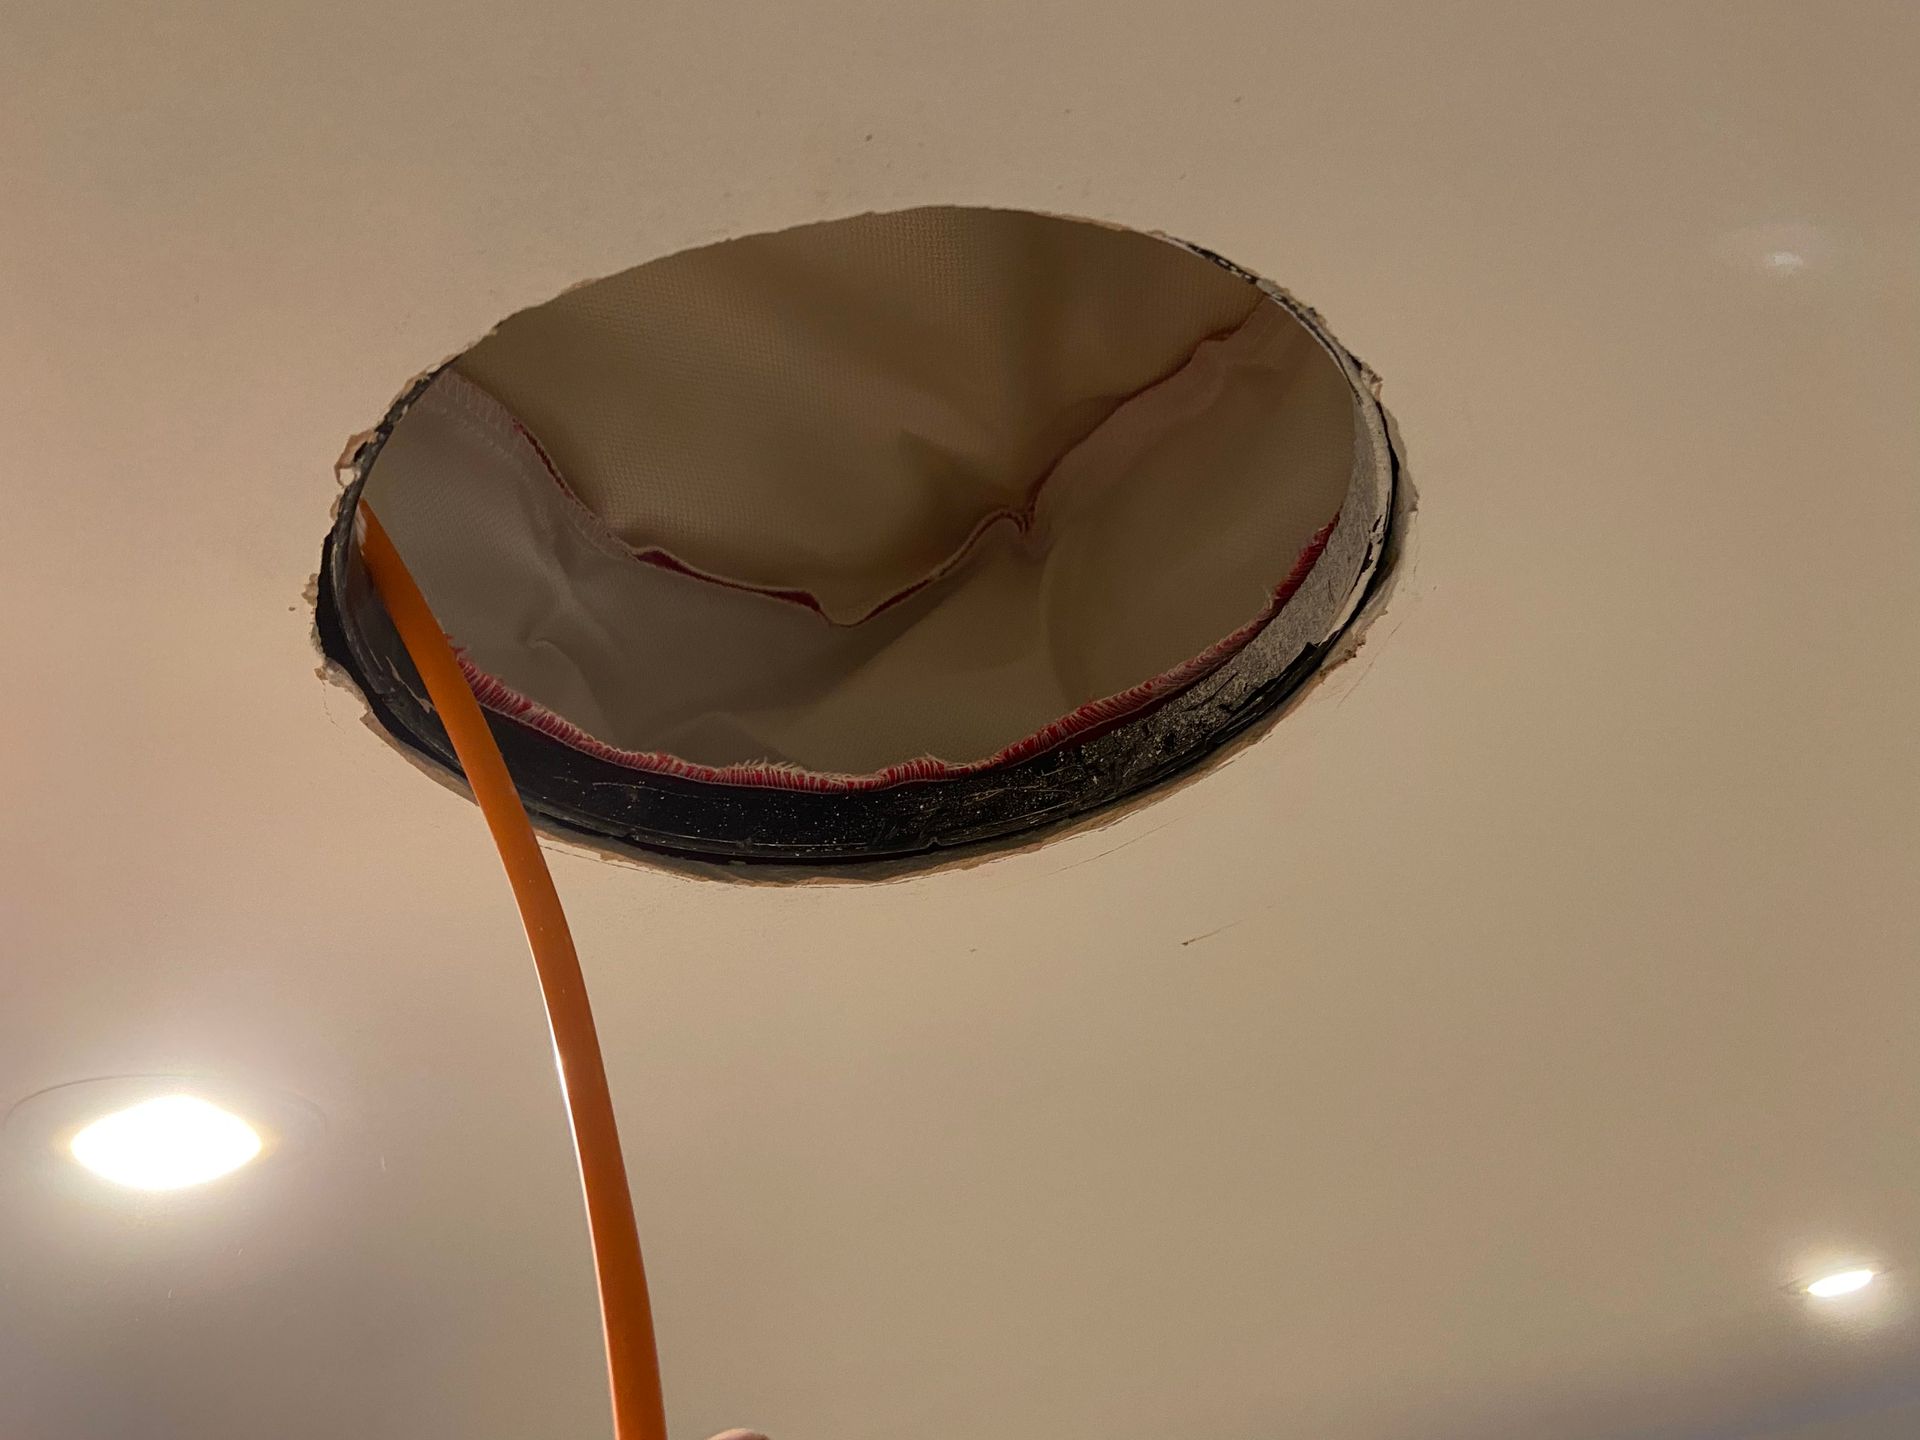
- 3 x Firetopper Pro - Acoustic Speaker Fire Hood
- Control4® Episode® Outdoor speakers:
- 2 x Rock Speakers
- 1 x Rock Subwoofer1 x Control4® Audio Matrix – 24 Zone
Smart Lighting - Future Option
Smart Home Control System
- Control4® Controller(s)
- 1 x EA5
- Smart Home Scenes
Intelligent Networking
- 1 x Pakedge® 8 Outlet Power Distribution Unit (PDU) and Surge Protection
- 1 x Pakedge® Router
- 2 x Pakedge® Wireless Access Points (WAP)
- 1 x Firetopper Pro - Acoustic Speaker Fire Hood for WAP
- 1 x Pakedge® 24 Port Layer 3 Managed Network Switch
- 17 x RJ-45 Wall Data Sockets – with 25 Year Warranty (parts & Labour)
- 1 x 24 Port Patch Panel (17 Ports)
- 1 x 24U Rack
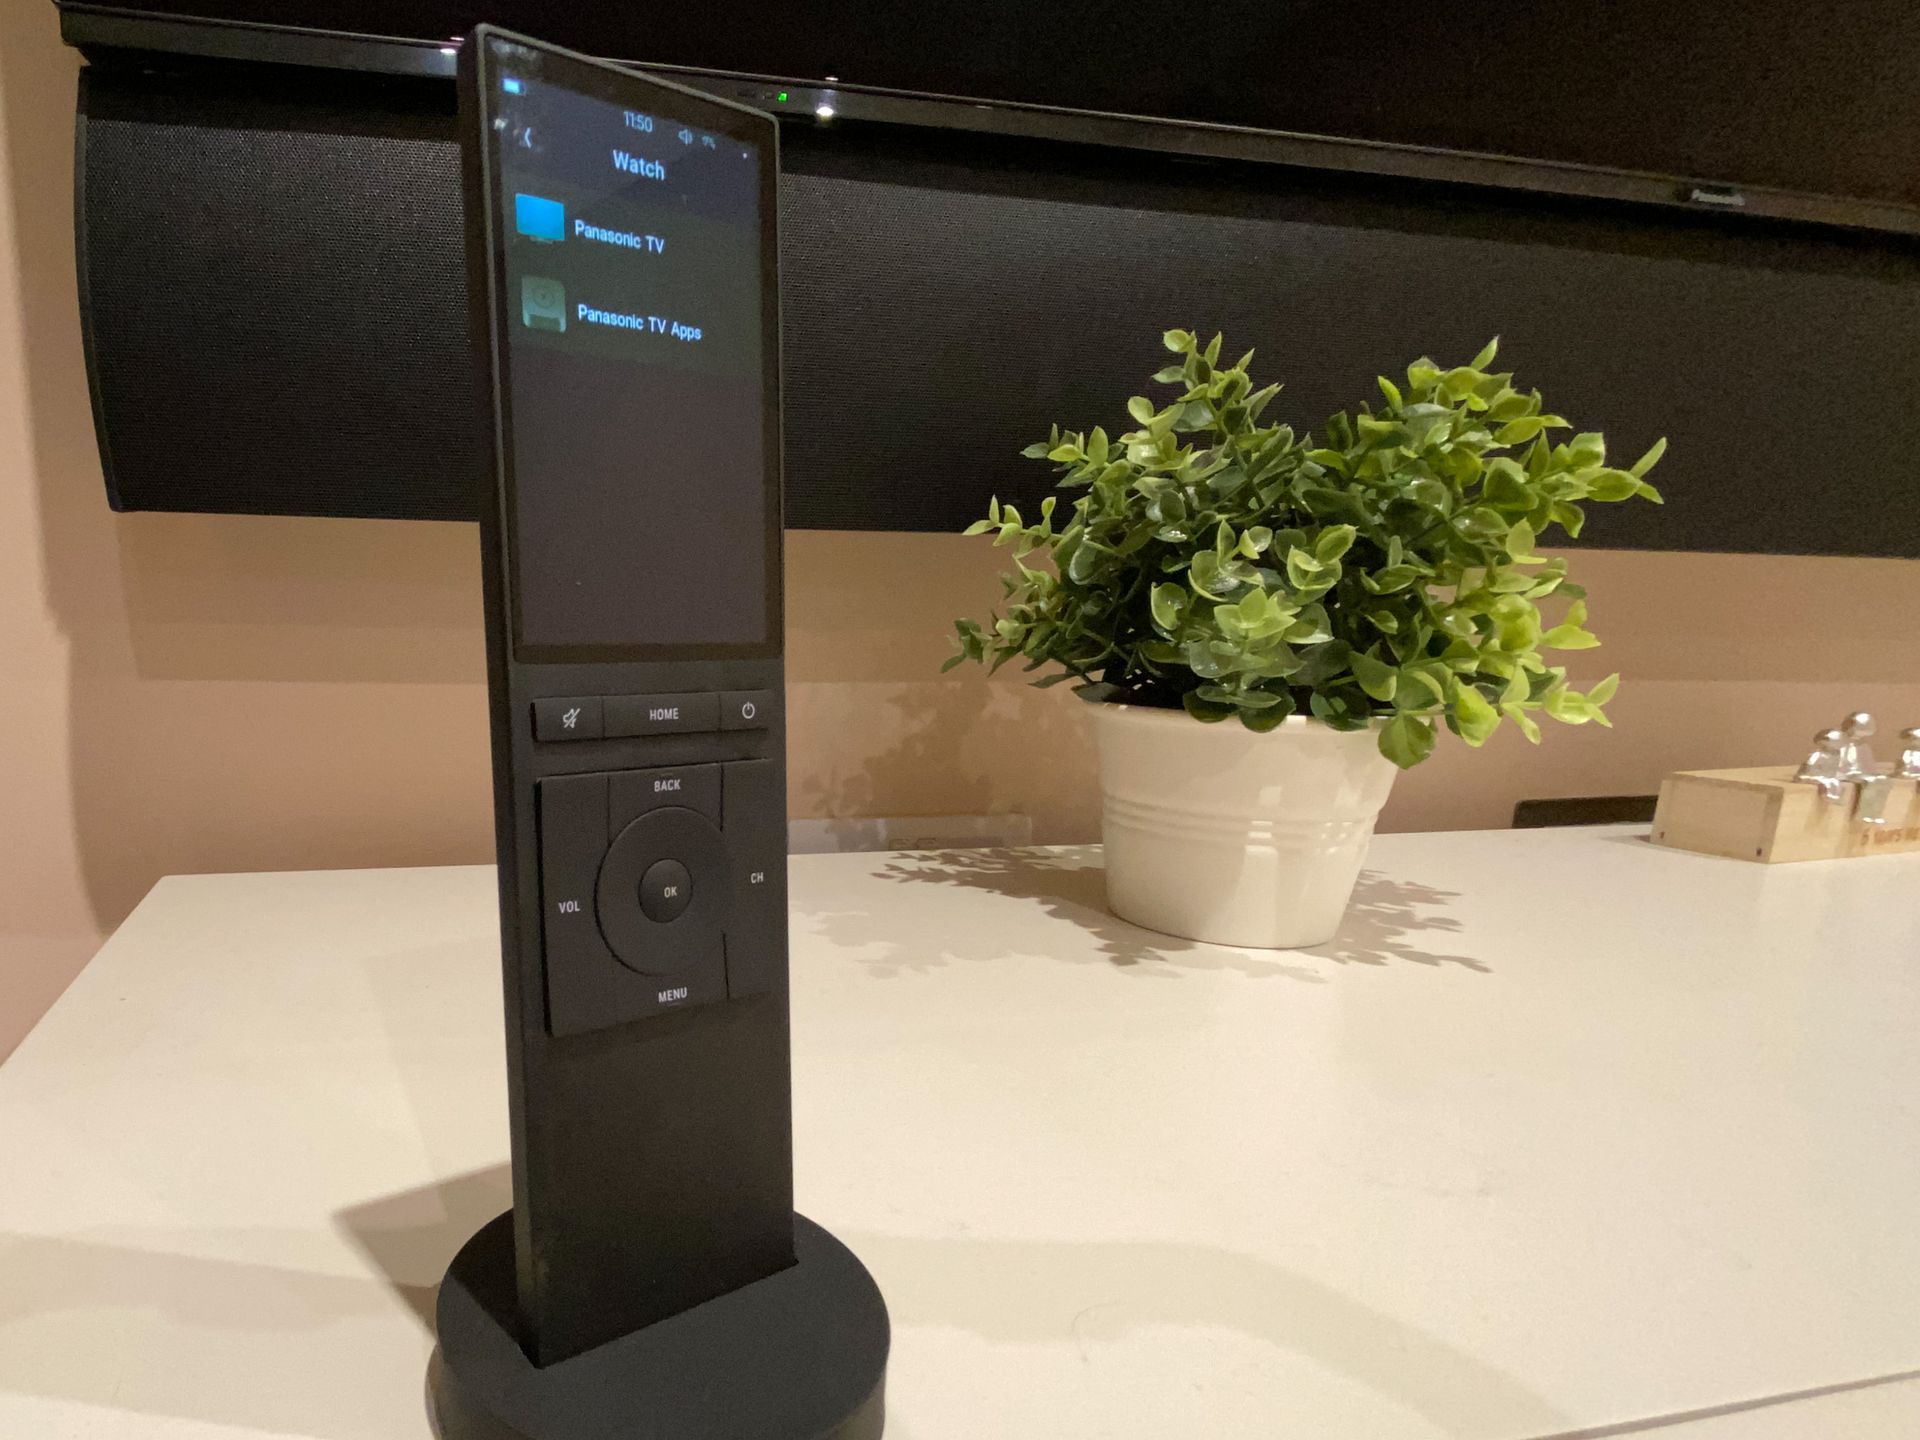
User Experience
- 1 x Control4® Neeo Remote Control
- Mobile Phone Access
Book a Free of Charge & No Obligation Initial Consultation
Use the form below to book a Free of Charge & No Obligation Initial Consultation...to discuss how we could help you with your specific project.
Note: Search for a suitable date and time. Next complete the relevant details in the form to provisionally book your consultation. We will then get in touch with you to confirm your consultation.
Click here to book using our online scheduling tool

View our other projects
Click the button below to visit the Portfolio section of our website to view our other projects