
Control4 Smart Home in Leicestershire
A stunning property to live in and entertain...
A comprehensive Control4 smart home project
A fantastic home in the East Midlands, with 75 zones of Control4® smart home control, where we installed a wide range of solutions from the following sub-systems:
- Safety & Security
- Home Entertainment
- Smart Lighting
- Comfort & Convenience
- Smart Home Control System
- Intelligent Networking
- User Experience
Initially we were introduced to the client via Suzi Wong of Grey Rose Architects, whom we had previously hosted at our Control4 show house, as the client had a specific requirement to build a dedicated home cinema room. At the start of the project the construction plans involved adding an additional wing, with an integrated large scale basement, onto the structure of the building. Along with a substantial renovation of the existing parts of the building as well as a silo grin store.
After the first consultation meeting with the client it quickly became clear that they also were interested in several of the other services we can provide, such as:
- Multi-layered Home Security
- Lighting:
- Design
- Supply
- Smart Control
- Automated Blinds
- Home Entertainment
- Home Network
- Outdoor Entertainment
The client had several key initial requirements for the project:
- Create an immersive movie watching experience
- Have the ability to provide music entertainment for large gatherings/parties across most of the communal rooms/spaces
- Comprehensive Wi-Fi signal across the whole property
We worked closely with the client to deliver a complete smart home solution with Control4 at its core.
Contents of this case study:
- Key project statistics
- Site survey
- Smart home design
- Project put on pause by client
- Smart home 1st fix
- Smart home 2nd fix
- 2nd fix bench testing
- Smart home 3rd fix
- Finished smart home
- Overcoming specific project challenges
- Summary of installed equipment
If you would like to discuss how we could help you with your specific project, feel free to call us +44(0)1664 500552
Or click the following button to use our online consultation booking tool
Key project statistics
- 4 Buildings:
- 2 x Floors
- 54 x Rooms:
- 5 x Bedrooms
- 5 x Ensuites
- 3 x Bathrooms/WC
- 2 x Kitchens
- Over 12km of pre-wire 1st fix cables
- 75 Zones of Control4® Smart Home control
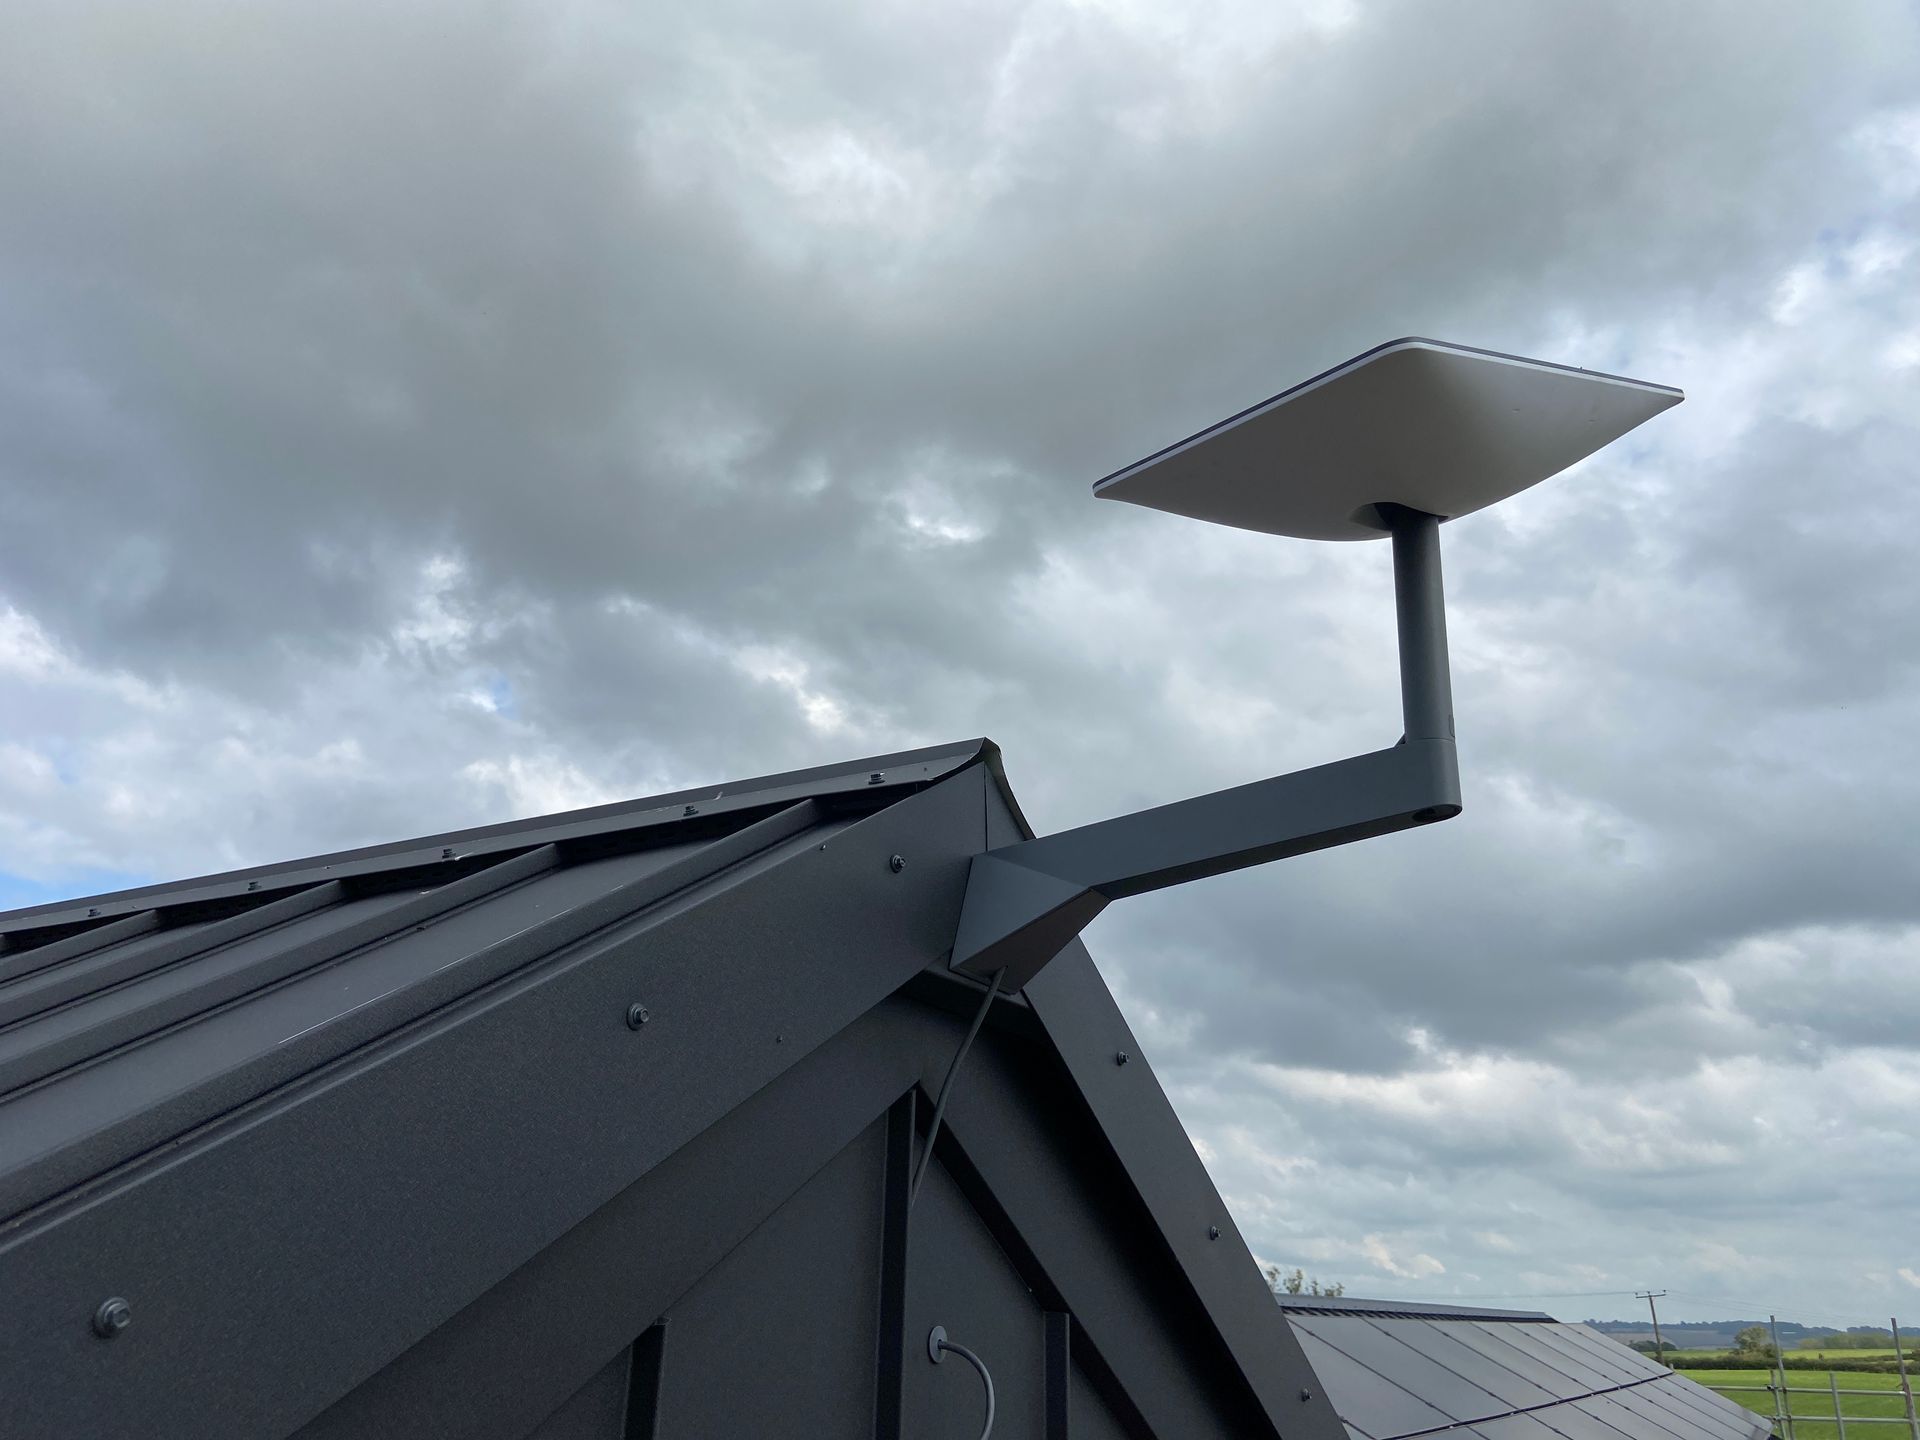
- 12 Wireless Access Points across property:
- 11 x Indoor WAPs
- 1 x Outdoor WAP
- 22 x Zones of Multi-room Audio
- 130 x Circuits of Lights, including RGBW & Digital Pixel LED Strip Lights
- Home Cinema Room:
- 9.1.6 Speaker Configuration - Dolby Atmos
- 4m Wide Projection Screen
- JVC 4K Projector
- Acoustic Treatments
- Stretch Fabric Wall Installation
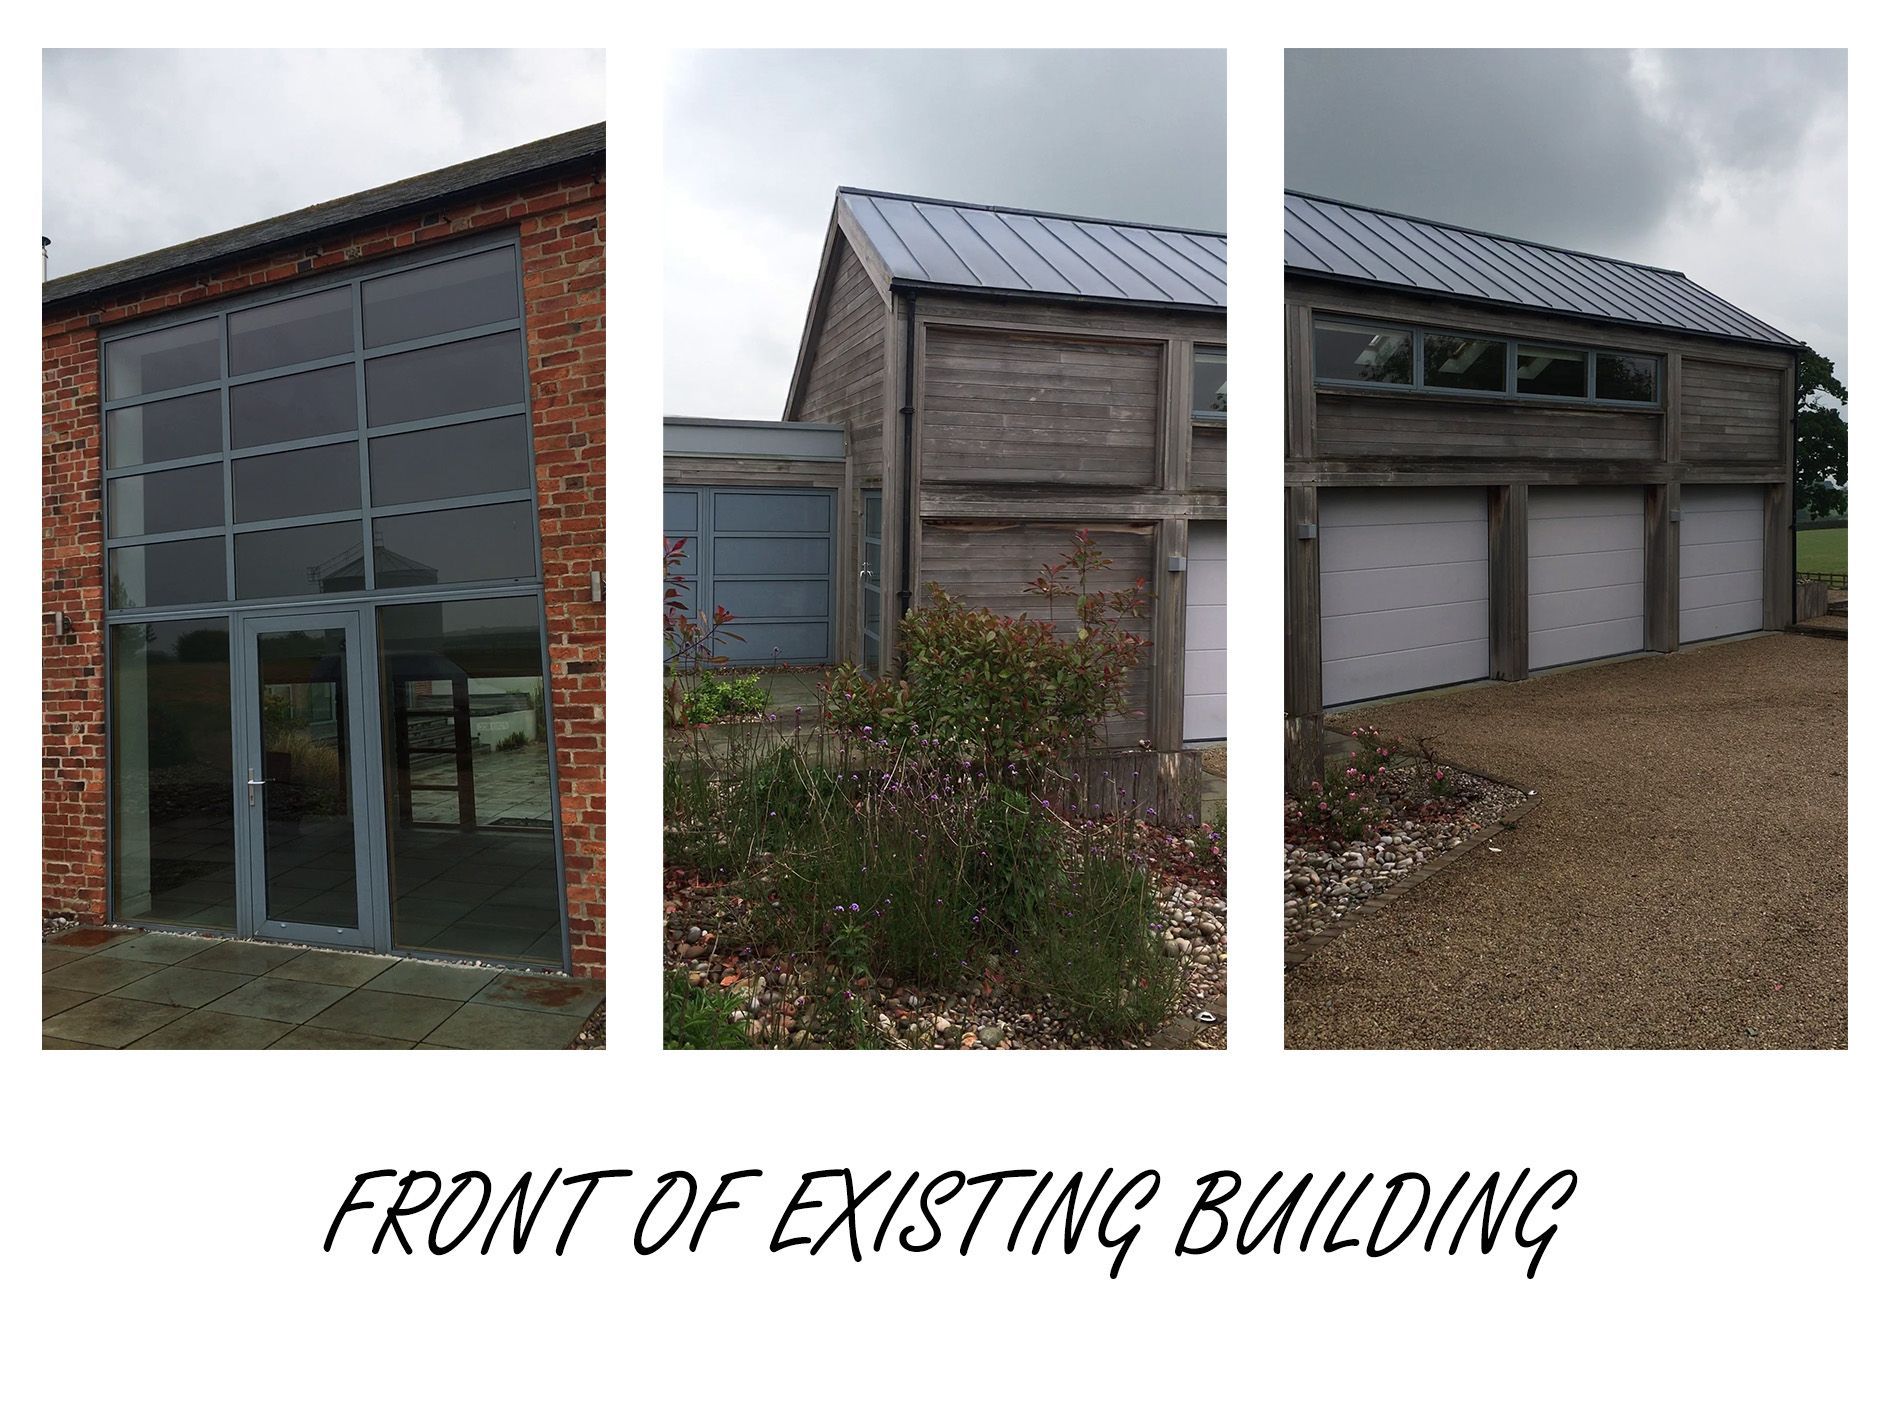


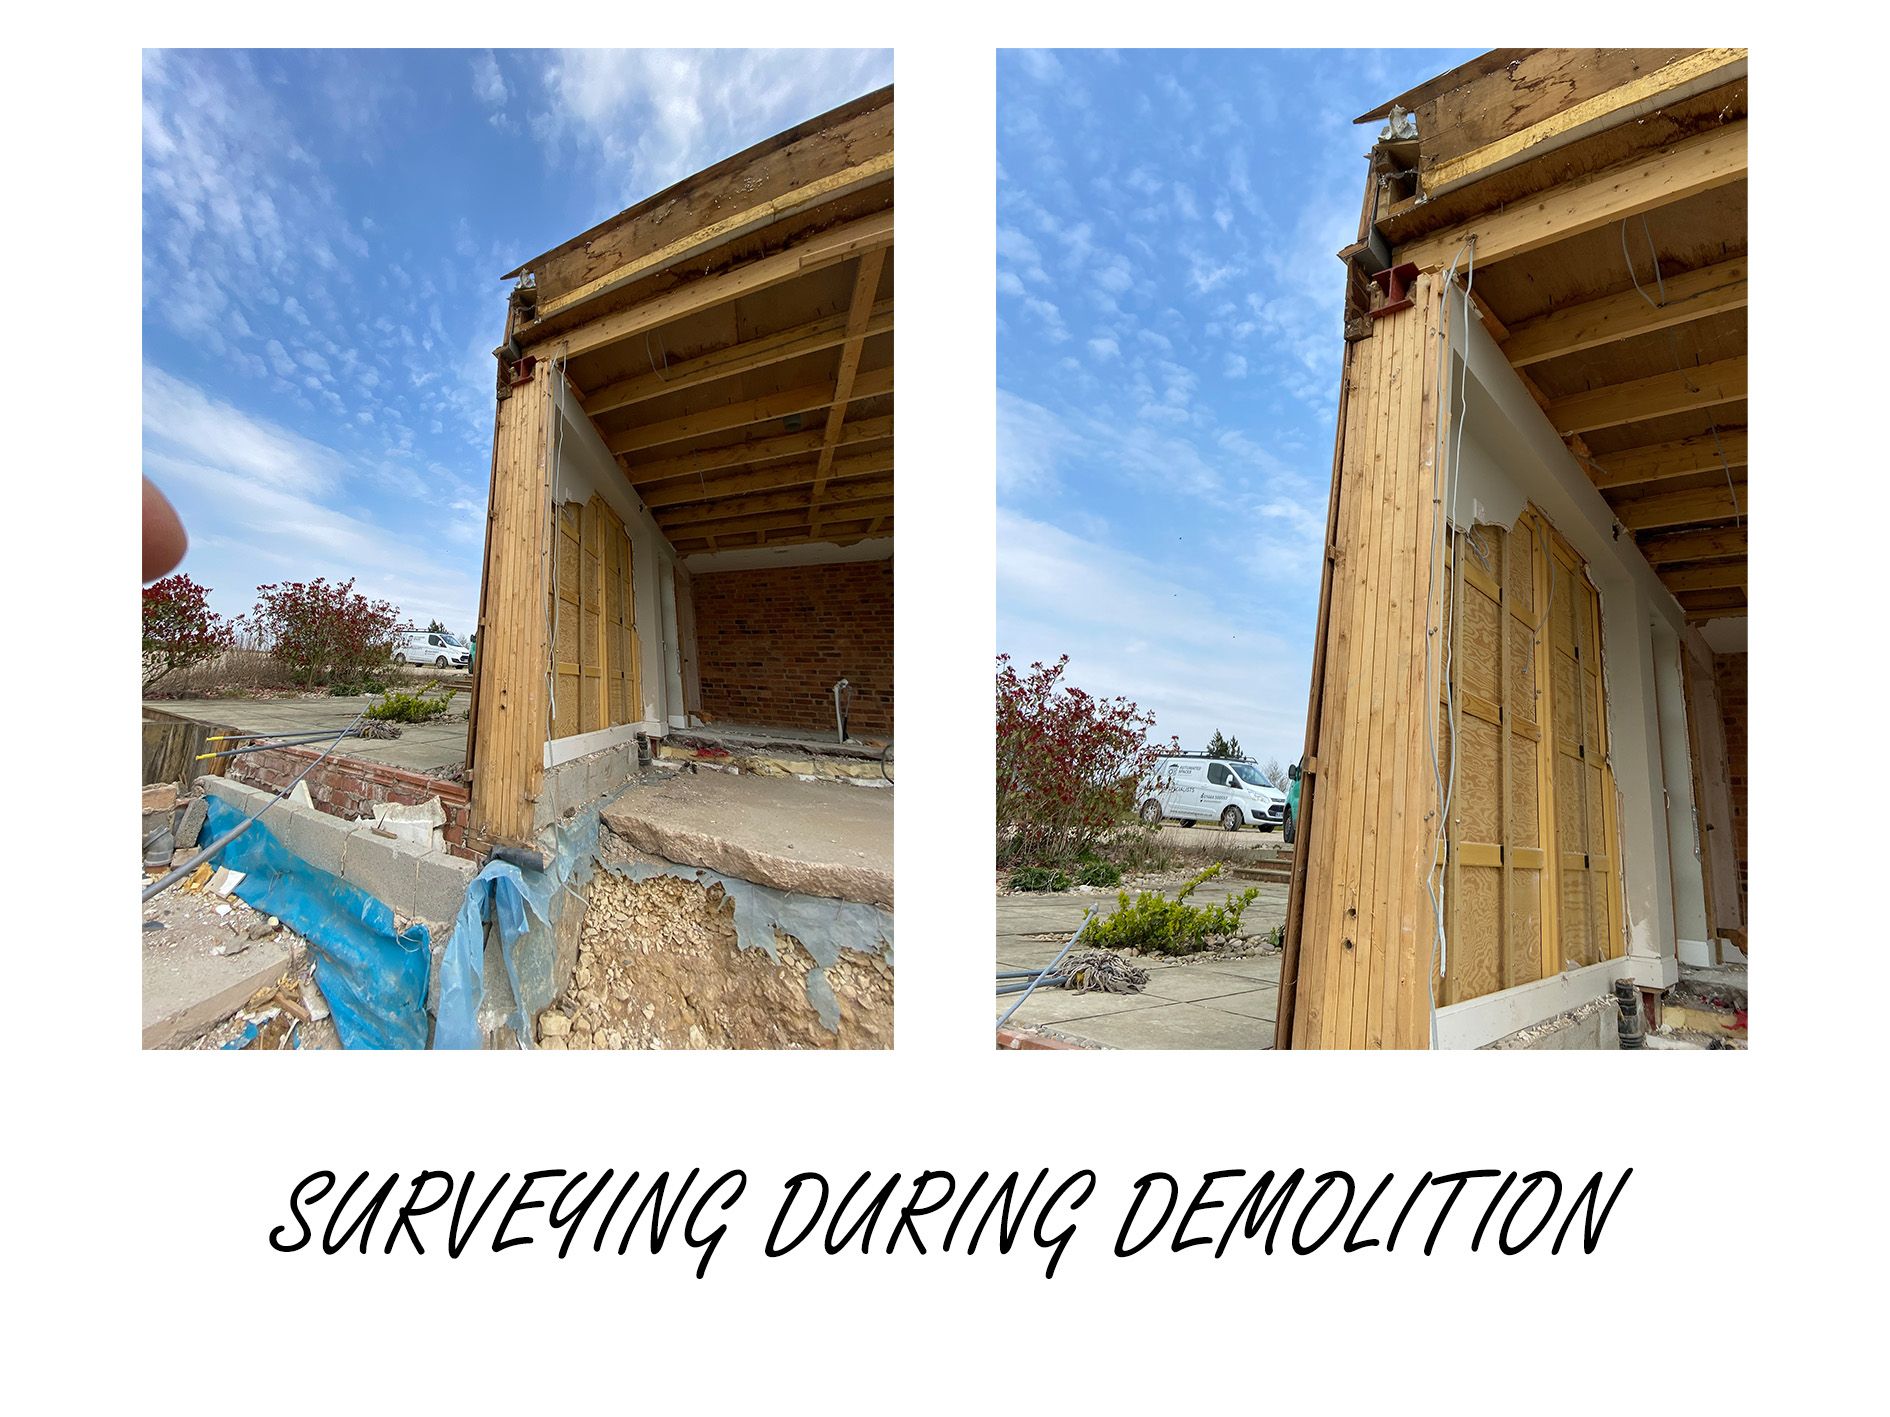
Site survey
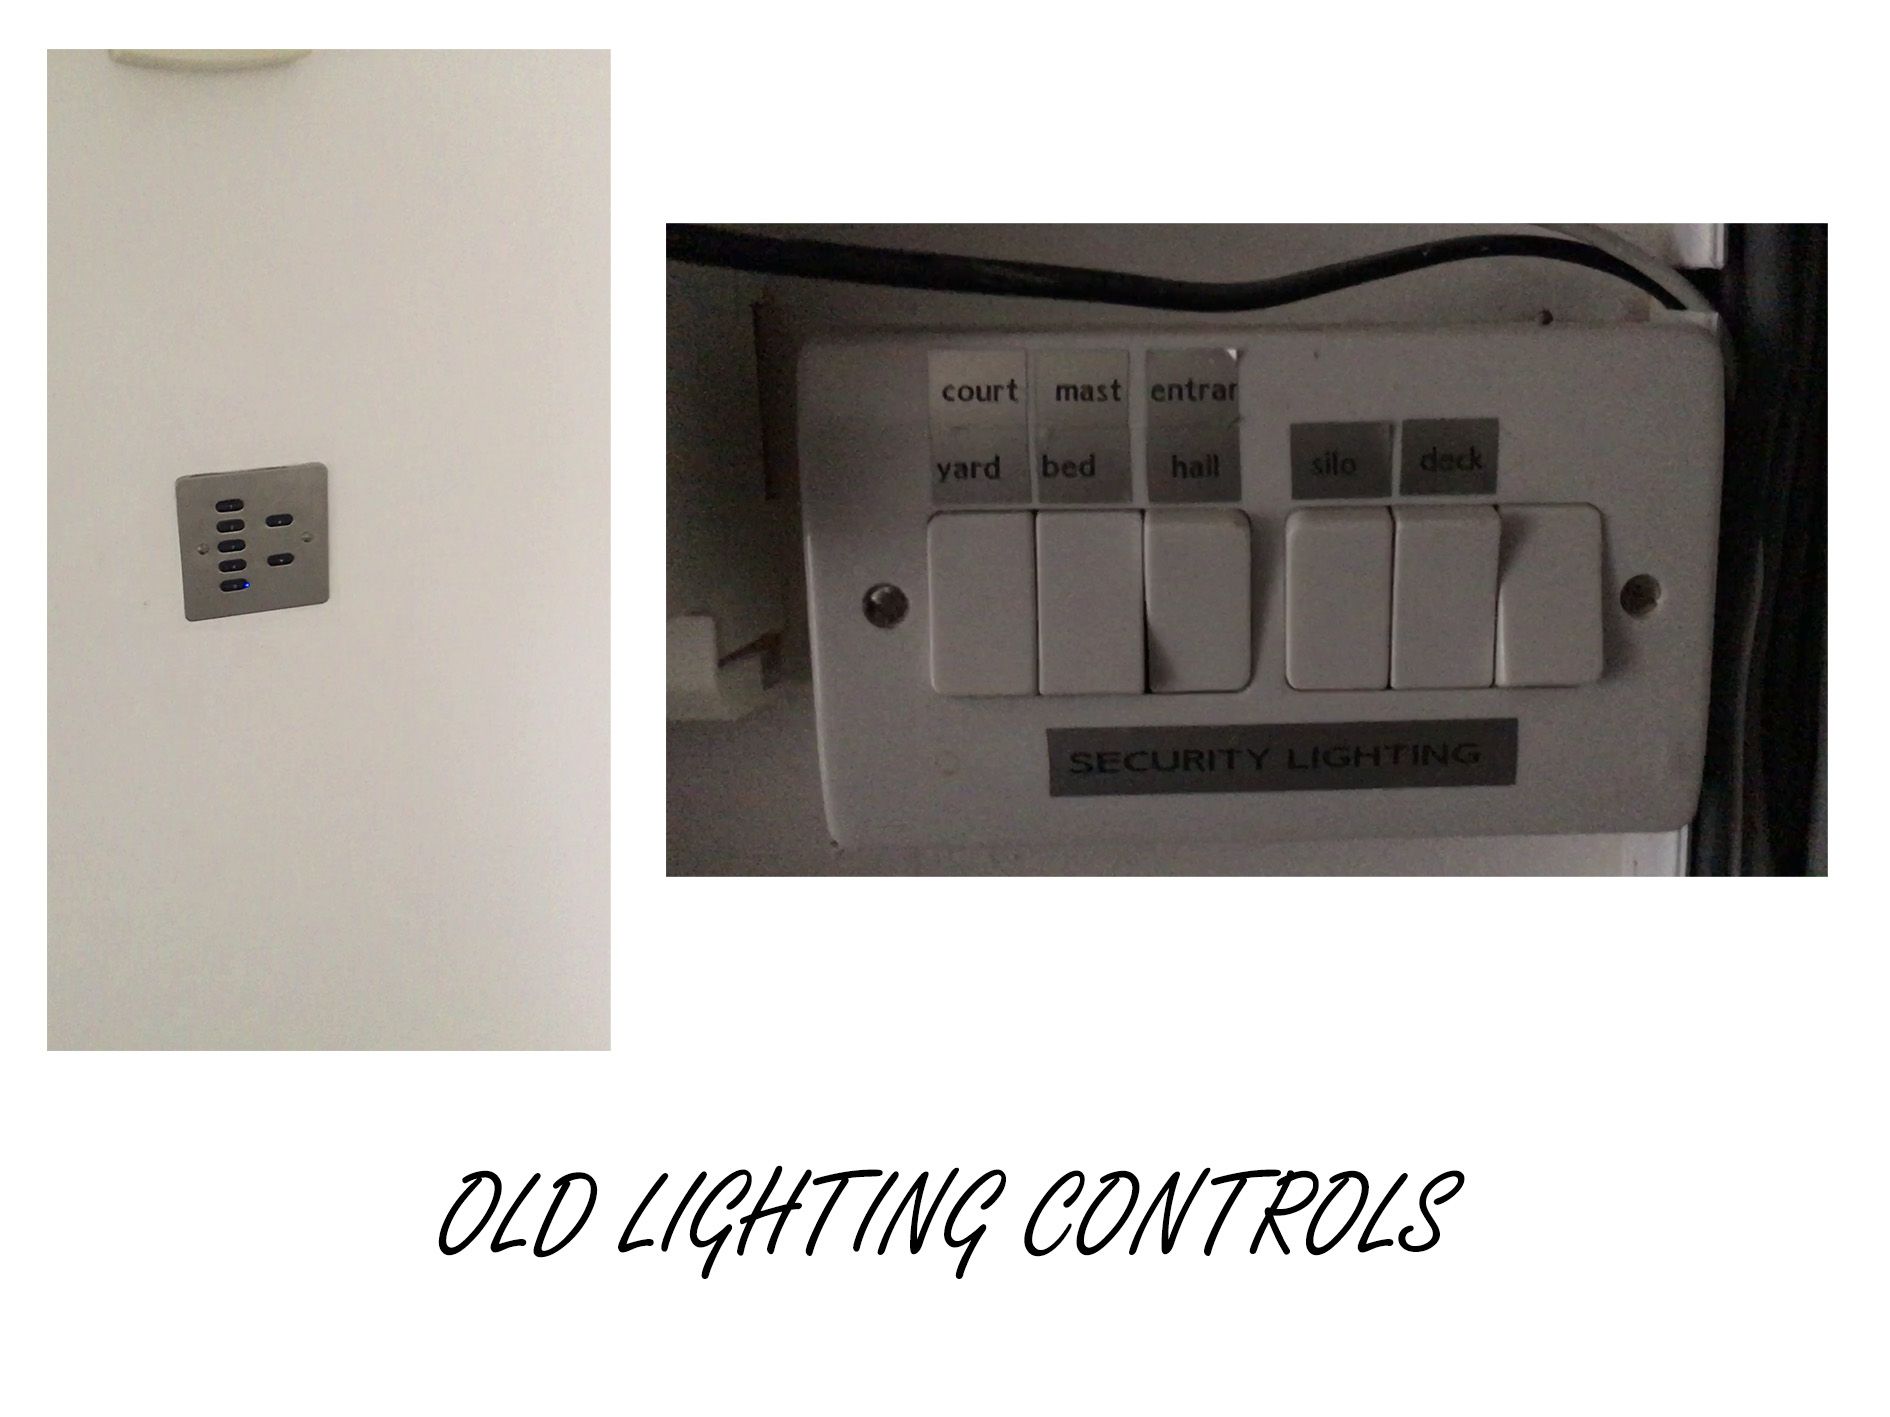
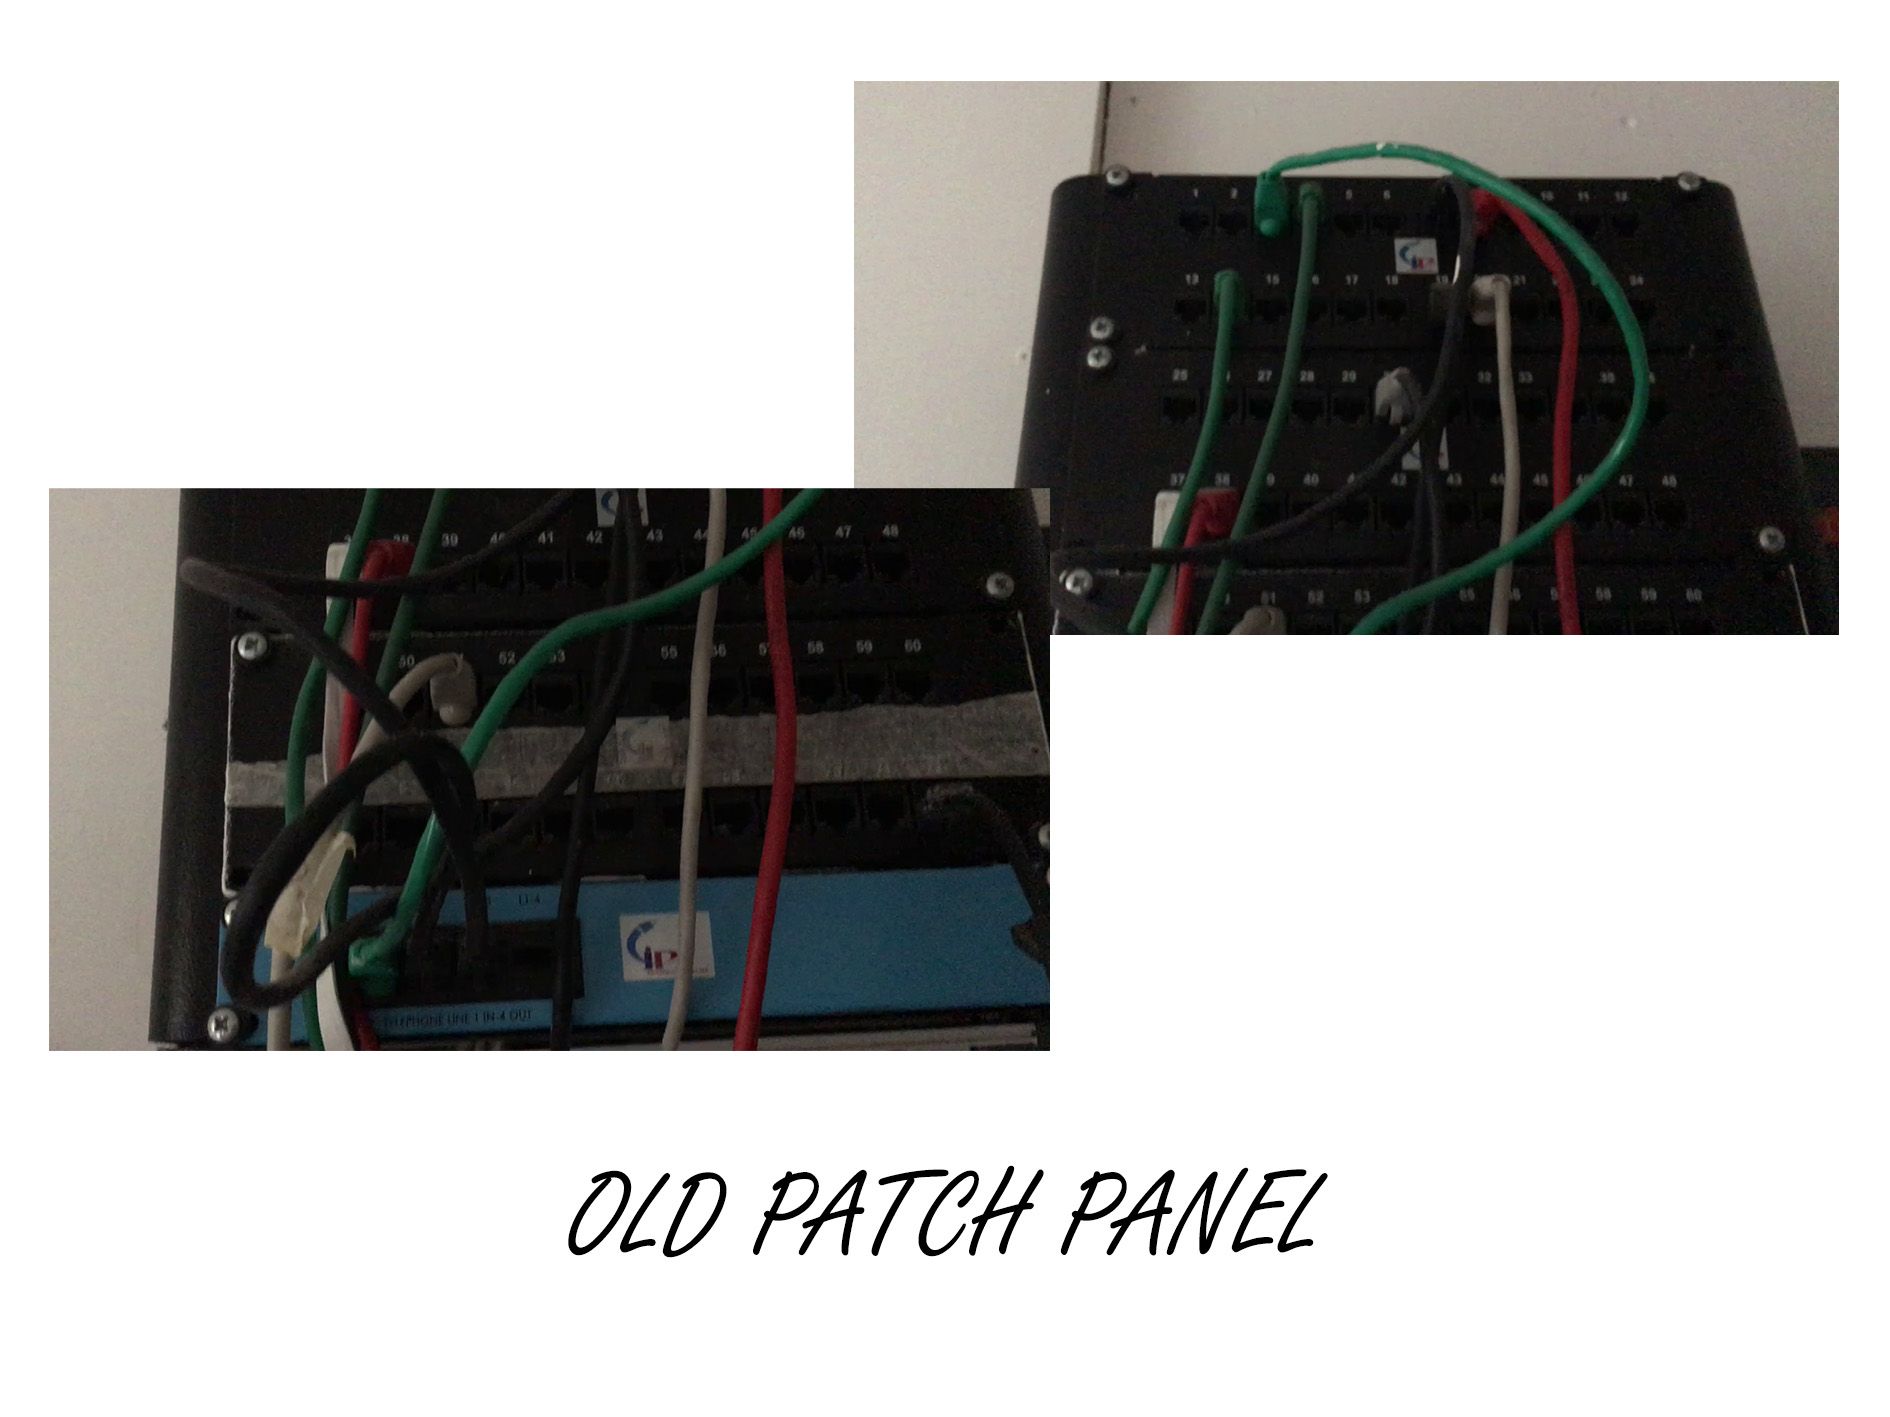
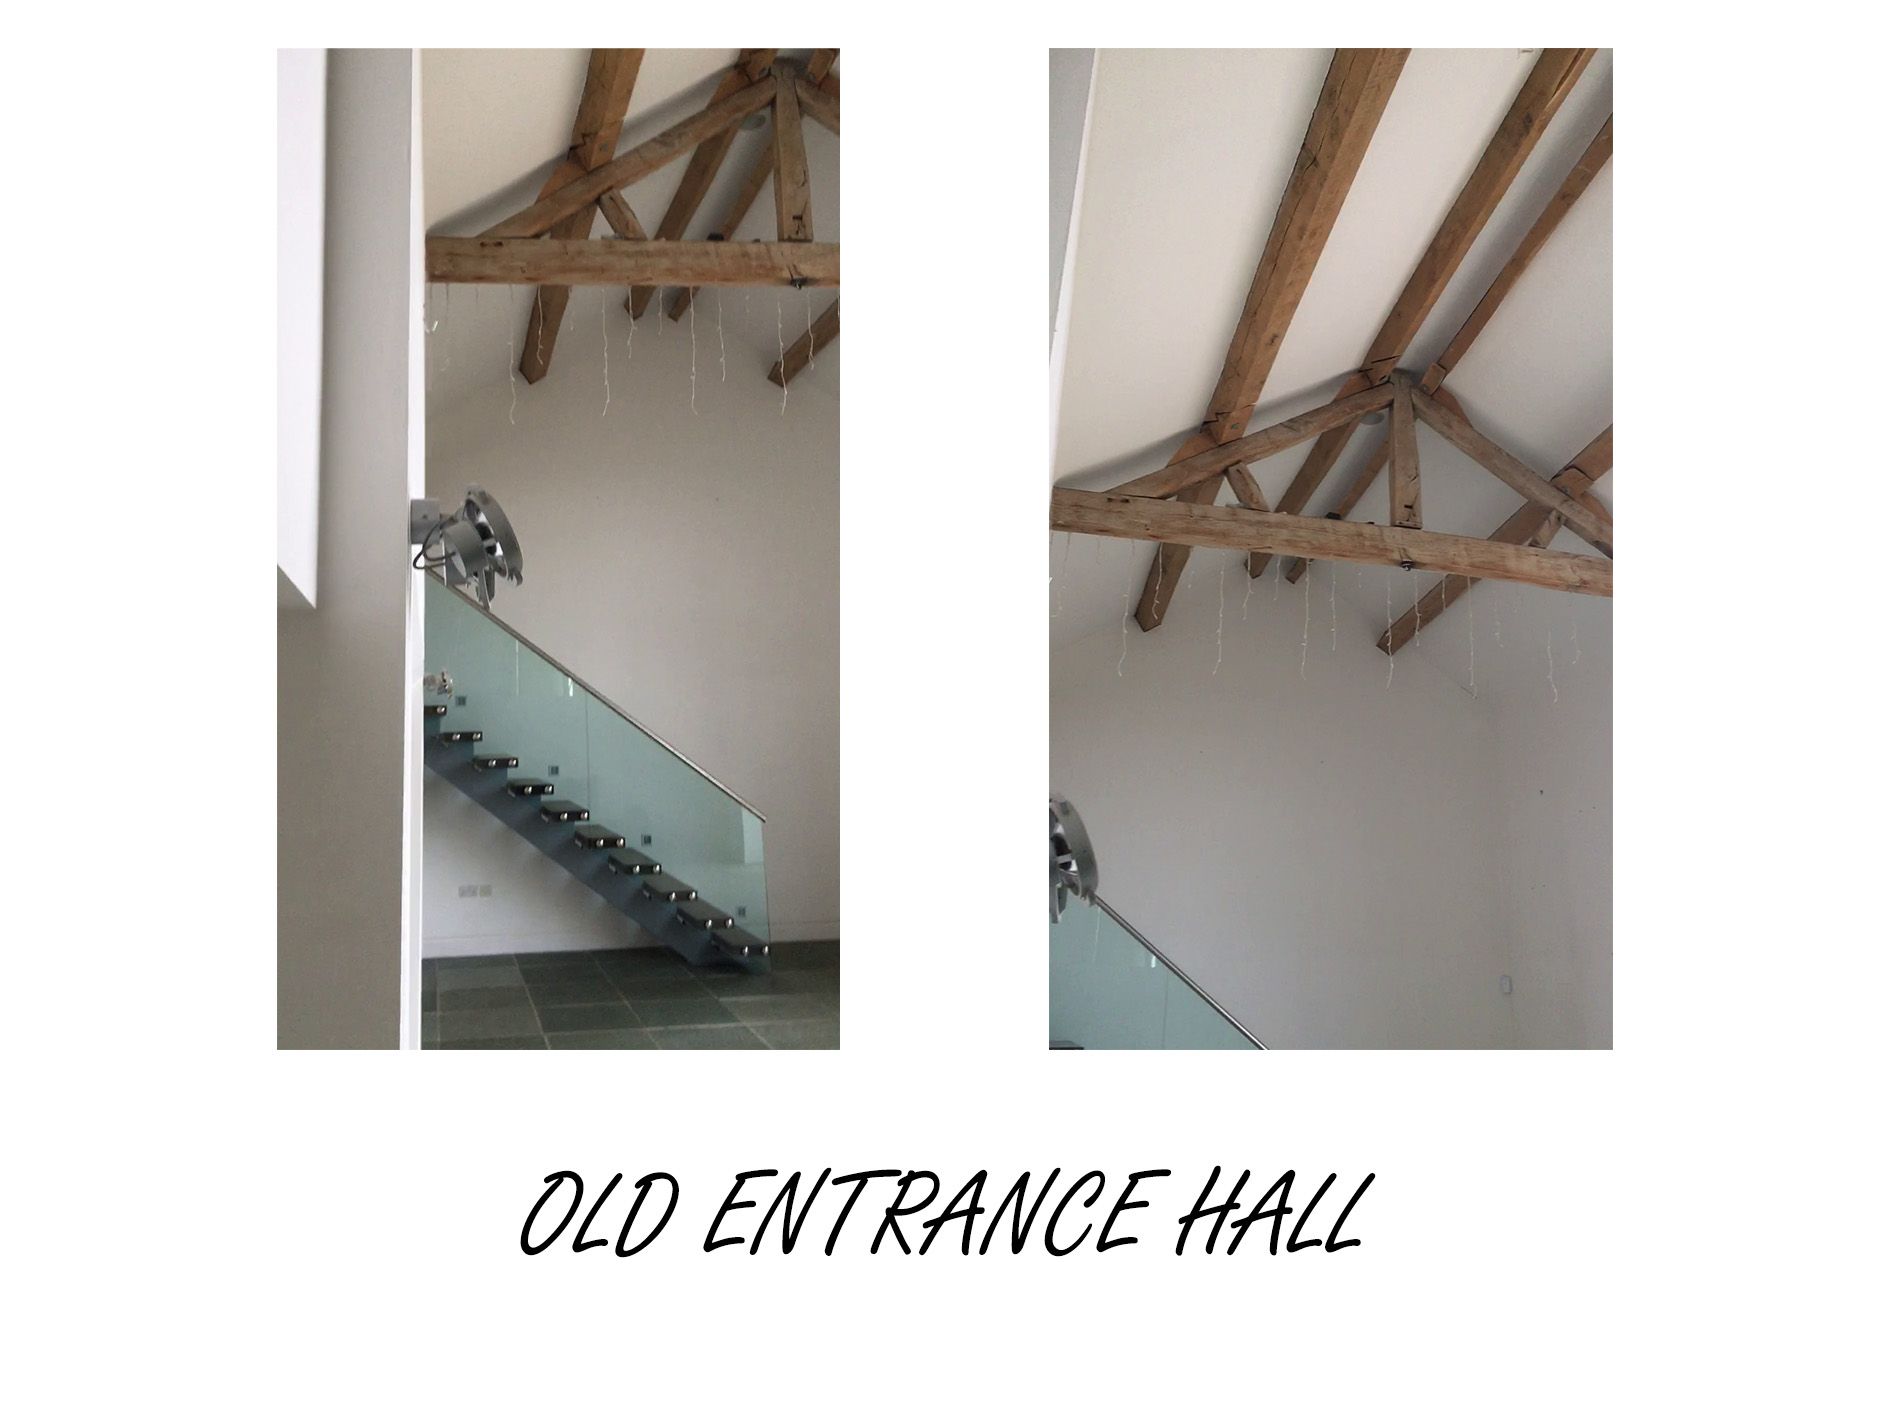
We conducted an initial site survey at the start of the discussions with the client. We were able to inspect the existing building elements and equipment already in place. It quickly became apparent that the existing smart lighting solution, multi-room audio and networking solutions would not be suitable to be used within the future property.
We also liaised closely with Suzi (Architect) to fully understand the proposed construction materials and layouts of the new wing. We also had several meetings with the main contractor and their M&E consultants to ensure that our elements aligned with their electrical design.
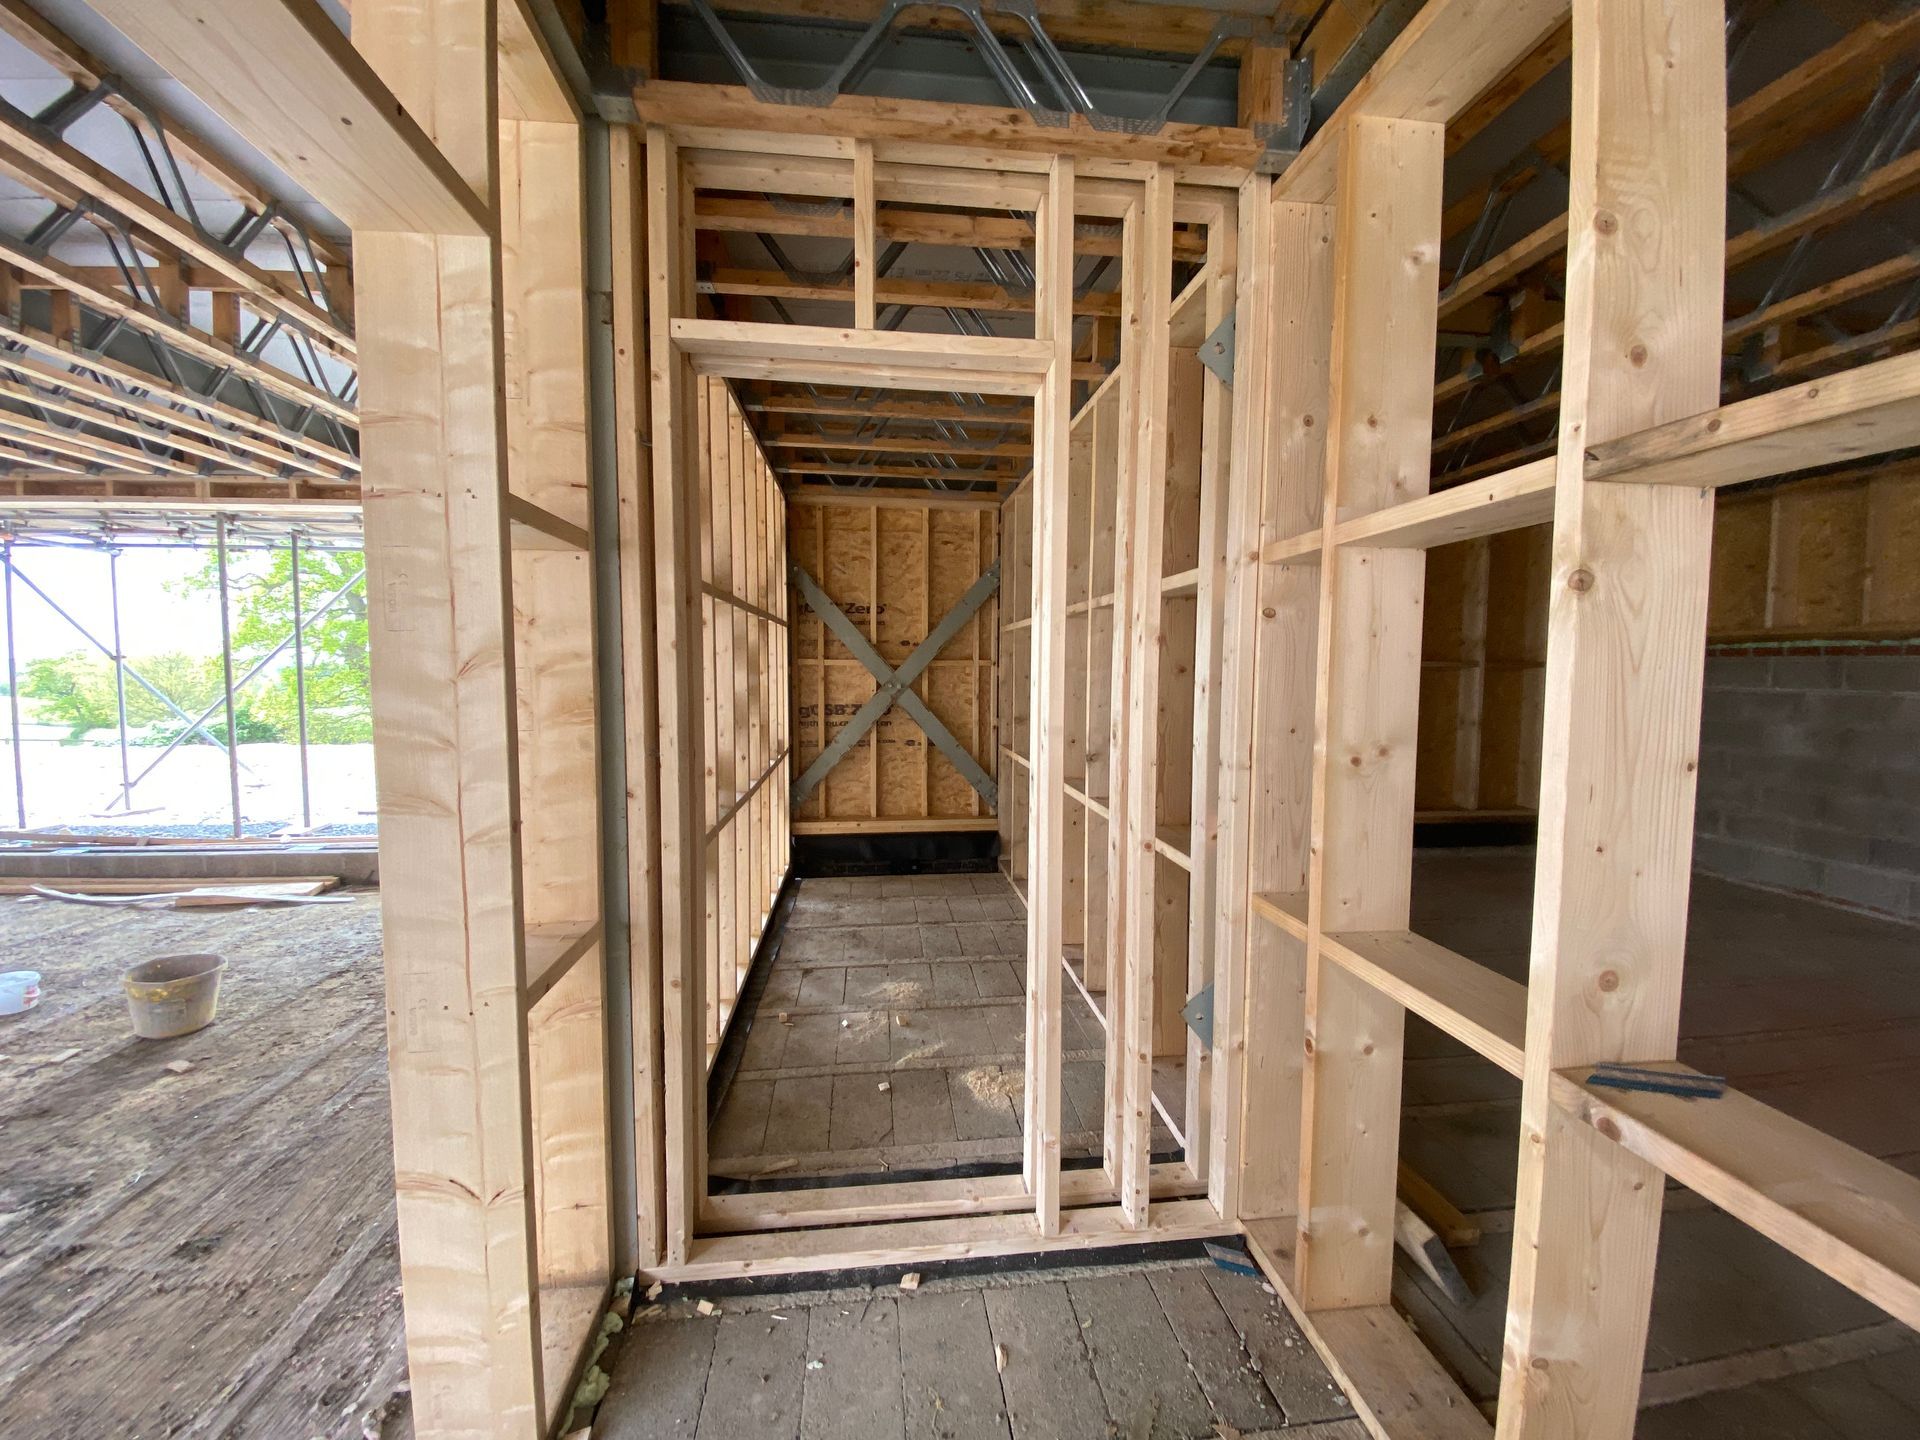
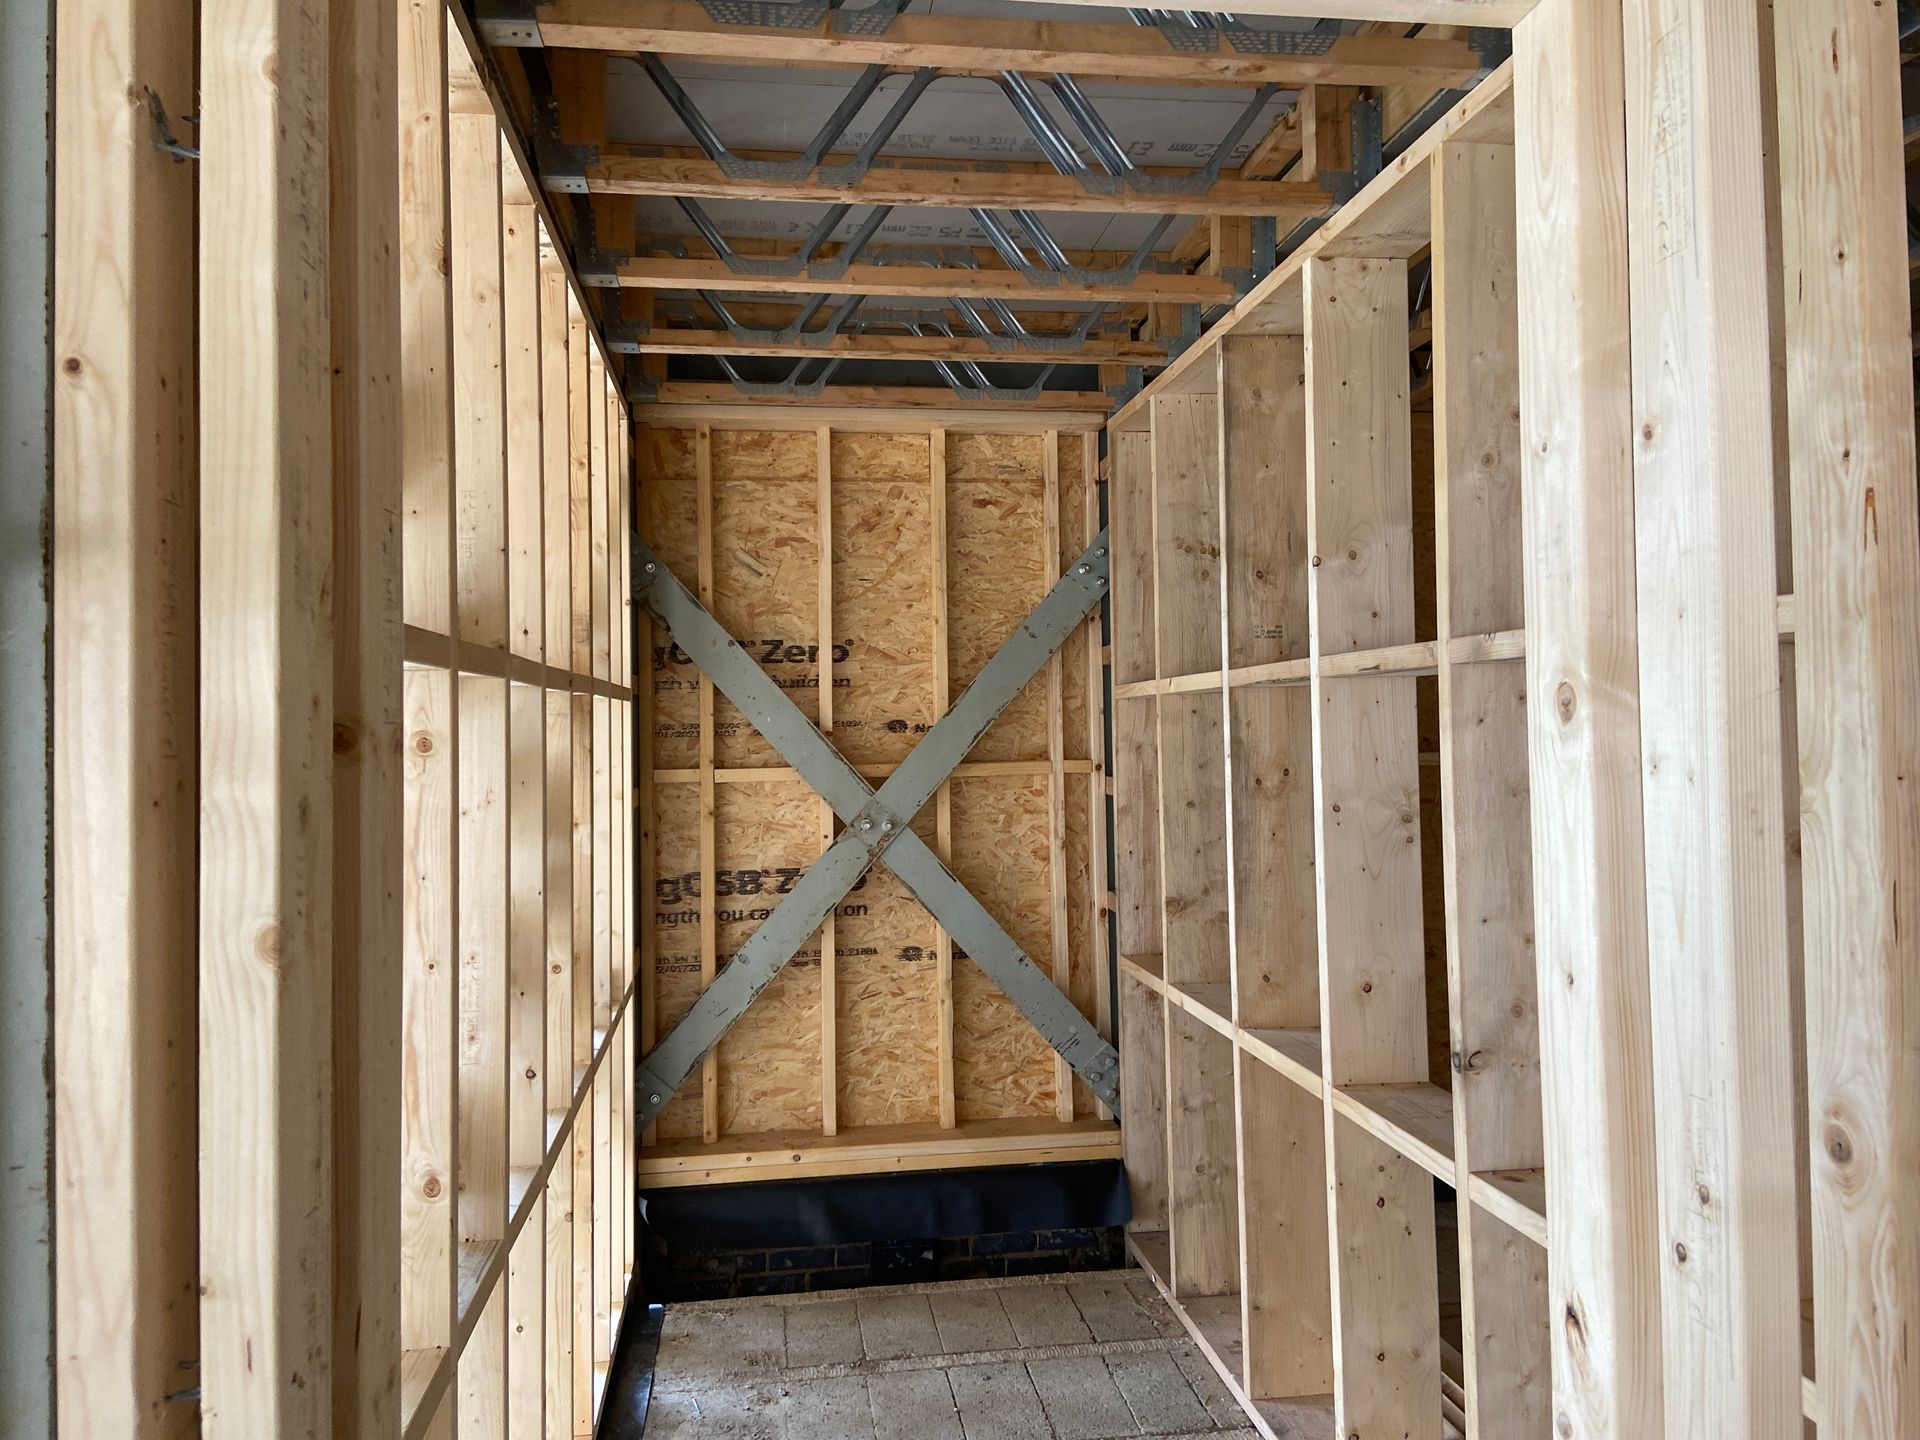
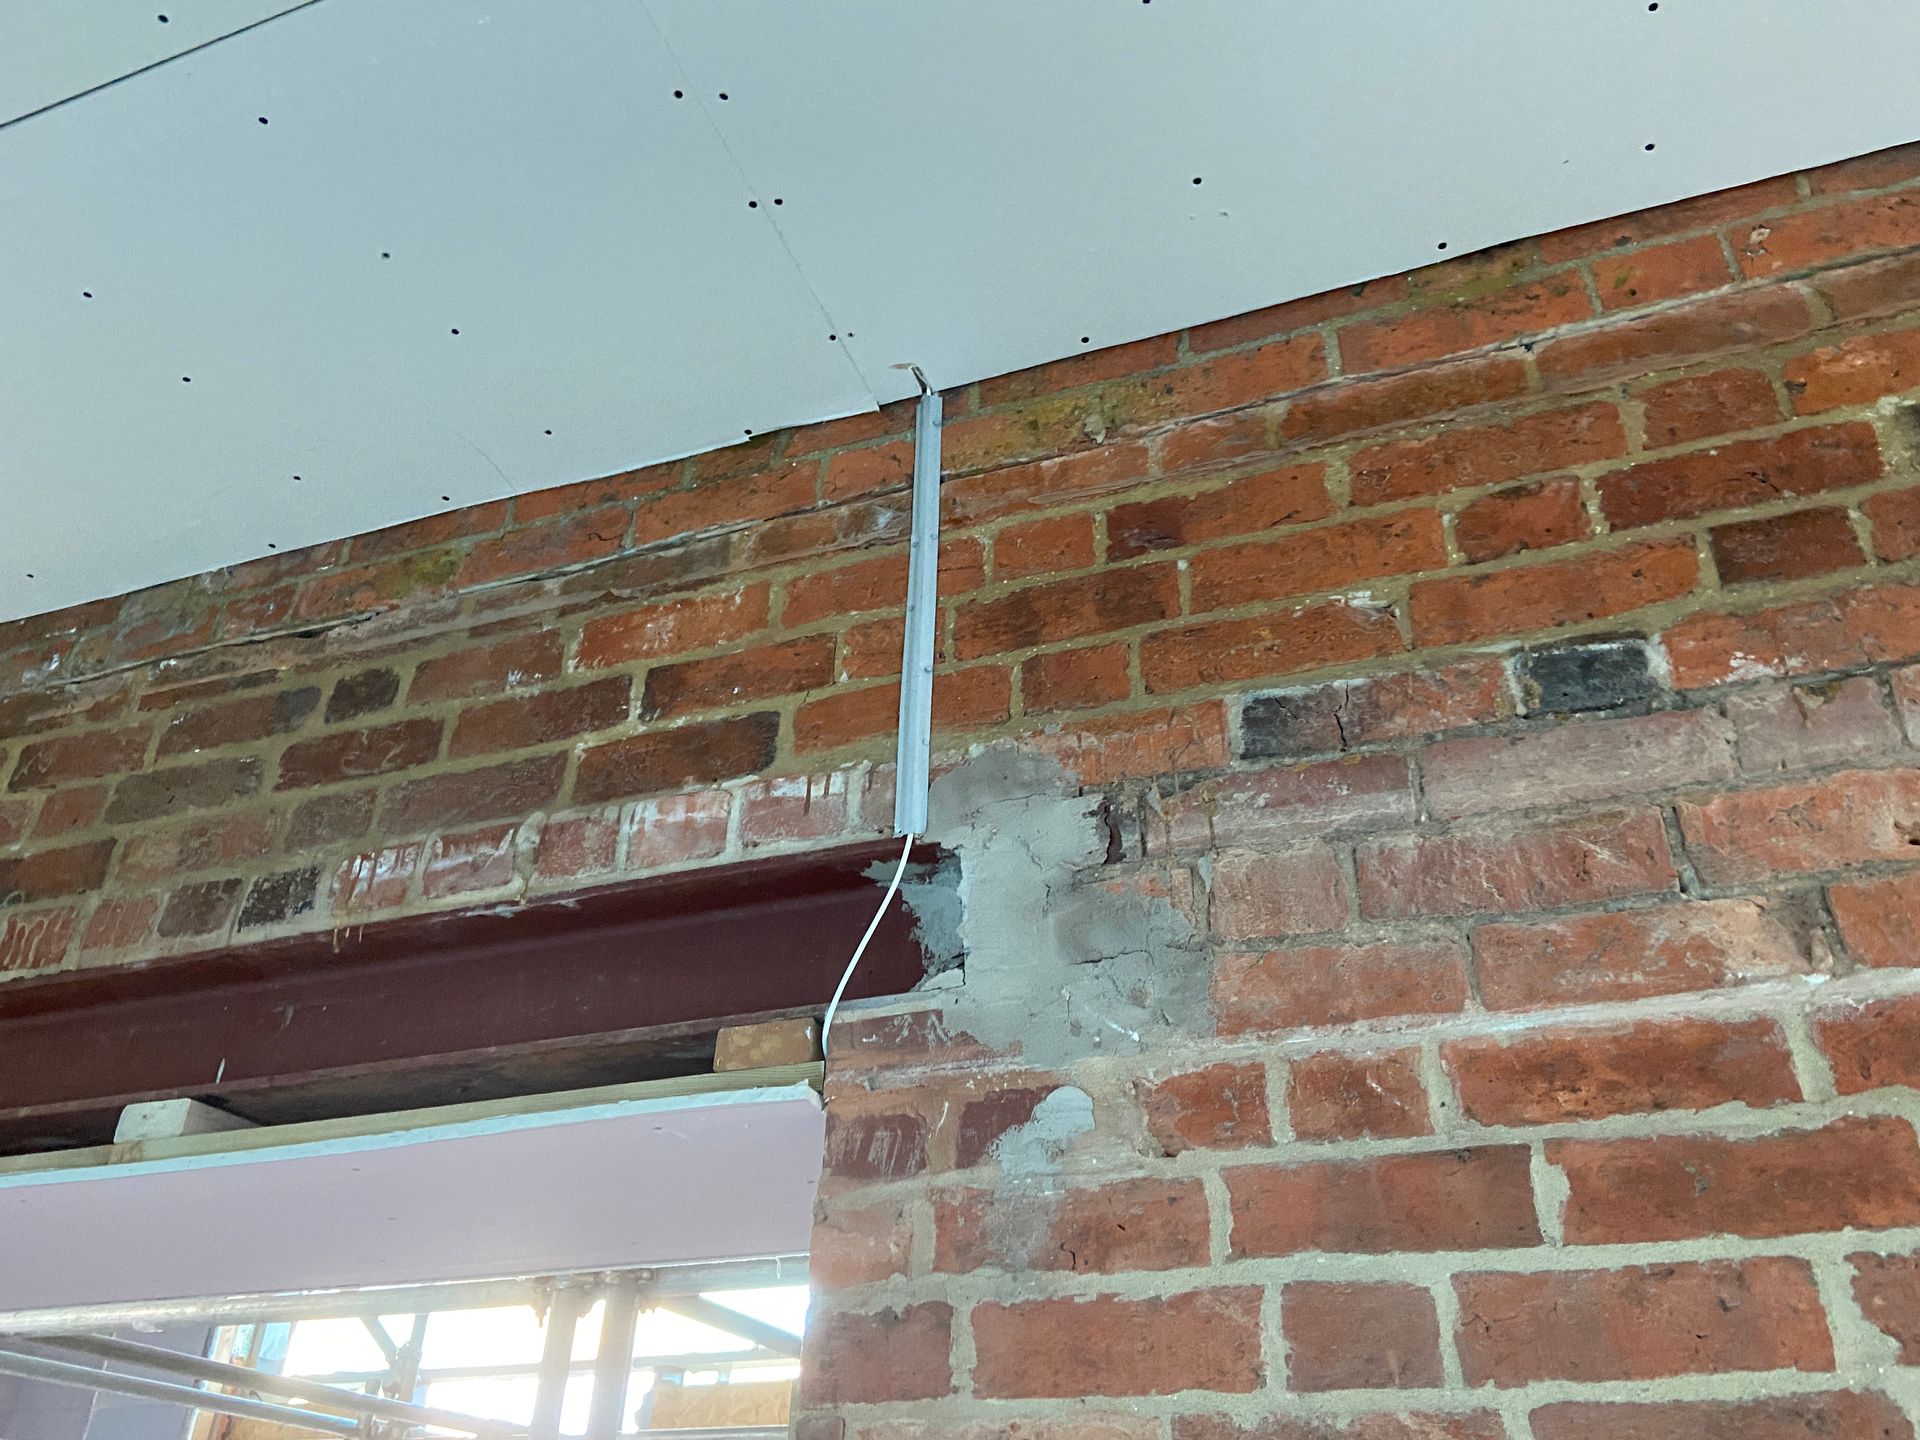
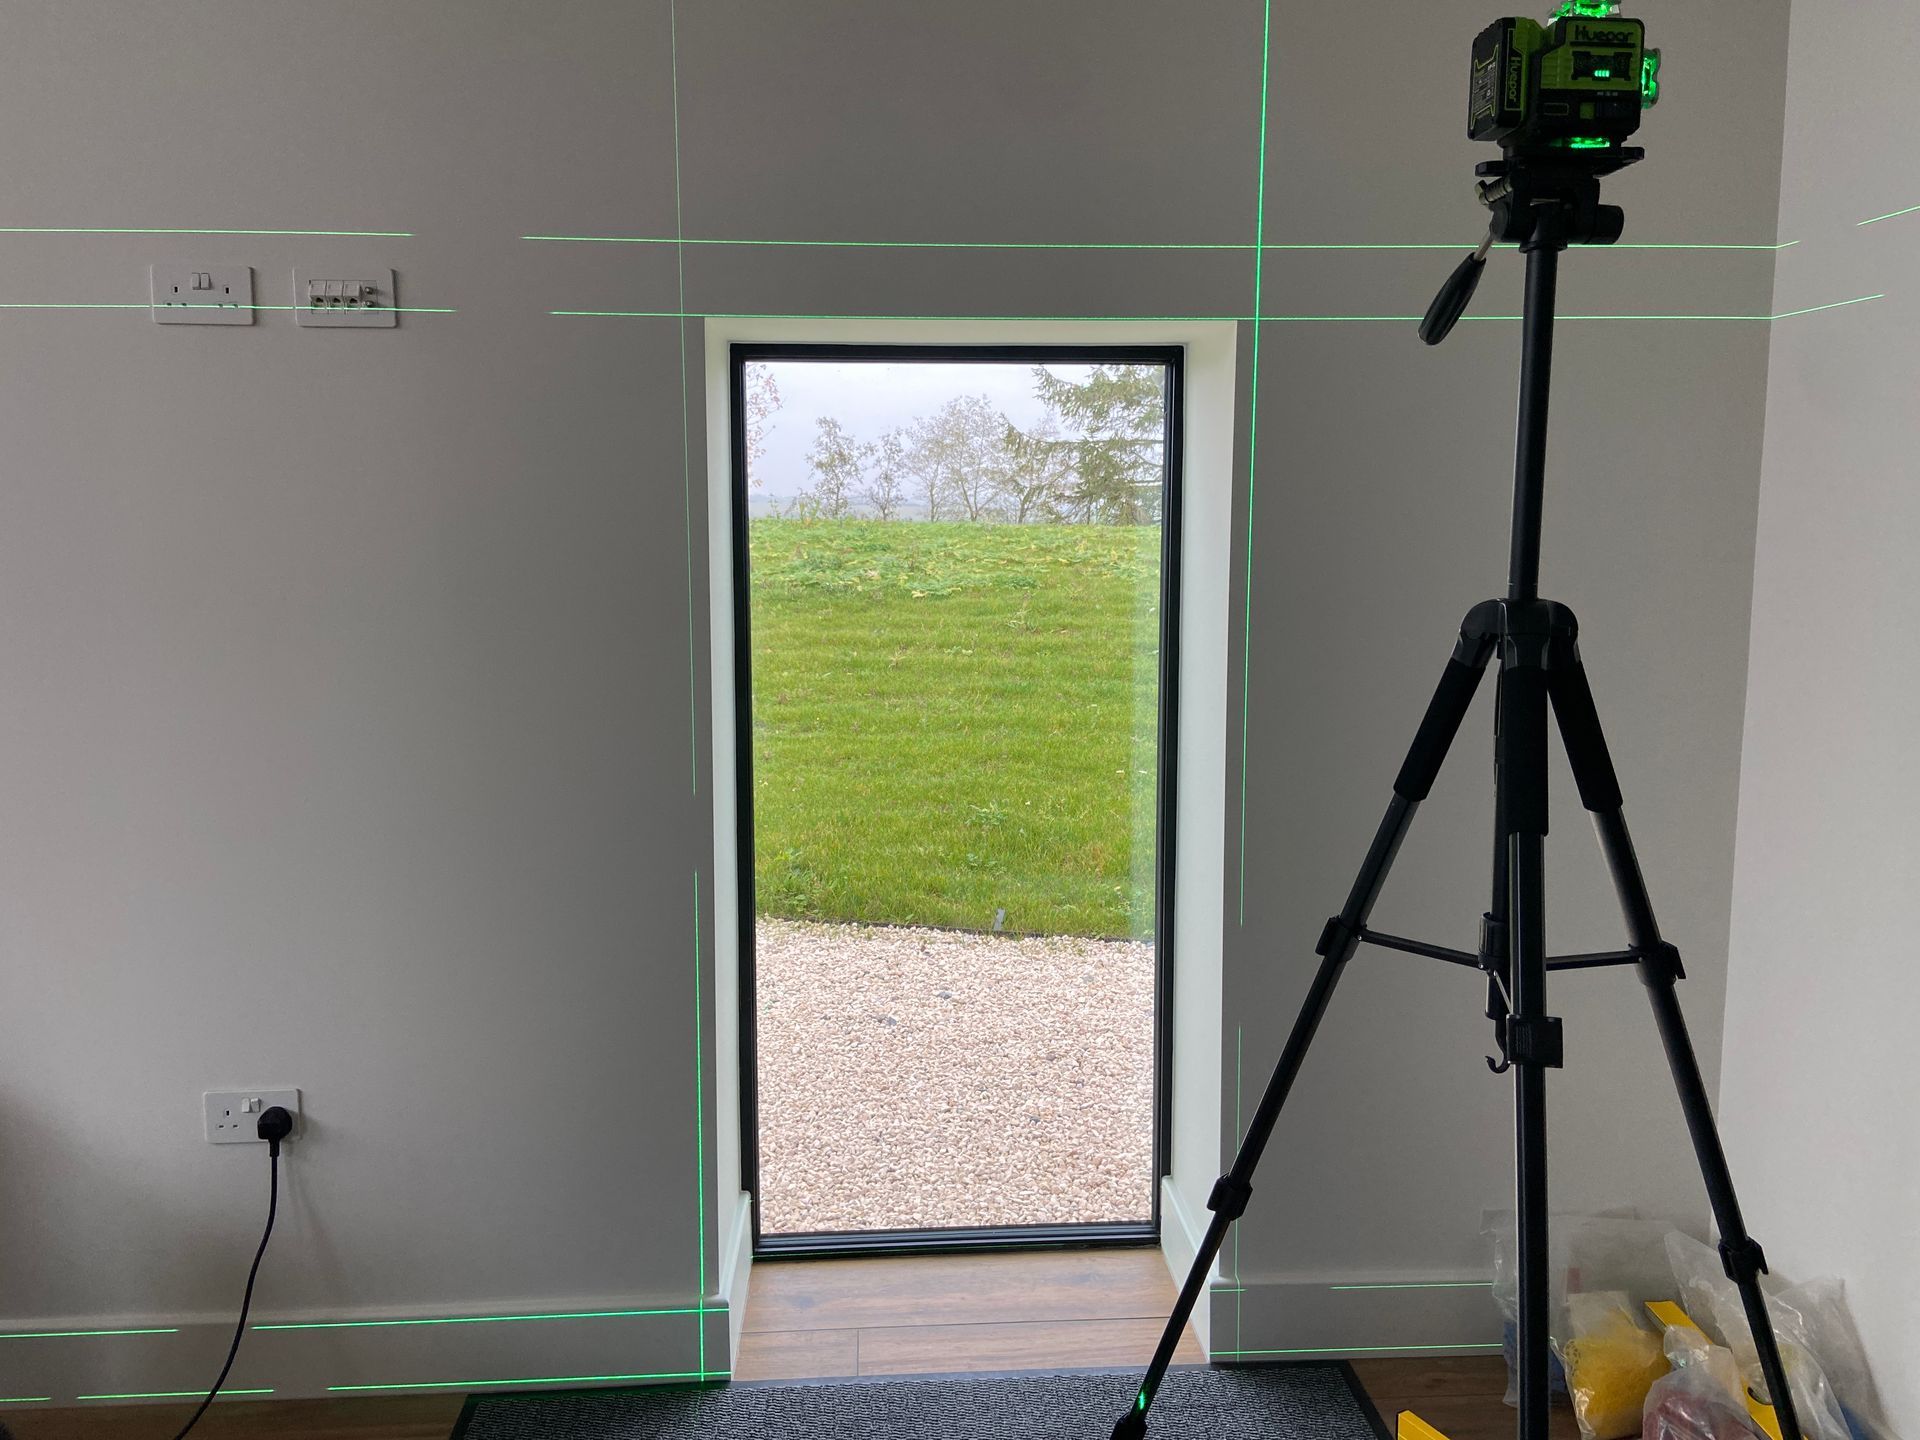
The initial demolition and ground works constructions works began onsite, during these phases we popped back to site to review certain aspects as they were exposed e.g., as some of the ceilings in the main corridors were taken down we reviewed how much space there would be to install conduits or basket tray to support our cable runs down to the Head End room in the basement of the new wing.
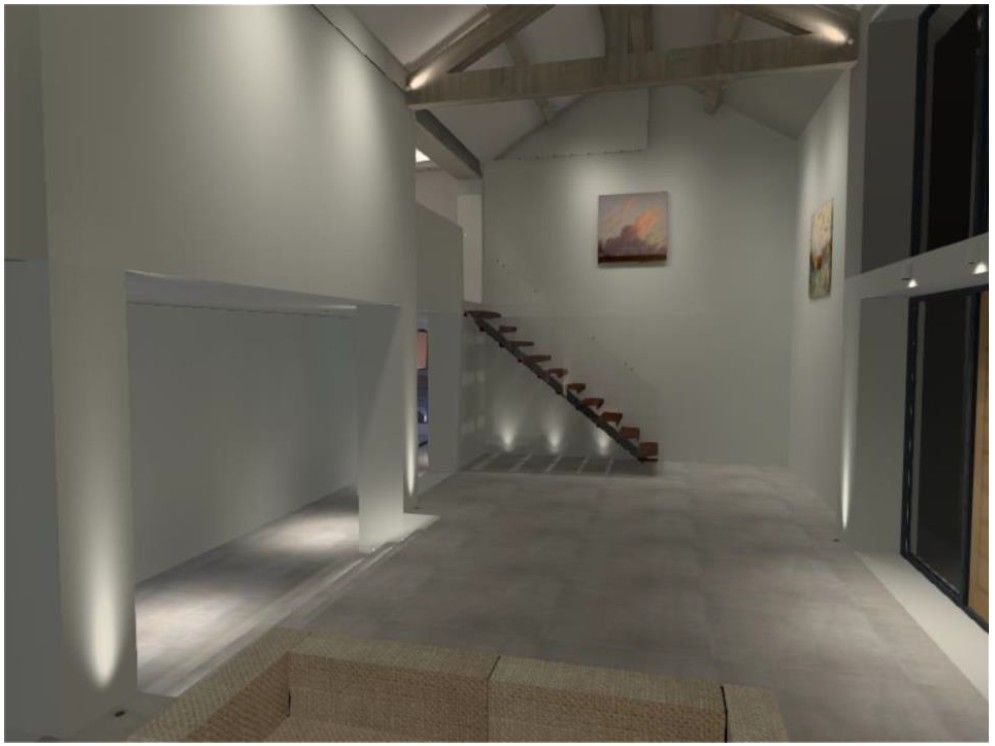
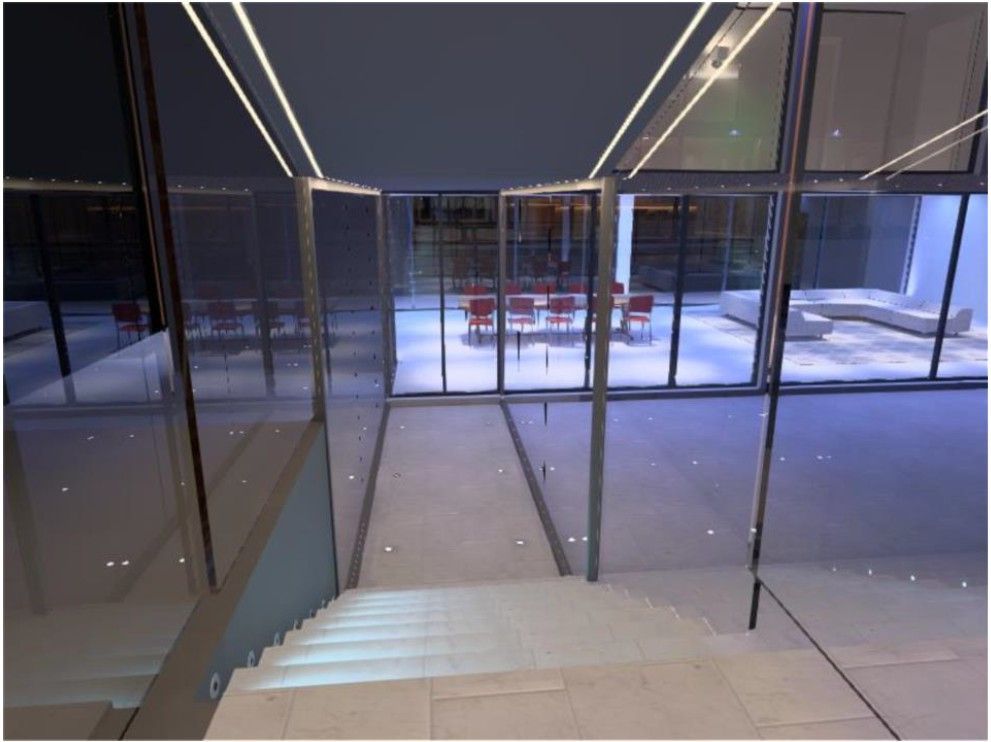
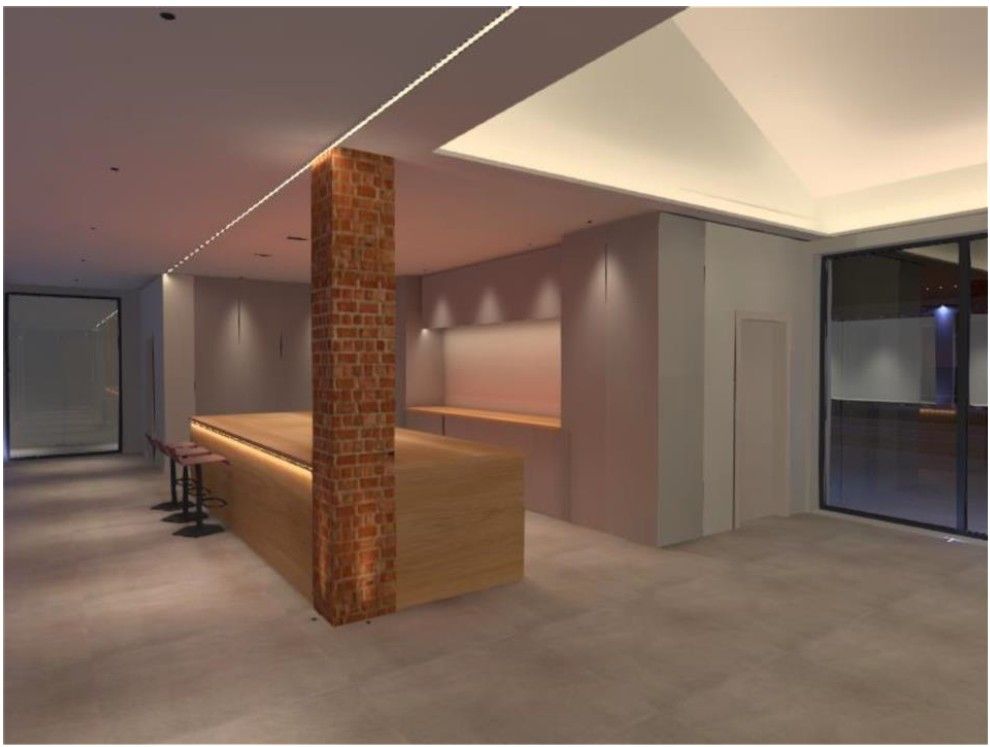
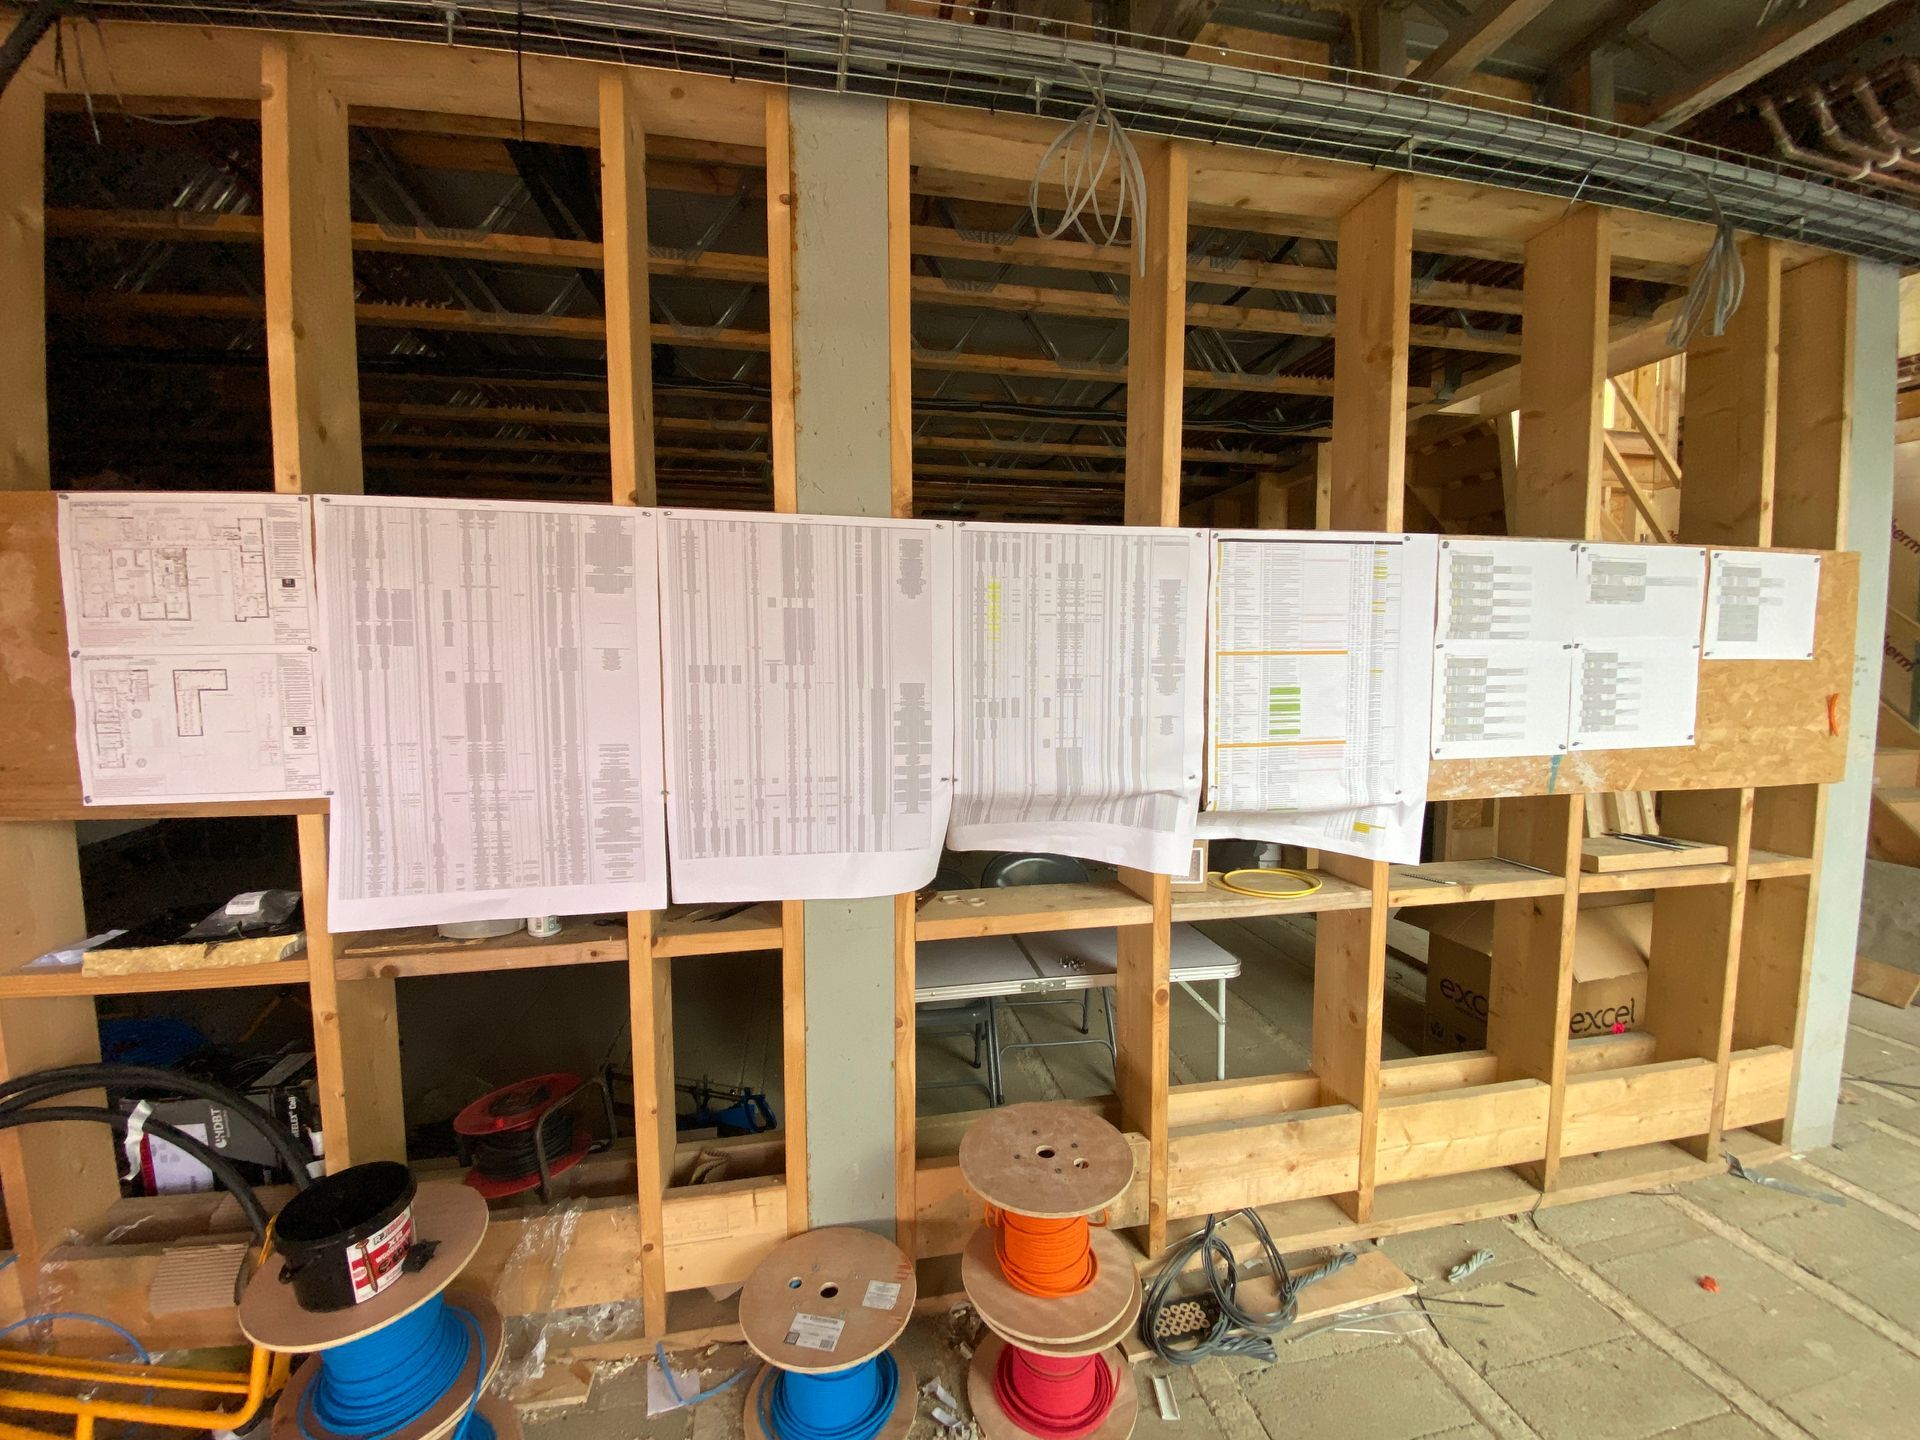
Smart home design
We conducted several meetings with the client to produce various levels of finish with regards to the possible specifications level. We provided the client with ‘Good, Better and Best’ specification levels for many of the different elements within our scope.
Once the final specifications, that matched the client’s budget, had been agreed we began drafting our standard design documents.
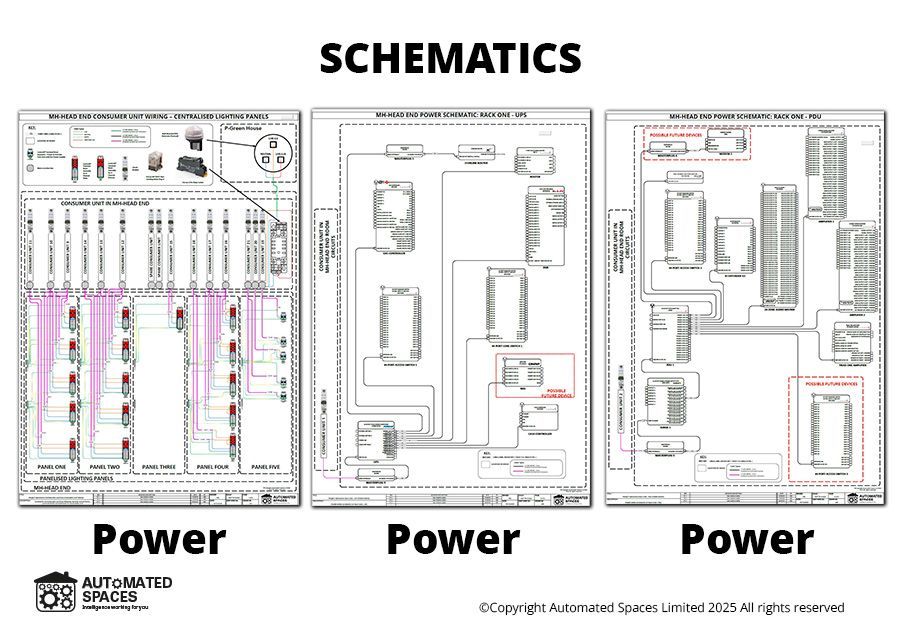
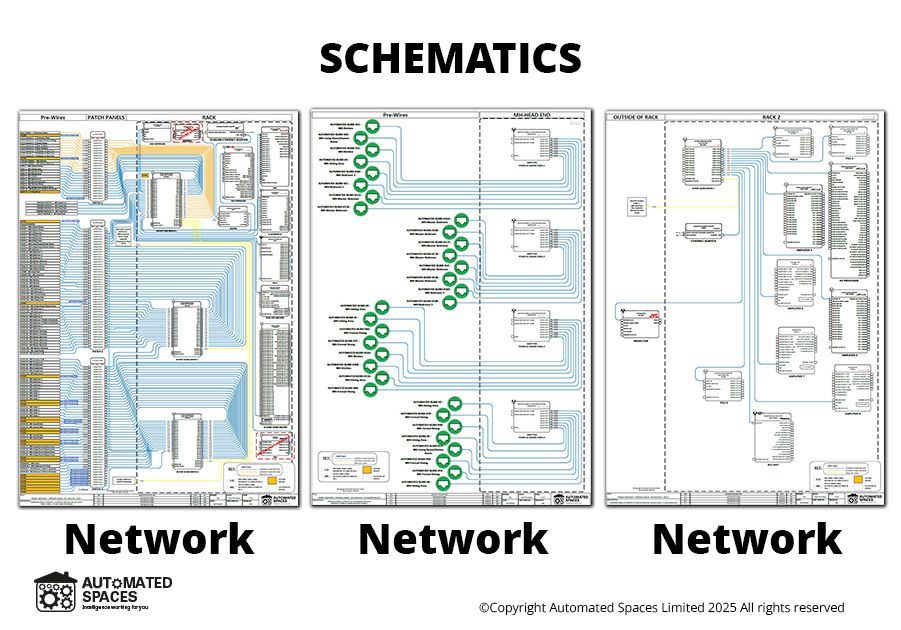
The design documentation included the following documentation types:
- Equipment Location Plans
- Schematic Diagrams:
- Power
- Network
- Audio
- Intruder Alarm
- CCTV
- Control
- Home Cinema Design
- Audio Considerations
- Video Considerations
- Home Cinema Layout Drawings
- Rack Equipment Layout Drawing
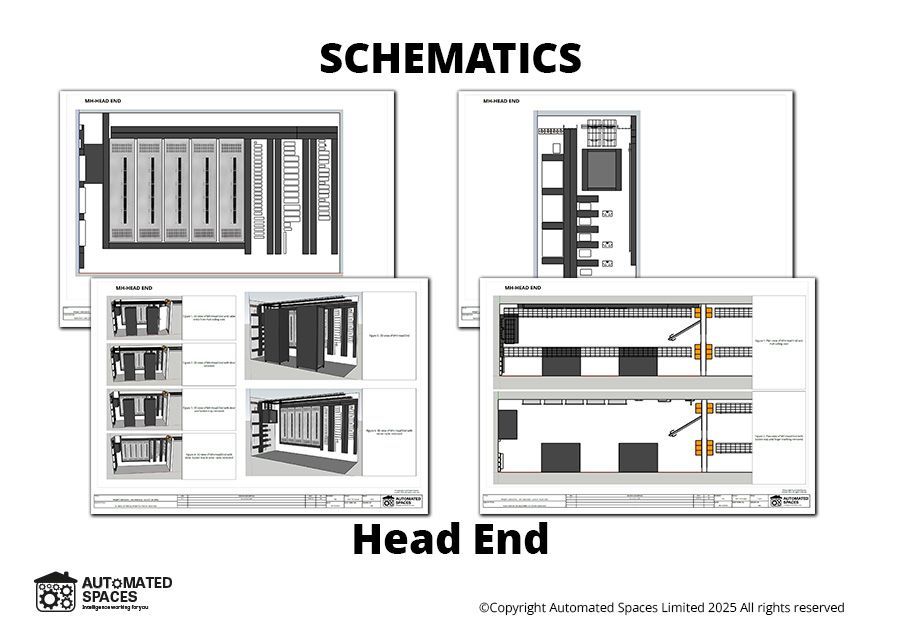
- Head End Room Layout Drawings
- CCTV Design
- Equipment List
- Full System Block Diagram
- Pre-wire Schedule
- Lighting Design
- Light Fixture Layout
- Project Management:
- Project Management Plan Inputs
- Project Prerequisites
We were able to agree and formalise all the relevant design documents with the client.

Project put on pause by client
Unfortunately, during some of the initial constructions works to establish a link between the existing building fabric to the new wing. It became apparent that substantial unexpected additional works would be required to make good some of the previous construction works on the existing building.
This significant adjustment to the project constructions costs caused a significant pause to the project whilst various options were considered. Of the options presented by the main contractor, the client eventually decided to not go ahead with the basement works and instead relocate the cinema room to the space that was in the location of the previous existing integrated garage.
We were able to redesign the cinema space to accommodate the new available space including a significantly reduced floor to ceiling height. This was important due to the fact that there was a desire from the client to have two rows of cinema seating and typically this requires a generous floor to ceiling height.
We also had to relocate the proposed location of the ‘Head End’ where all the technical equipment and communications/cables would terminate. This meant we had to update numerous other design documentation to accommodate the new location of the Head End.
The client also decided to commence the process of appointing a new main contractor to take over the works.
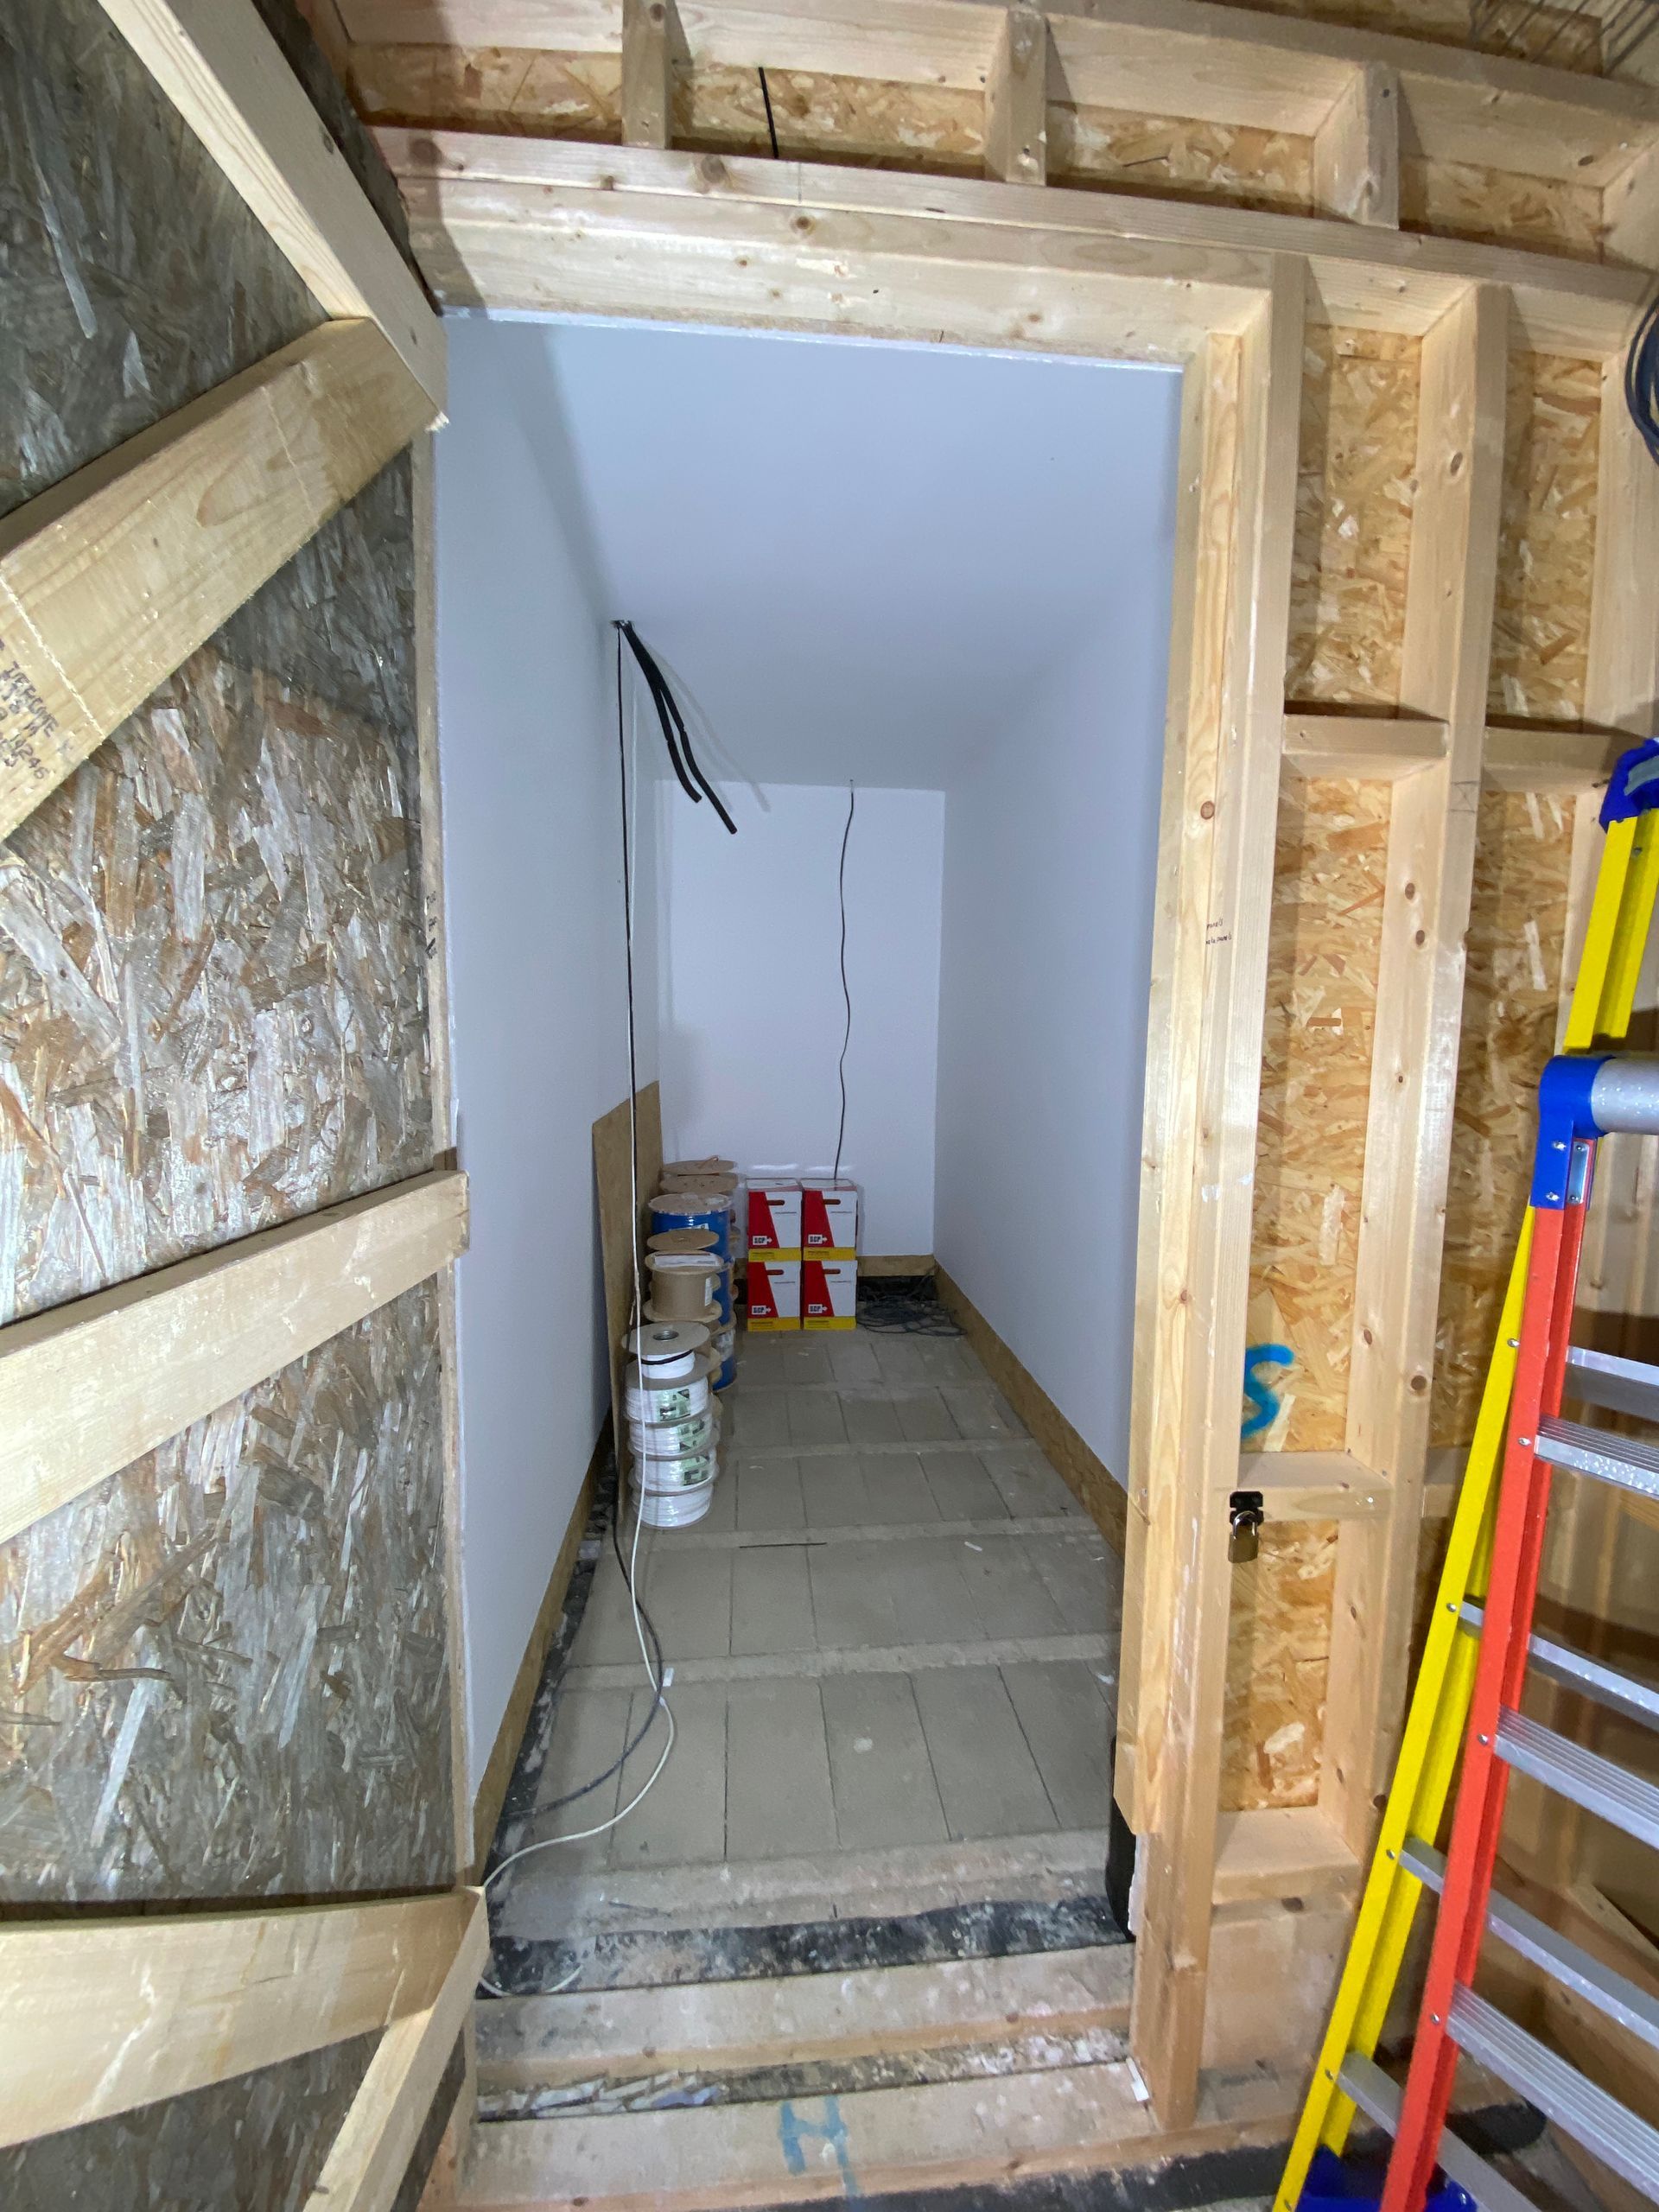

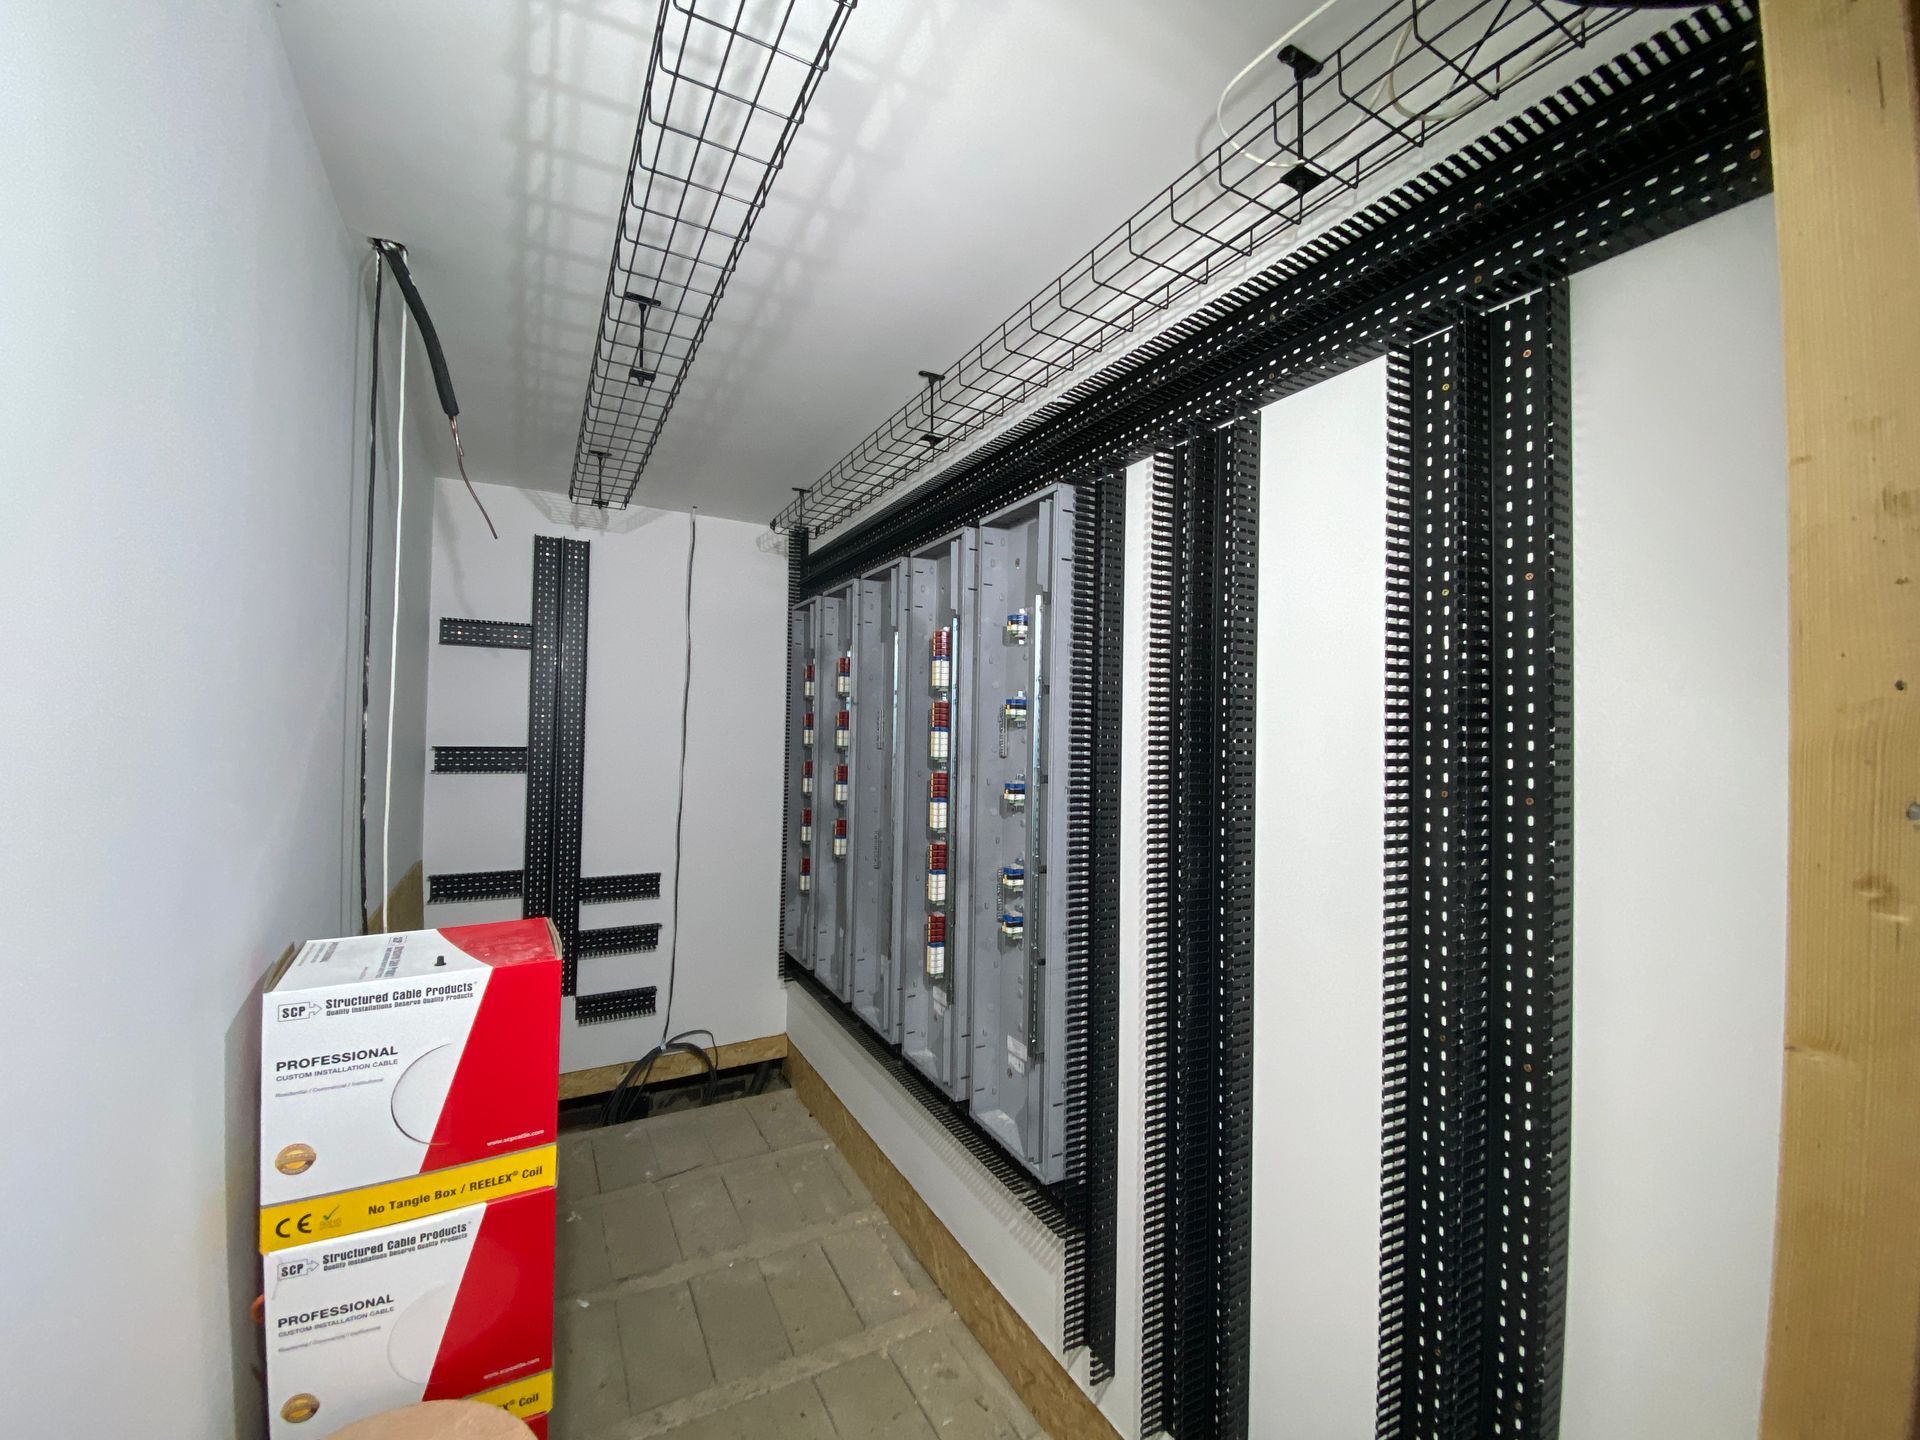

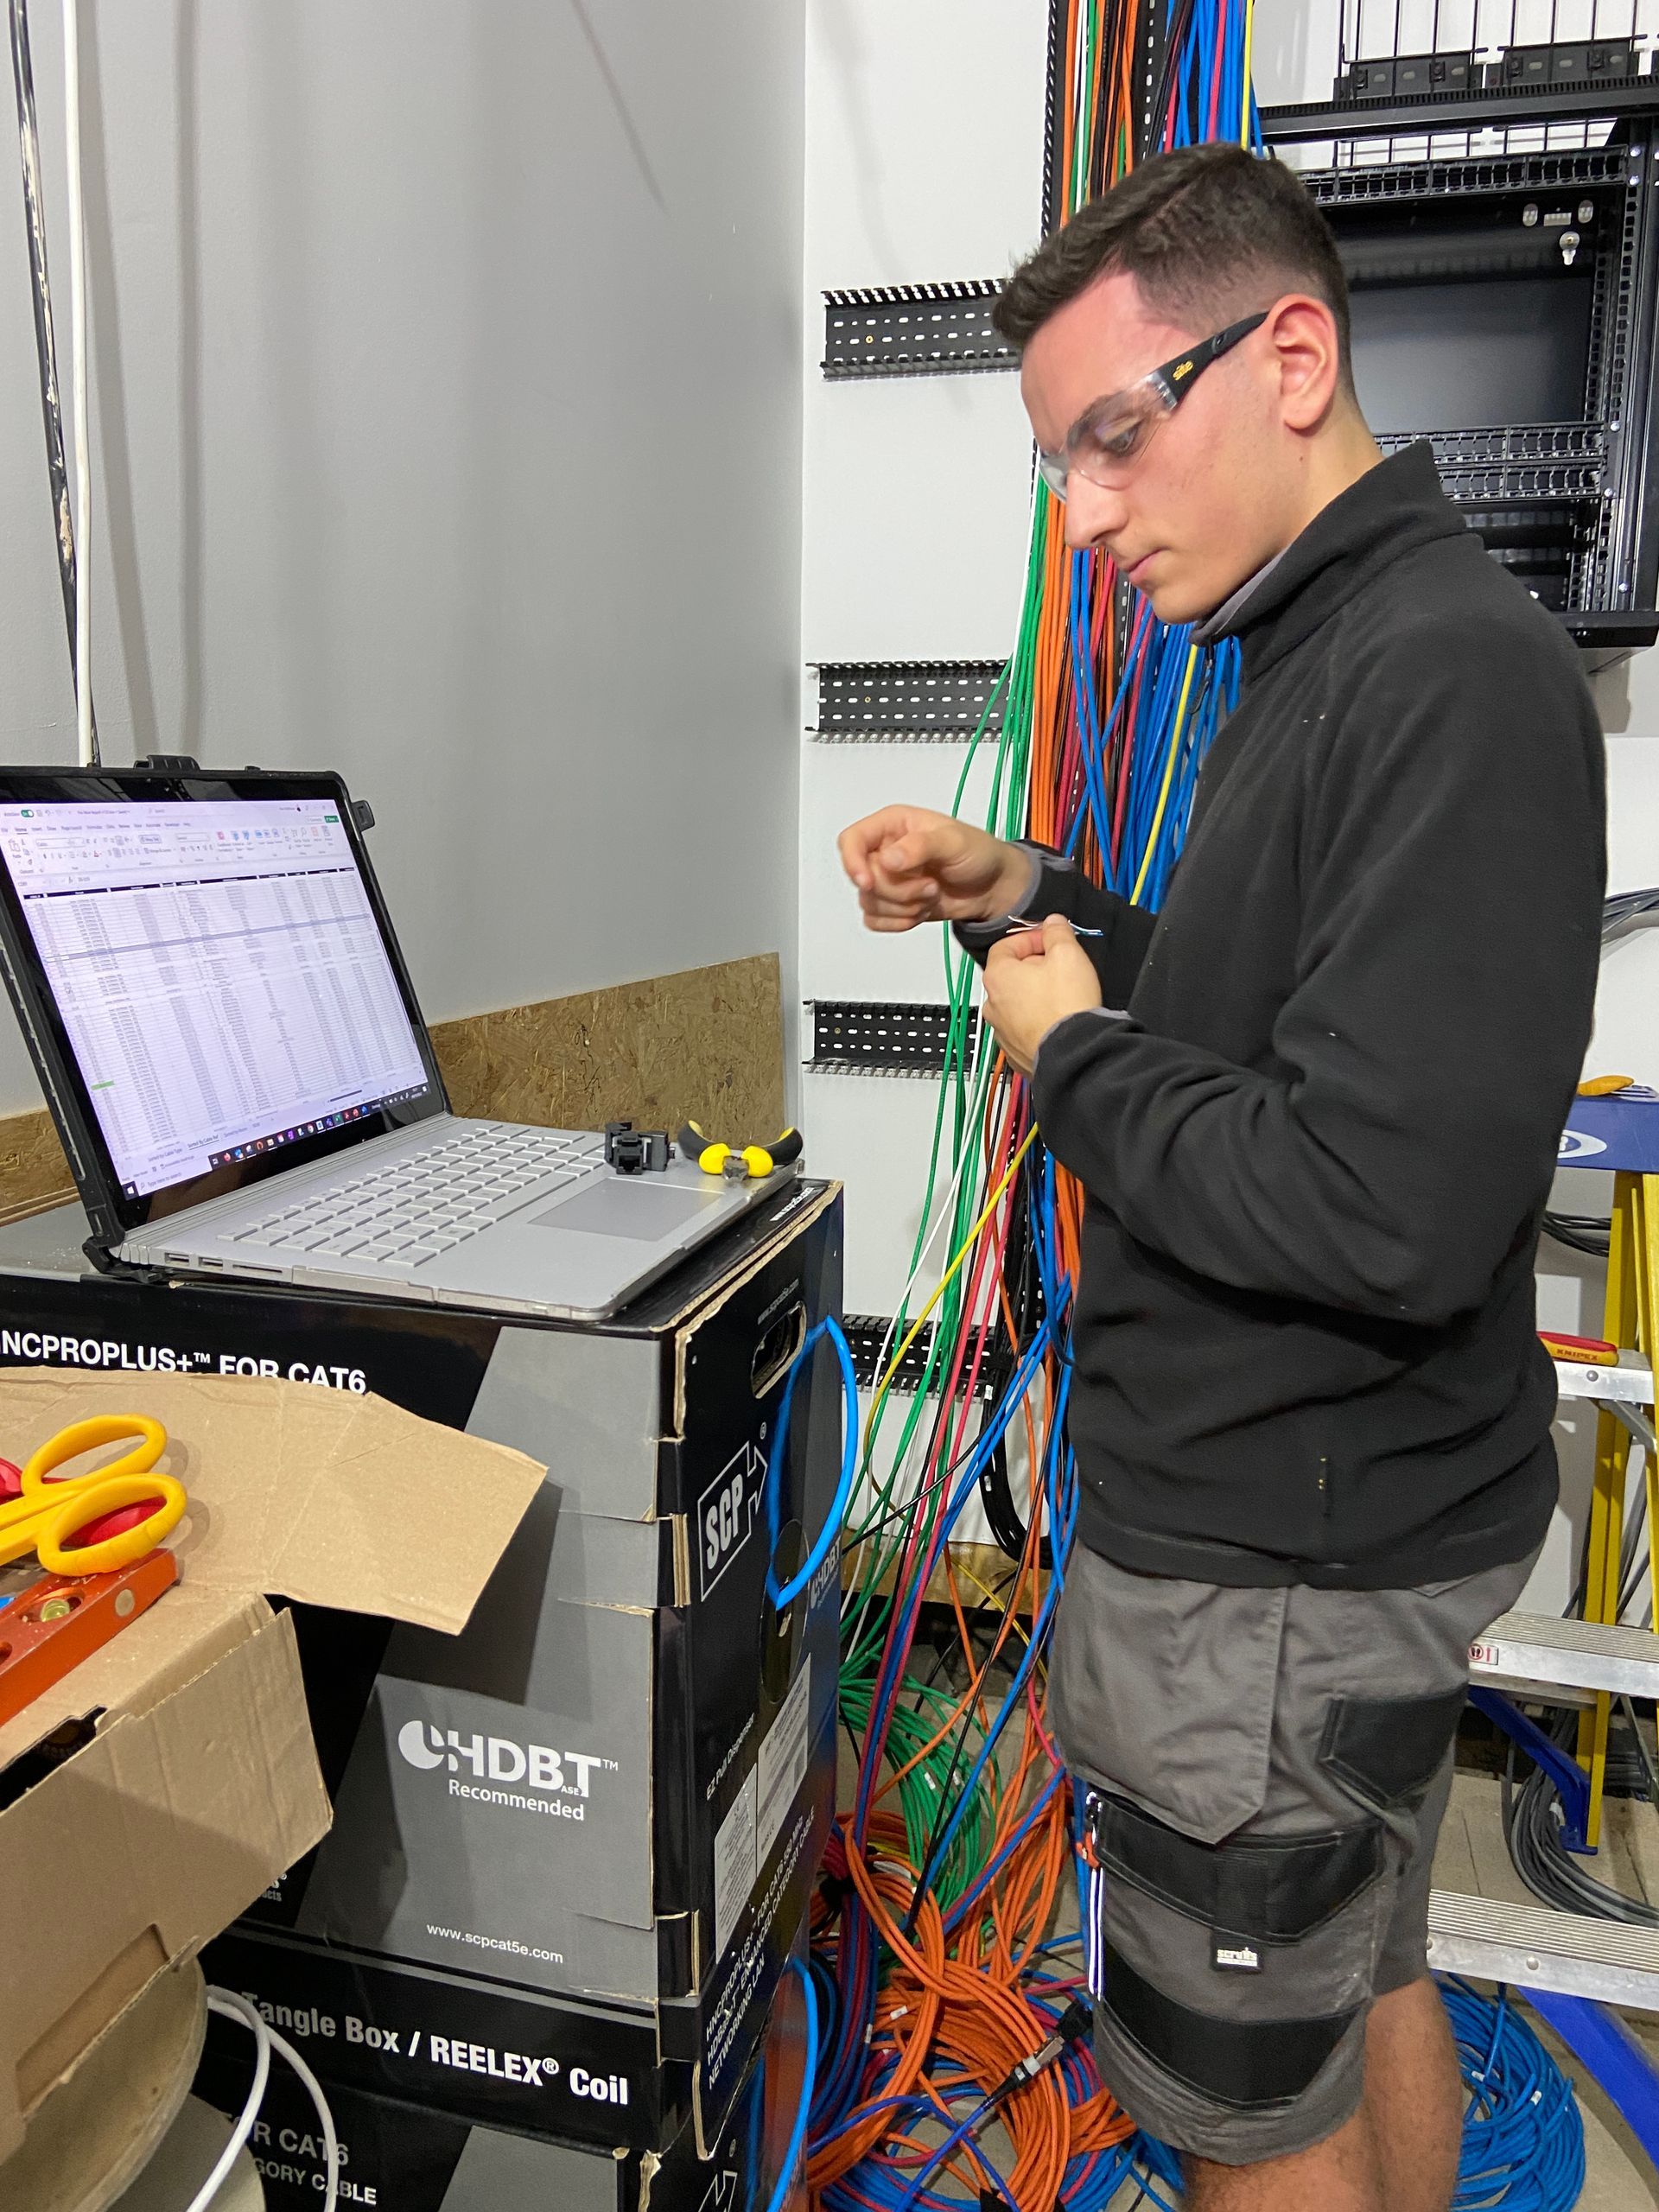

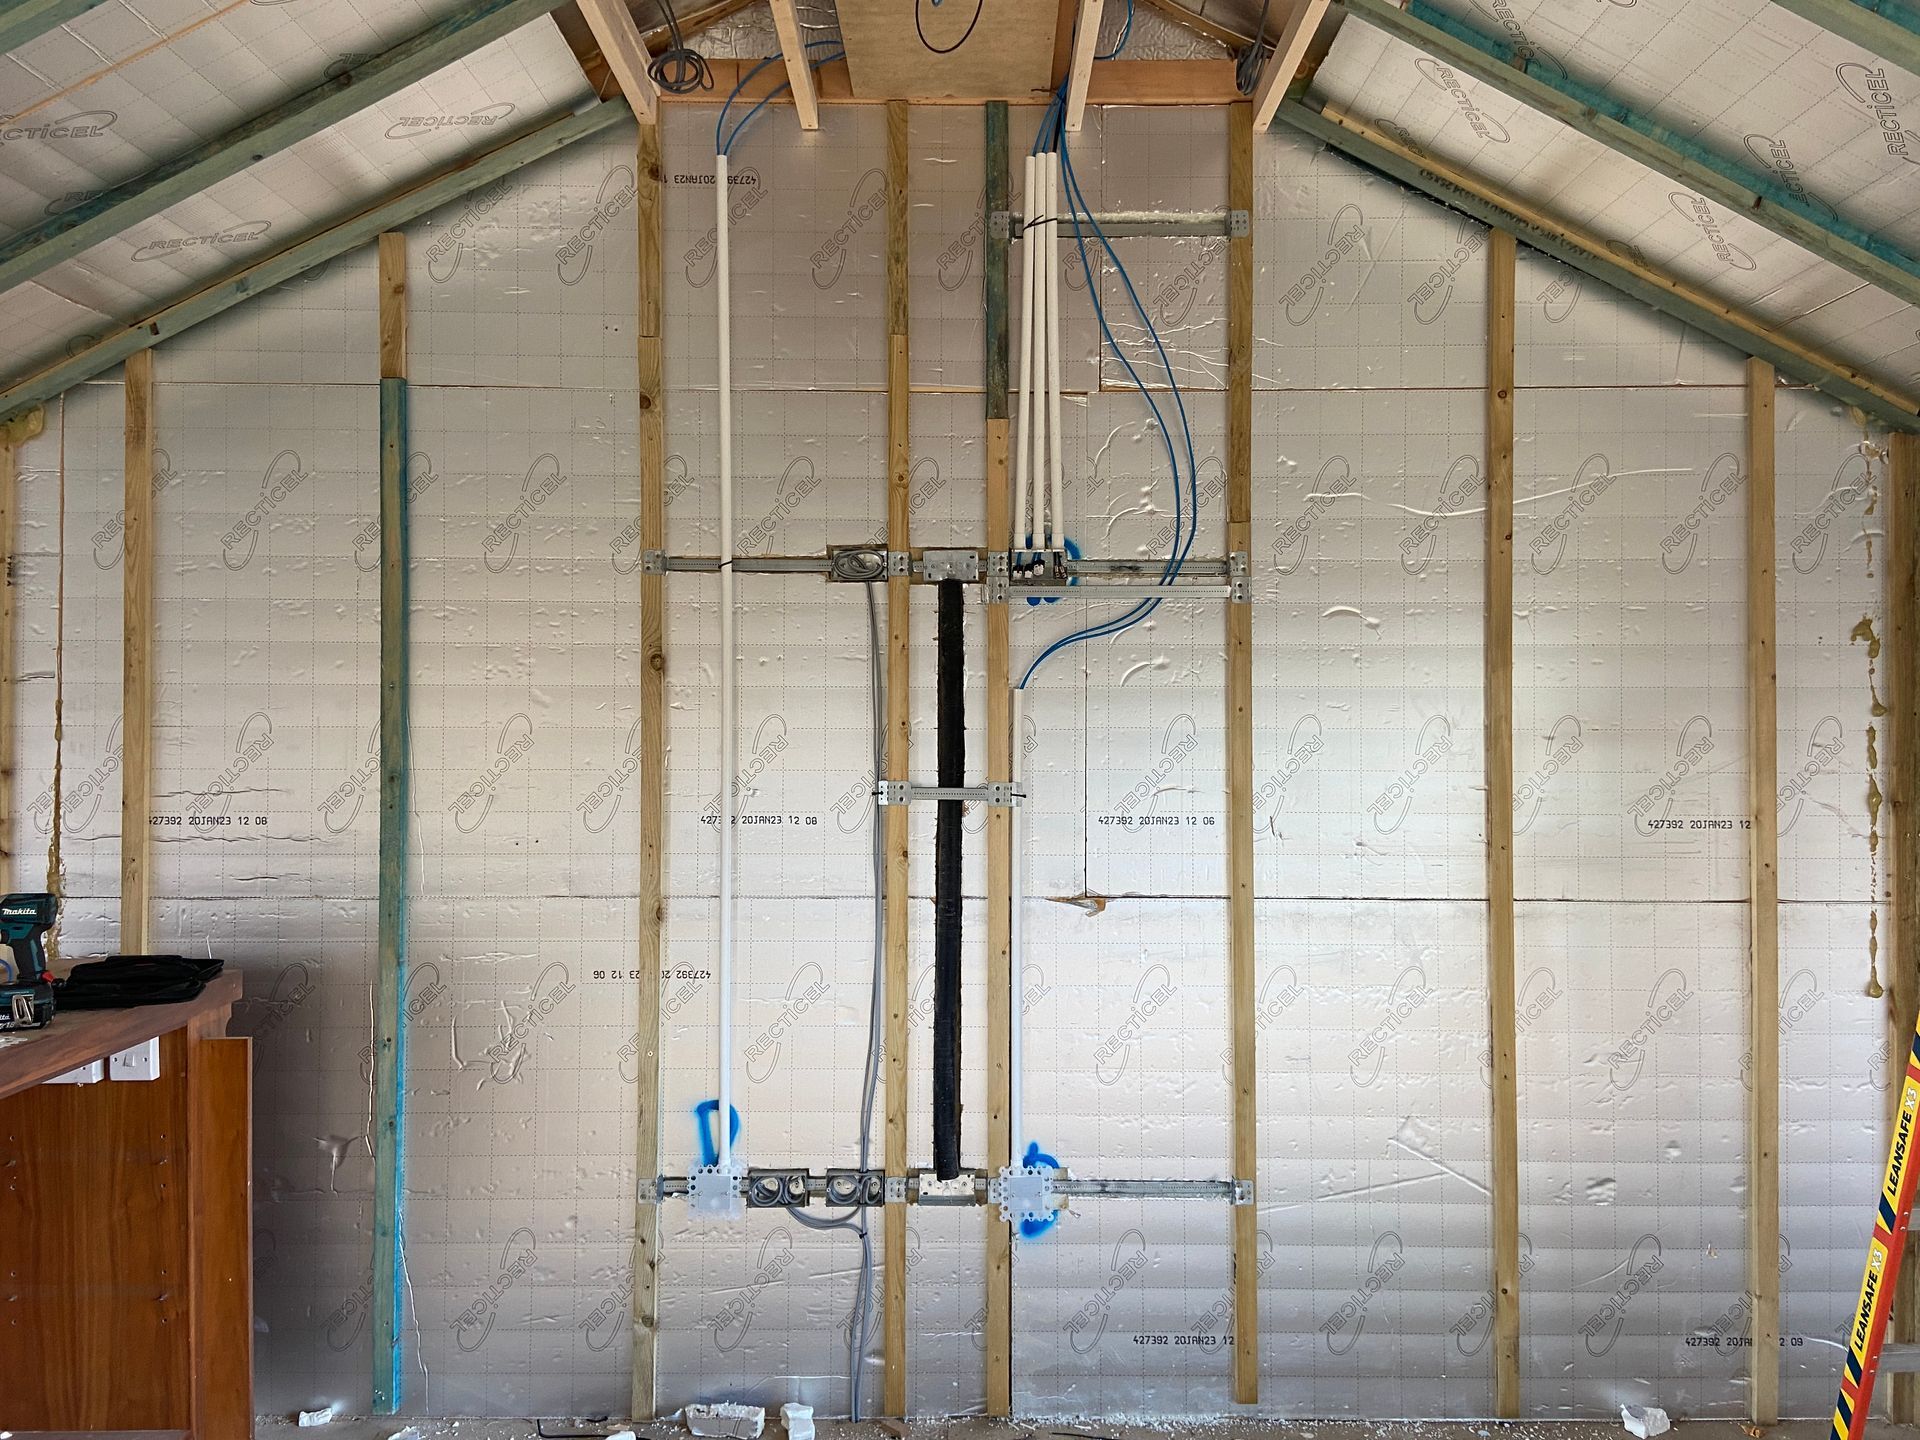


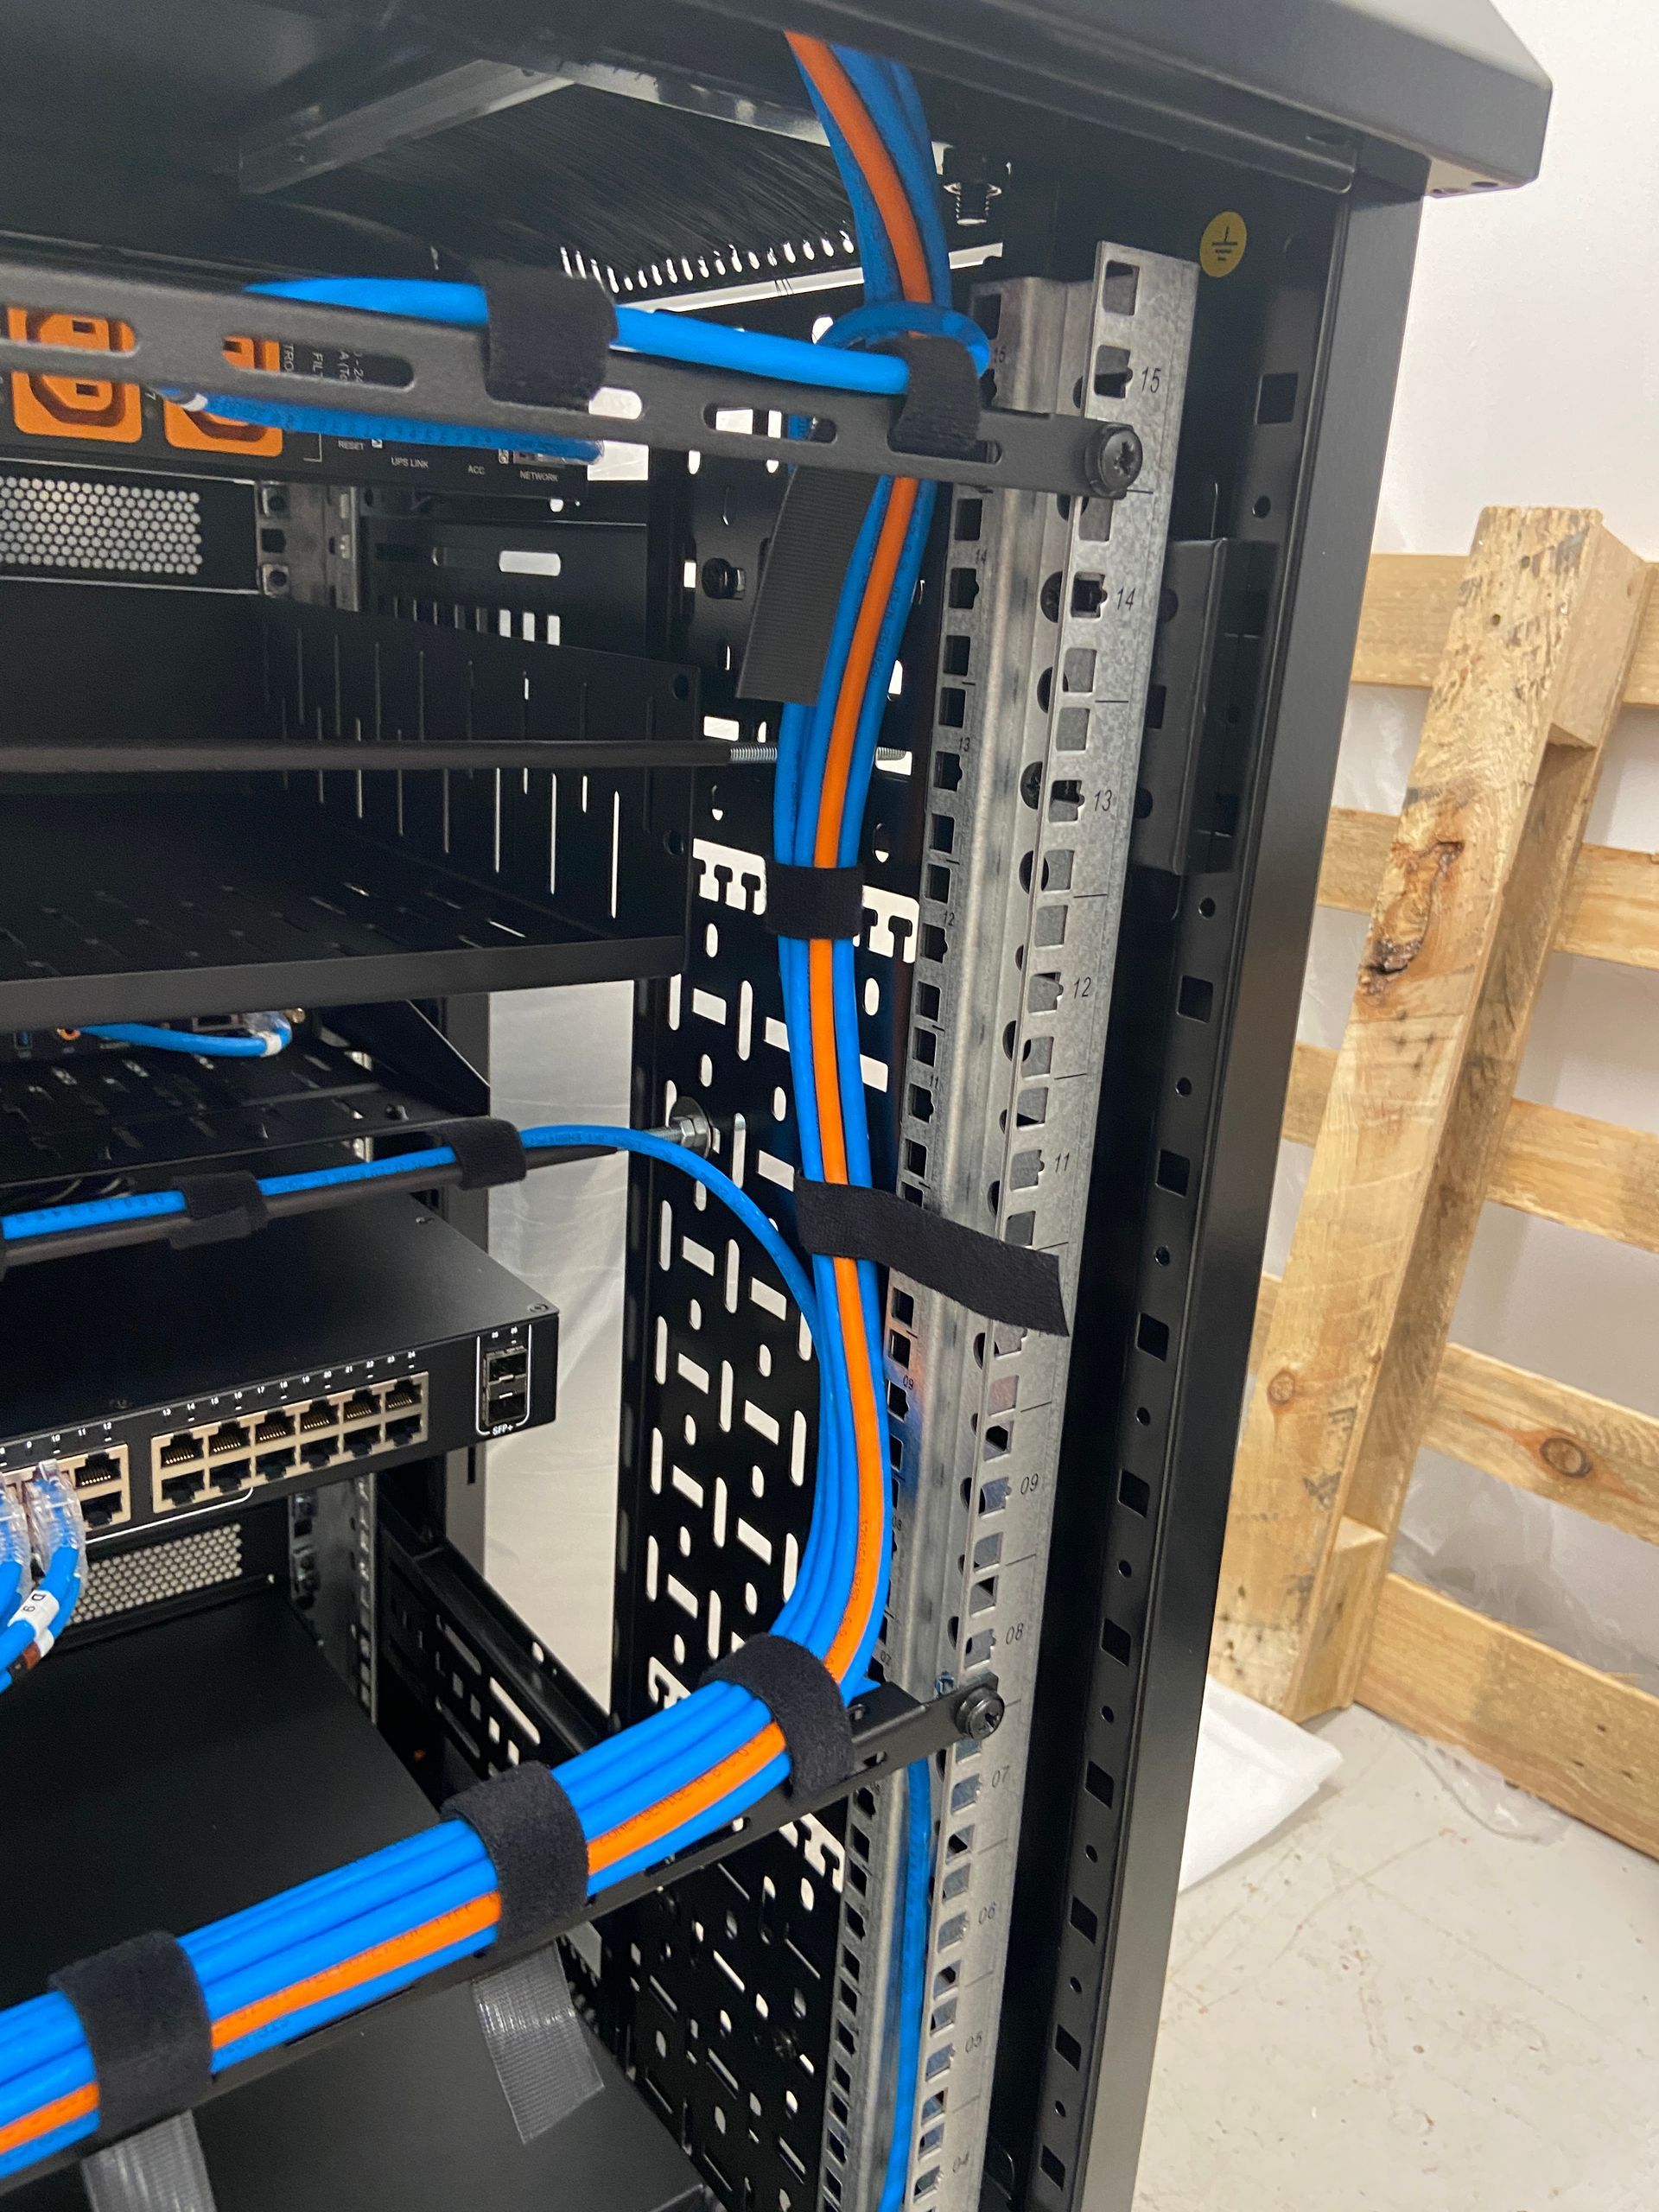
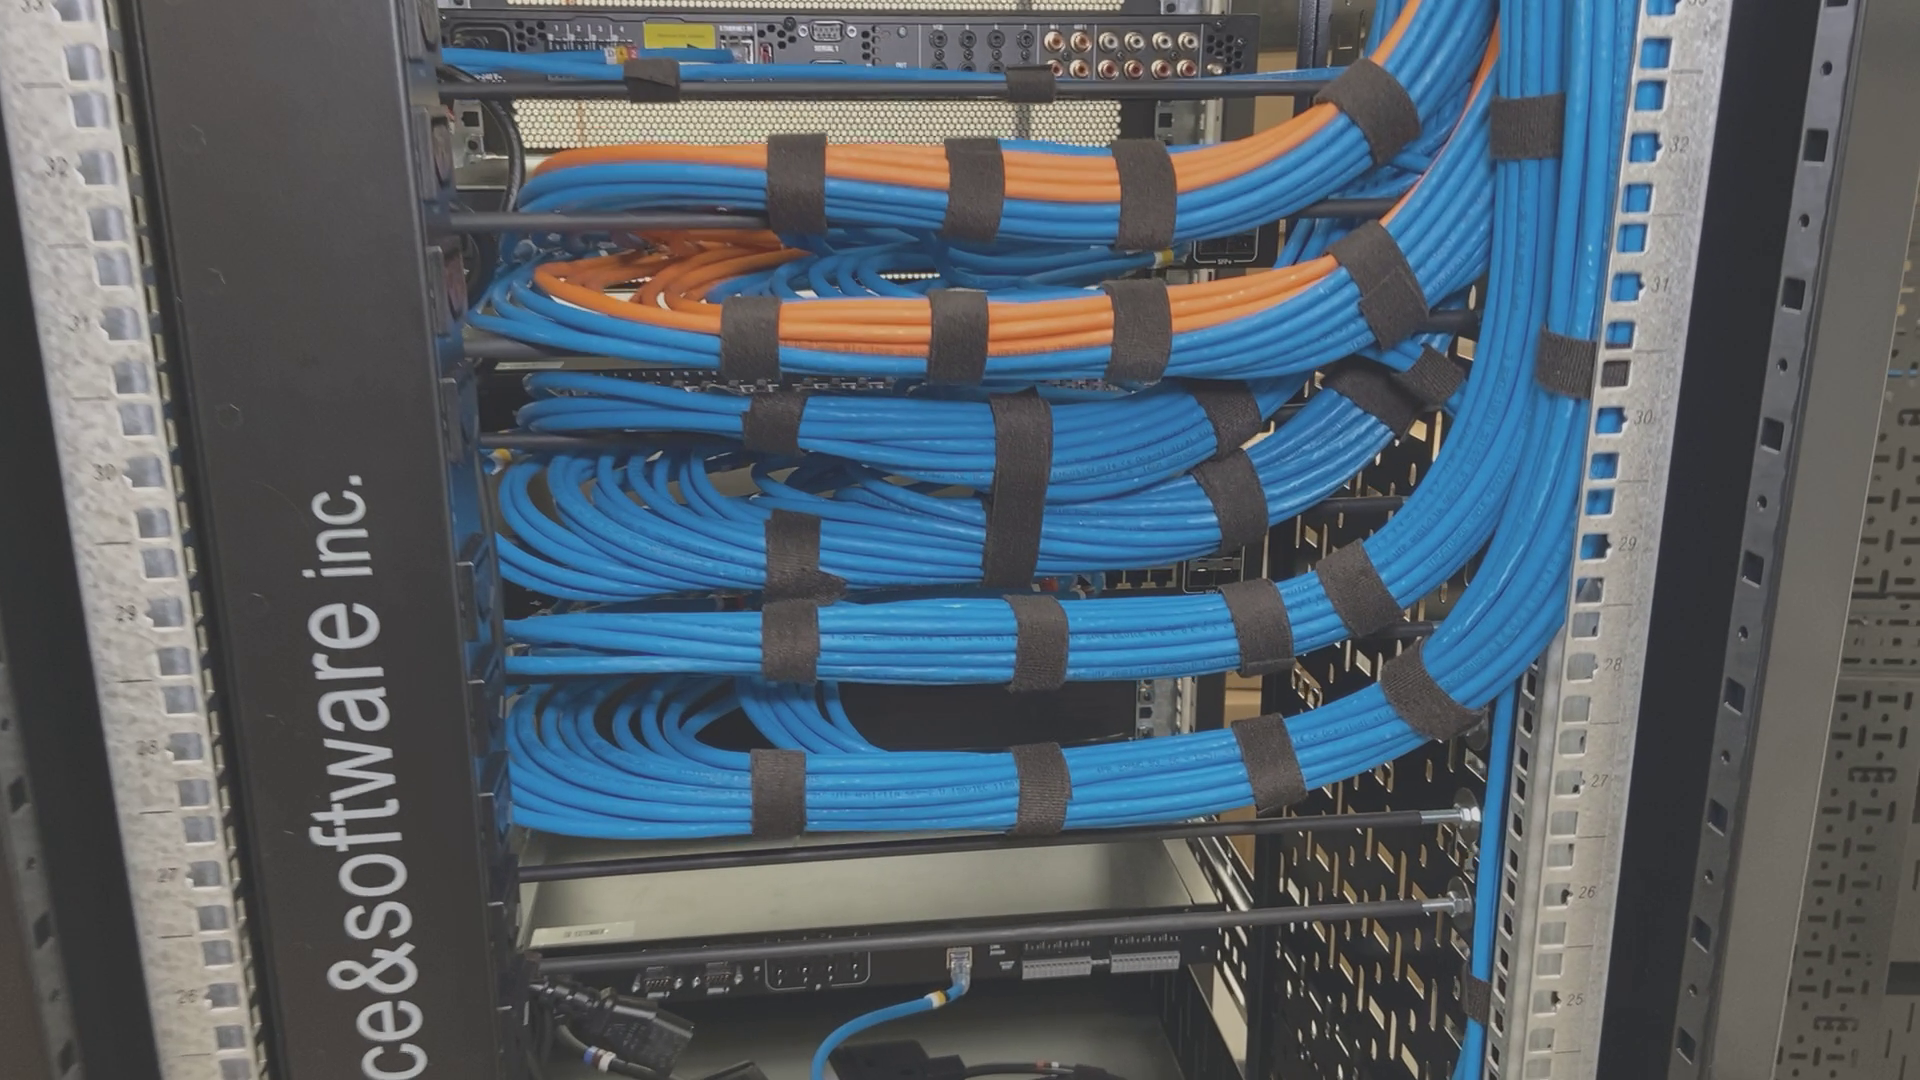
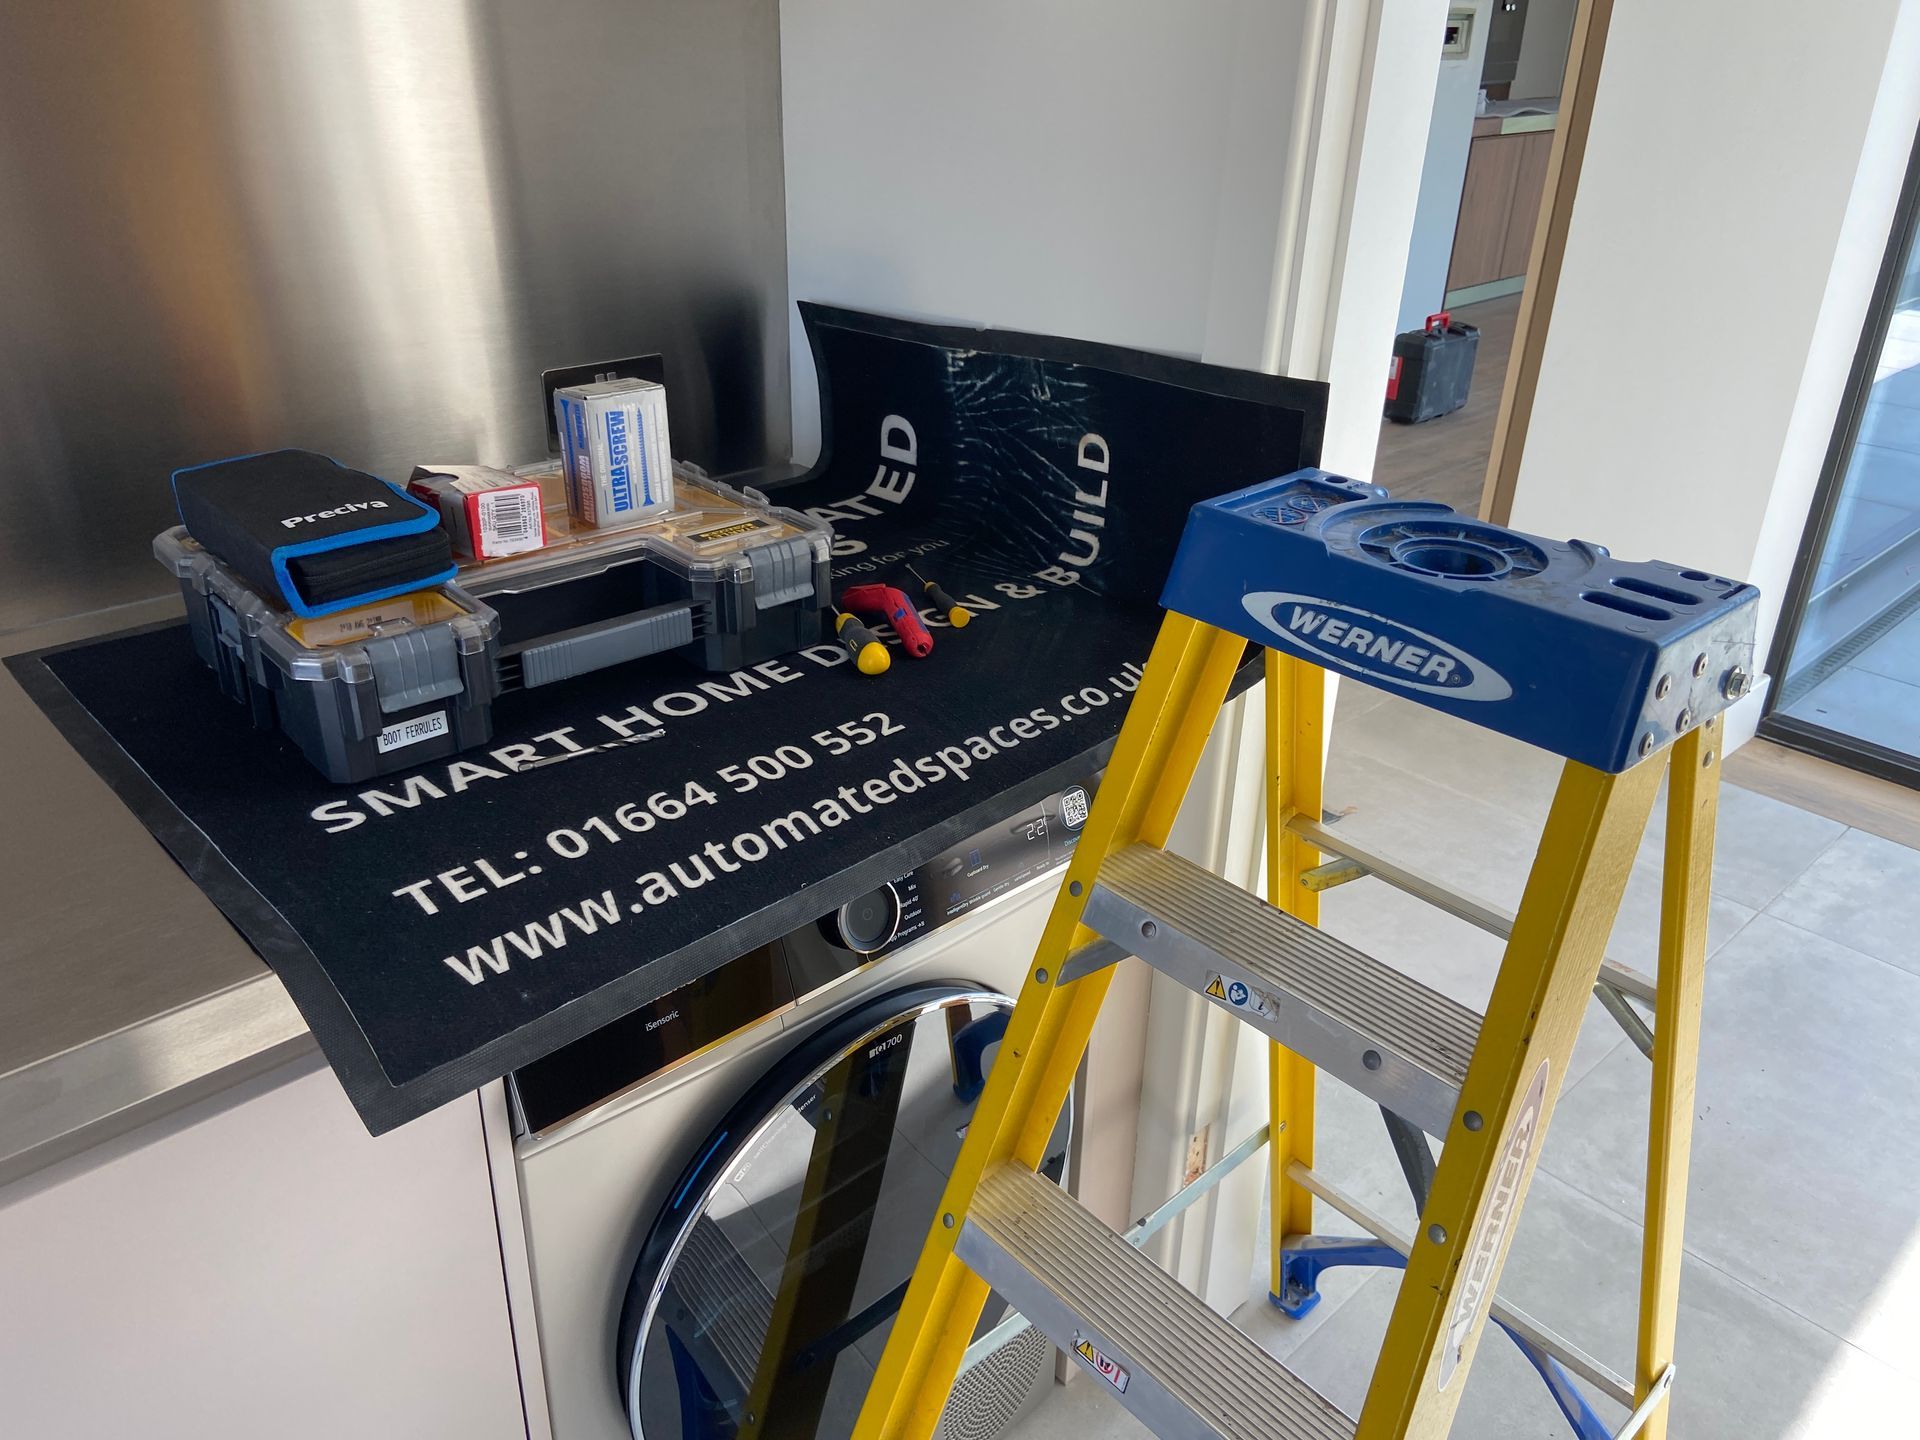
Smart home 1st fix
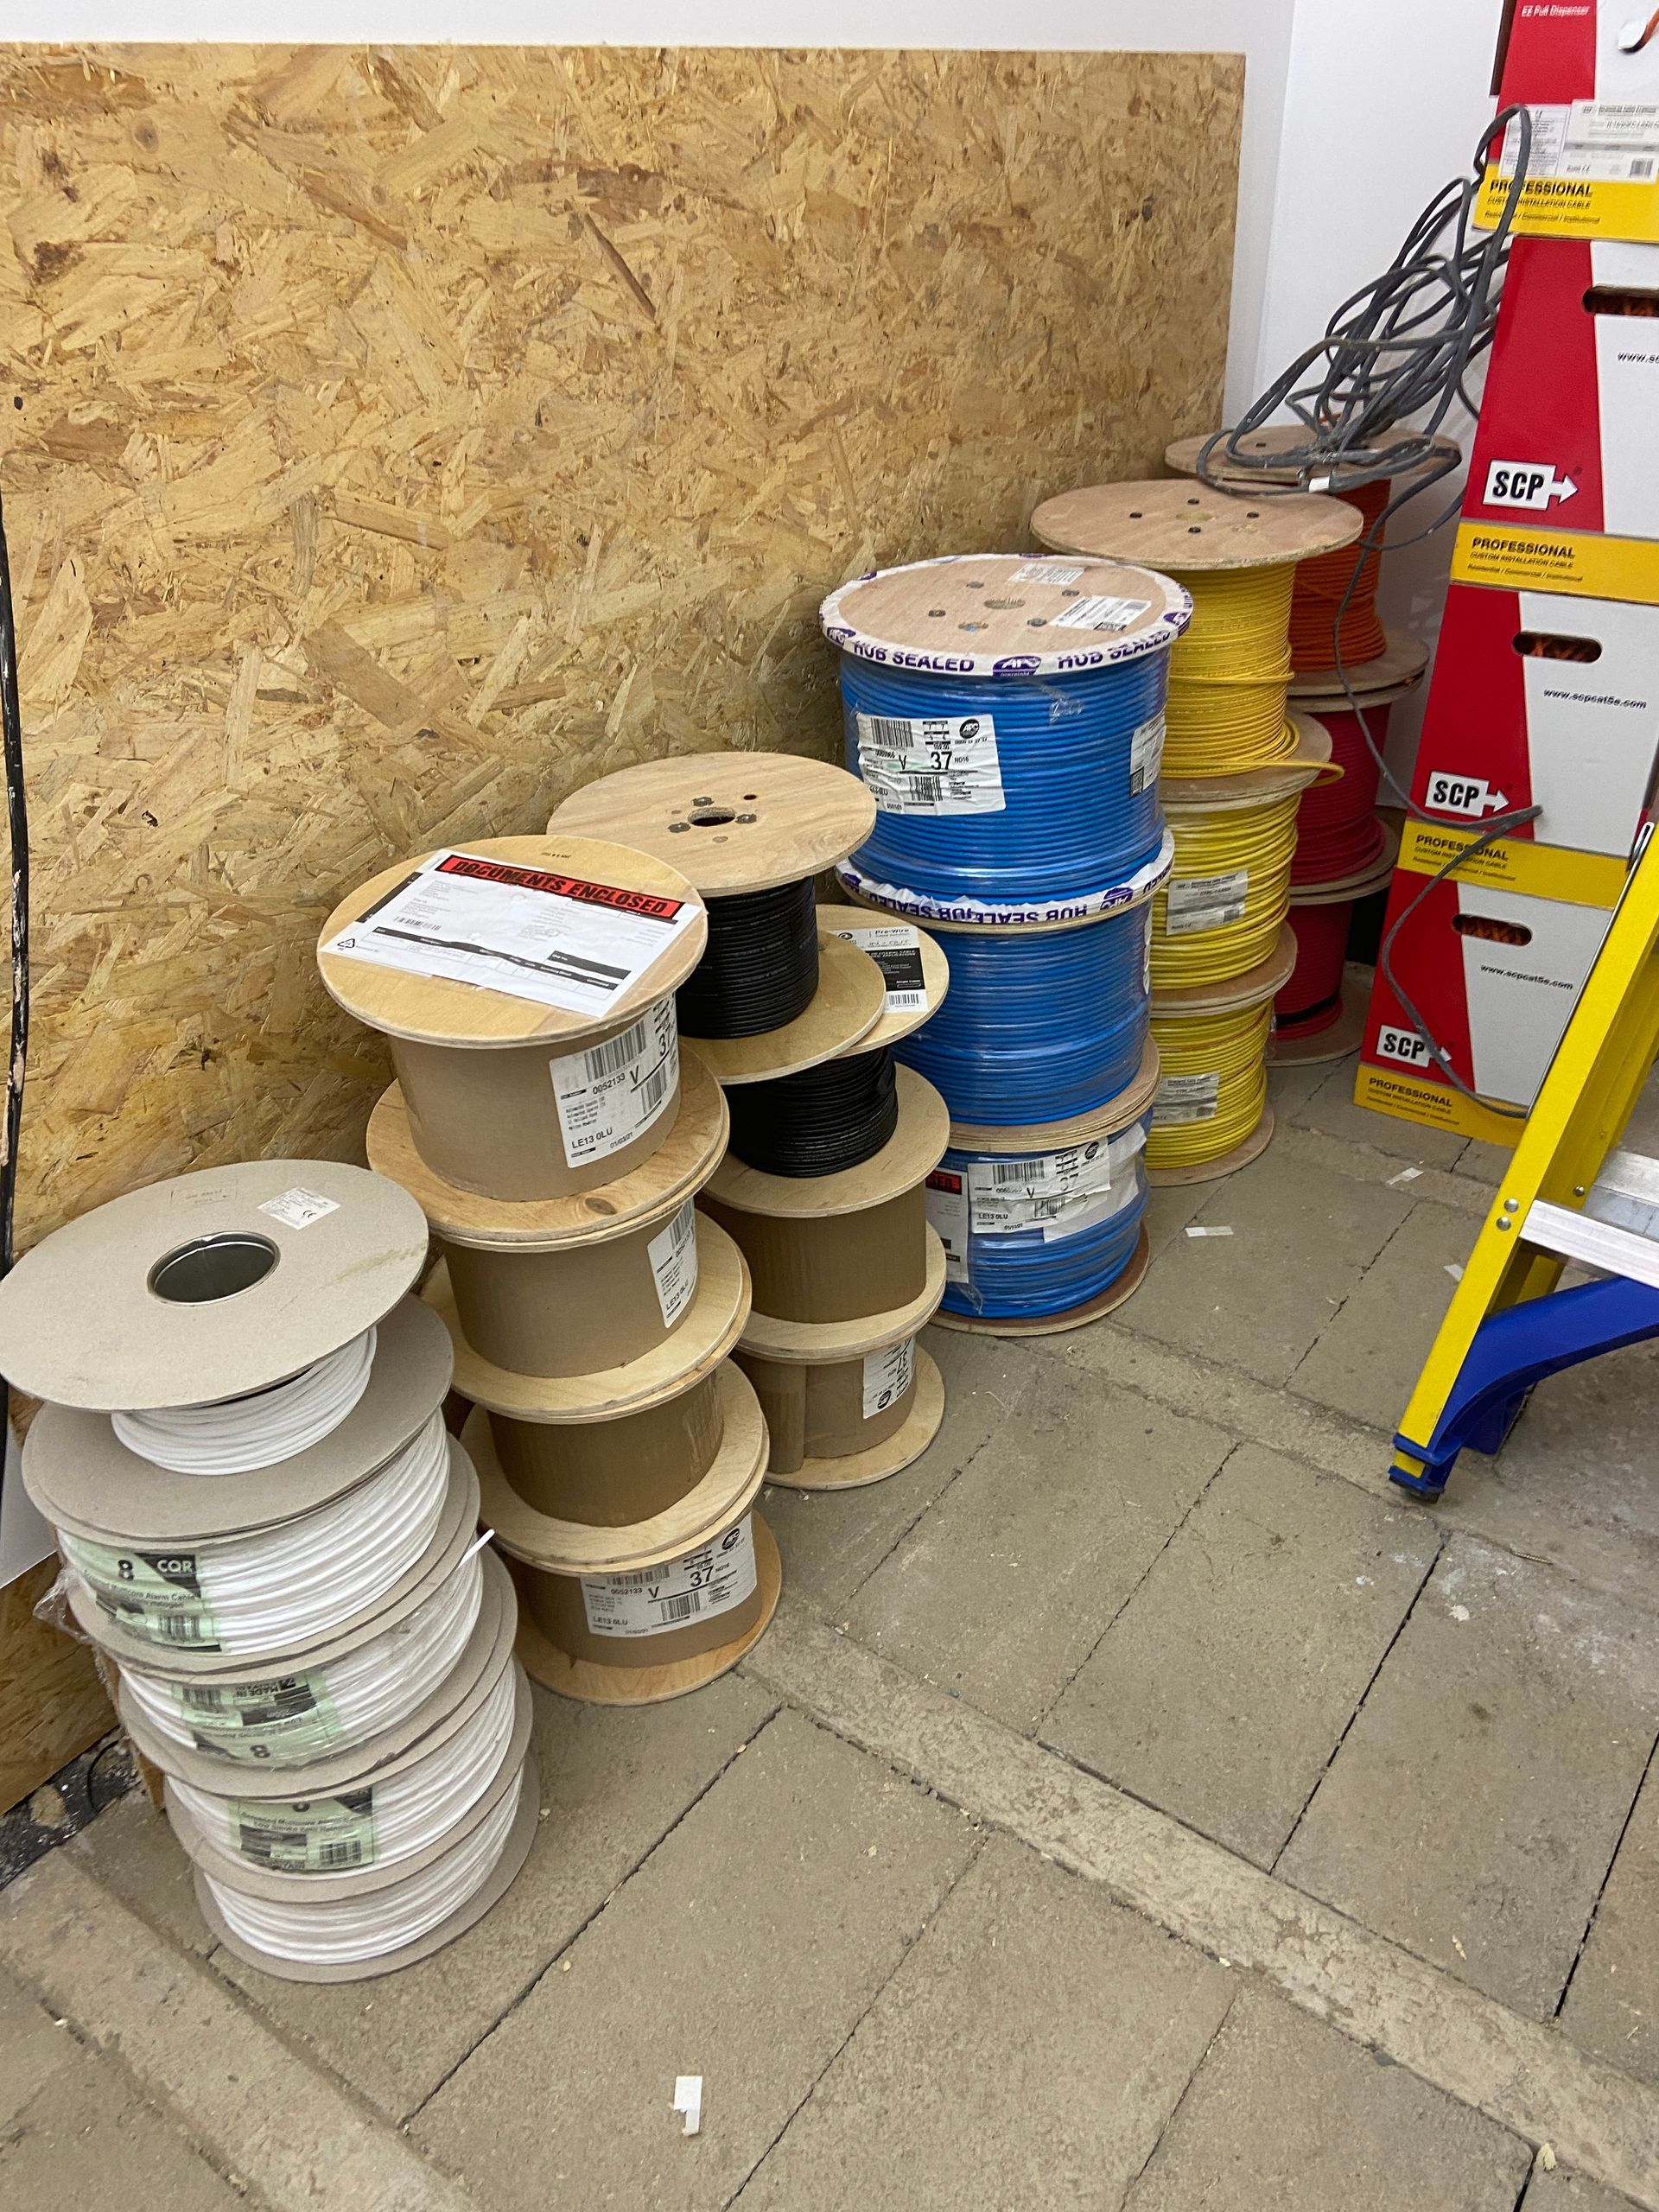
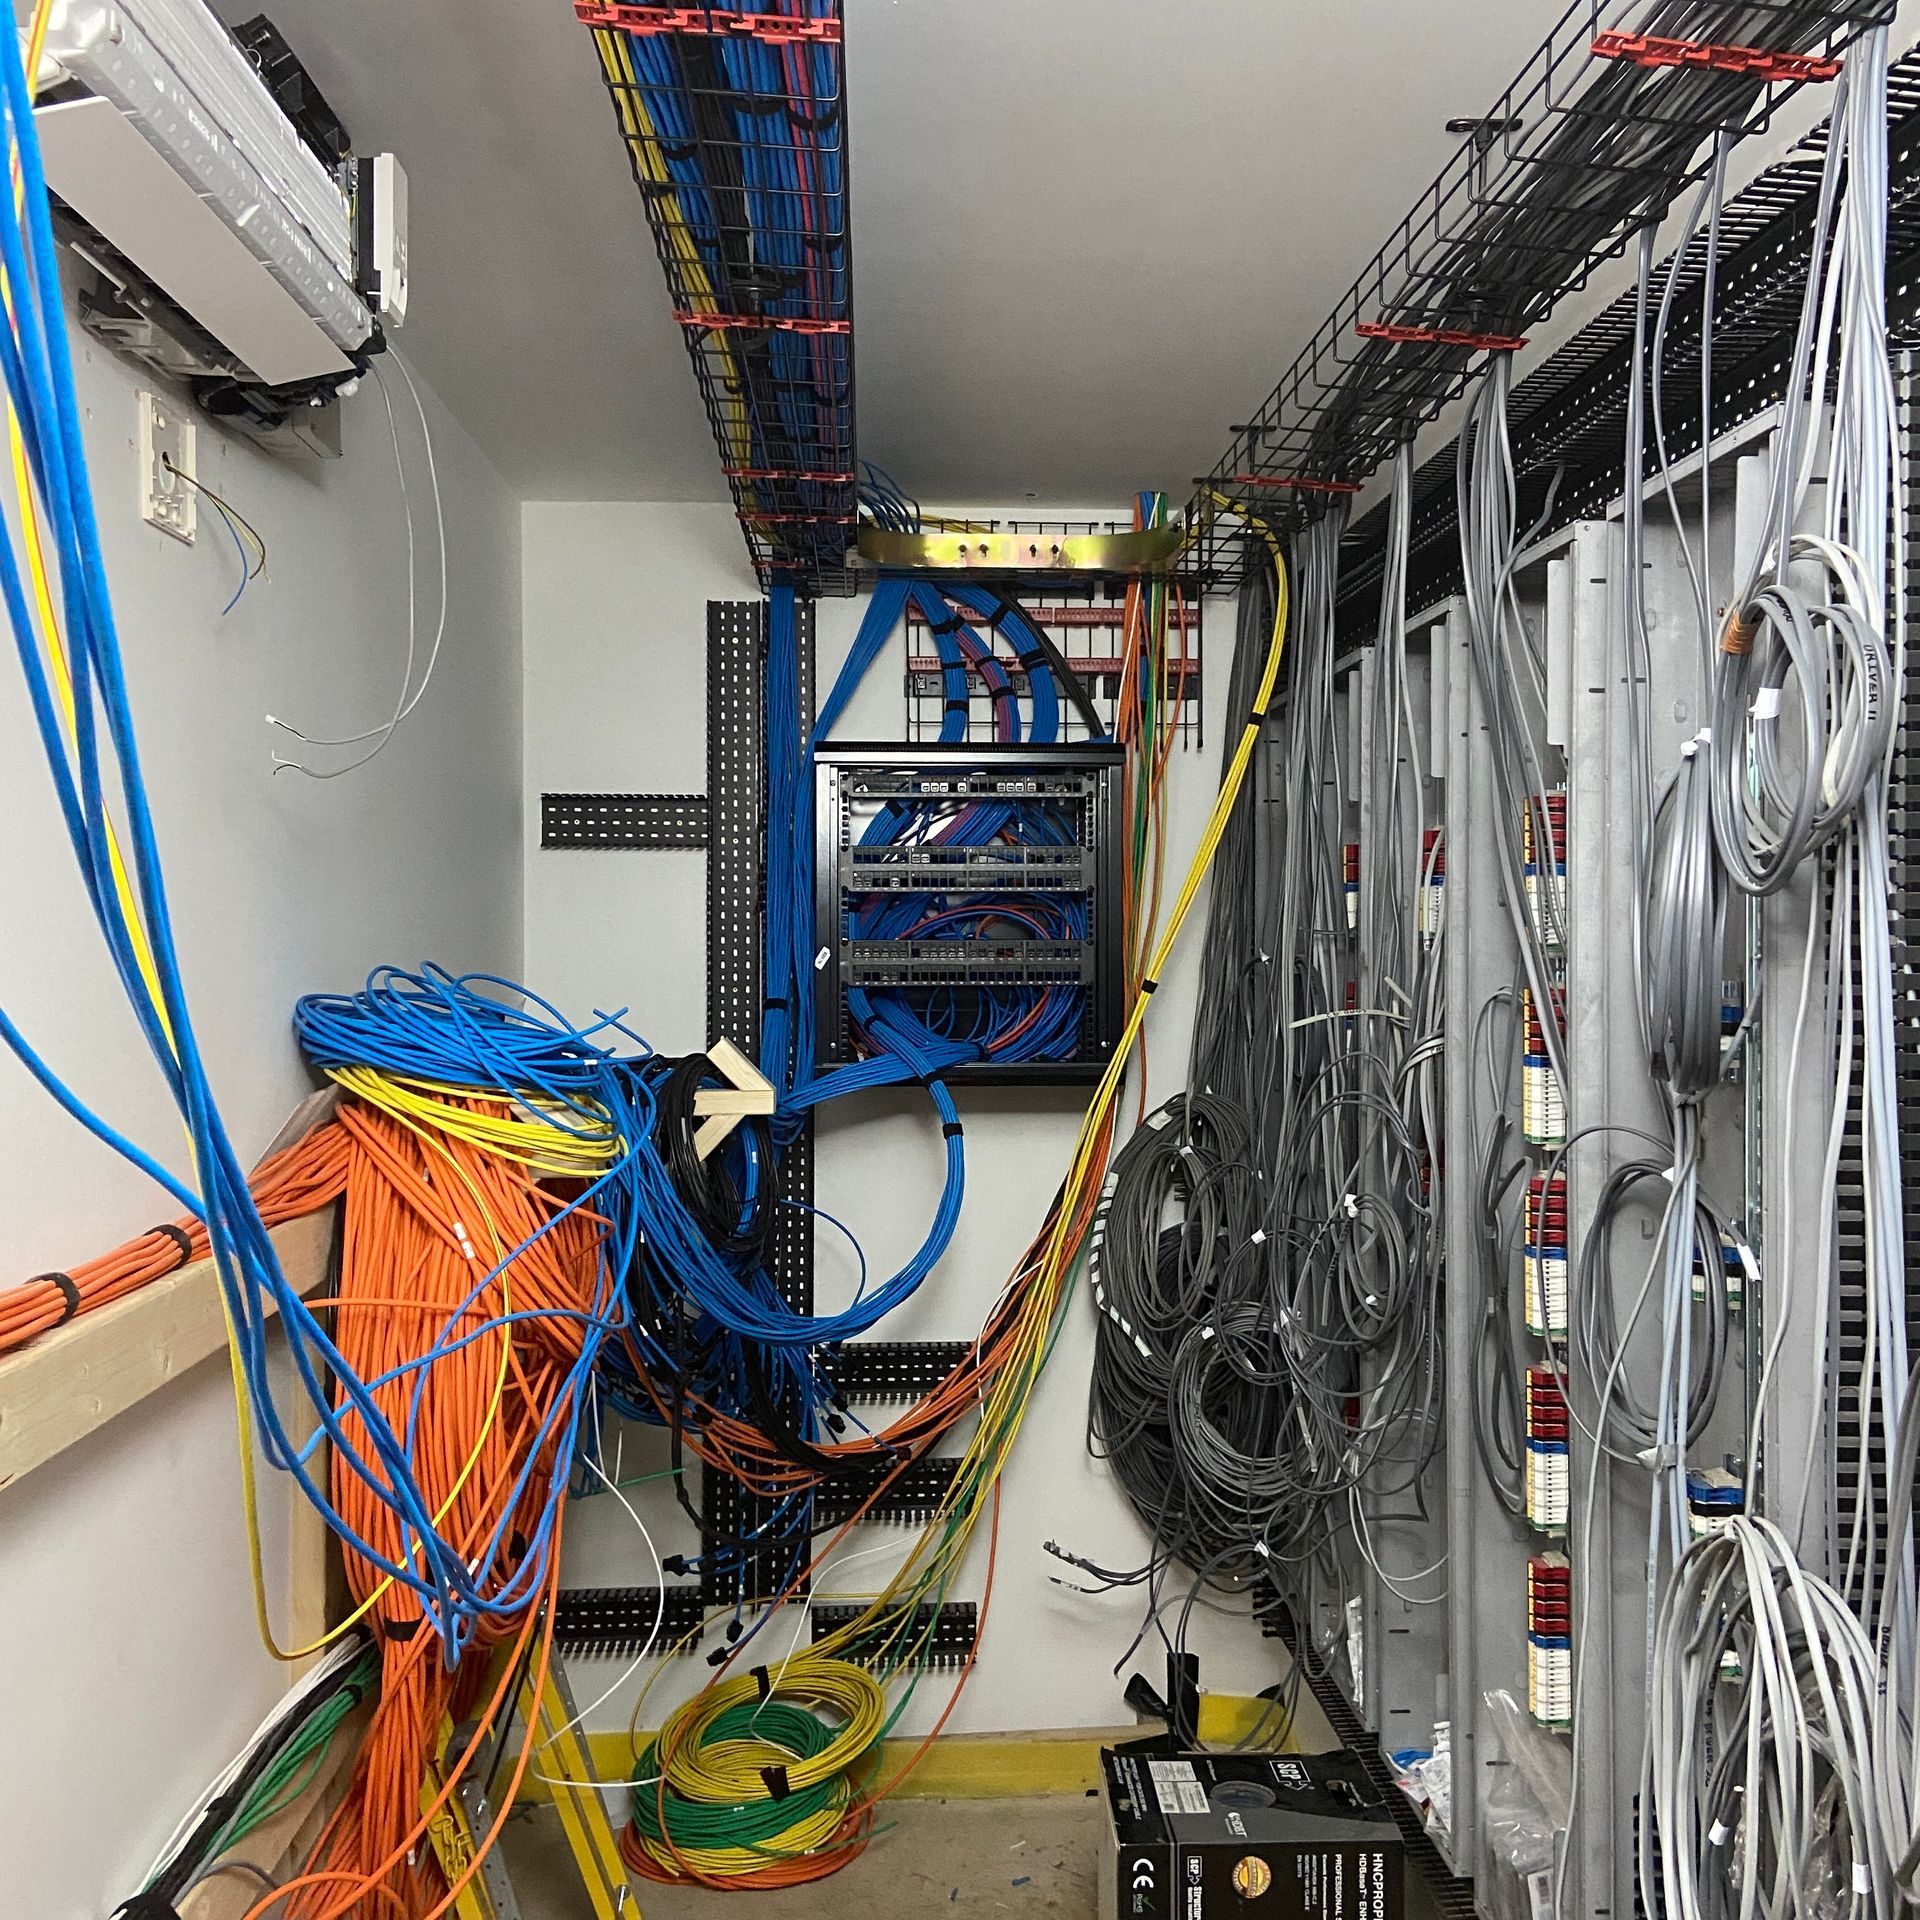
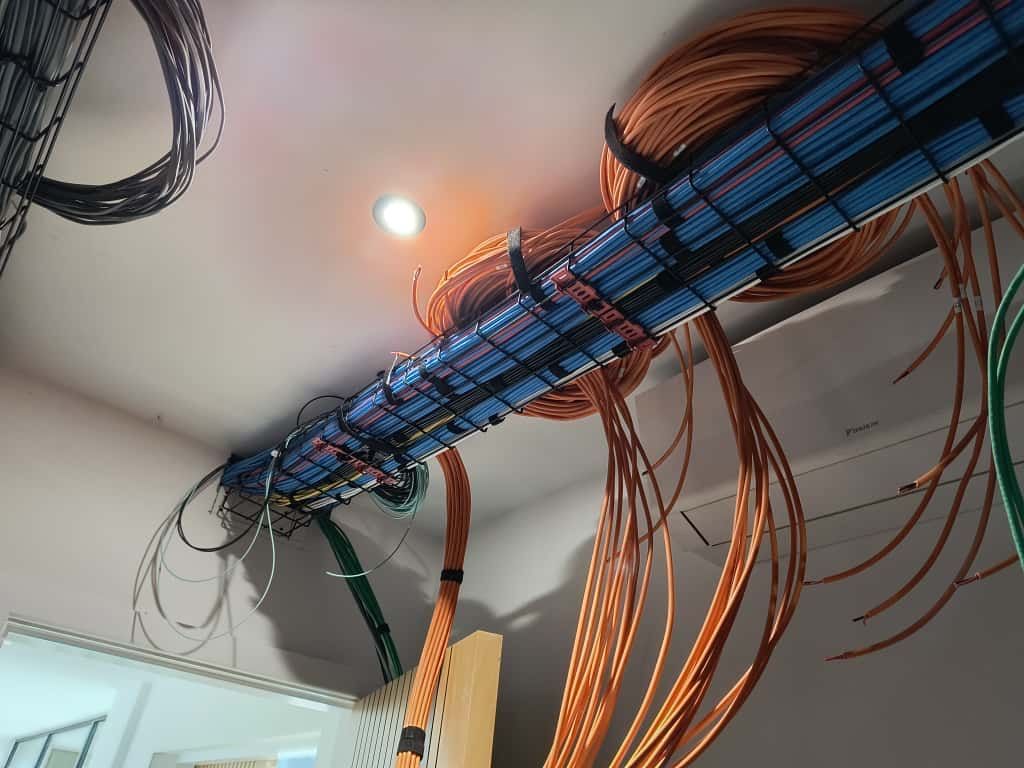
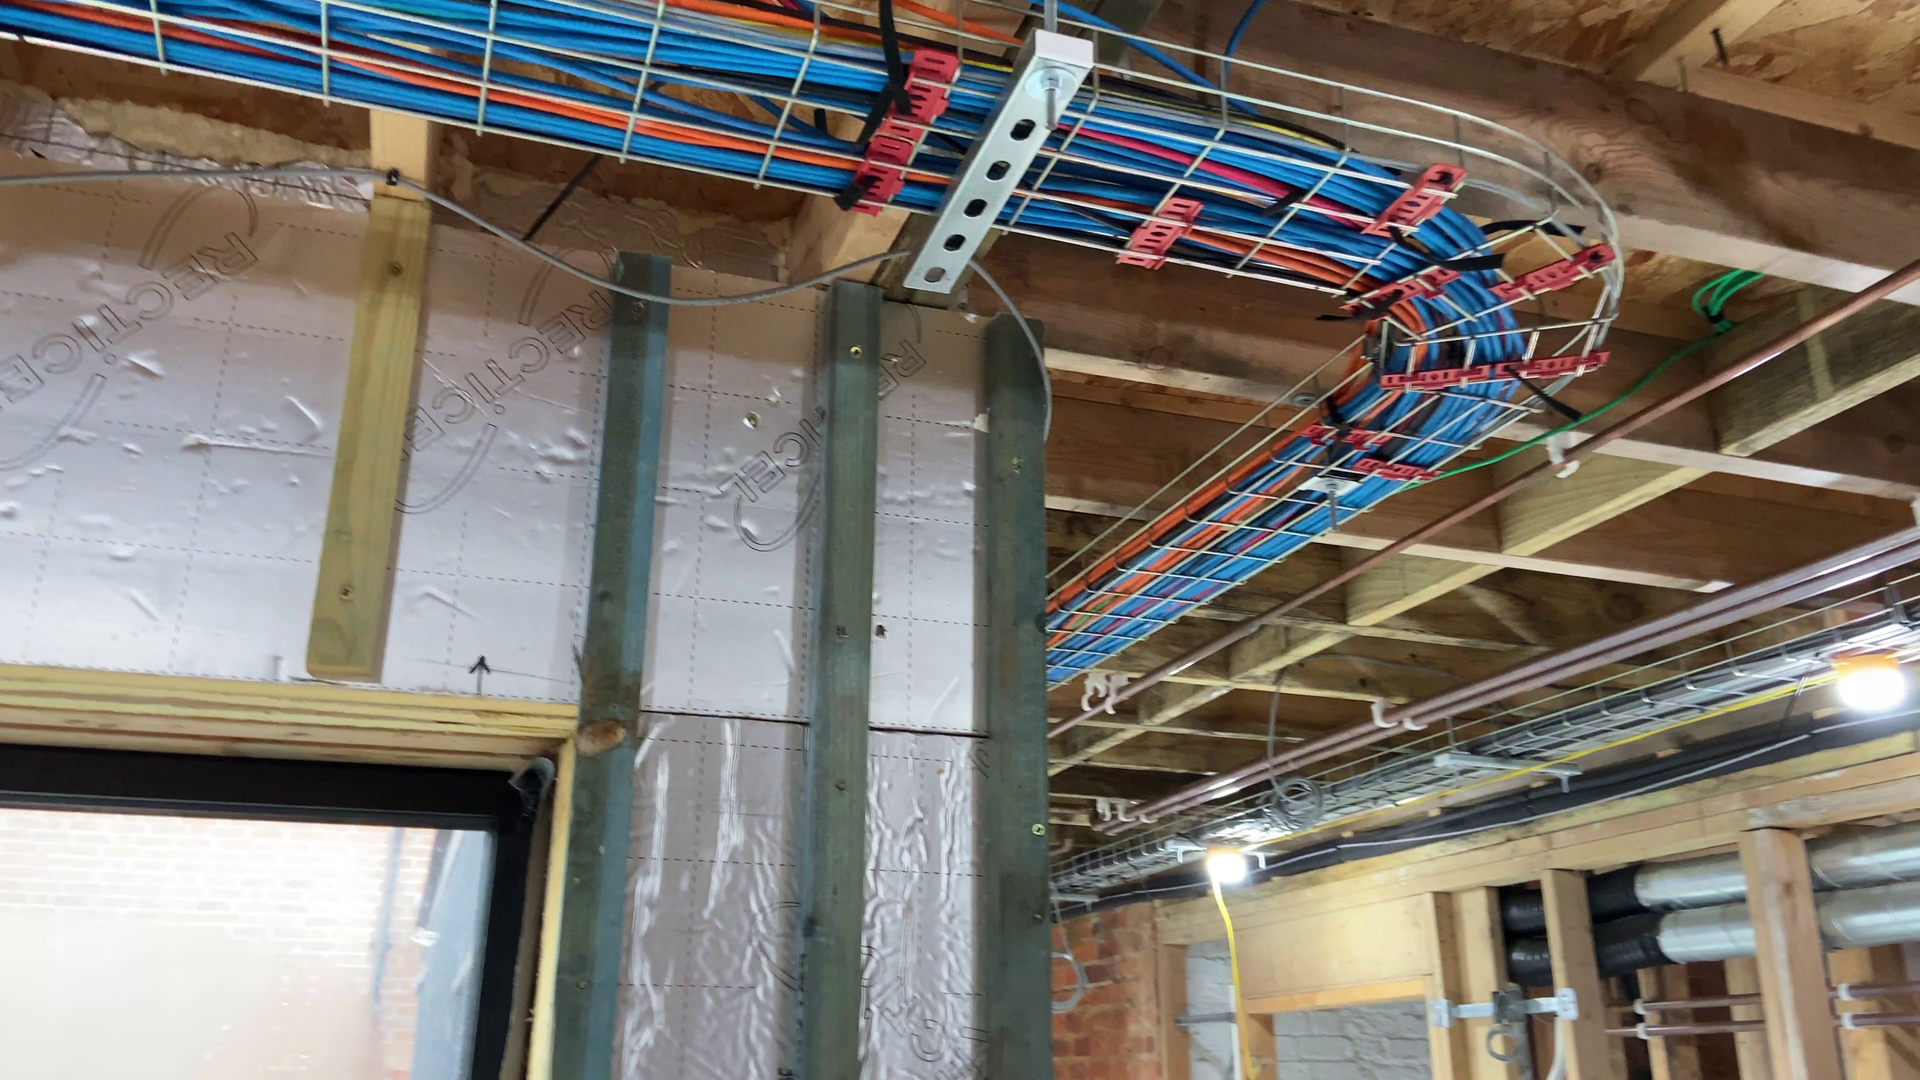
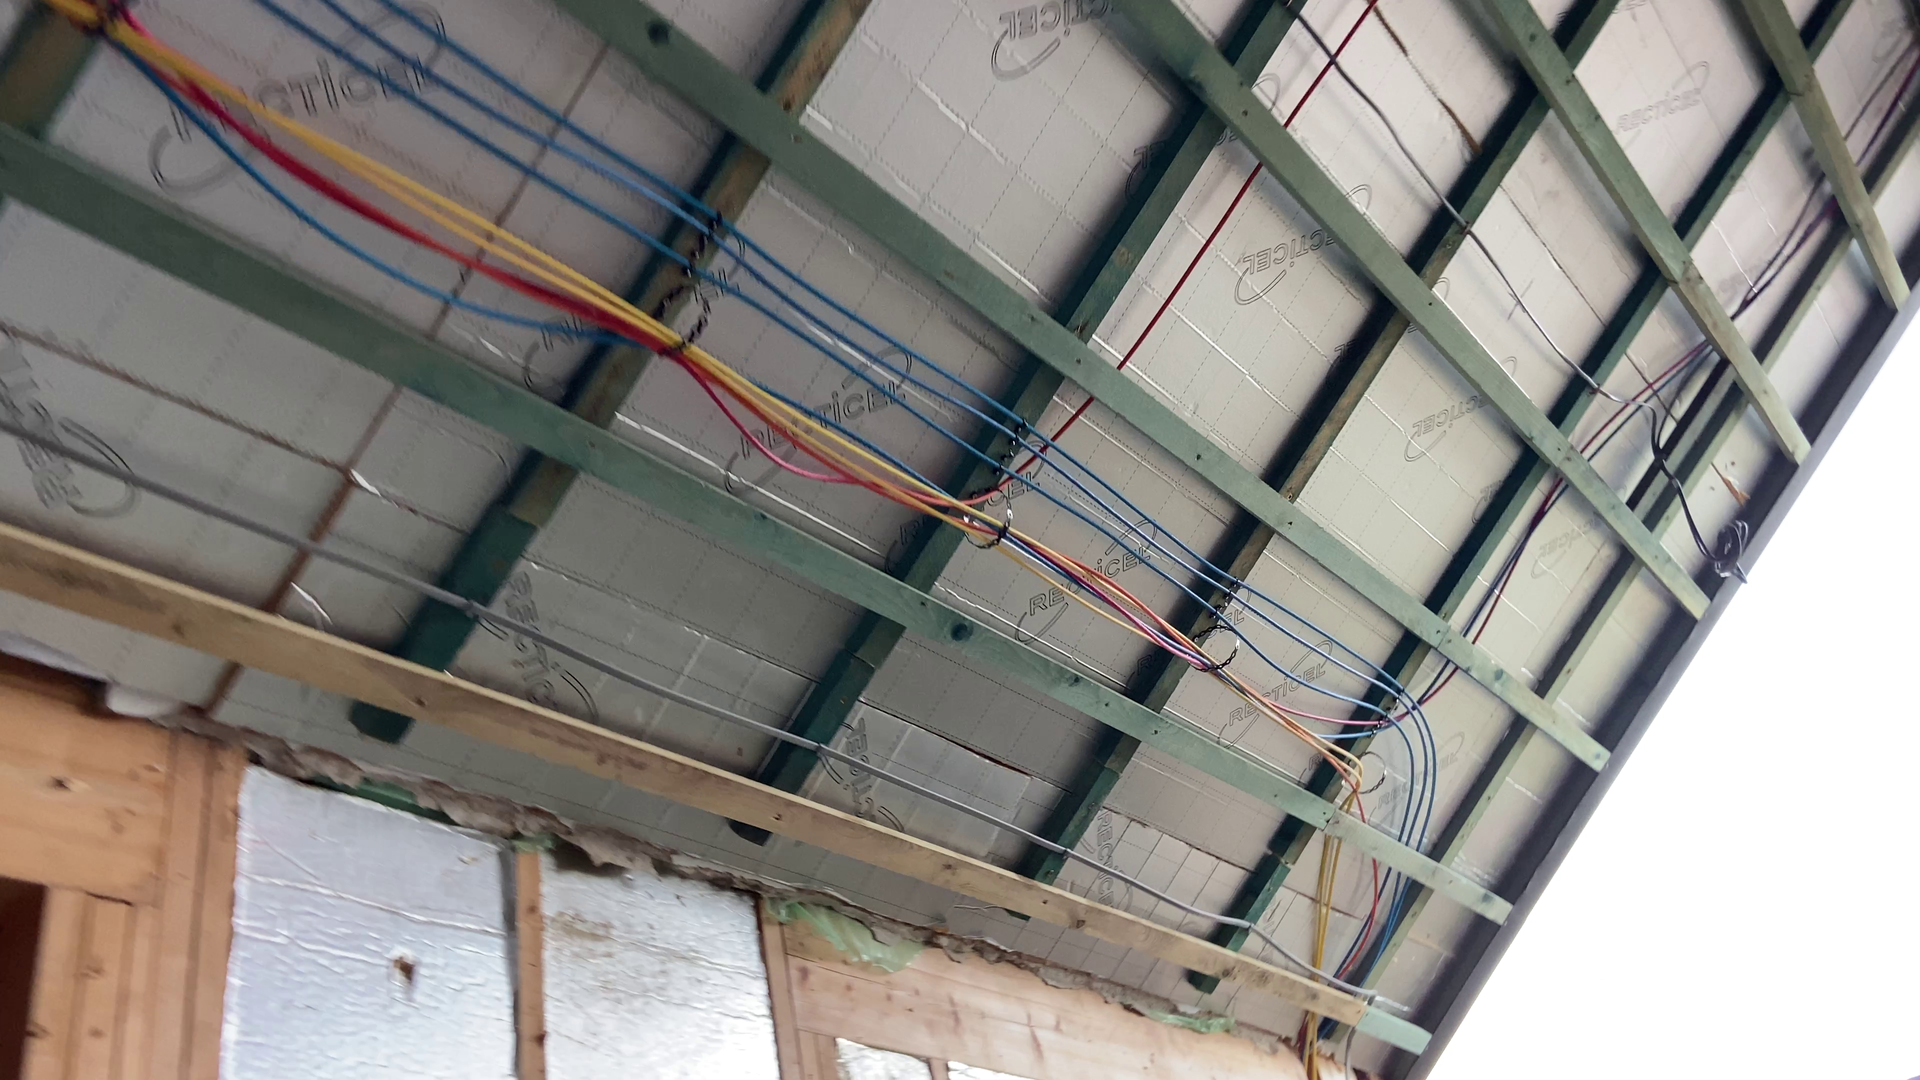
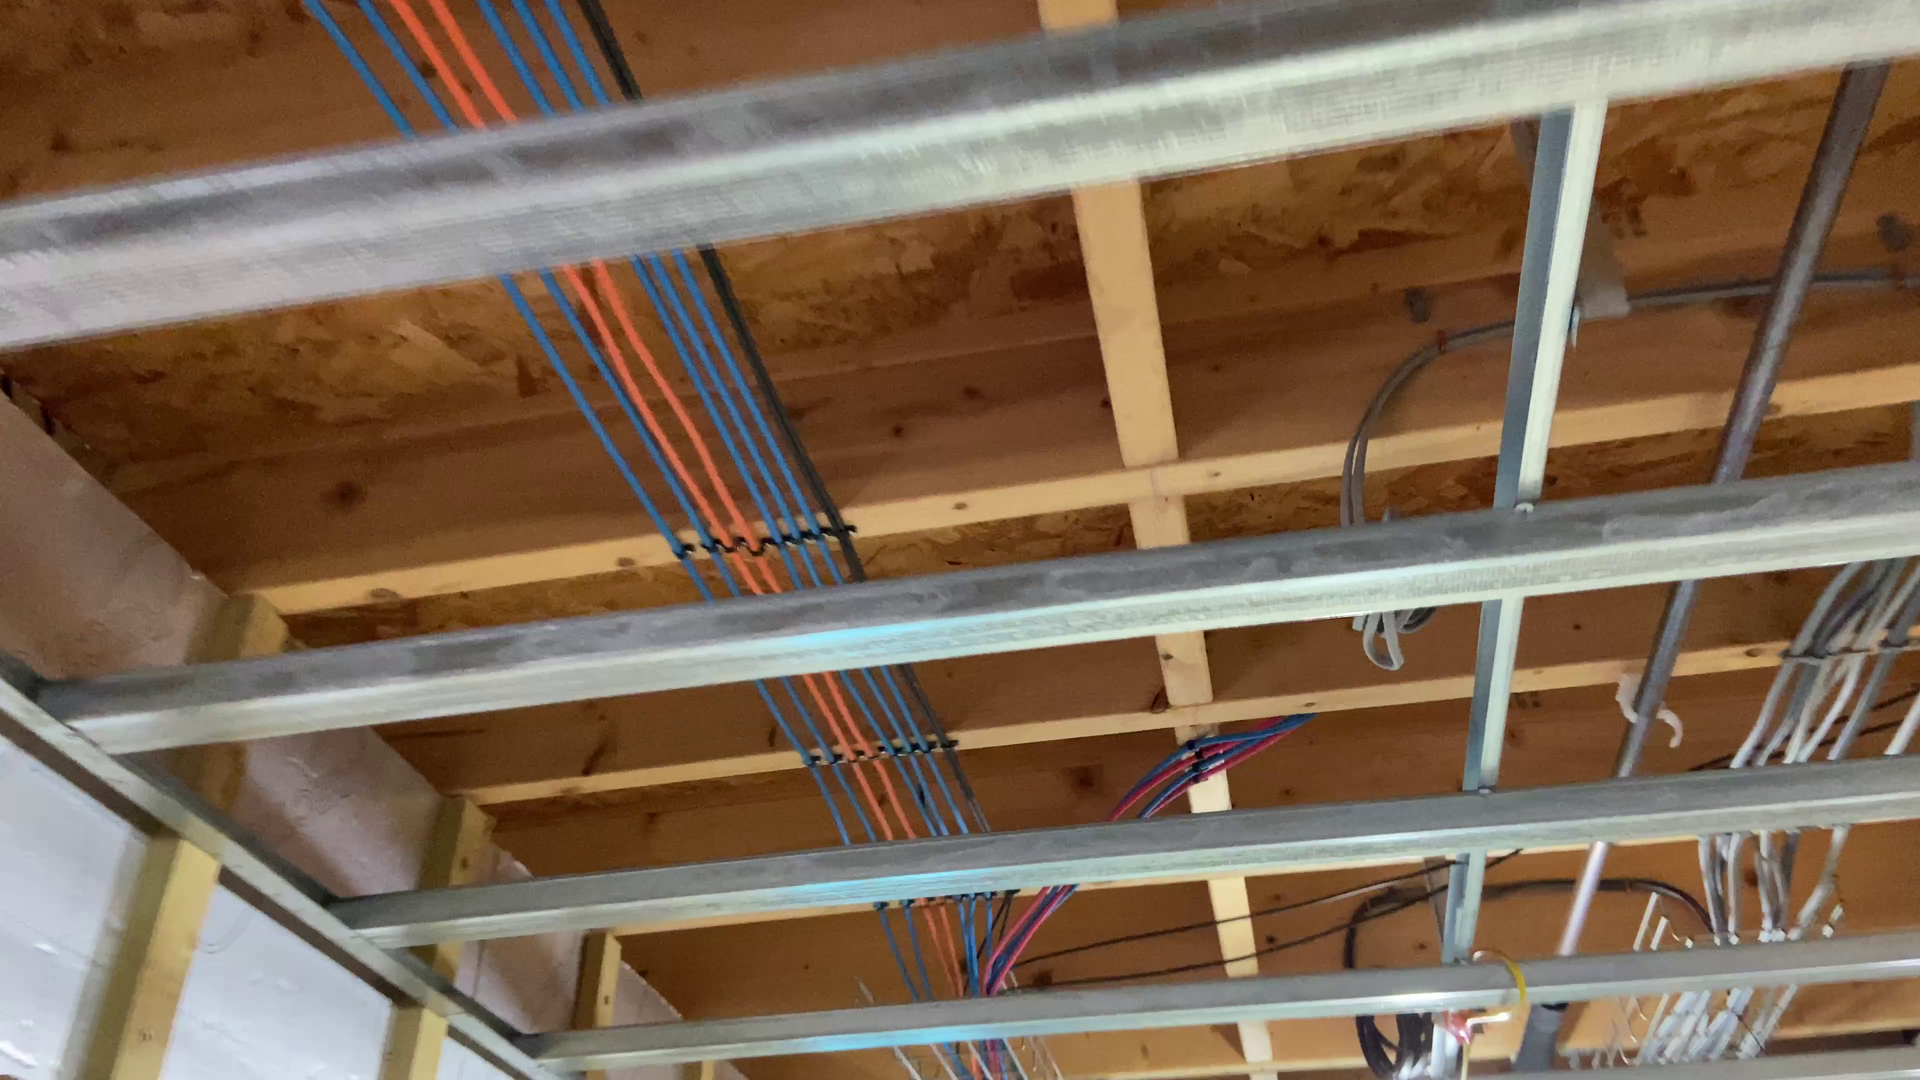
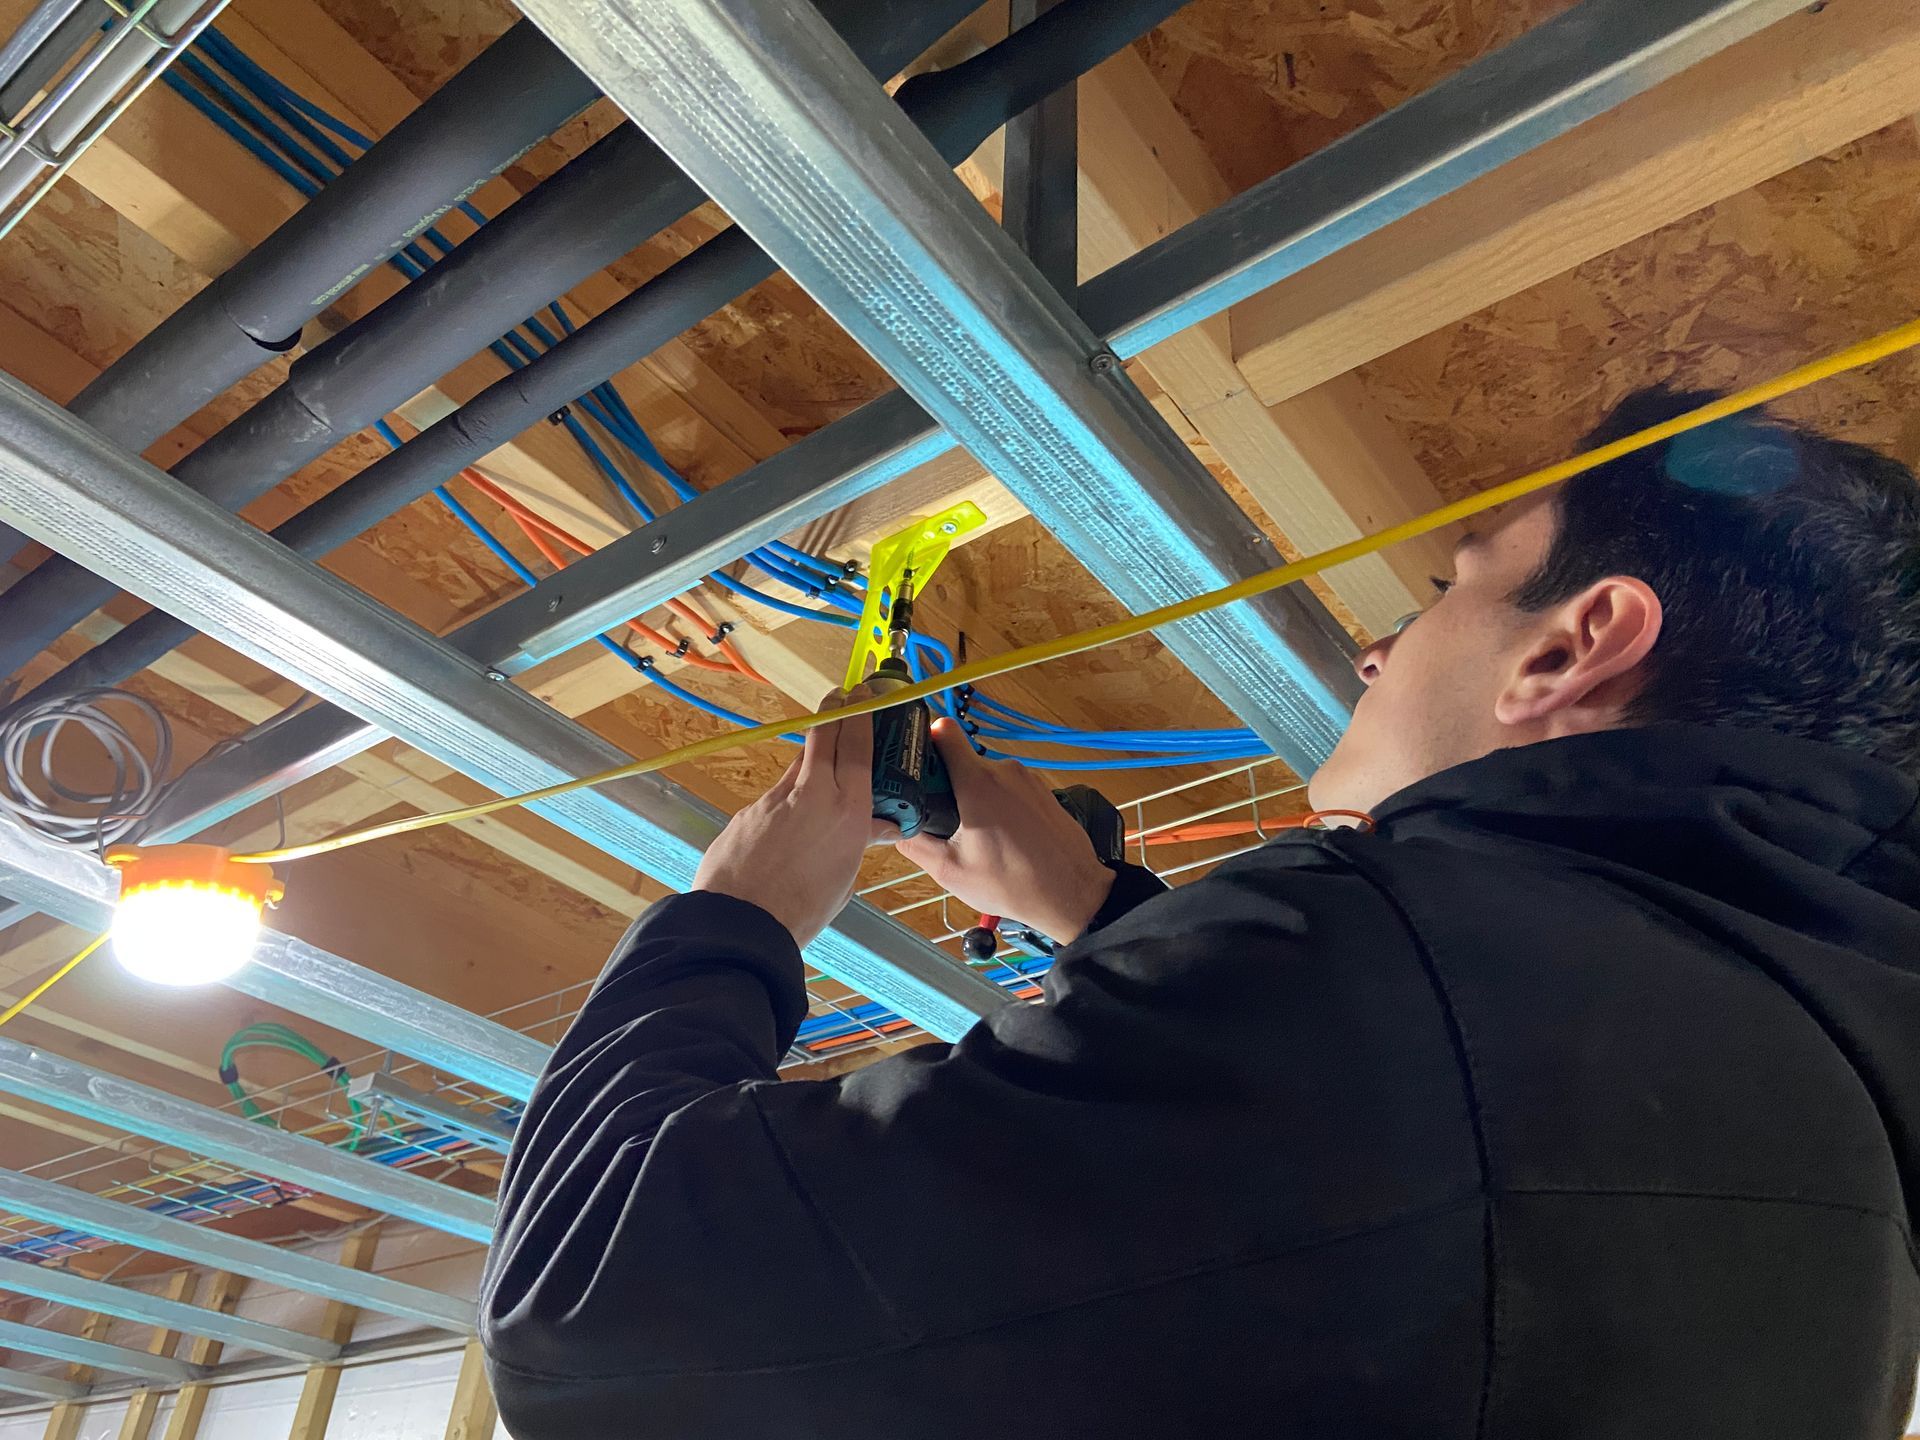
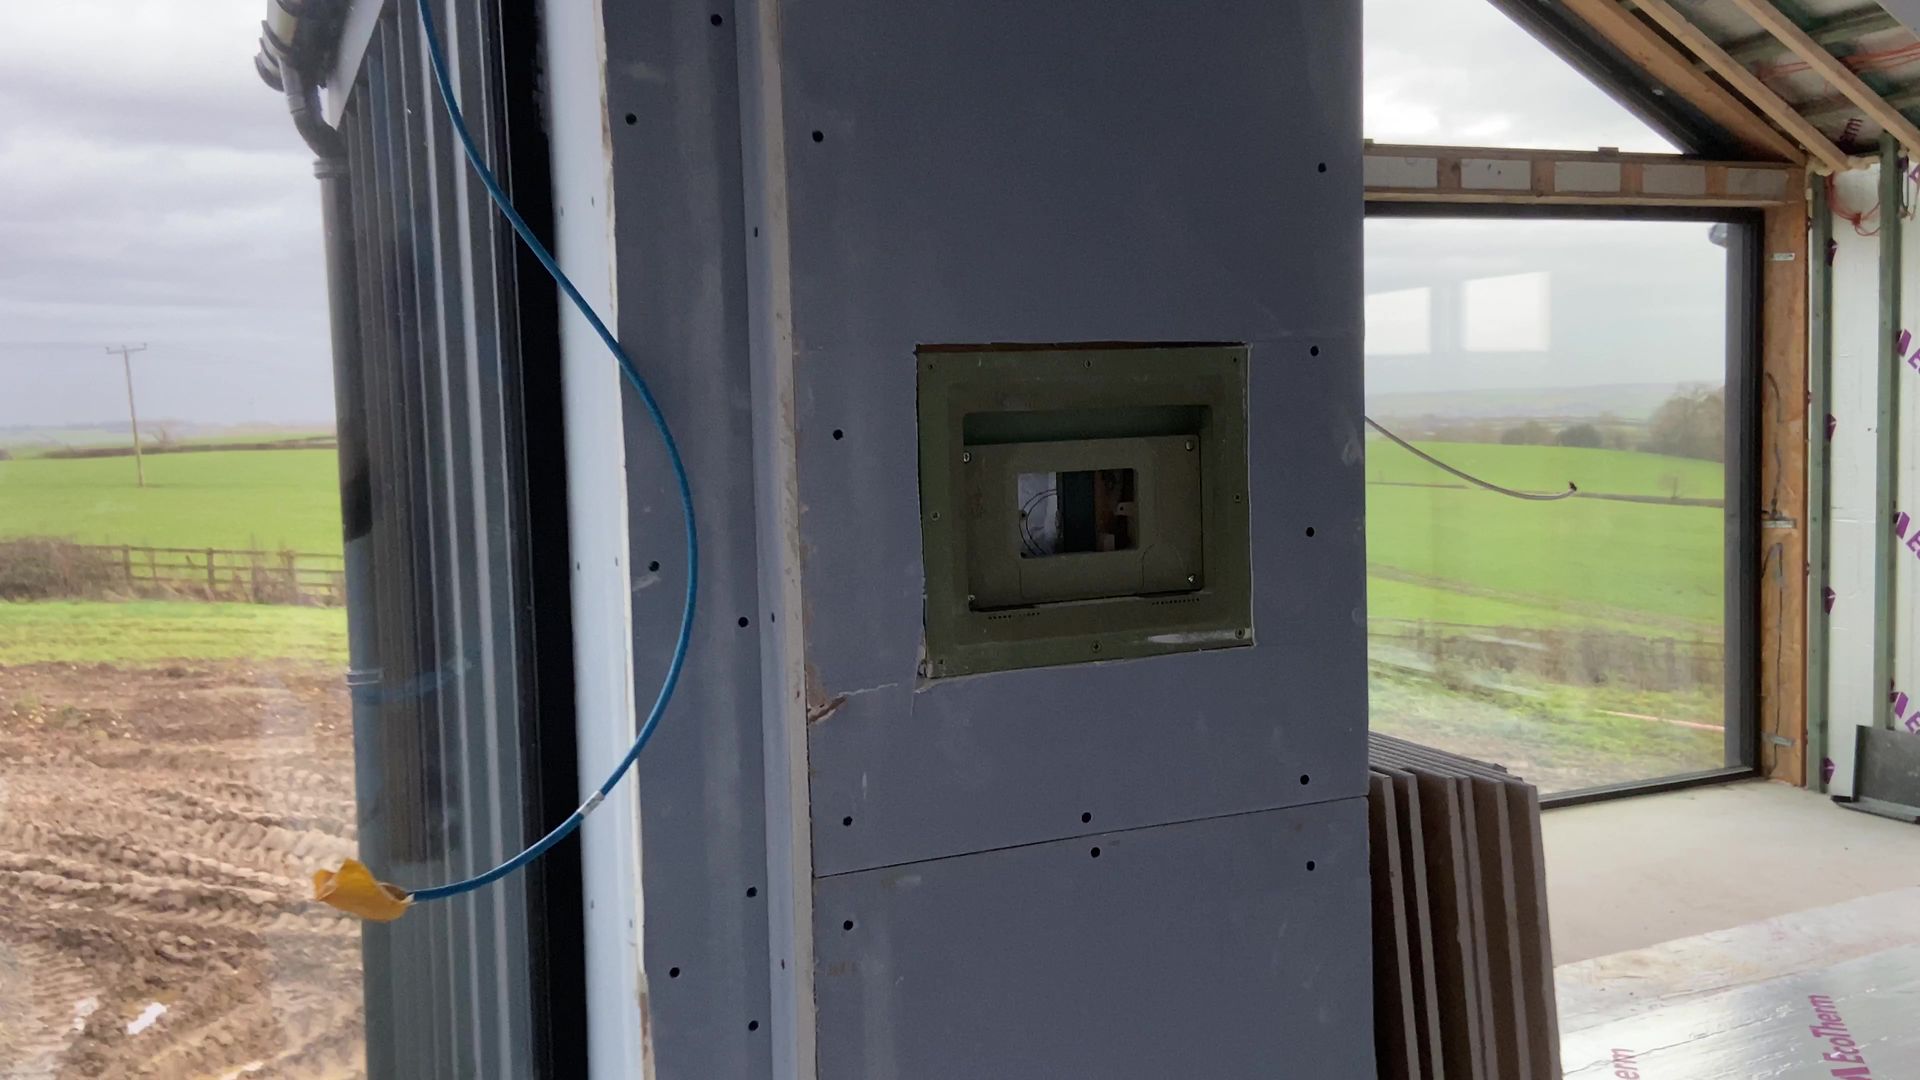
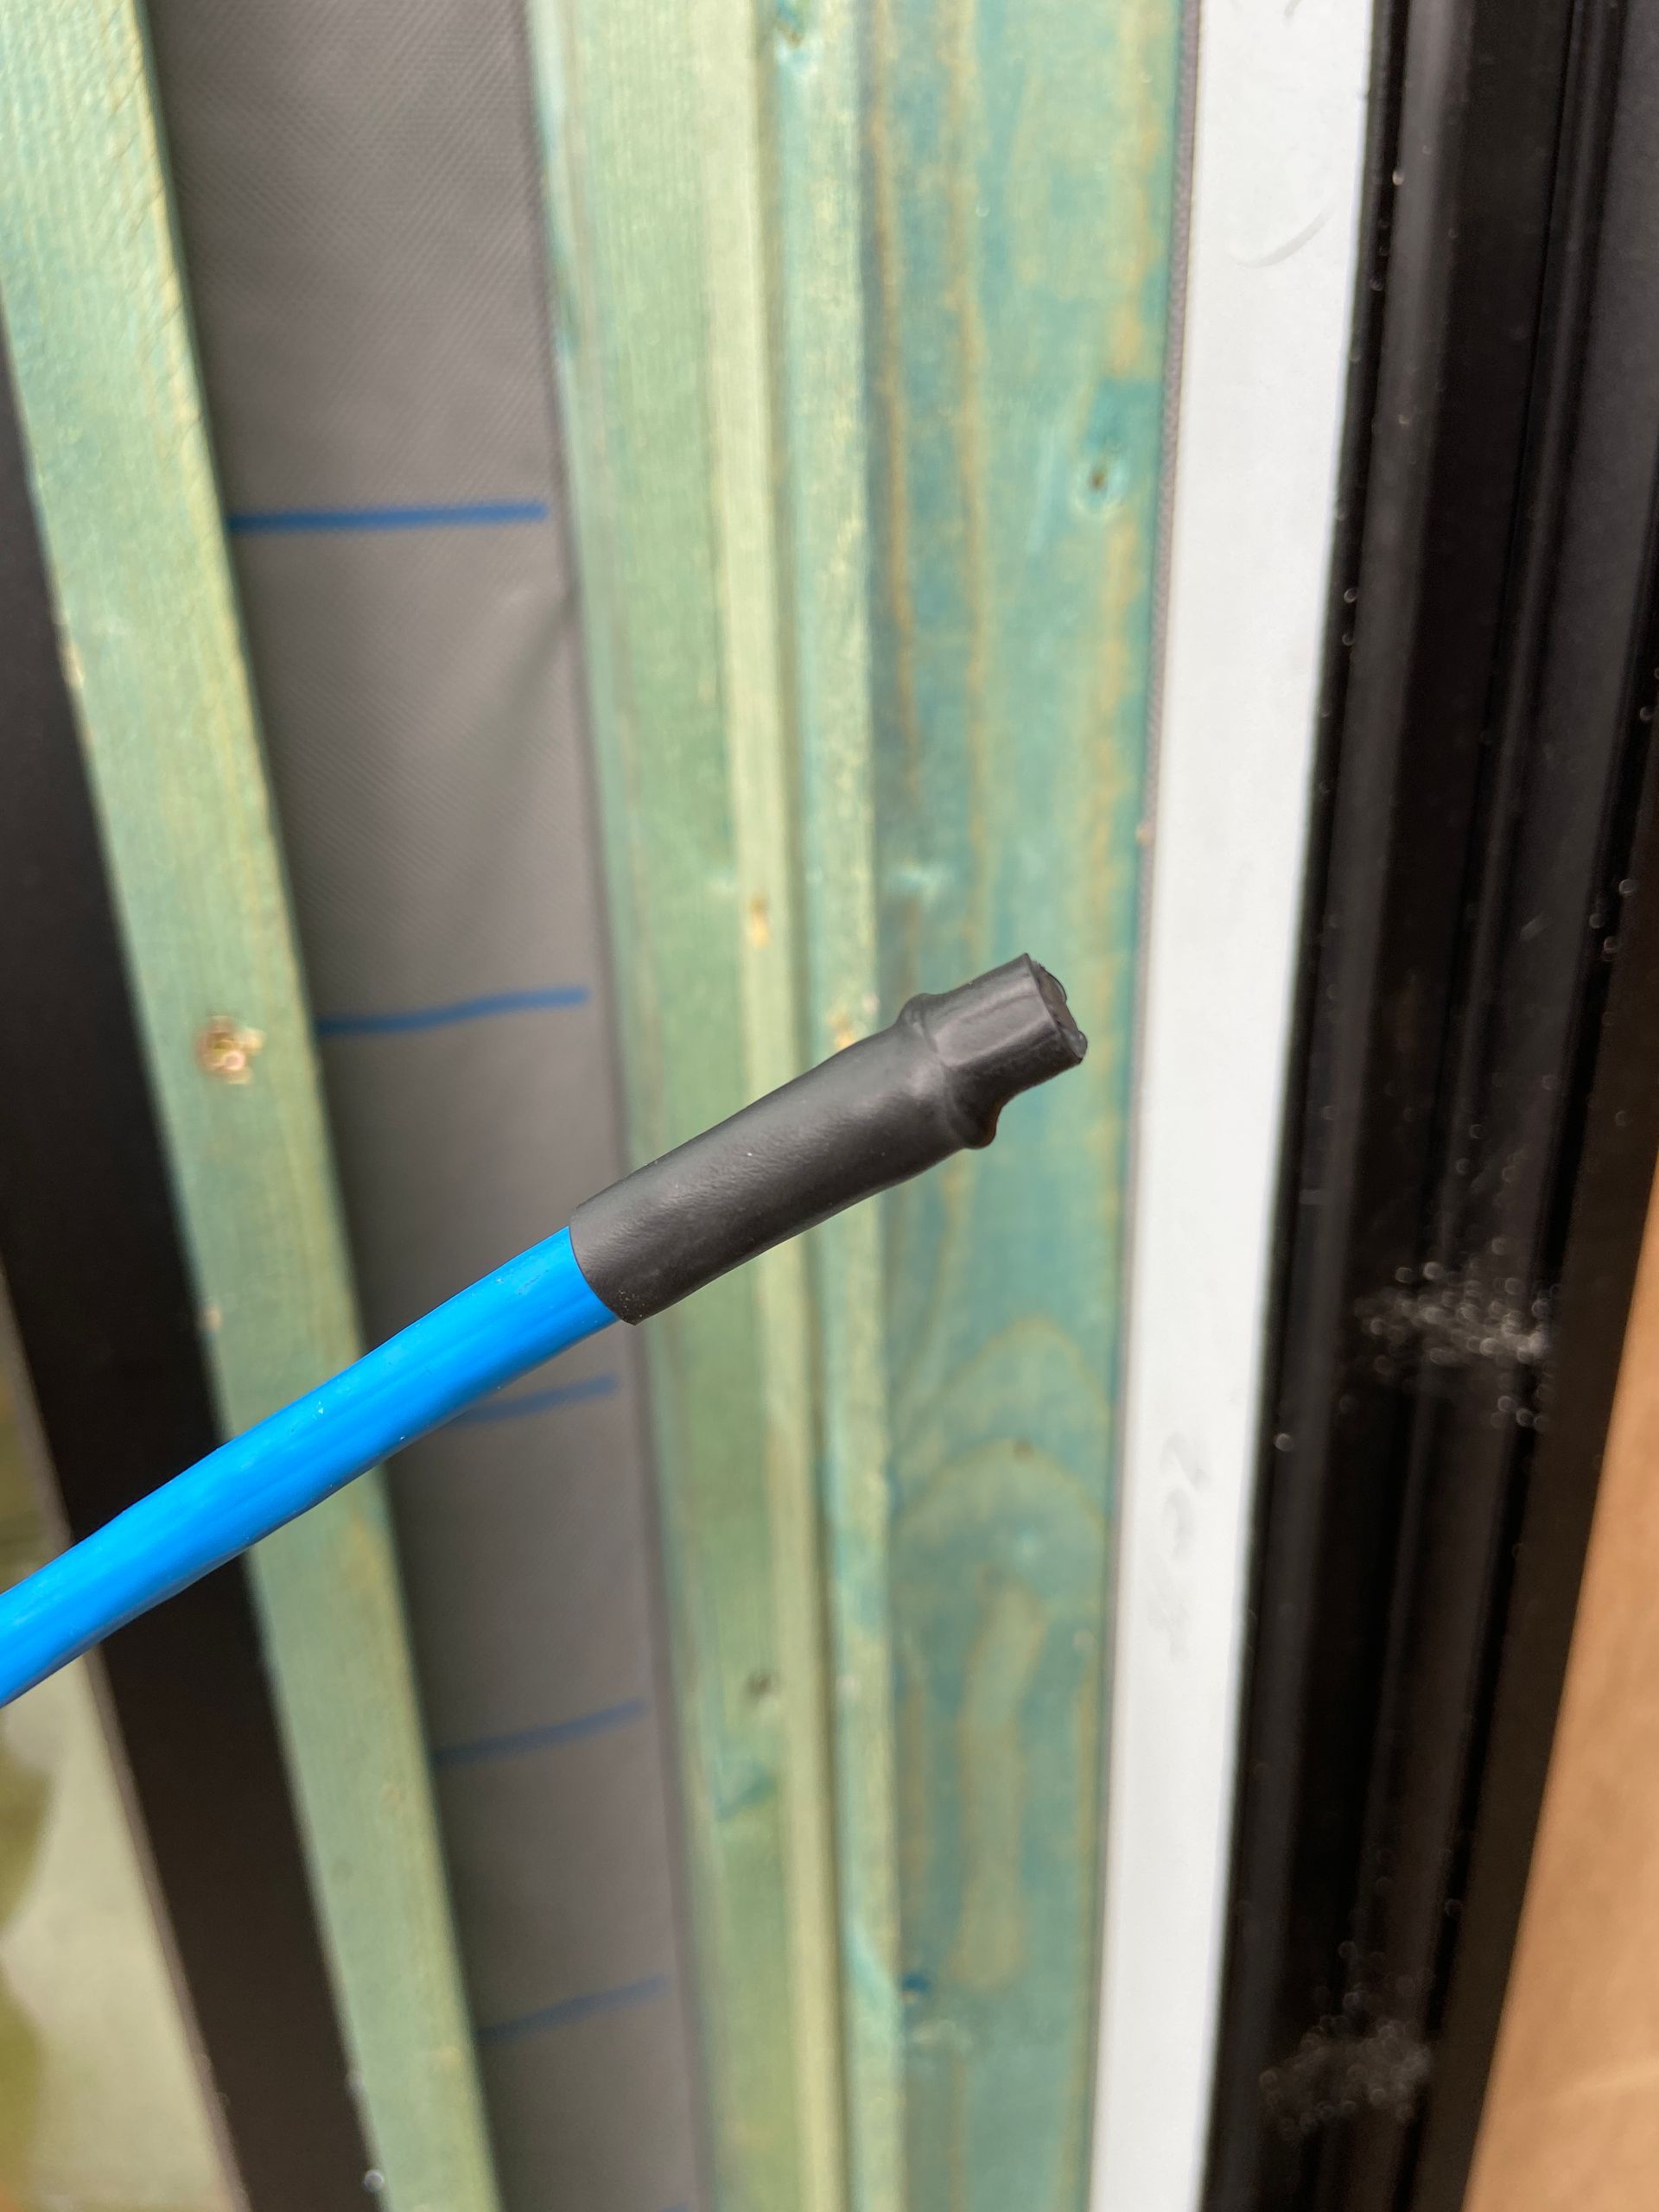
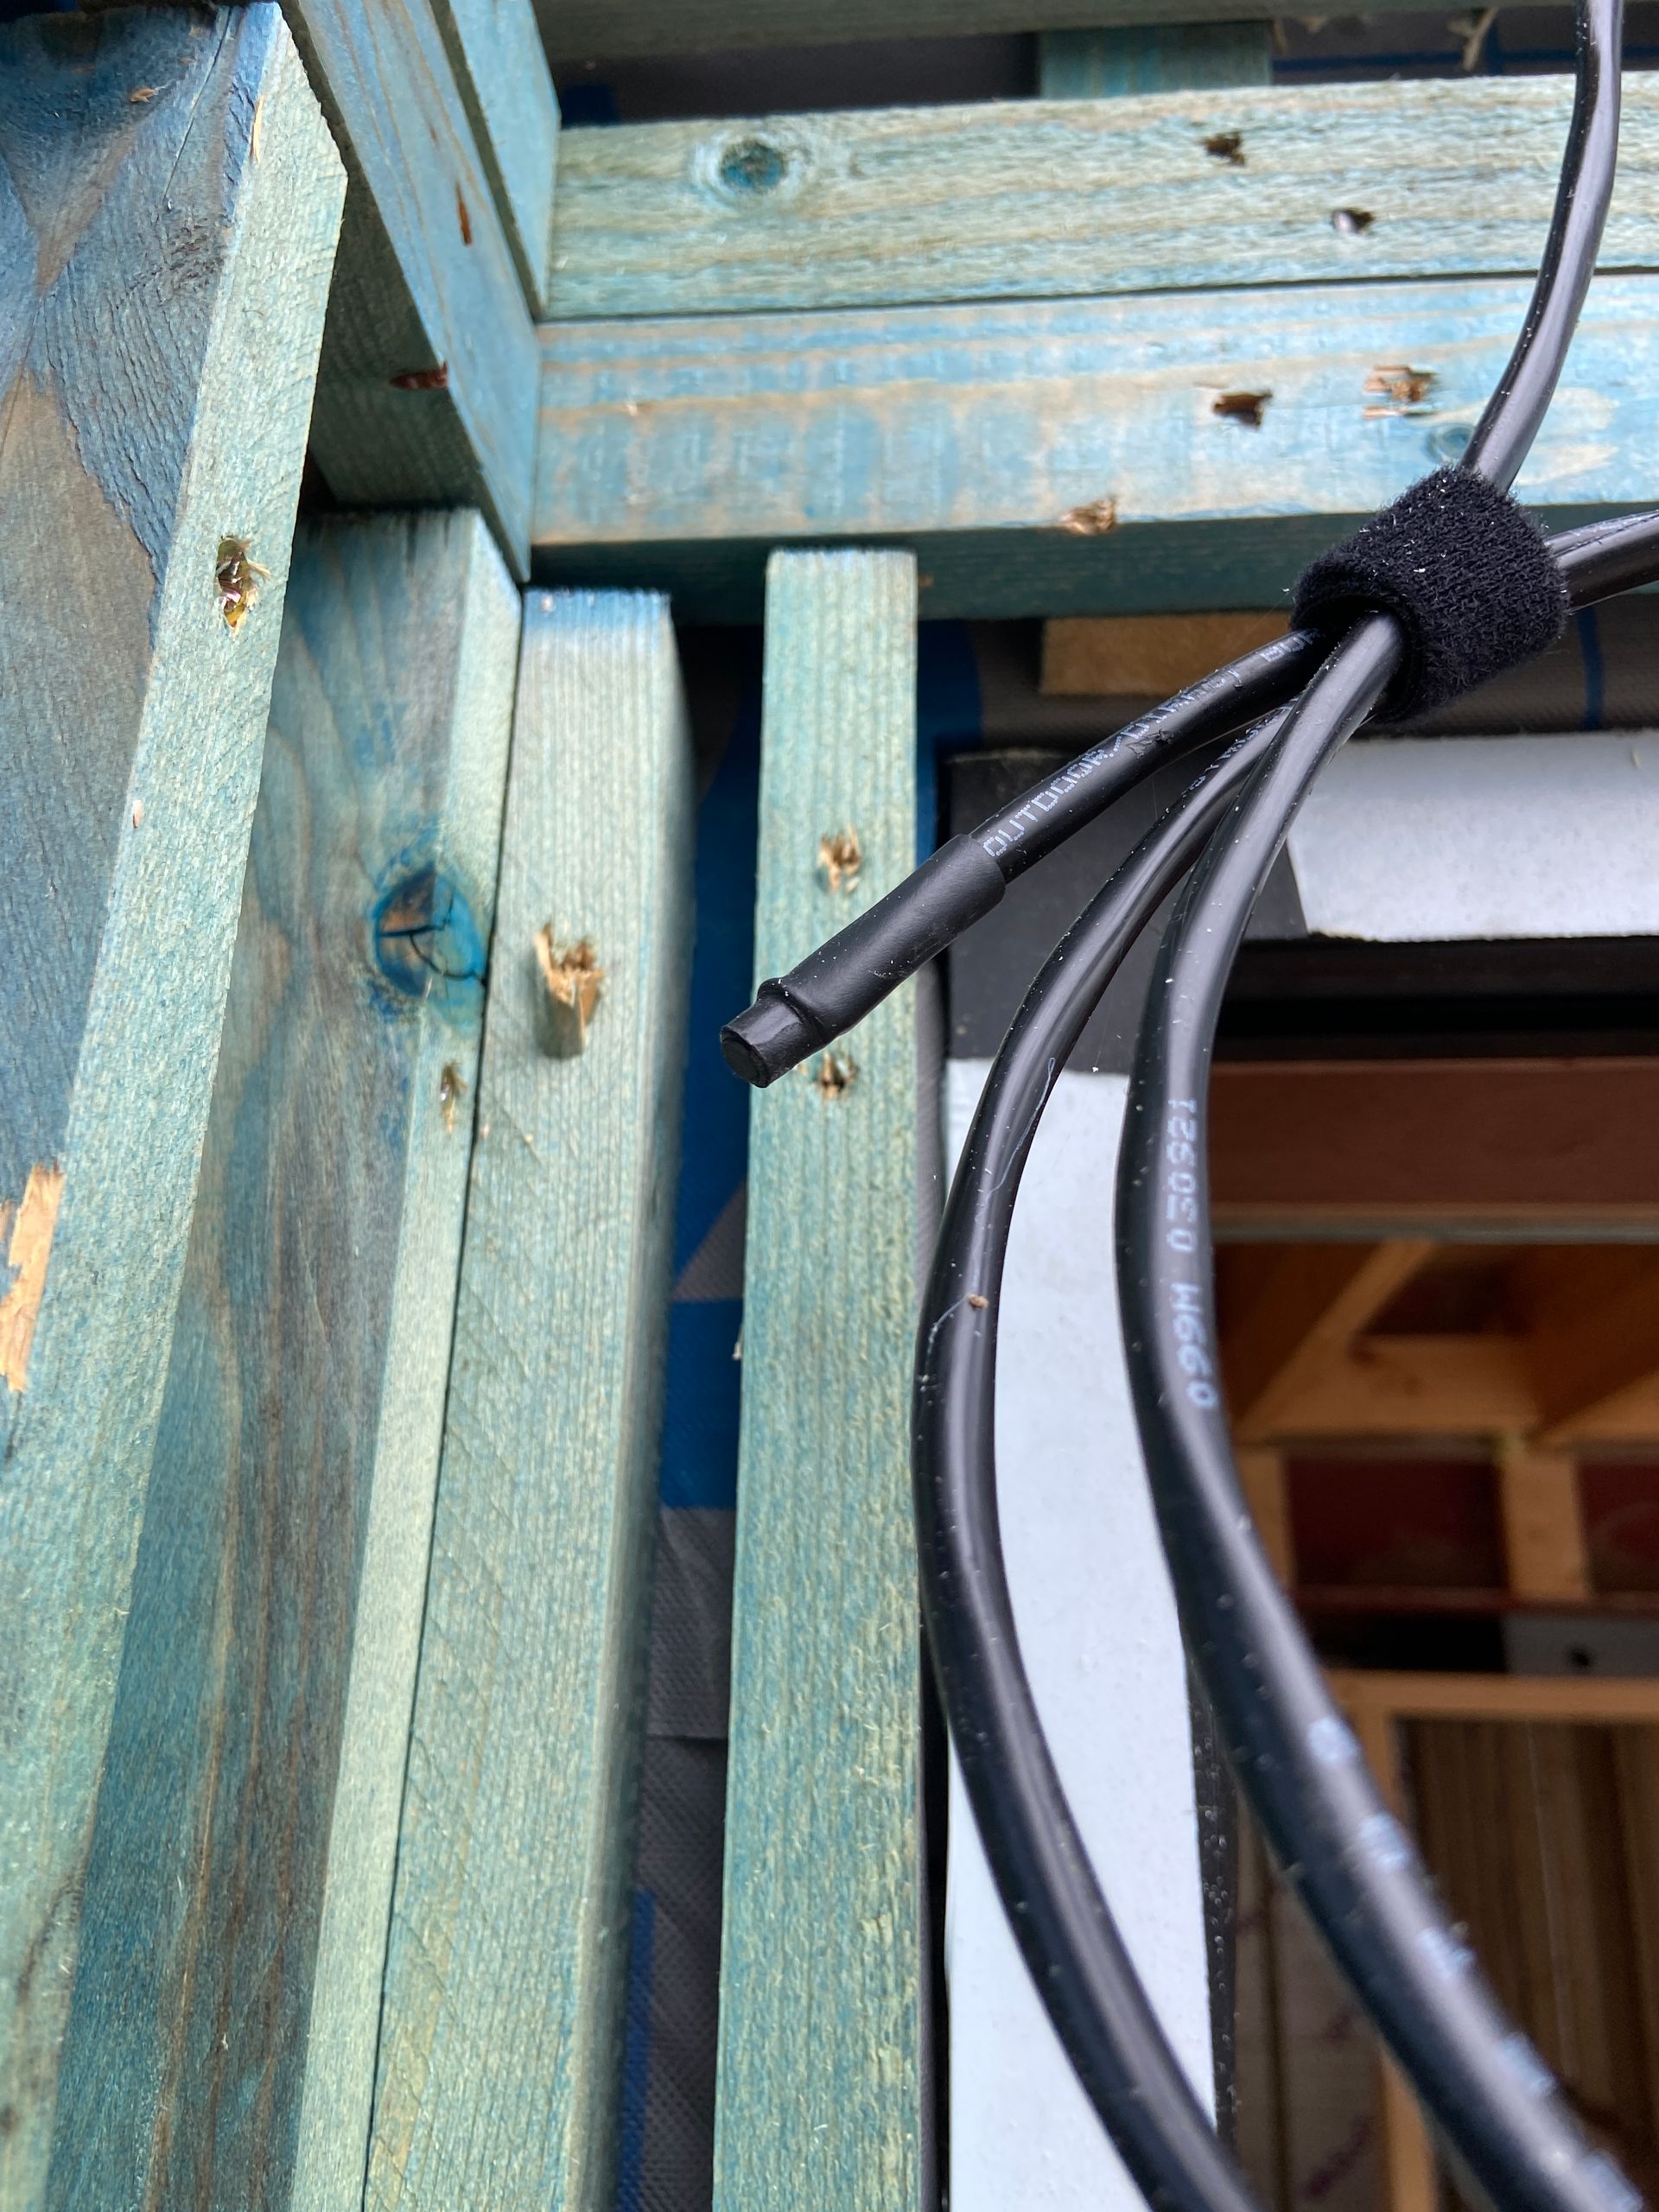
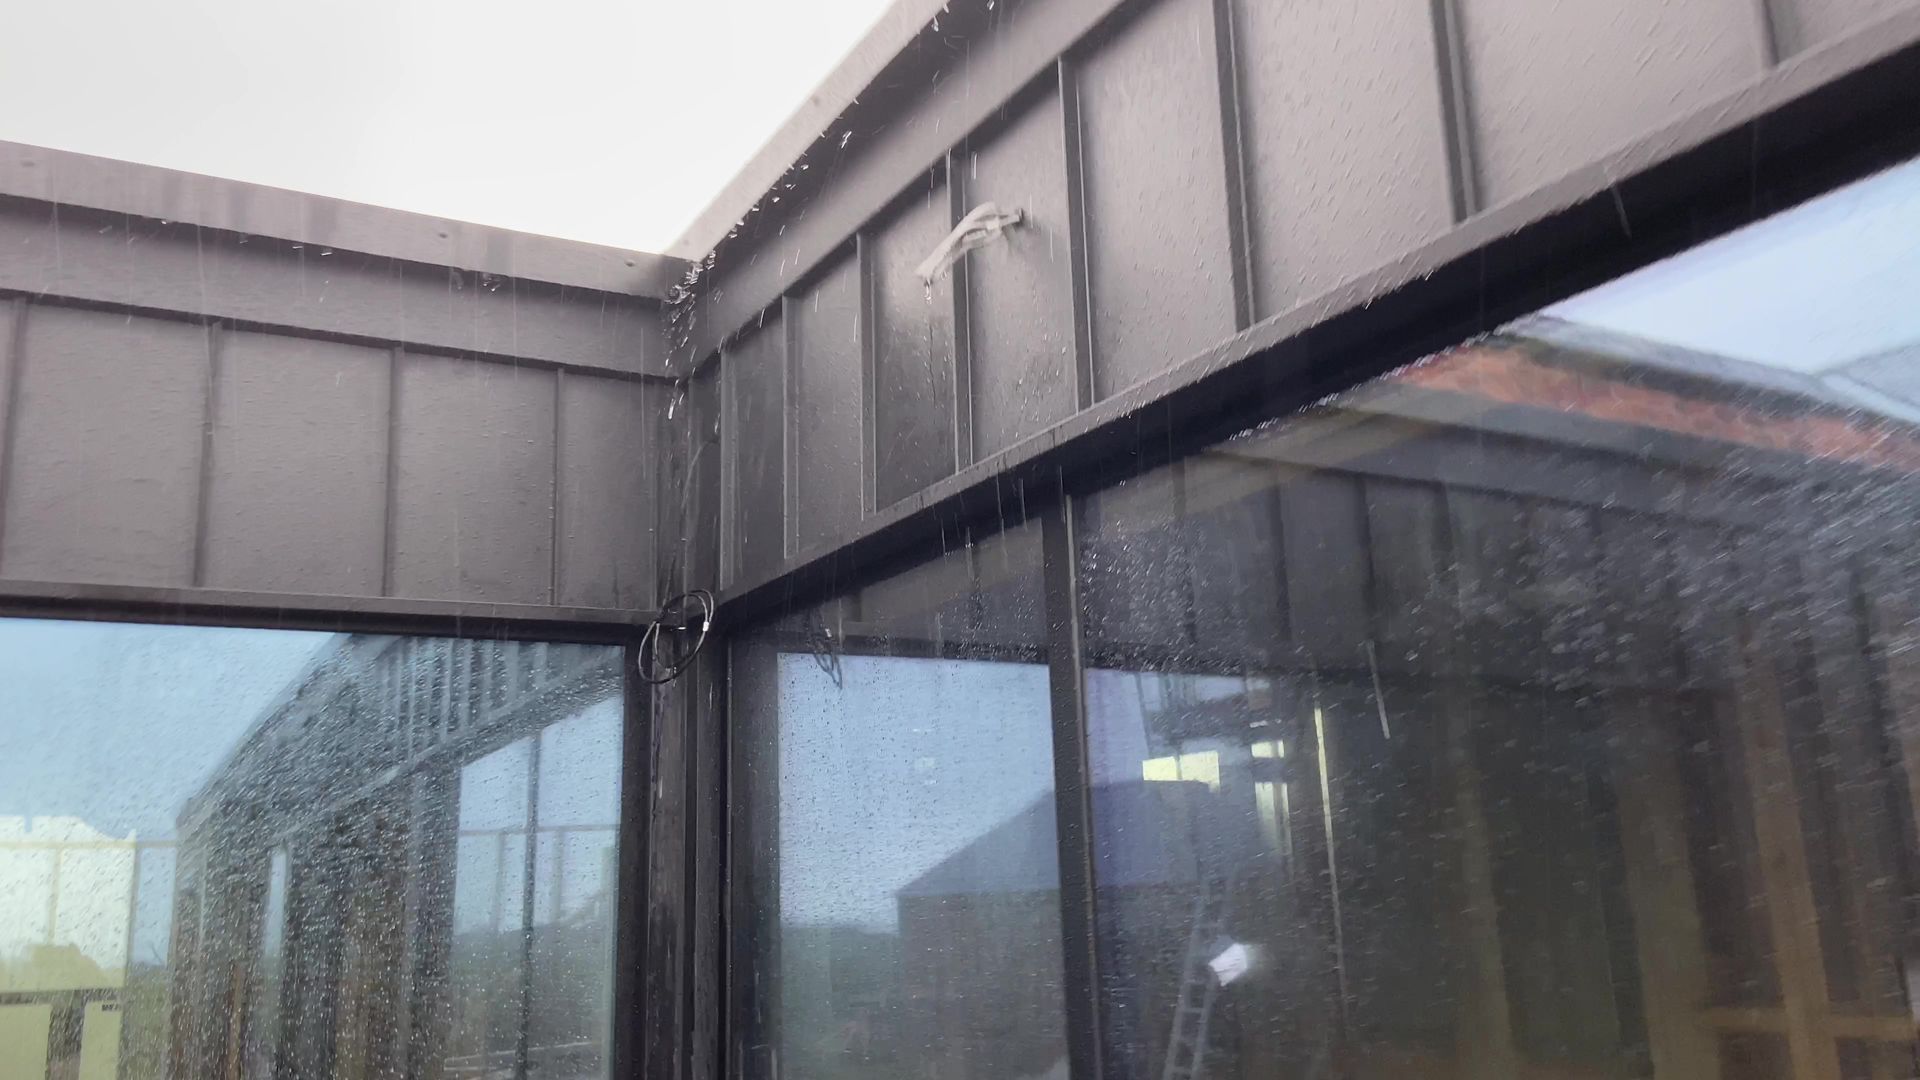
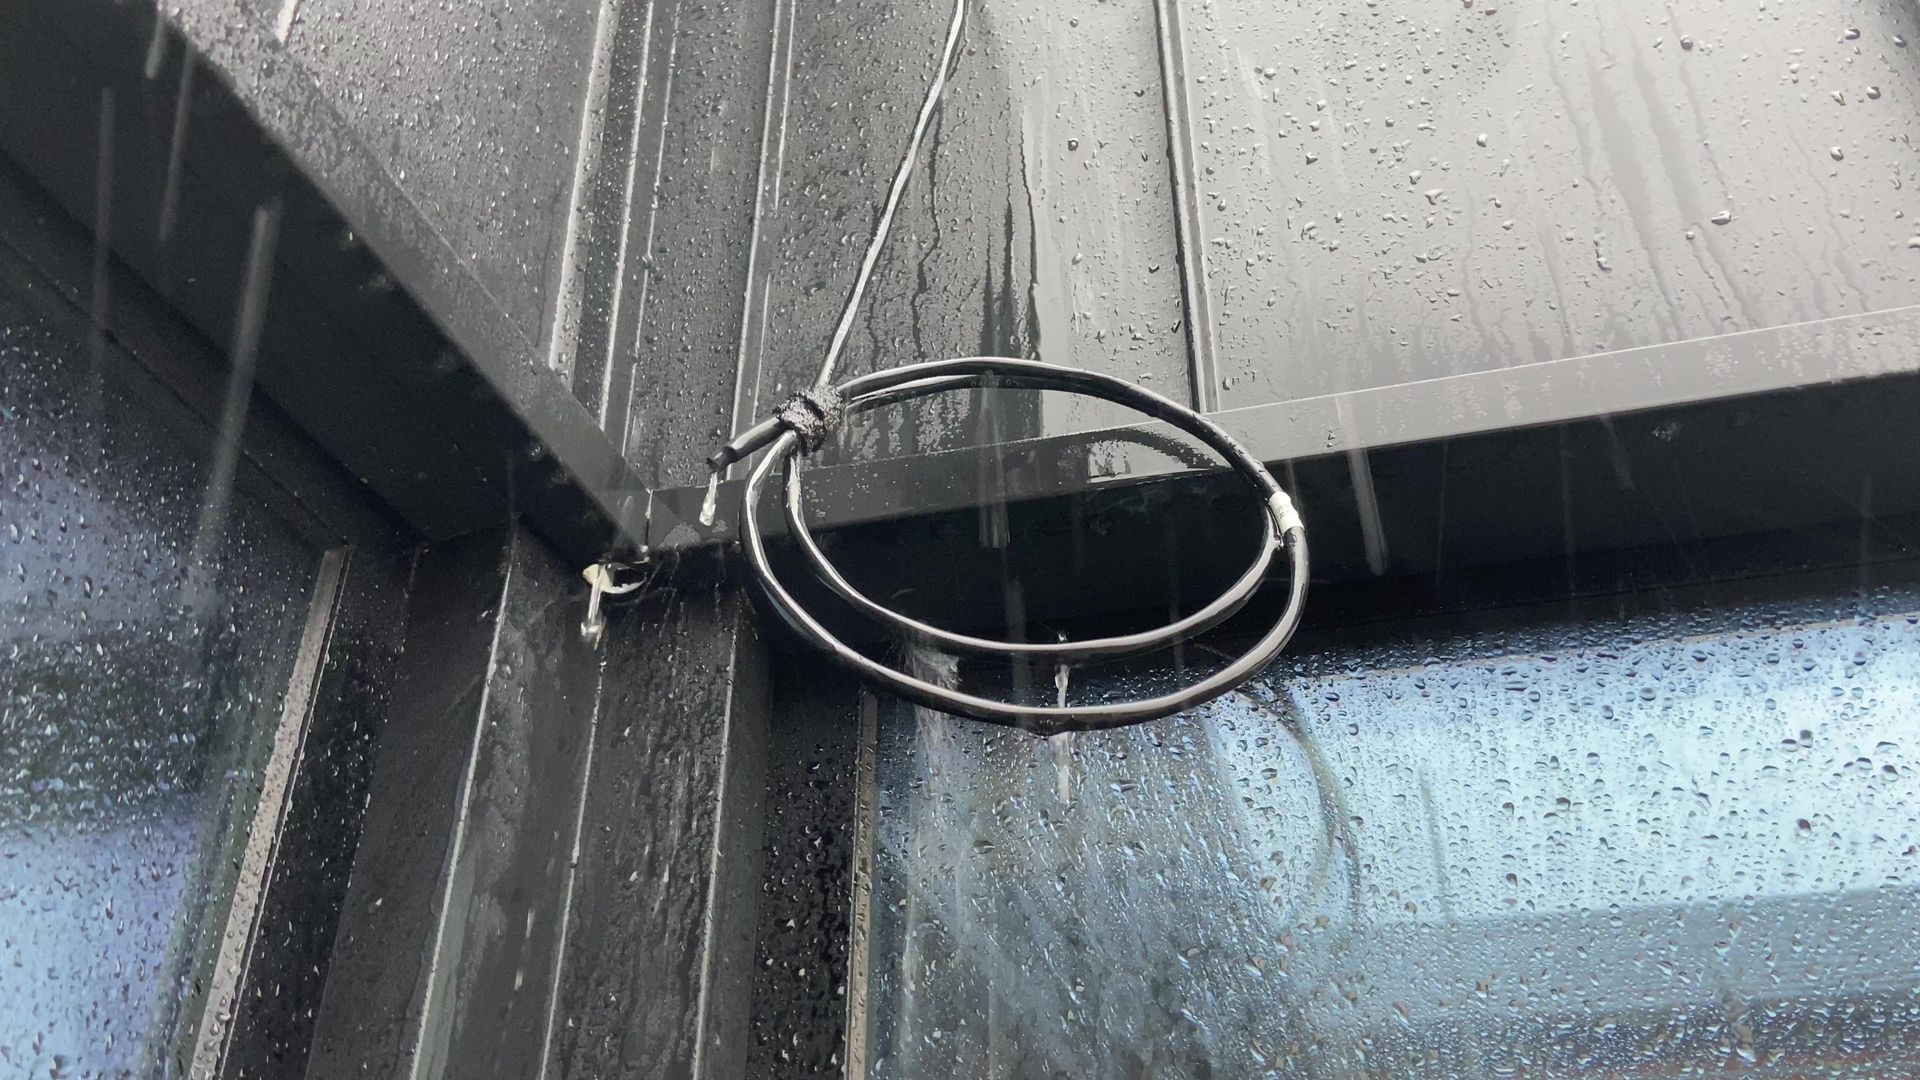
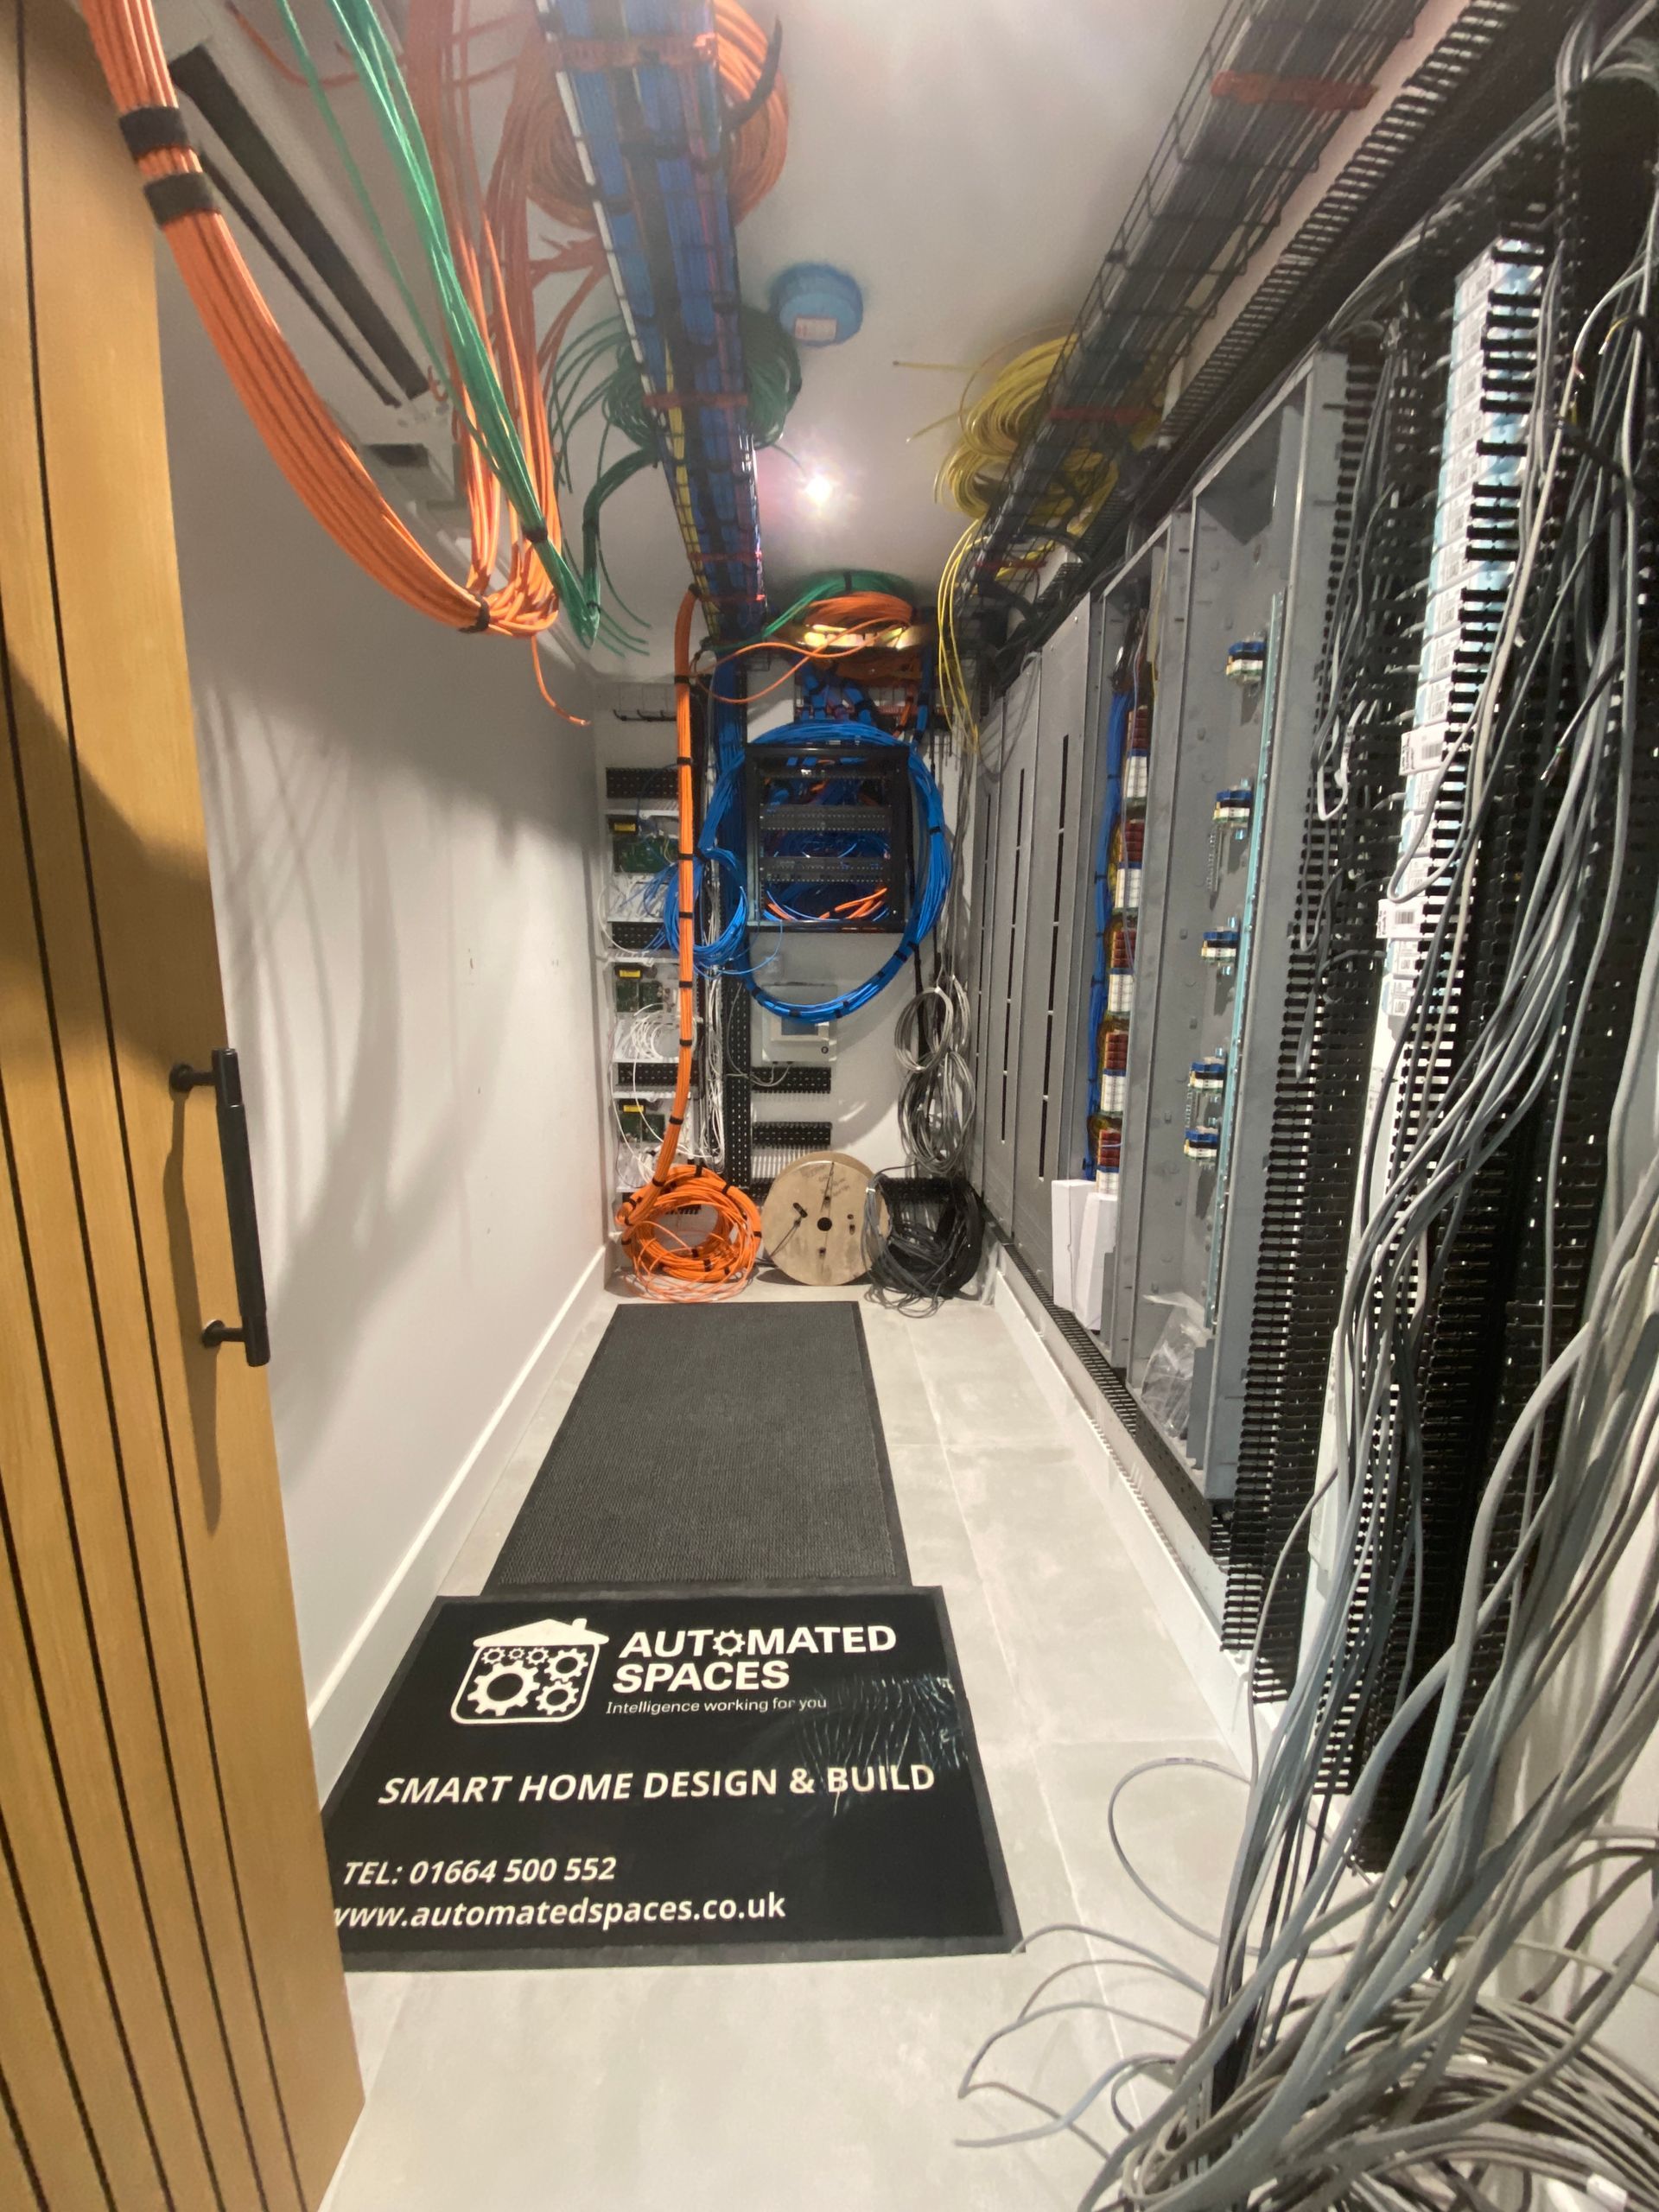
The smart home design, as well as the physical size of the building and outdoor areas, required over 12km of pre-wire 1st fix cables to be installed in this property. With this amount of cables, it was agreed with the Architect and the client that there would be an installation of basket trays around the property back to the central location that was identified as the ‘head-end’ location for all the smart home electrical equipment in the ground floor of the new wing.
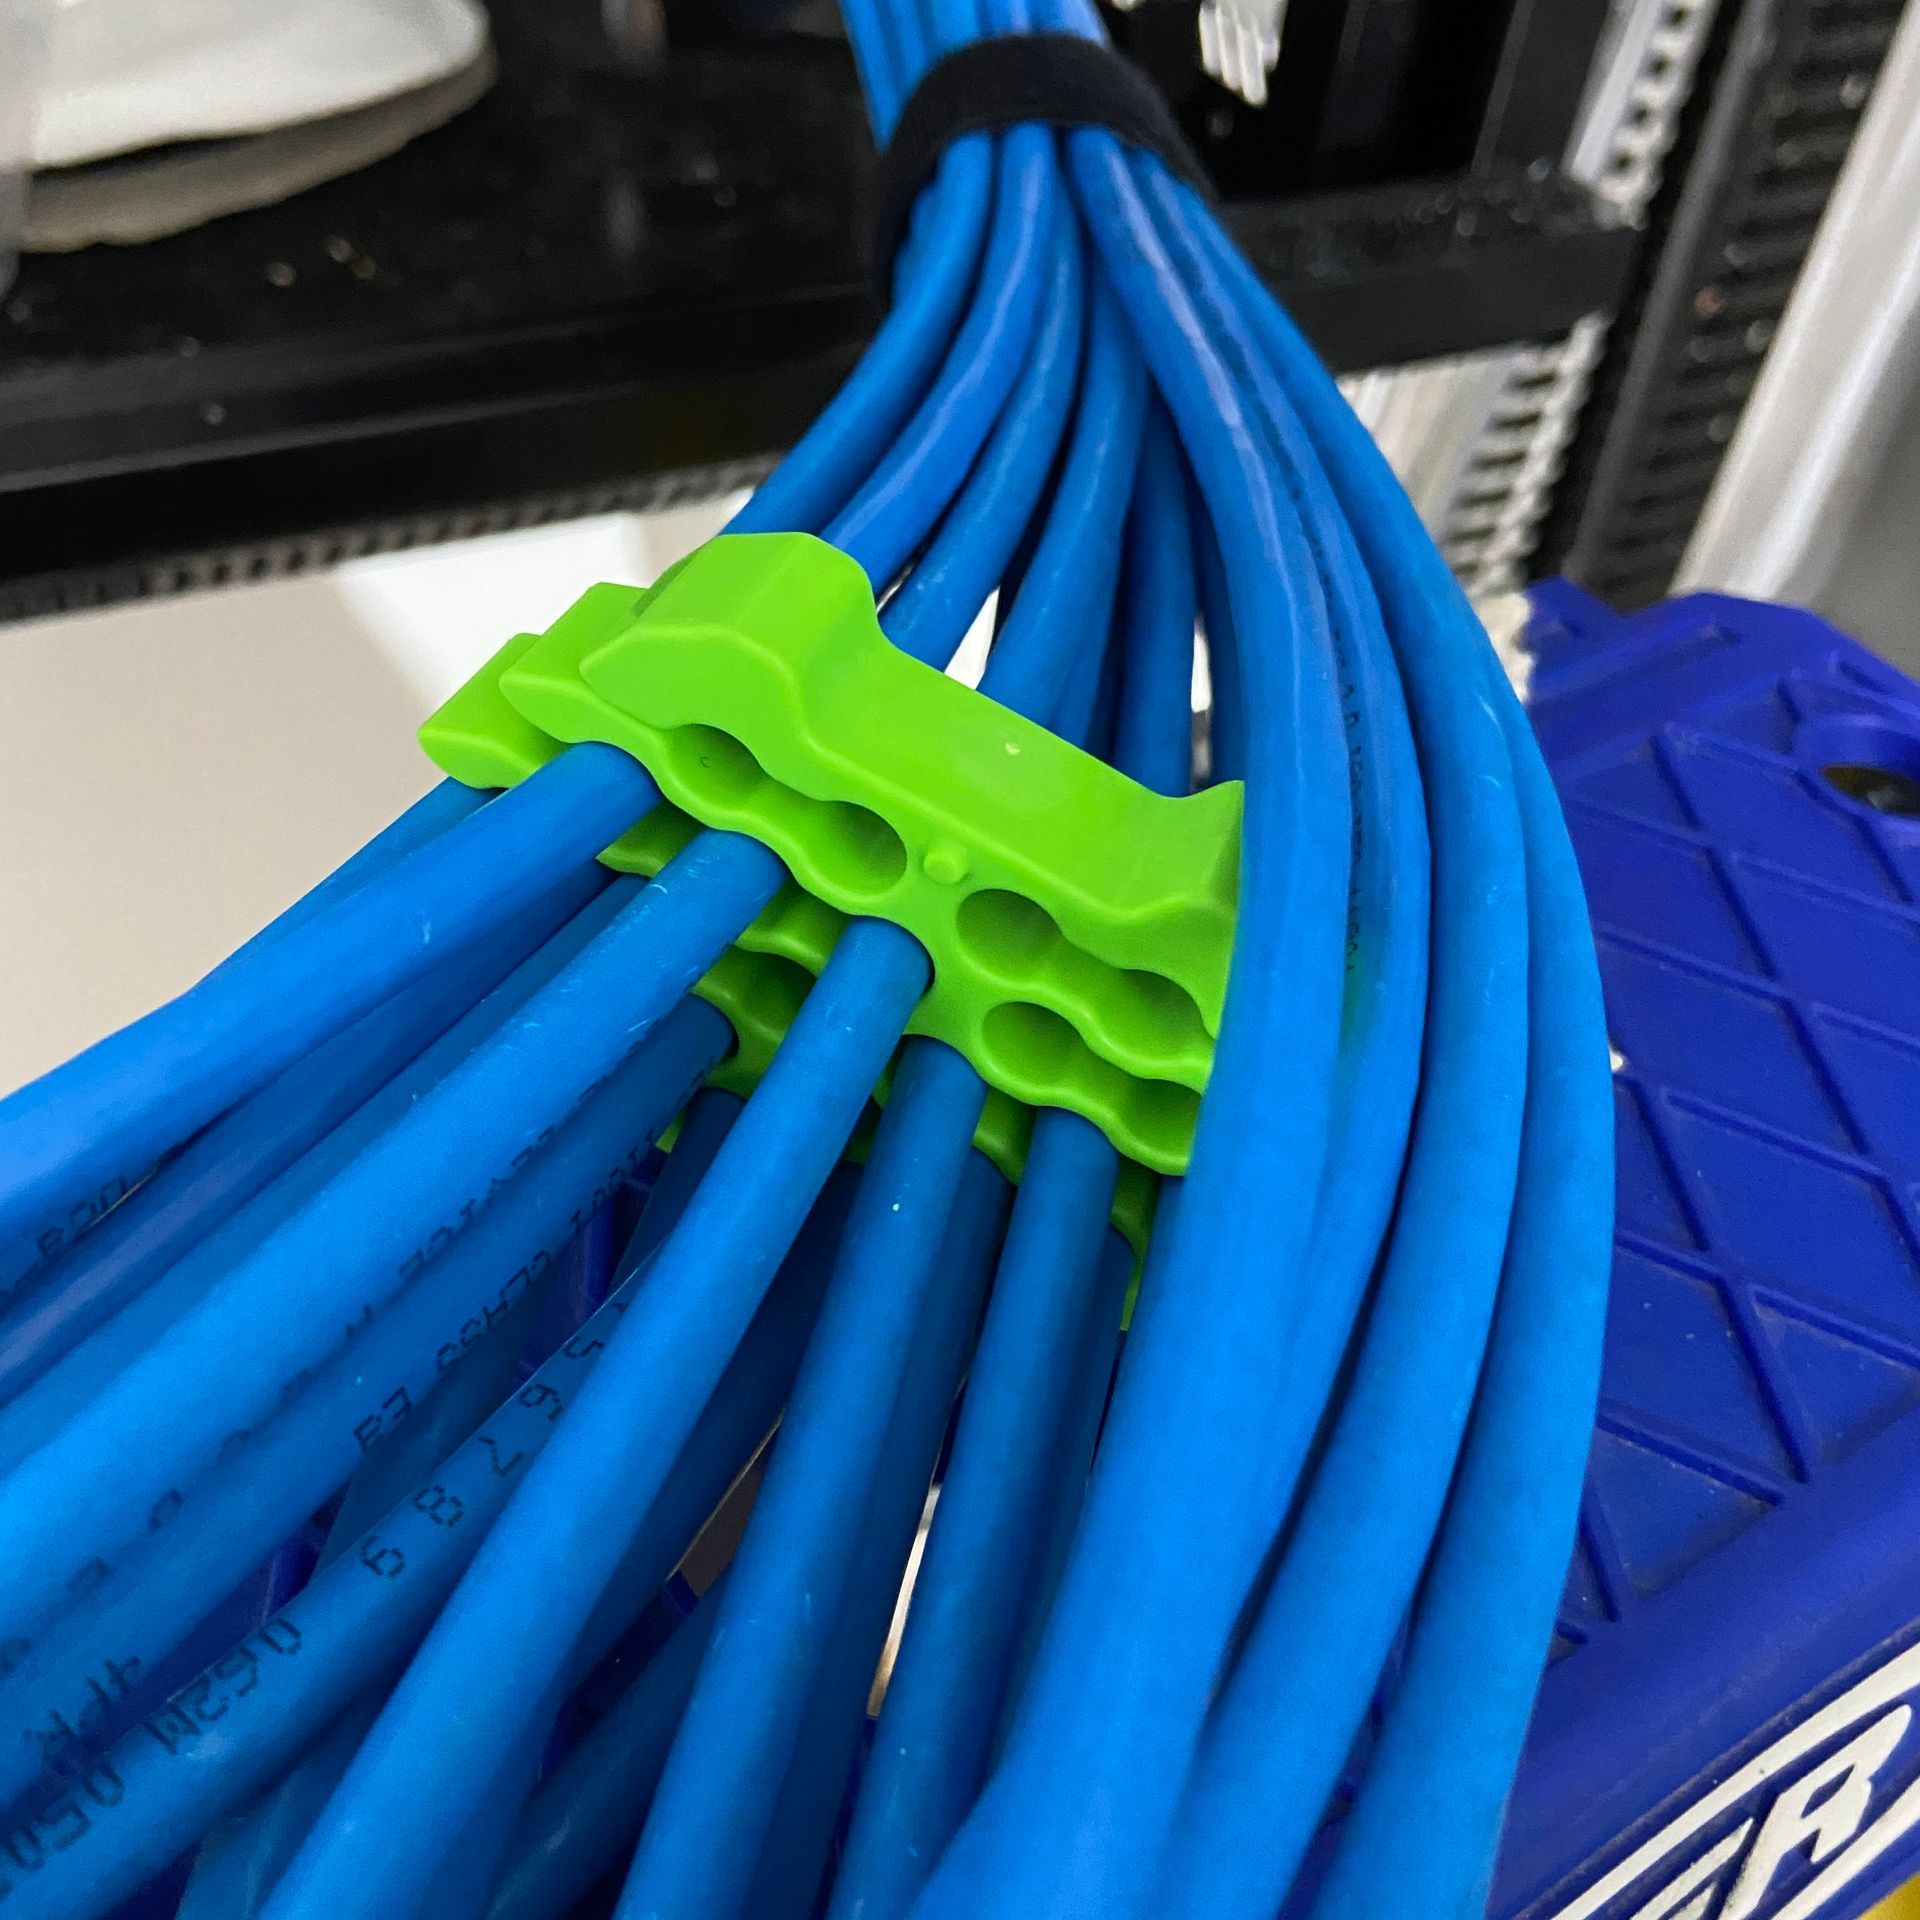
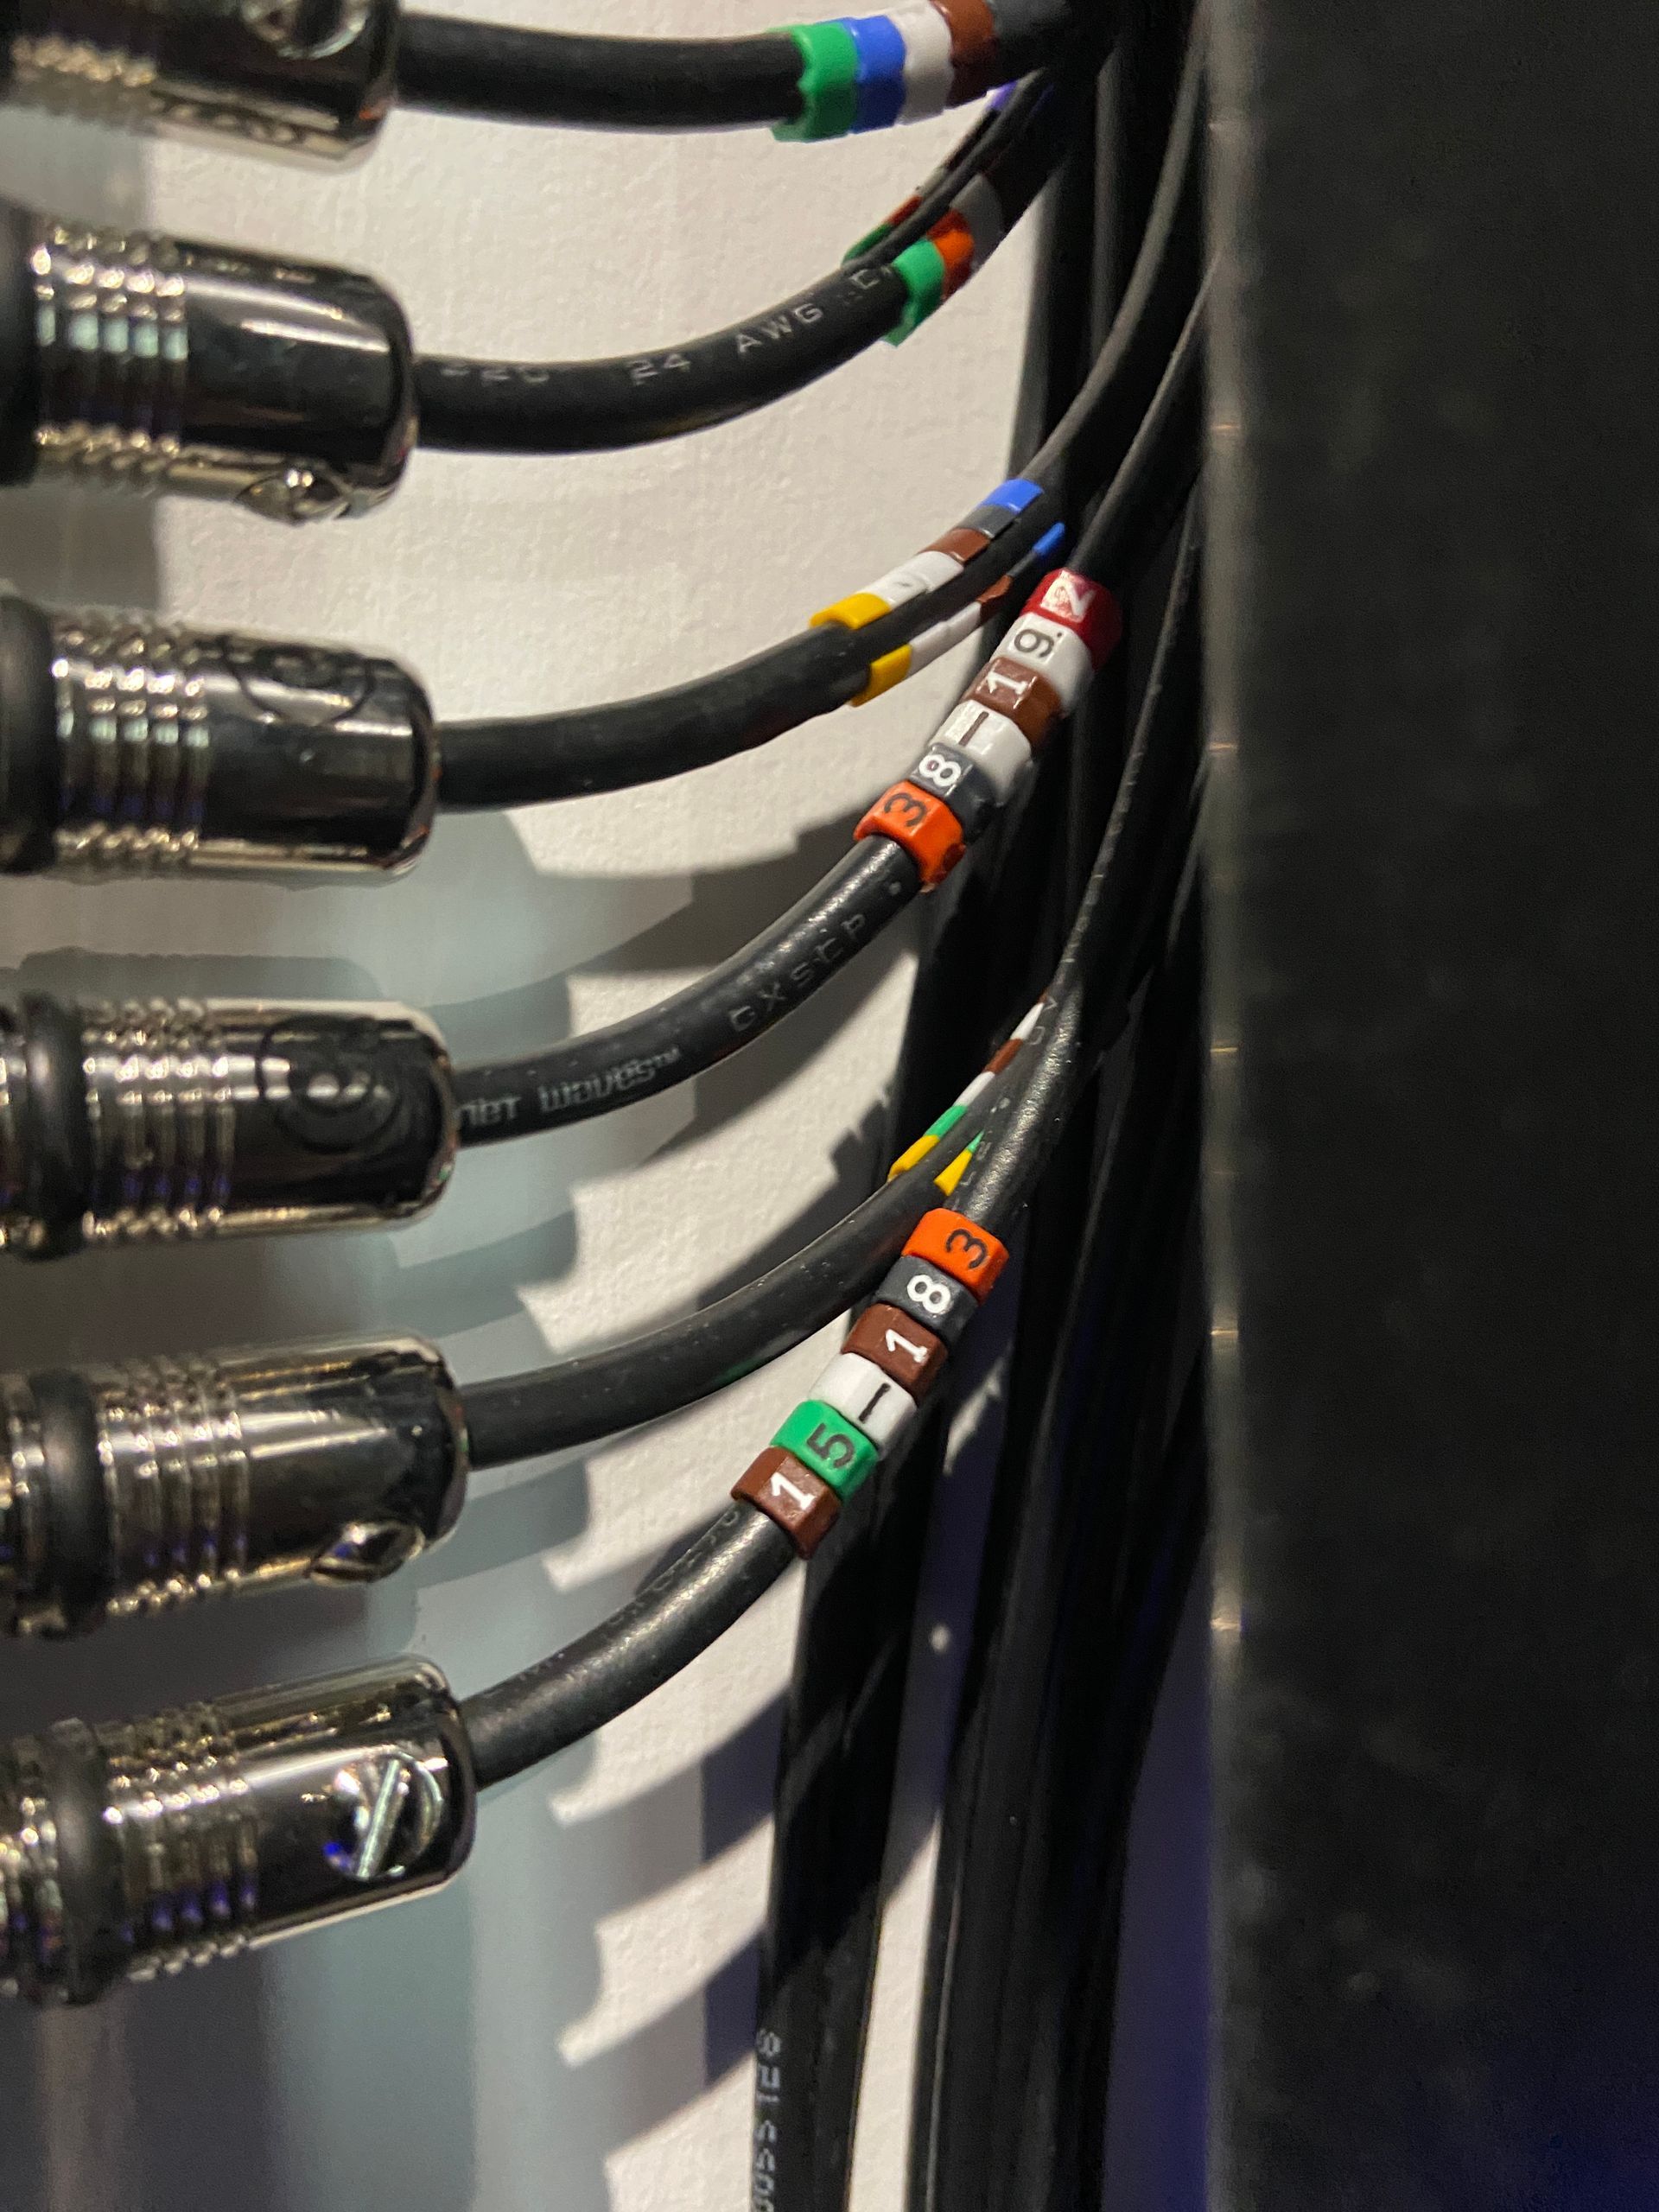
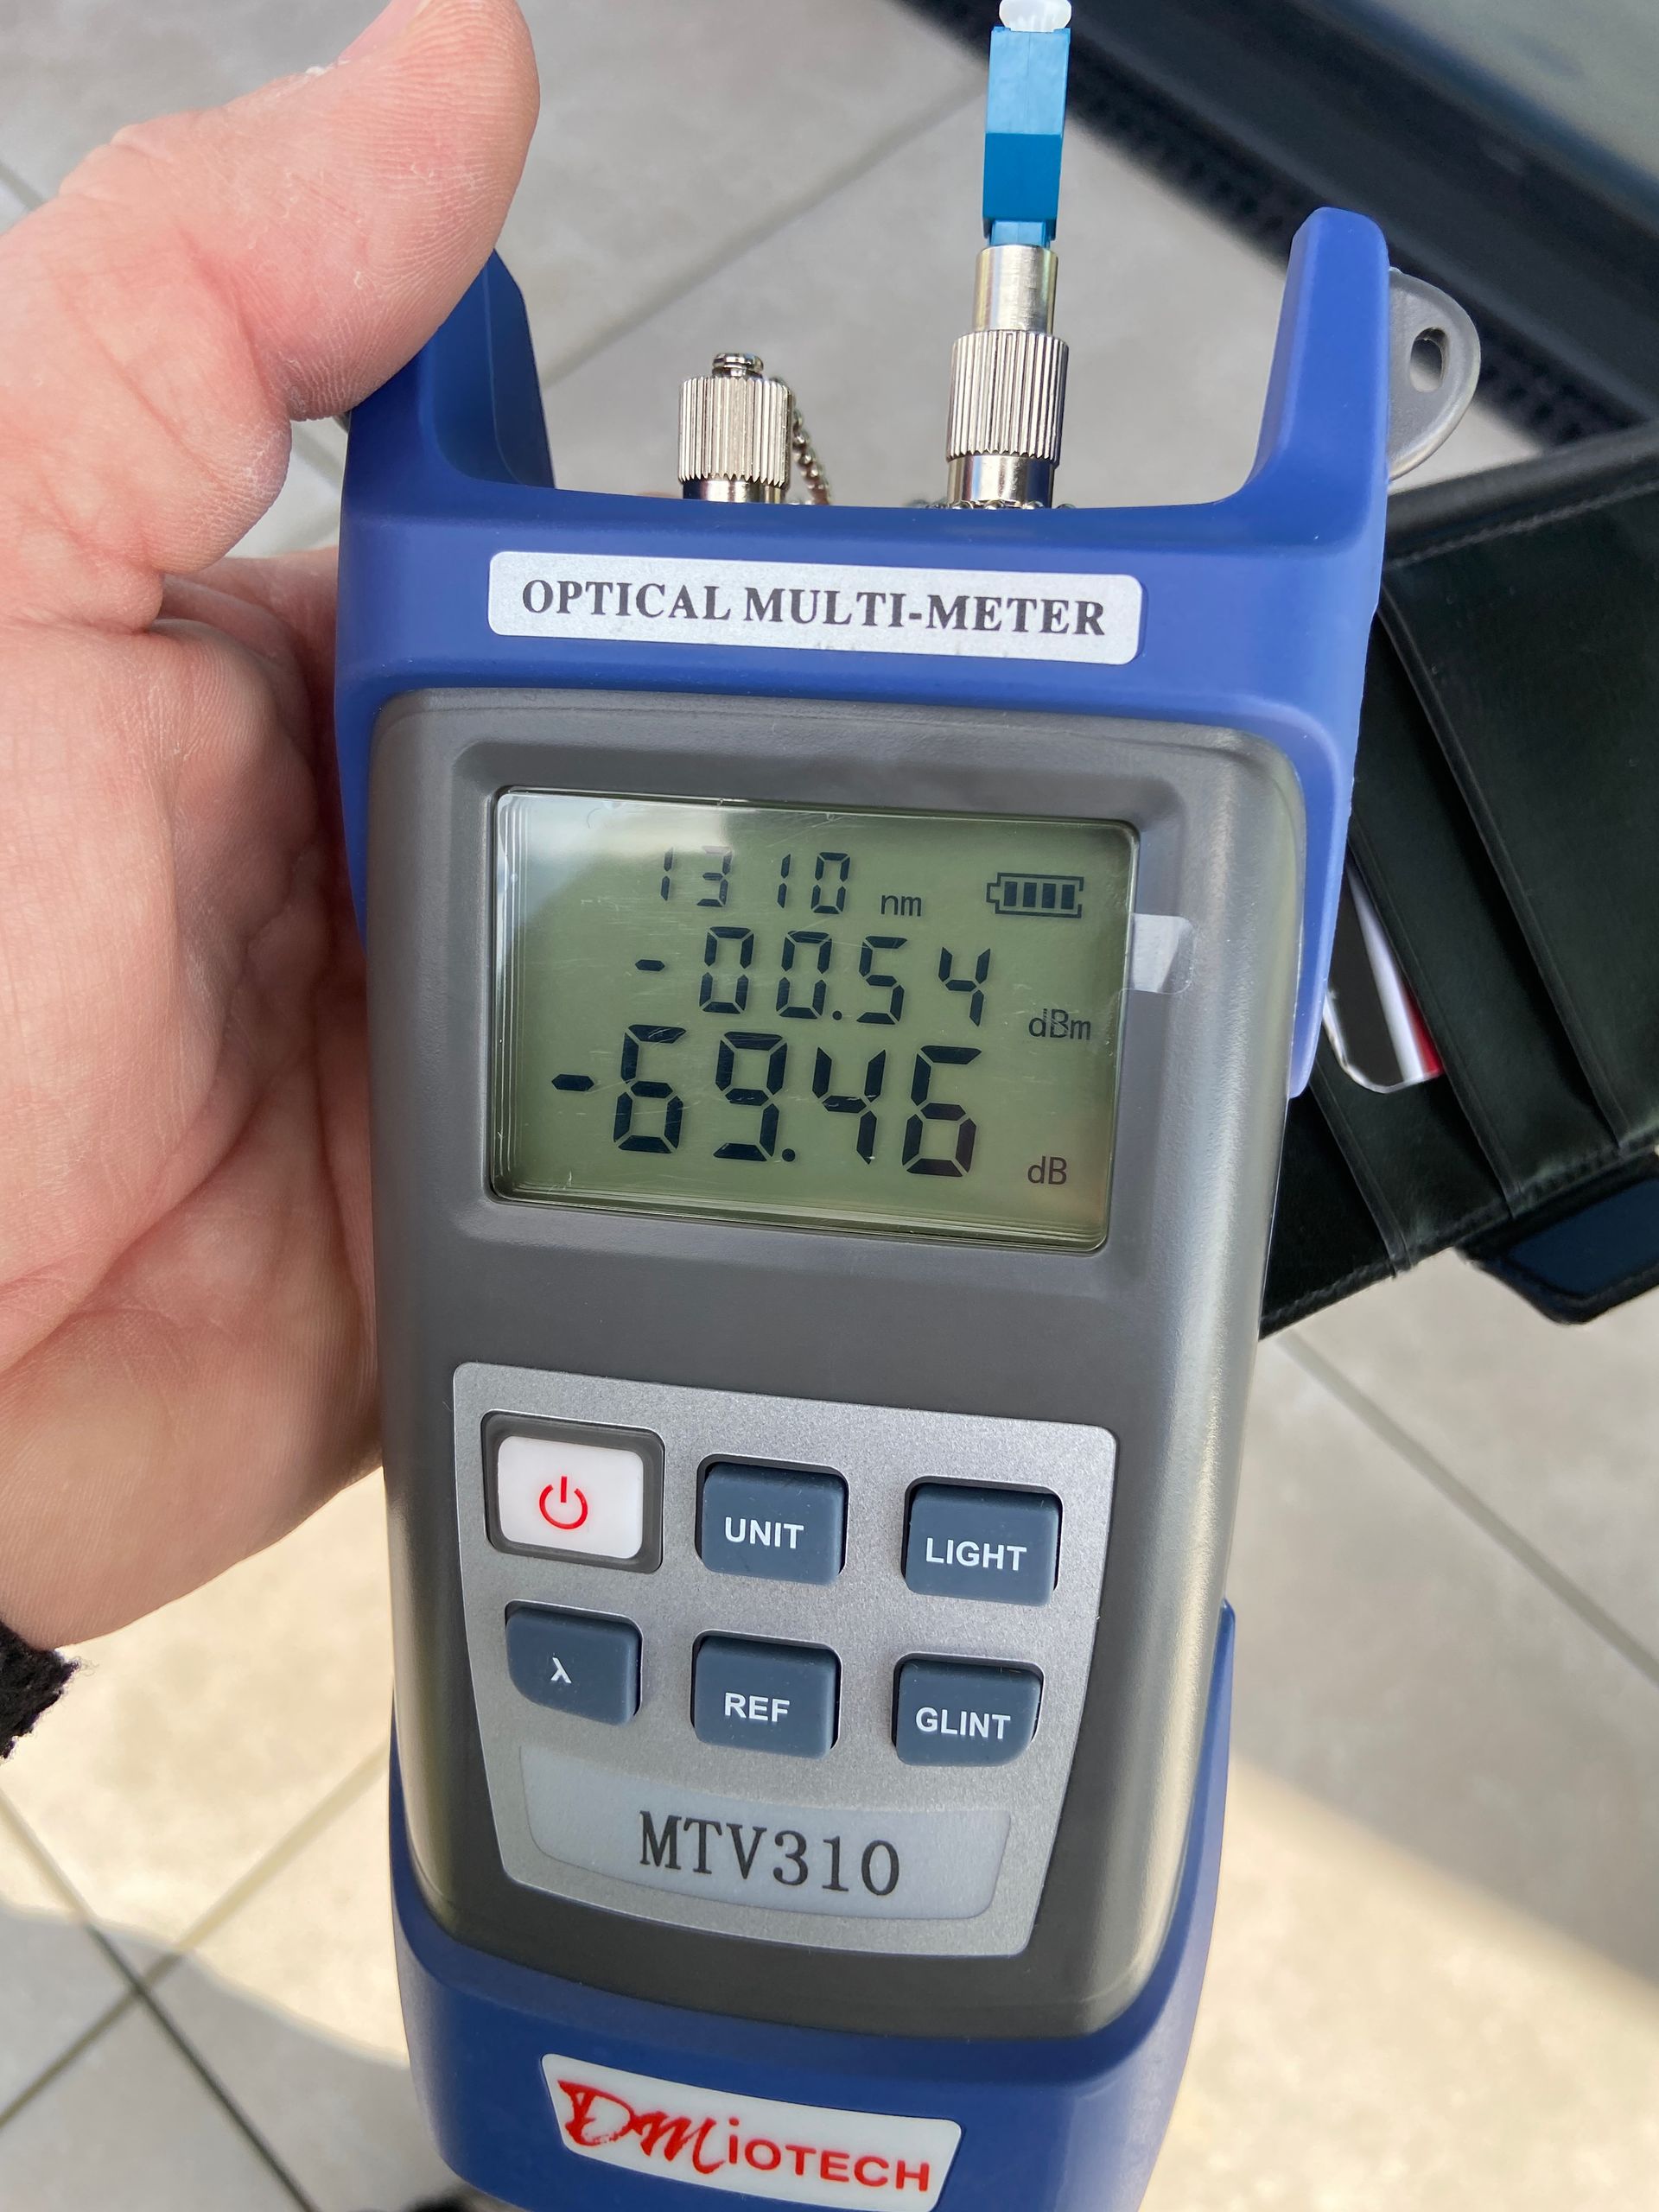
We next began the process of installing over 200 different pre-wire 1st fix cables, ranging from; intruder alarm cables, outdoor category 6A cables, standard category 6A cables, HD coaxial cables, 4 core & 2 core speaker cables, HDMI cables, fibre optic cables and smart lighting 4 core control cables.
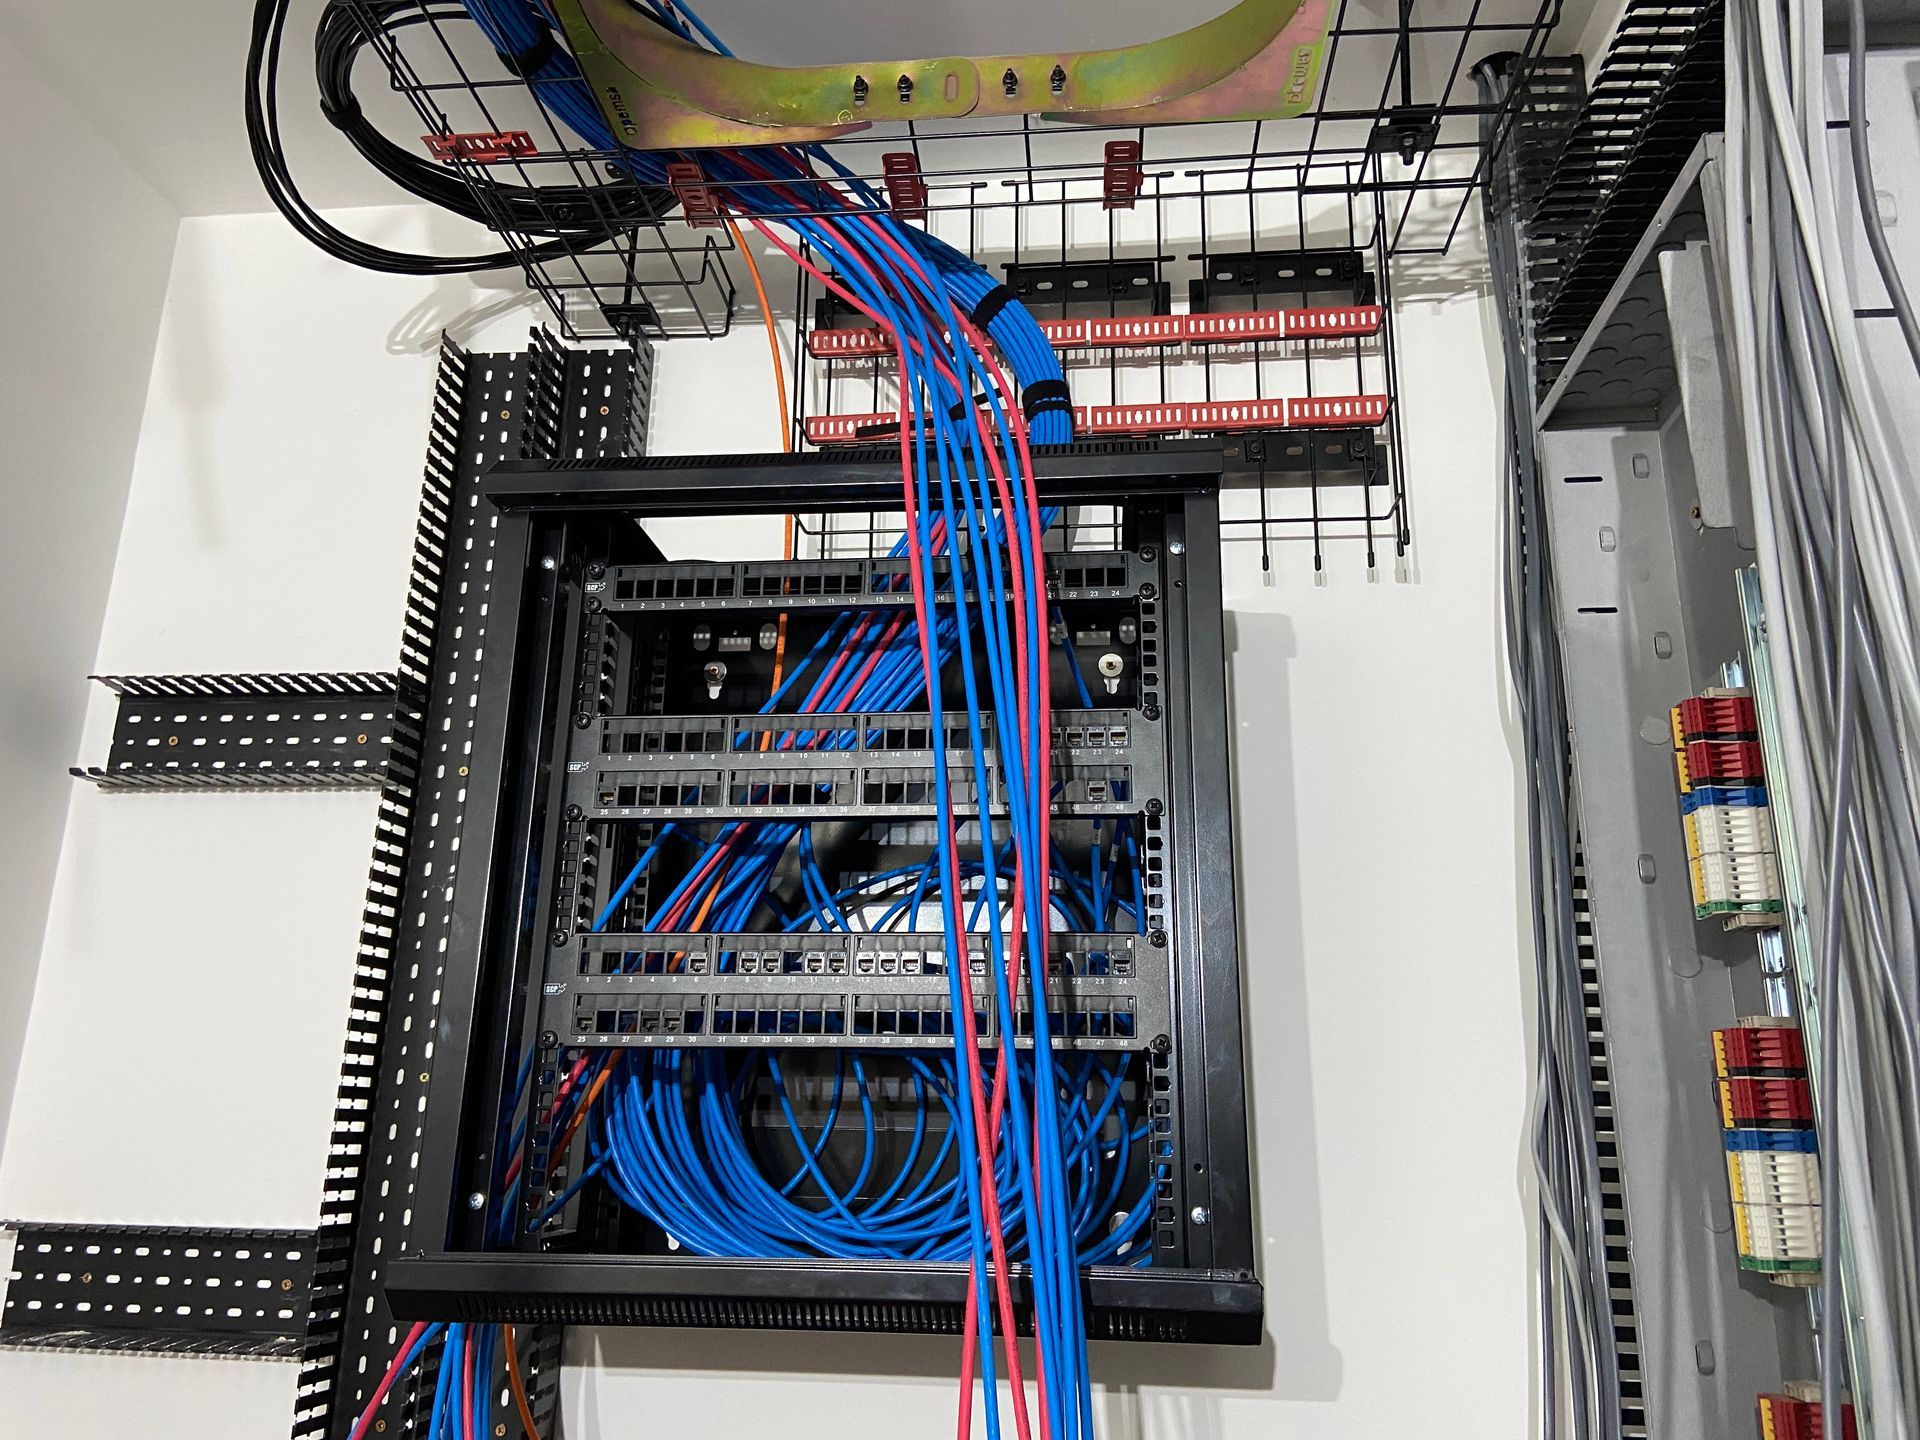
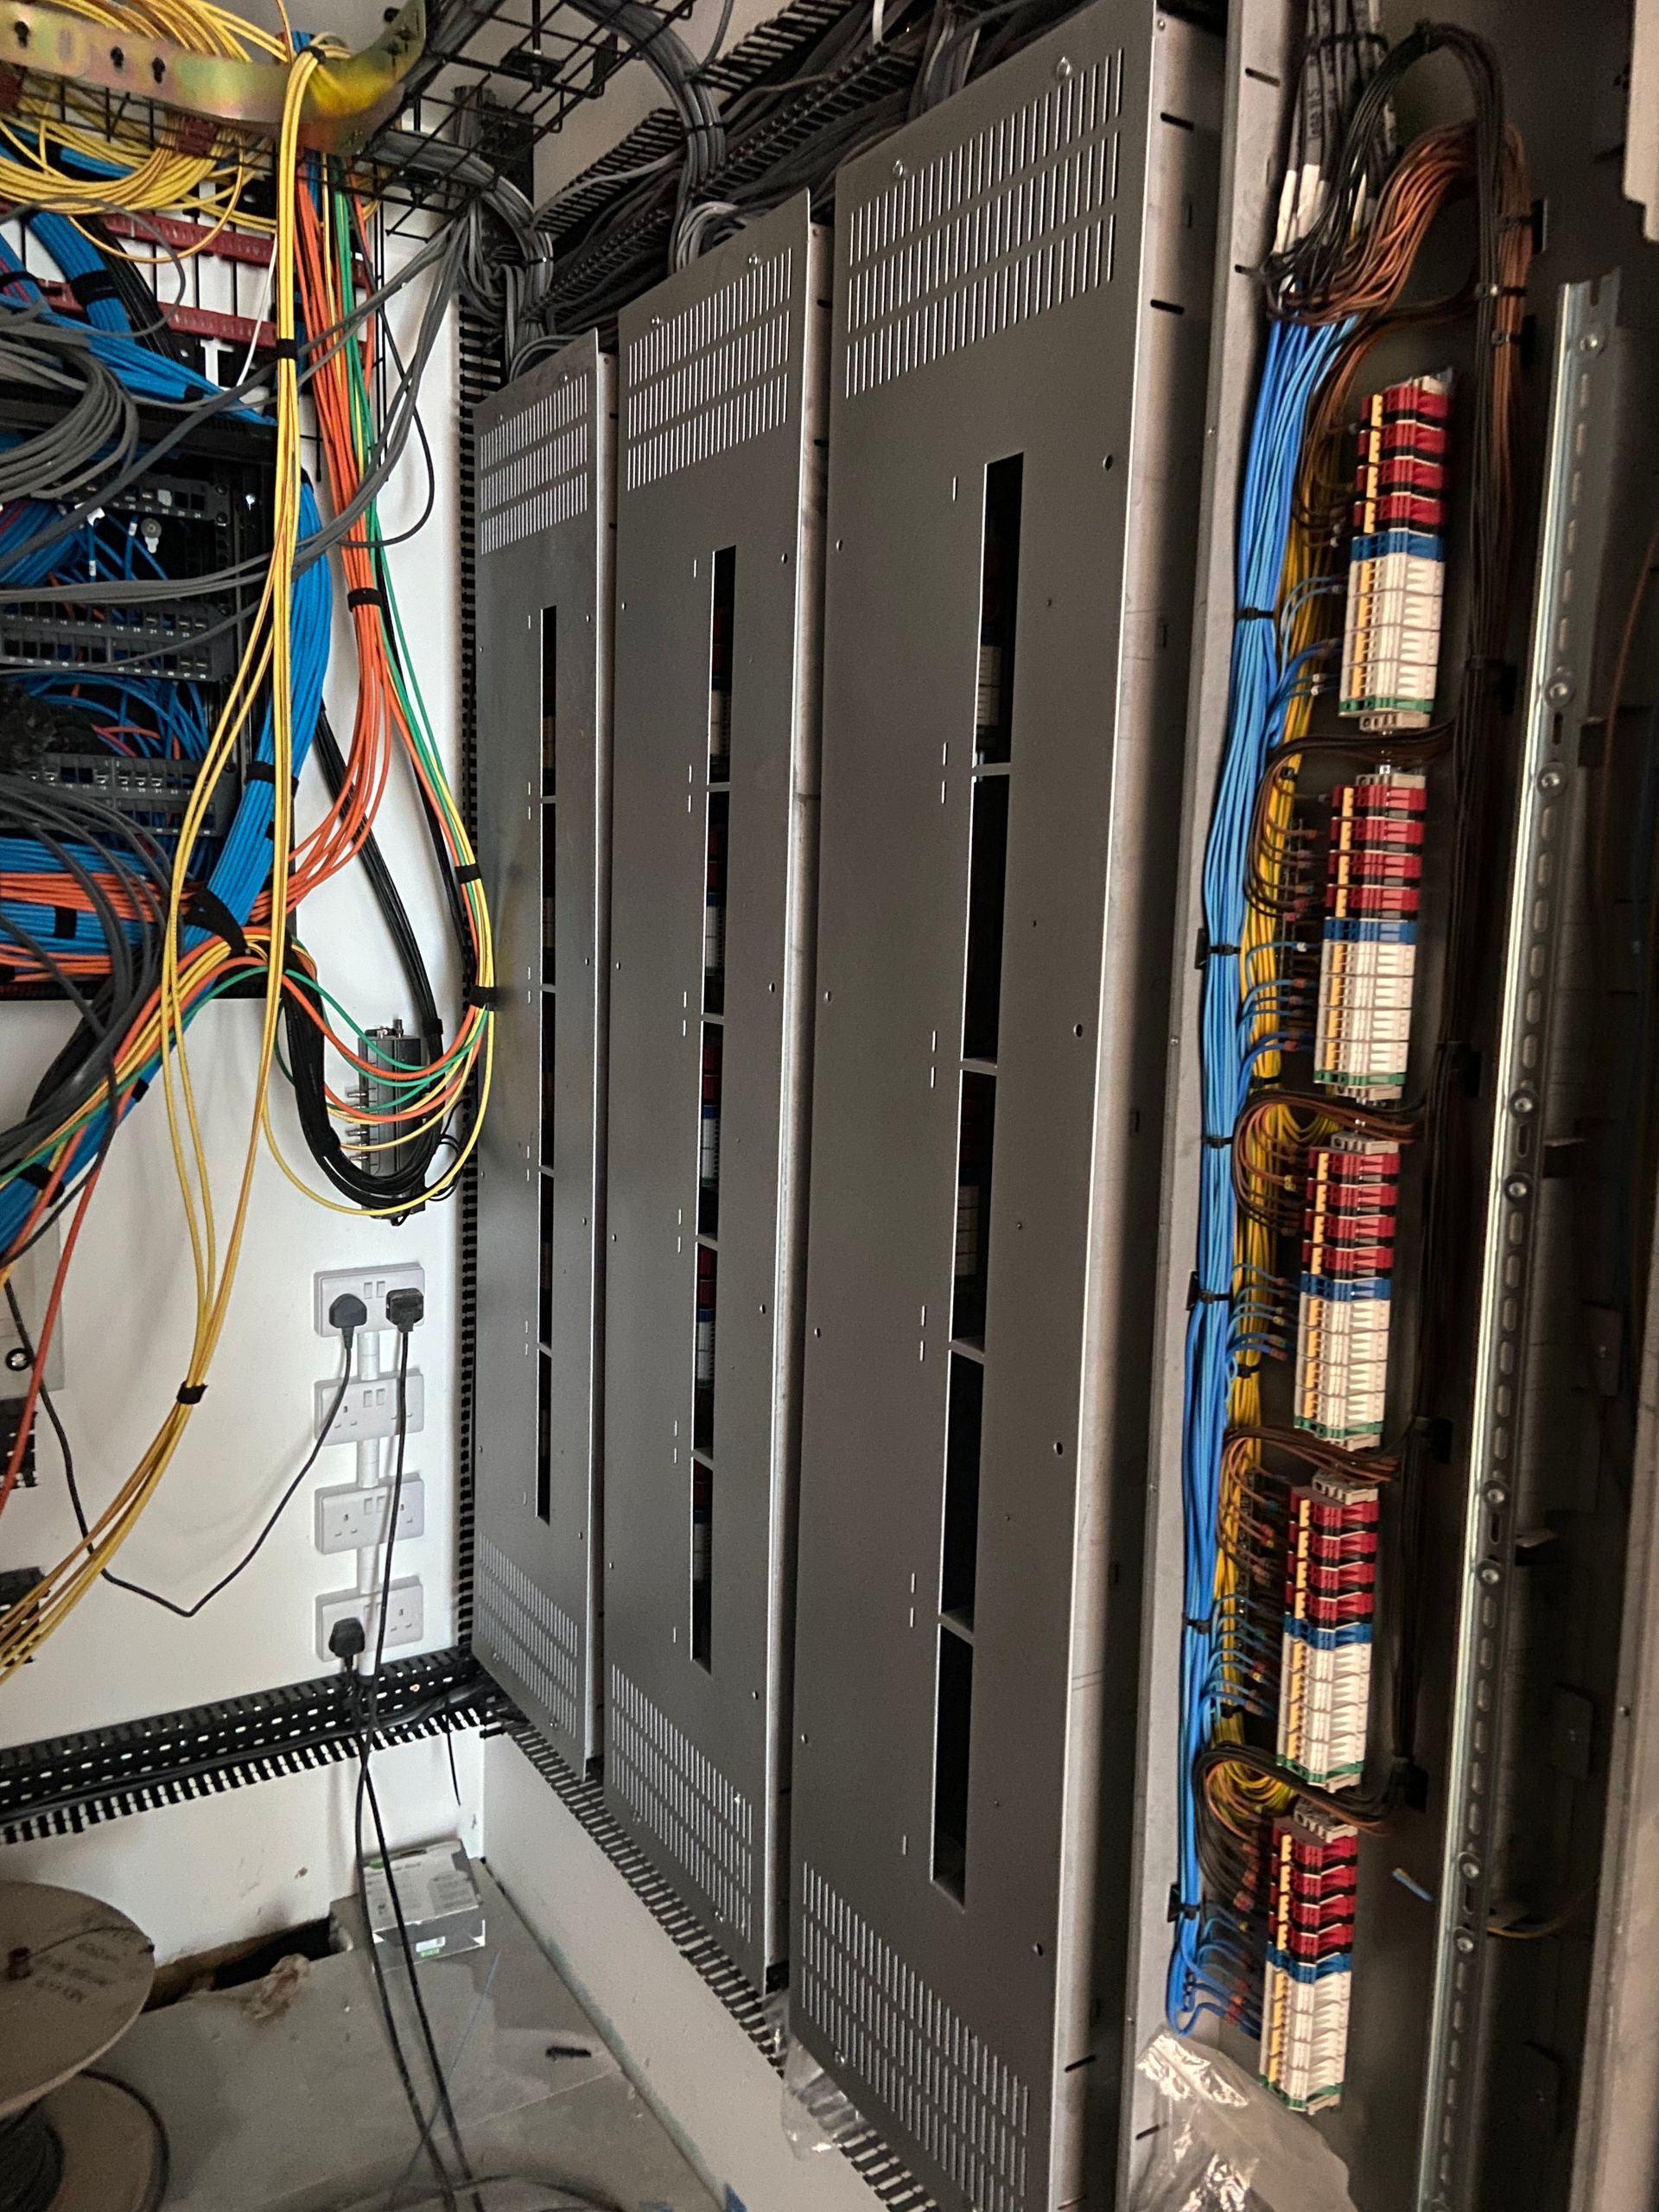
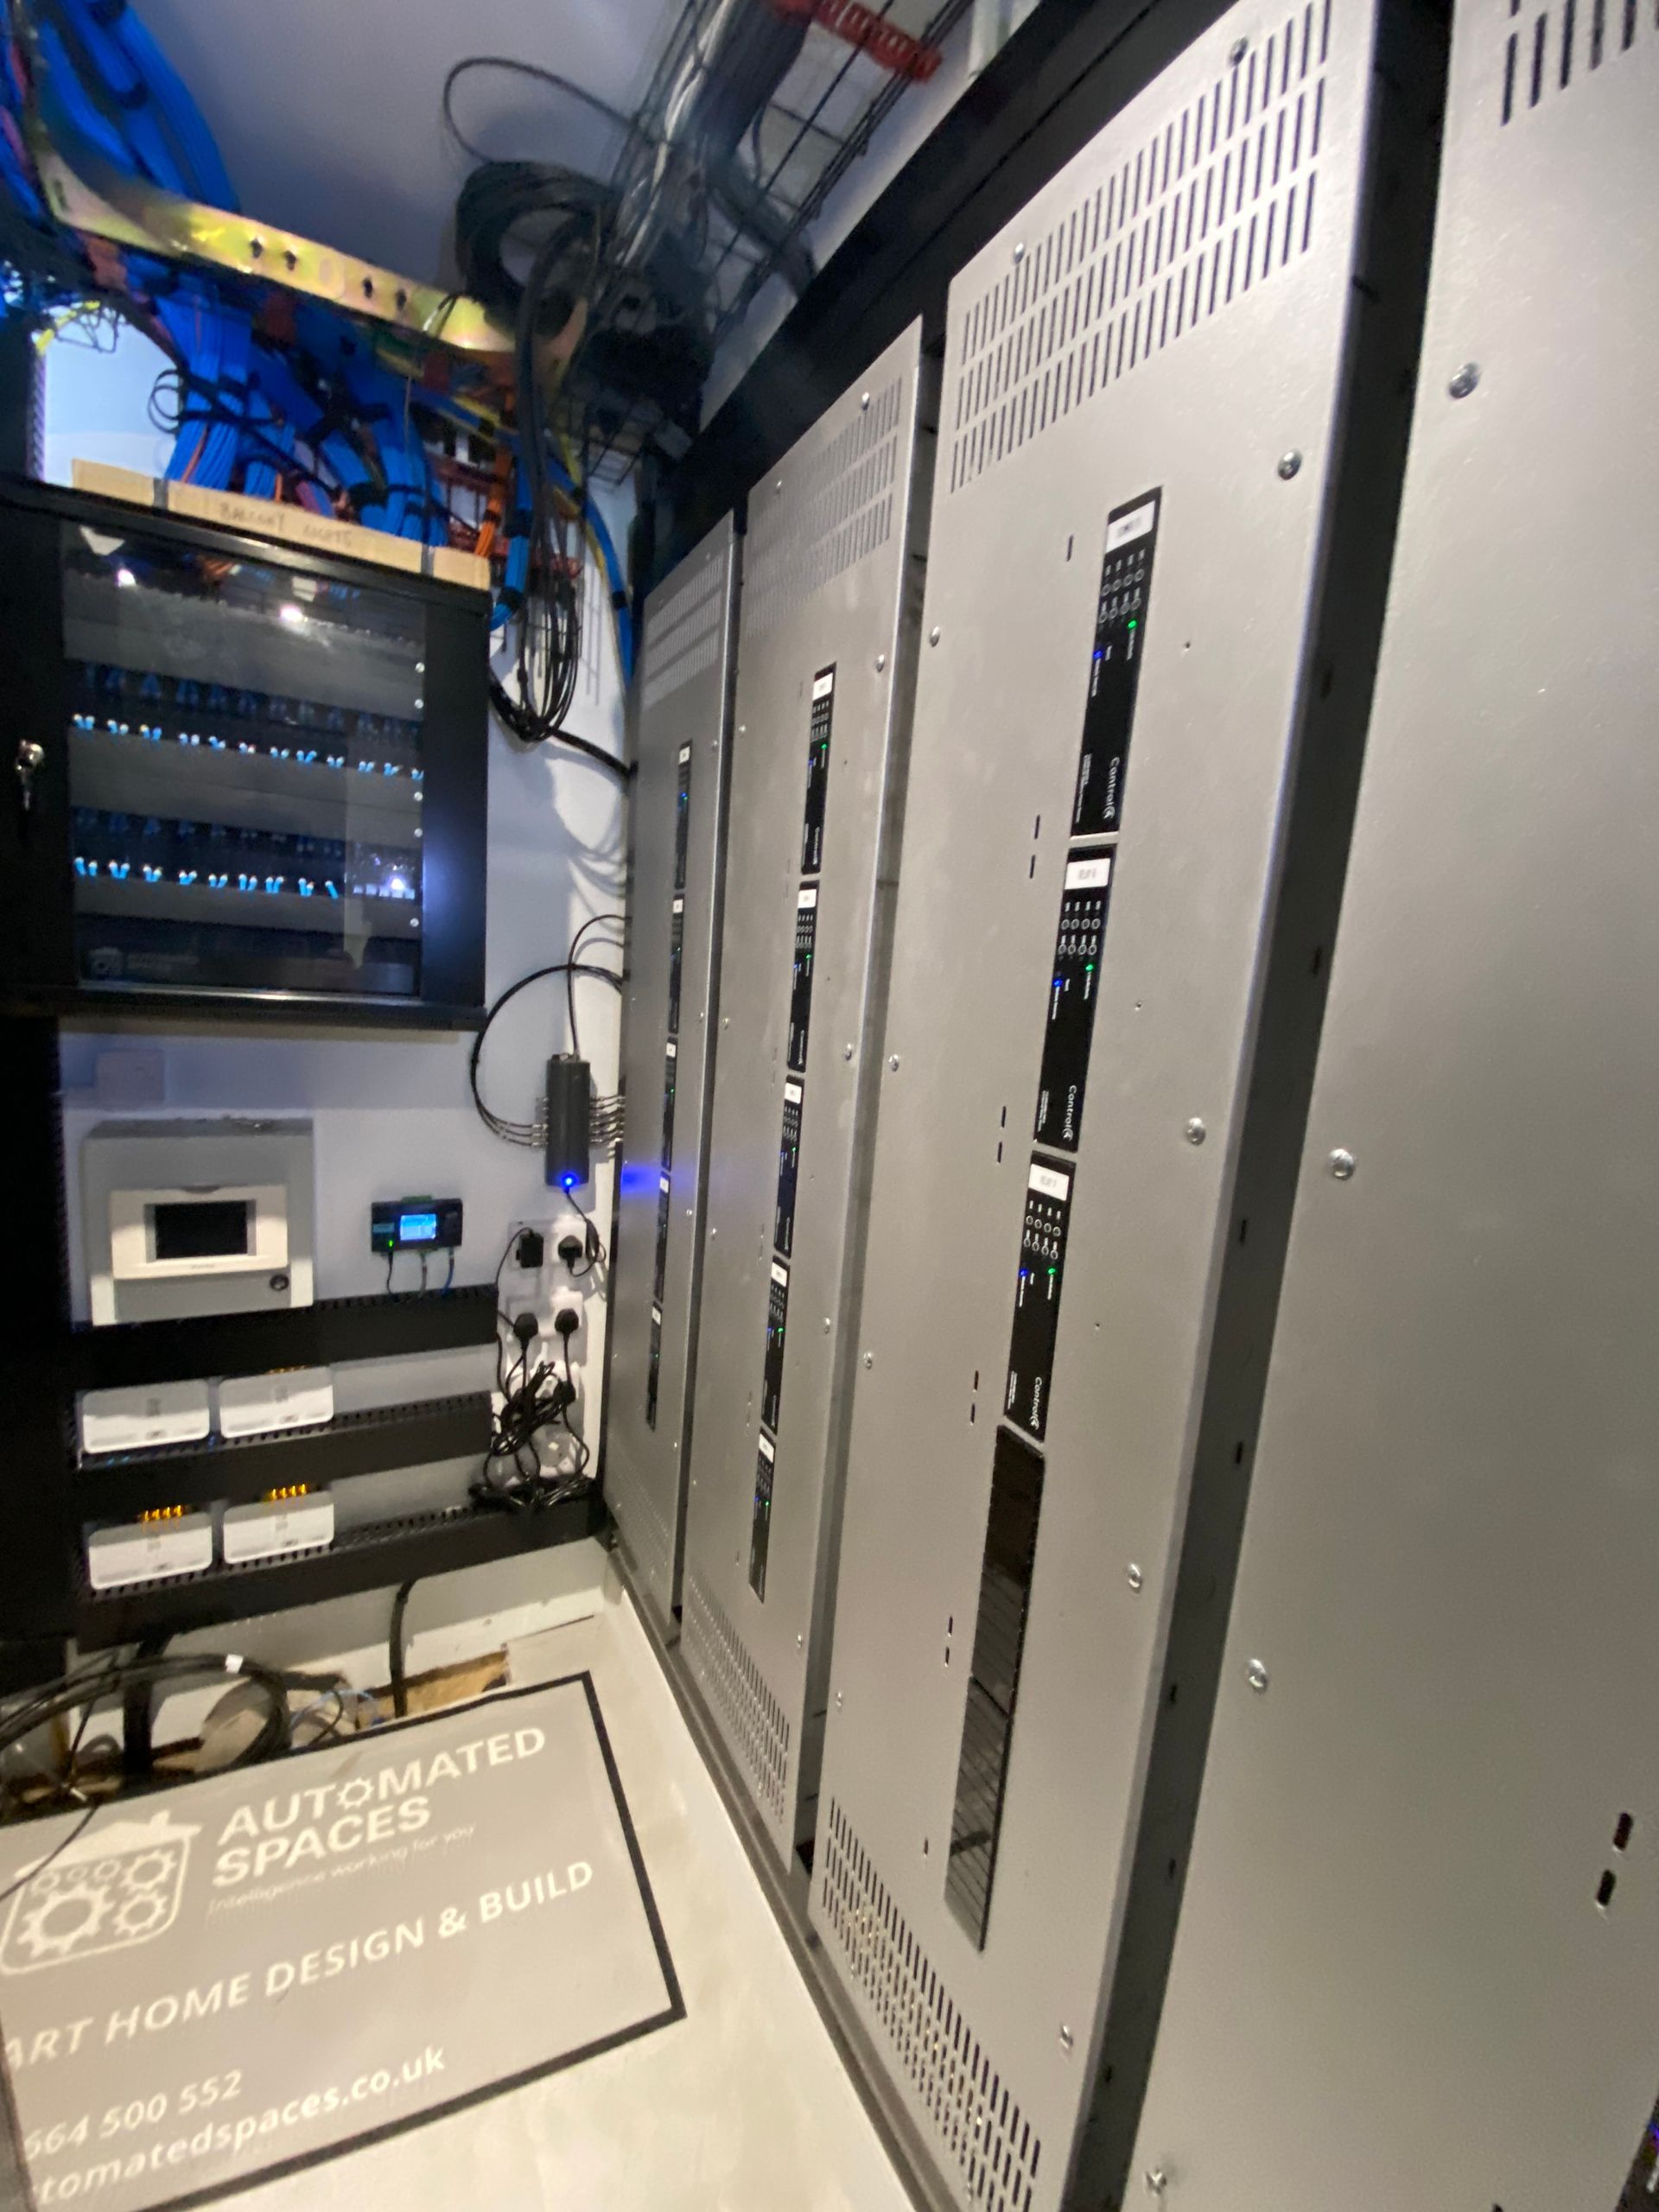
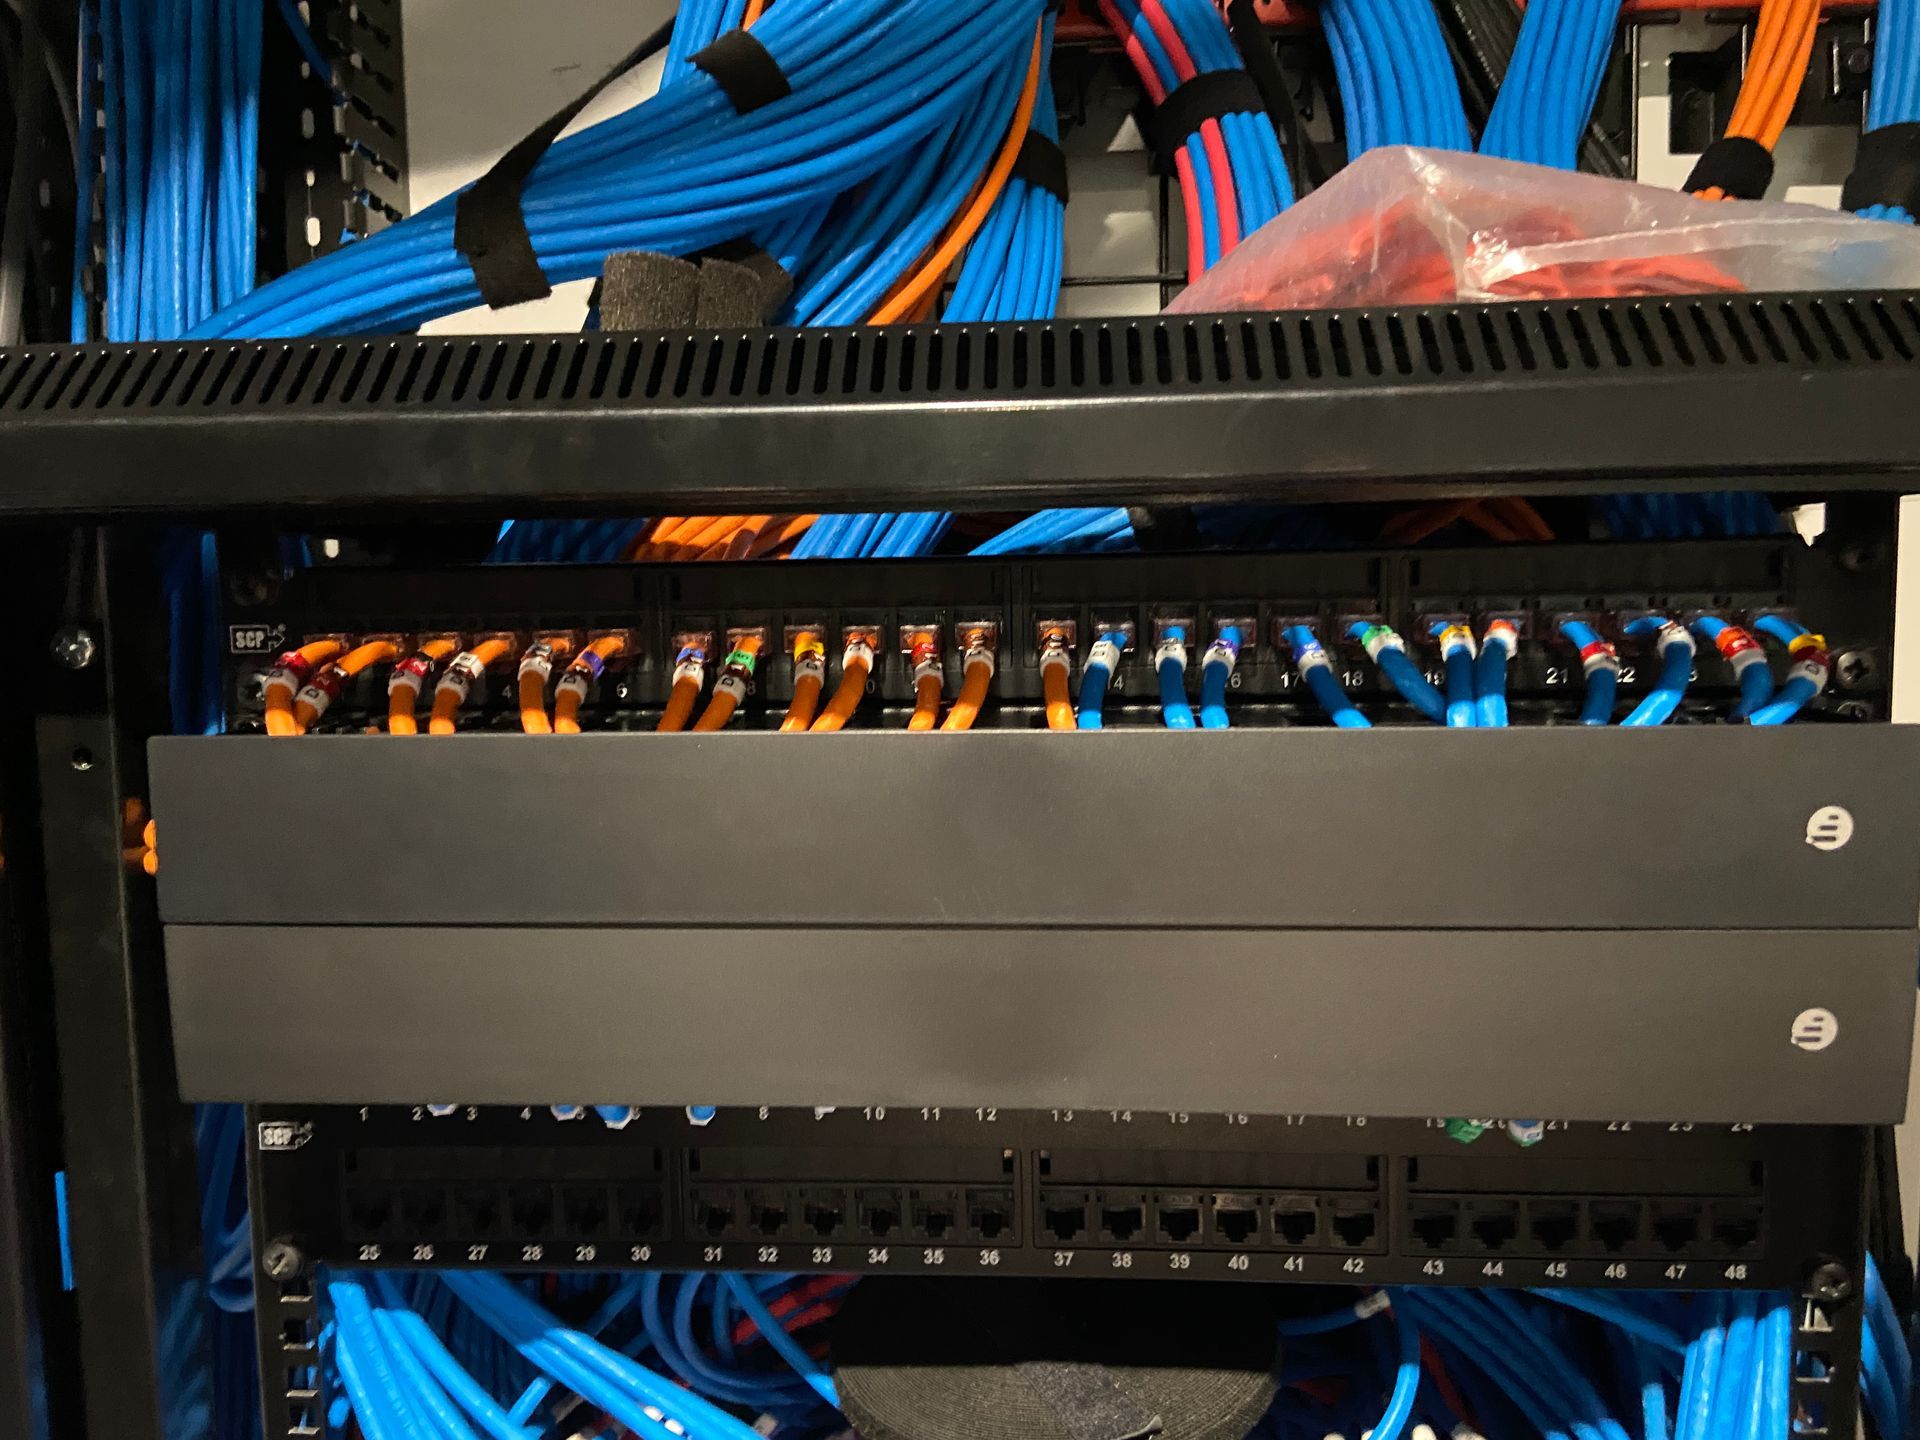
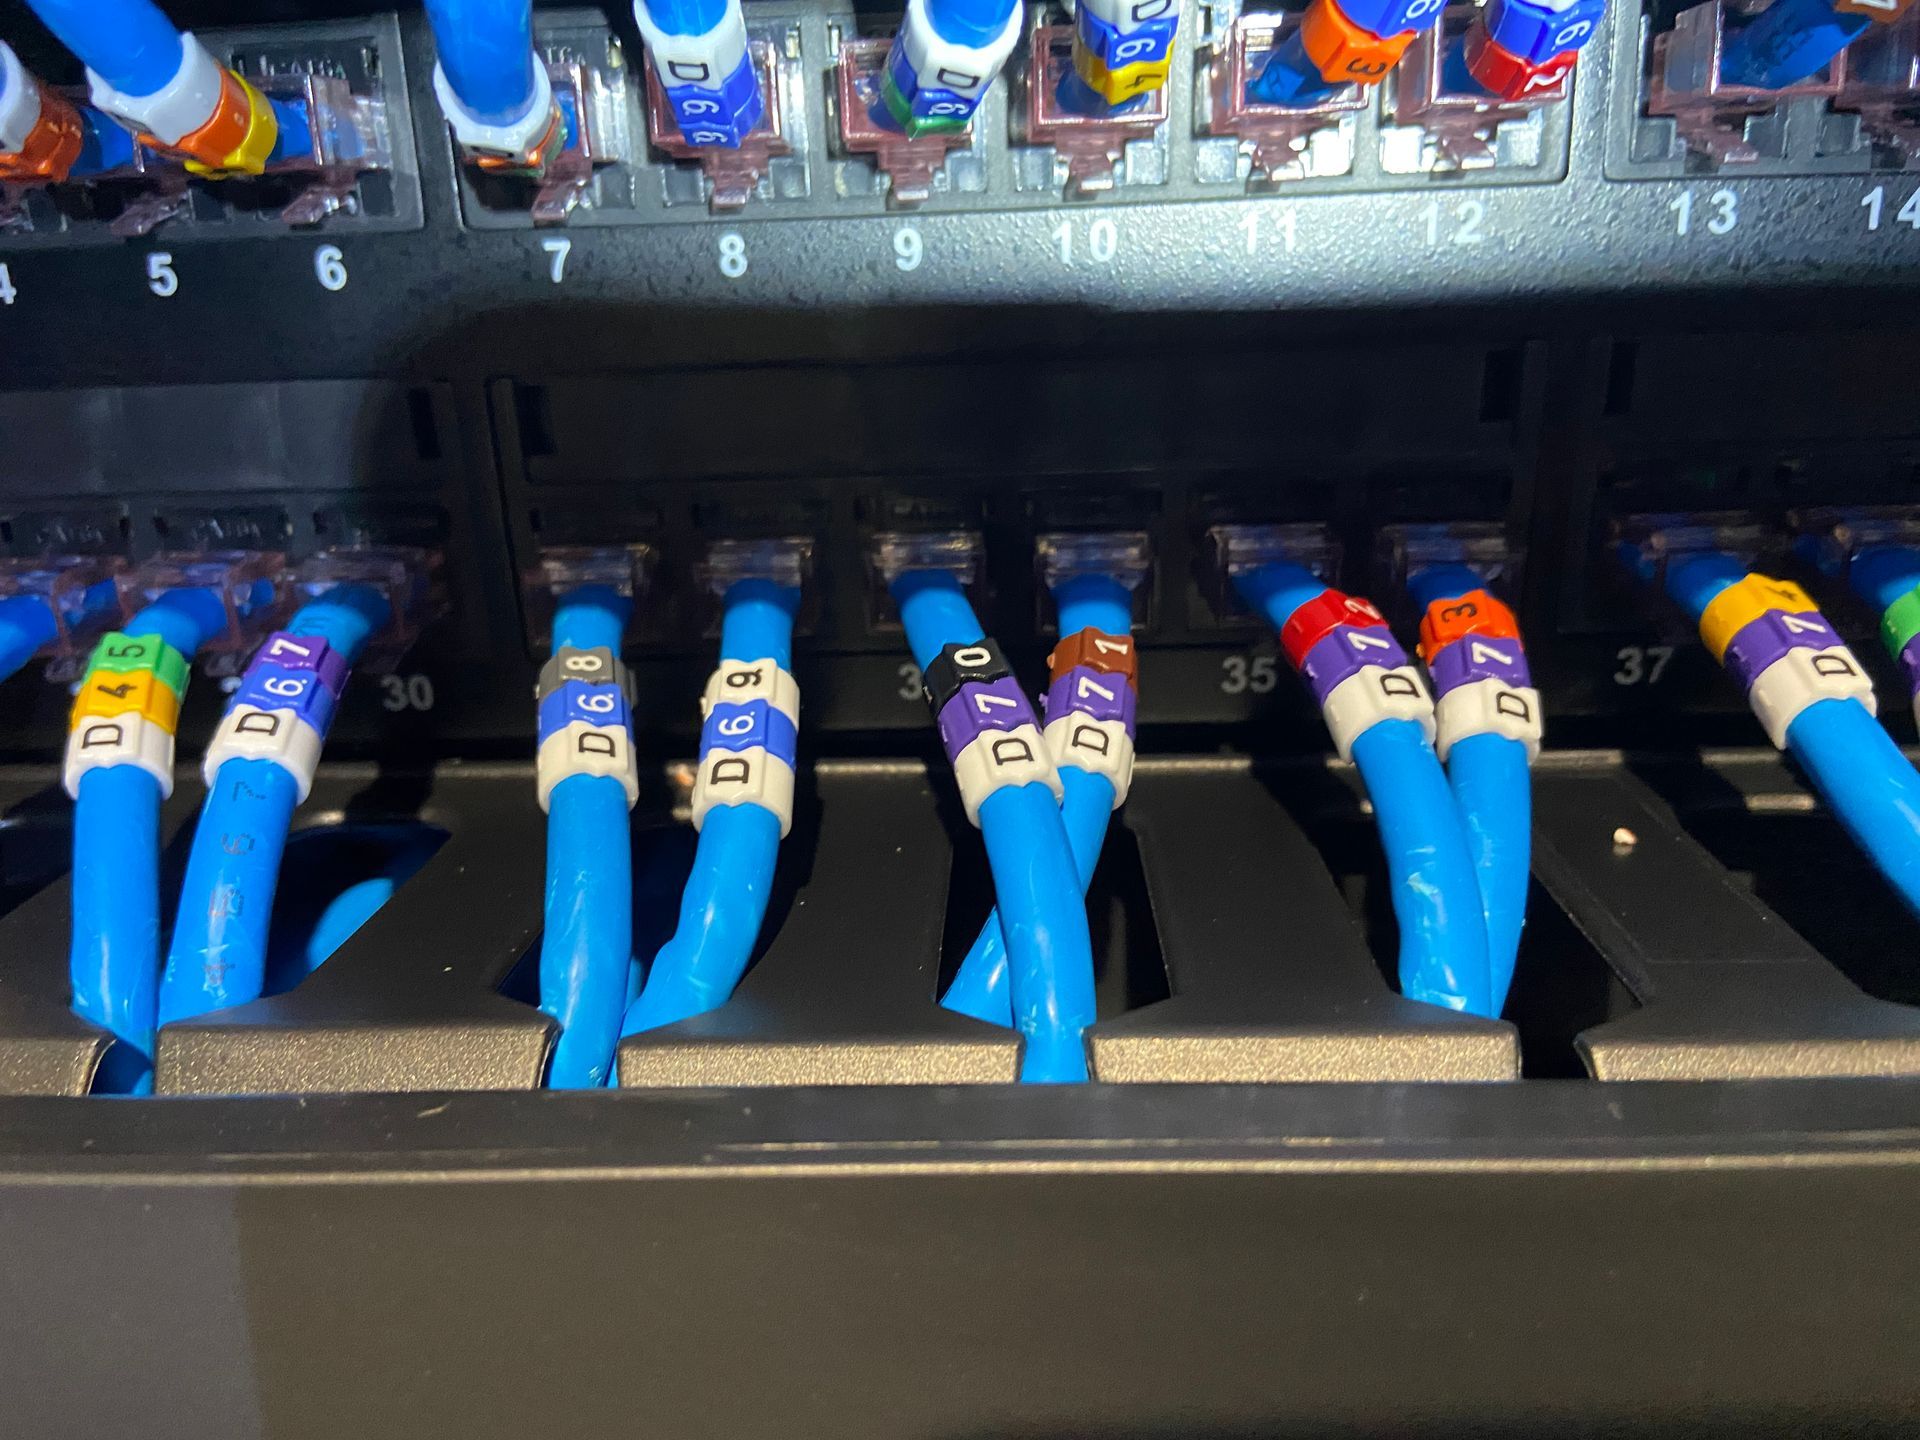
We also installed the 5 x Control4 centralised lighting panels, as well as a patch panel with 120 ports, into the ‘head-end’ room.
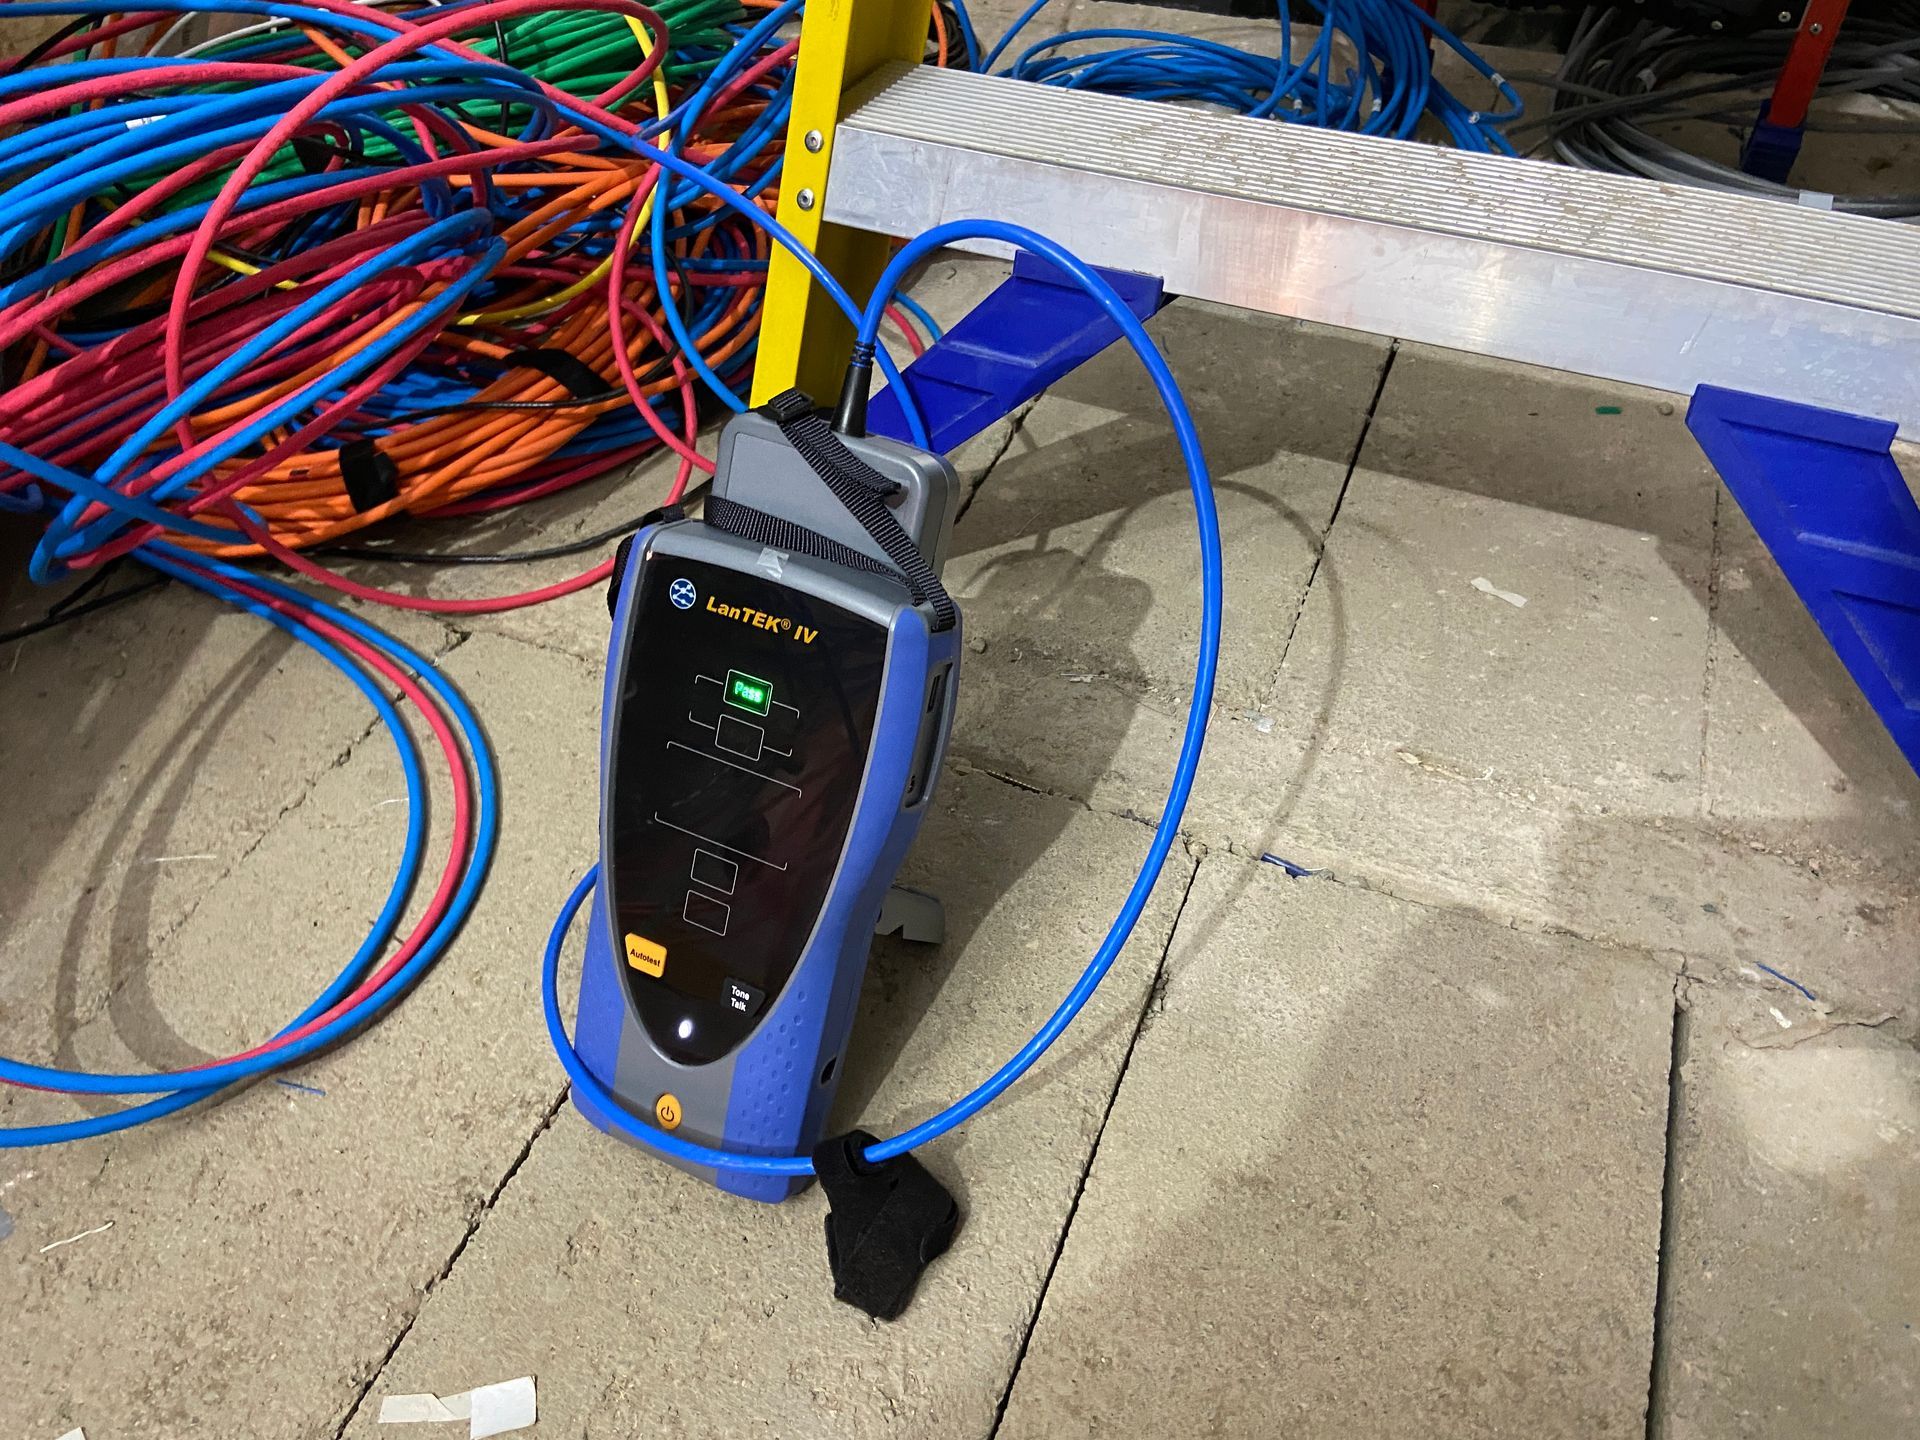
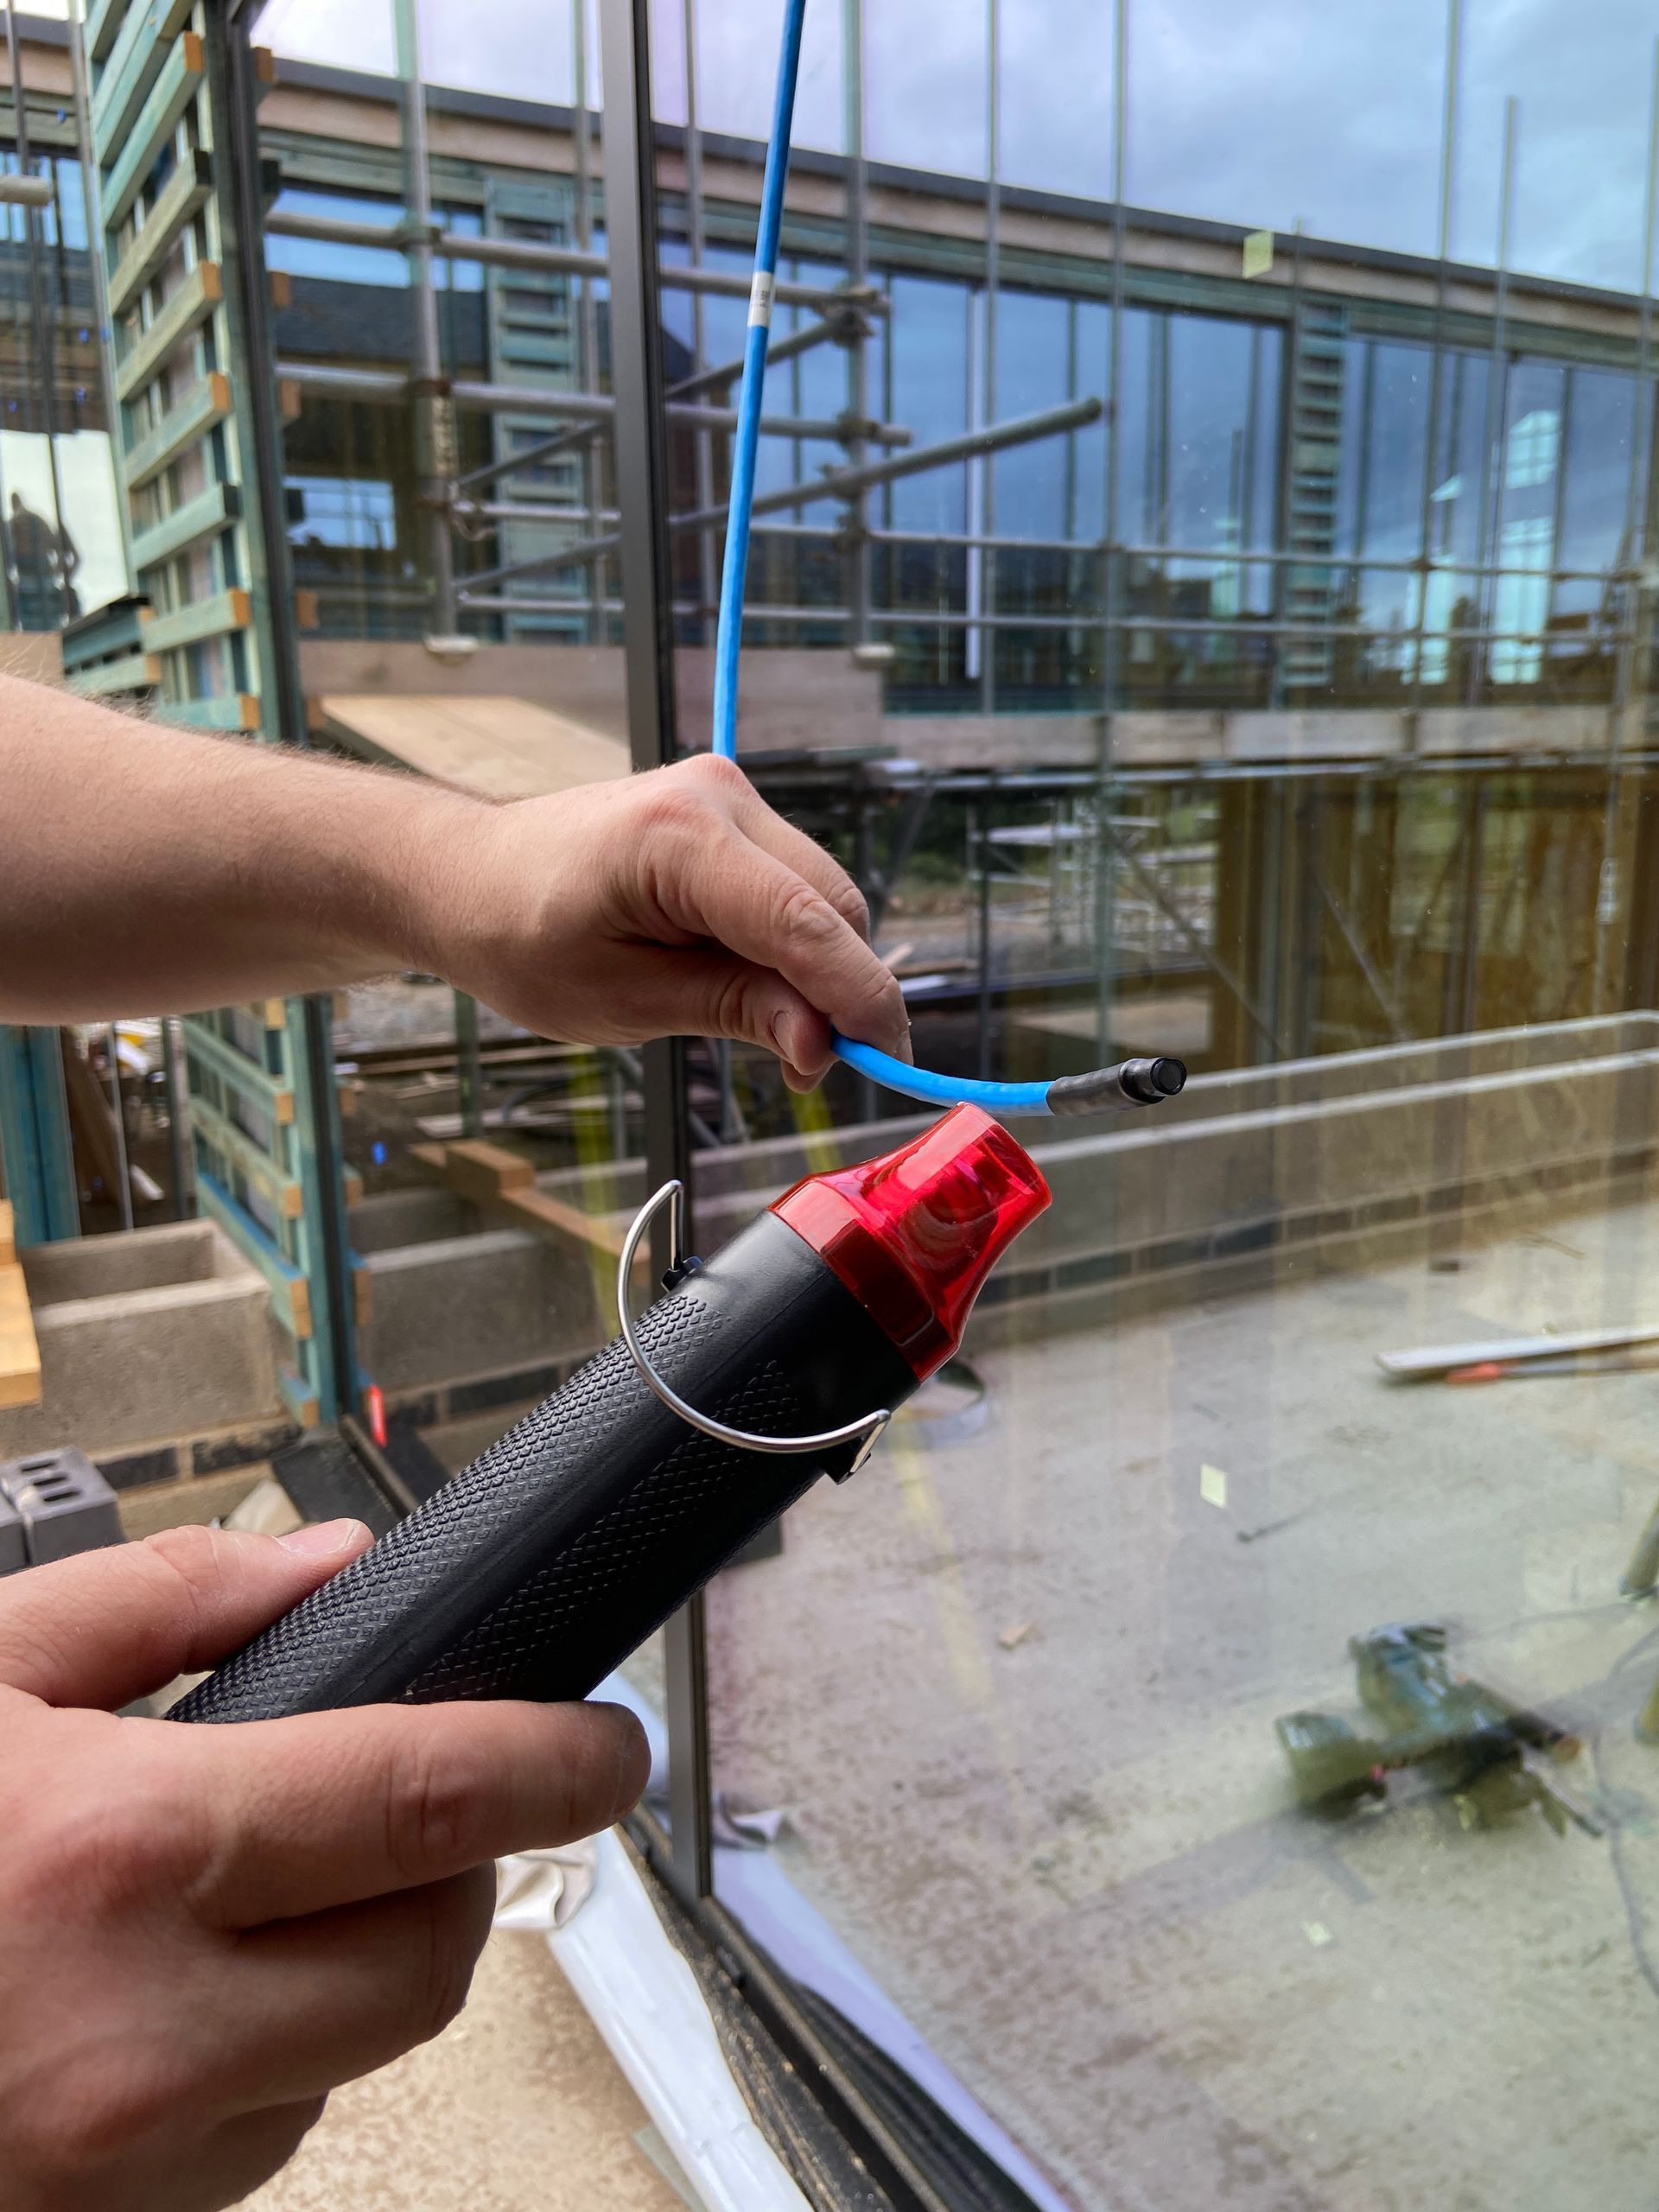
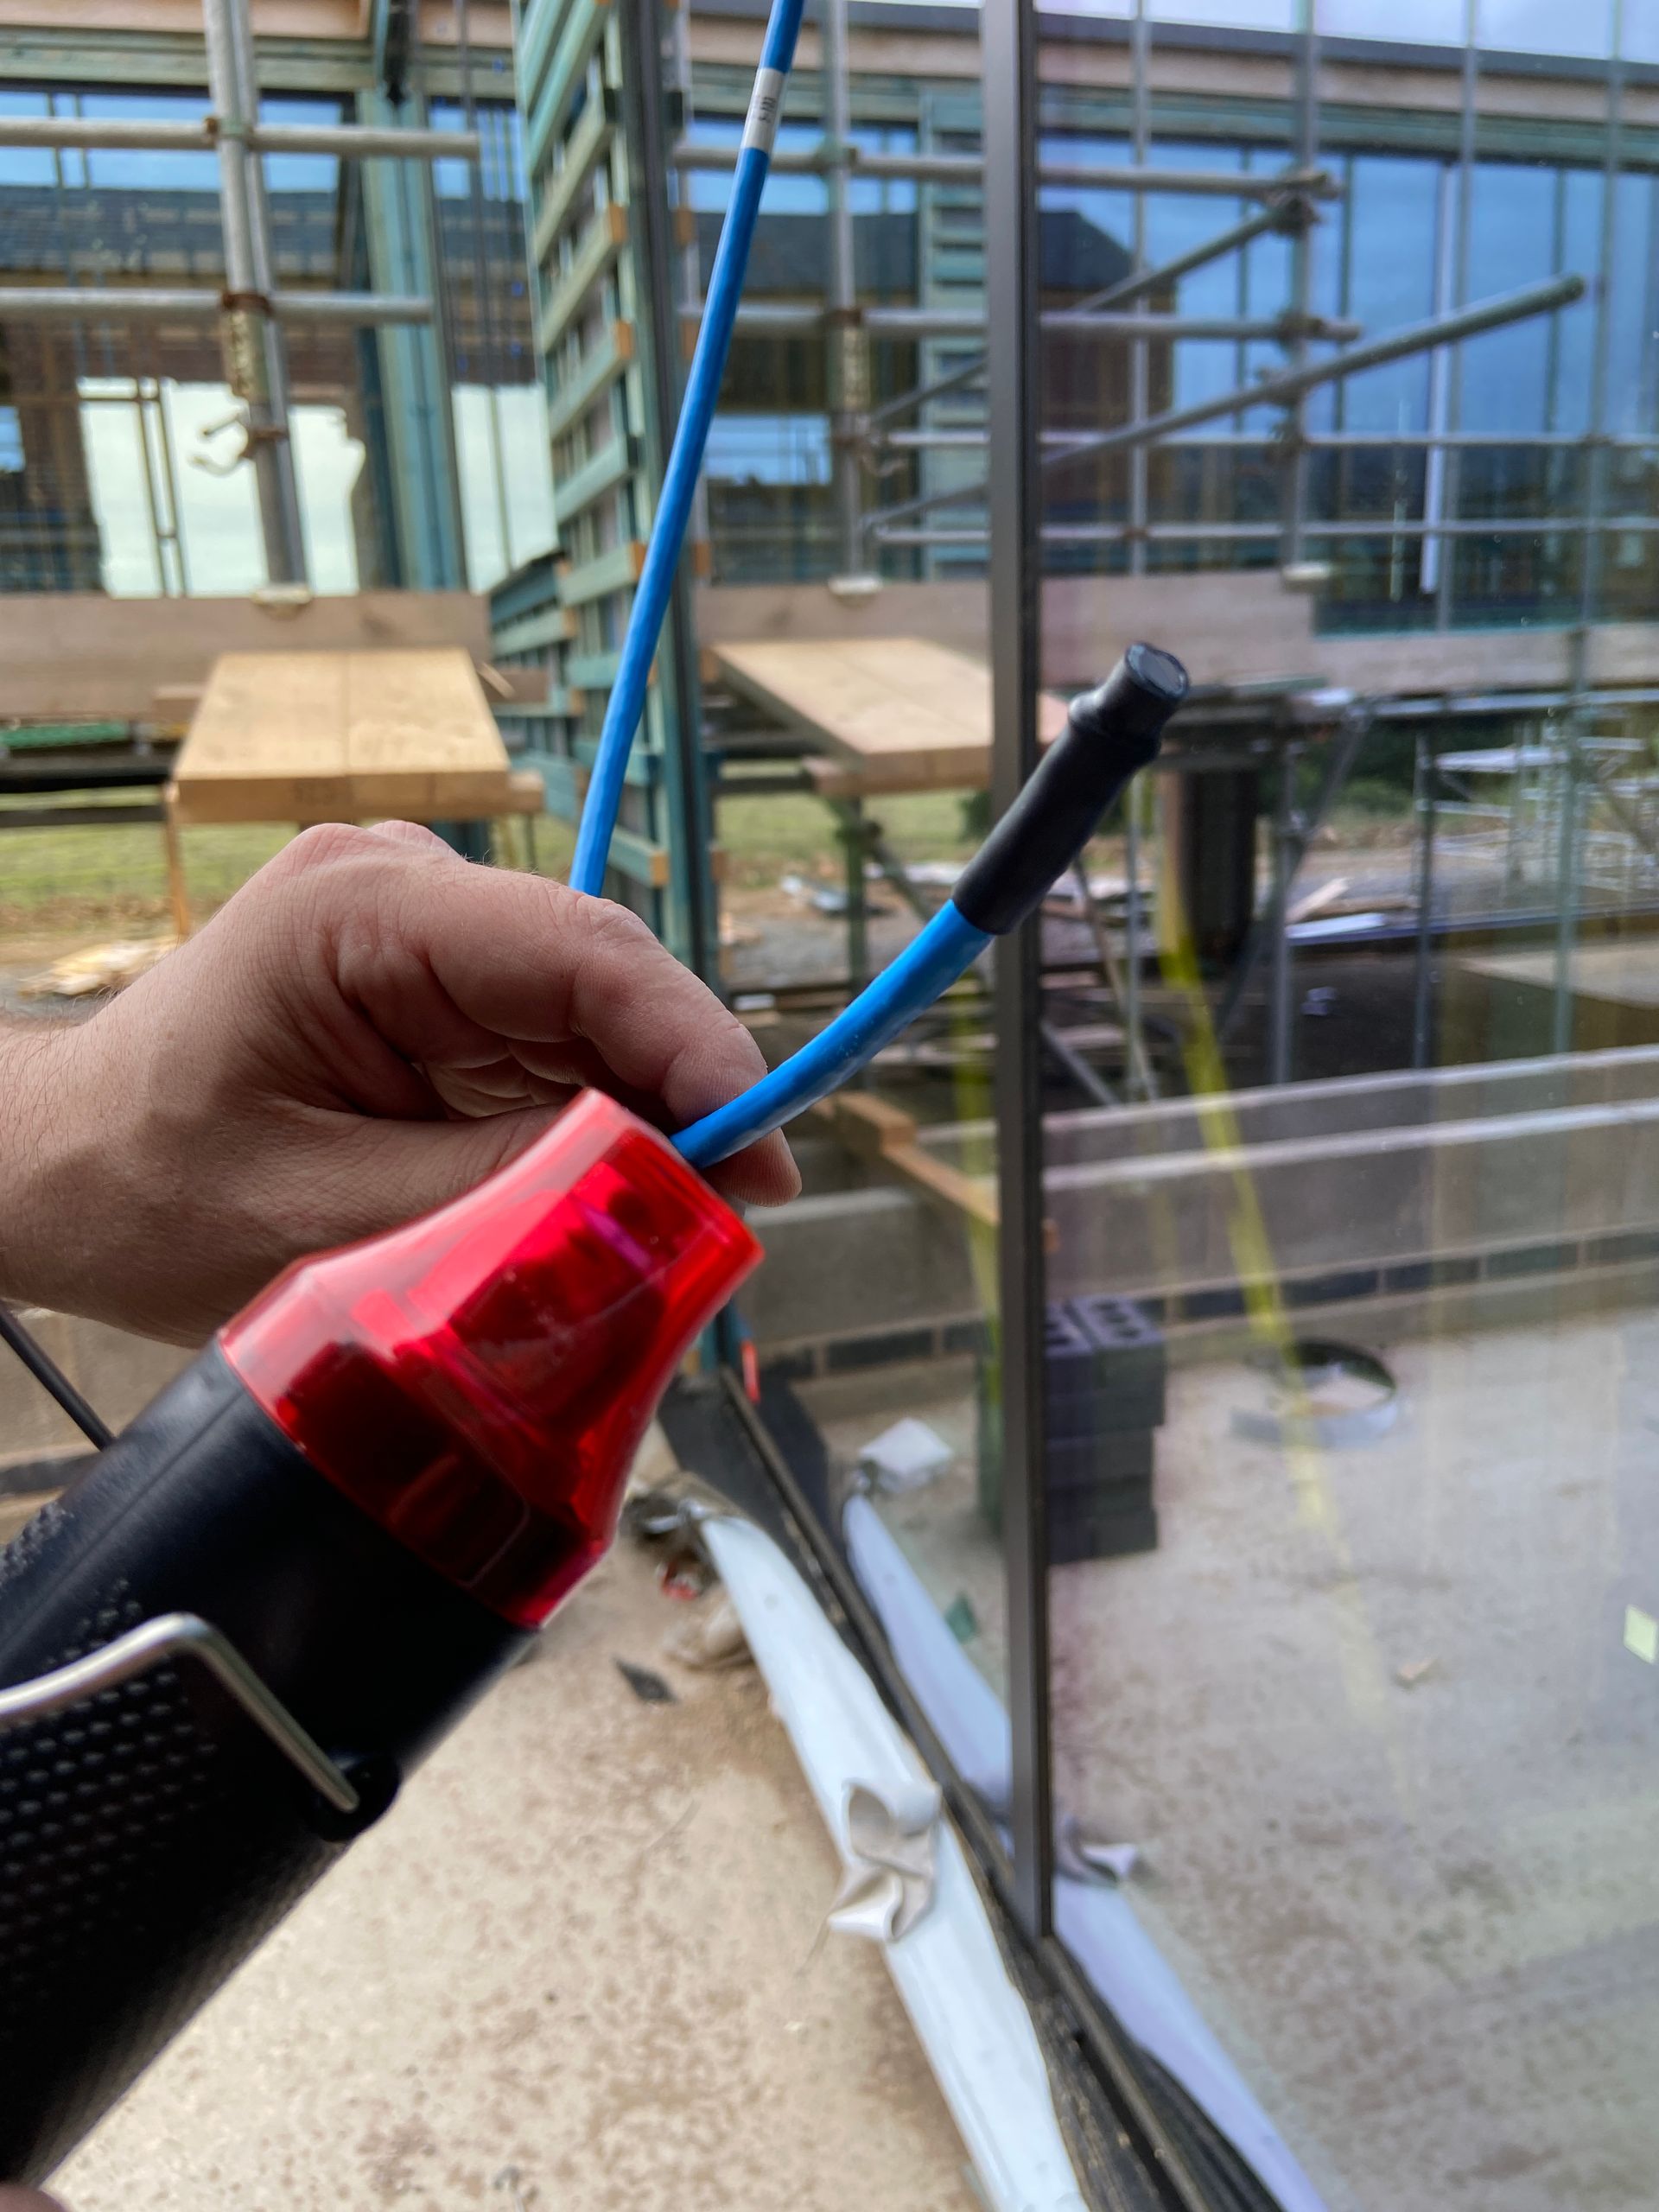
Once we terminated all the relevant 120 prewire cables into the patch panel, we carried out ‘Verification Testing’ on these cables. This allows us to apply our 25-year networking cable warranty service to the cable installation works. This also allowed us to ensure that all the relevant cables were functioning as expected prior to the main contractor plastering the walls and ceilings. This avoids any potential future messy and costly remedial construction works to replace potential faulty cables, as they are all proved to be achieving the correct transmission rates during the certification testing process.
Smart home 2nd fix
Typically on a project we would complete our 1st fix activities and then move onto completing our 2nd fix activities offsite at our workshop. We do this as normally during 2nd fix onsite it is a very dusty environment with lots of power interruptions to the power to accommodate the various work of other trades. There can also be significant amounts of water usage onsite, heating of the environment can be very intermittent. None of these factors are things that suit IT equipment which require consistent power, temperature and humidity levels as well as a dust free environment. Therefore, it makes sense that we complete our rack building and configuration work offsite at our workshop where we can control these factors.
This project was a little different, during the project pause phase we suggested to the client that we could actually commence our 2nd Fix activities whilst we were waiting for a new main contractor to be appointed. This would mean that we were able to advance the timeline of our works even though the main project works were on hold.
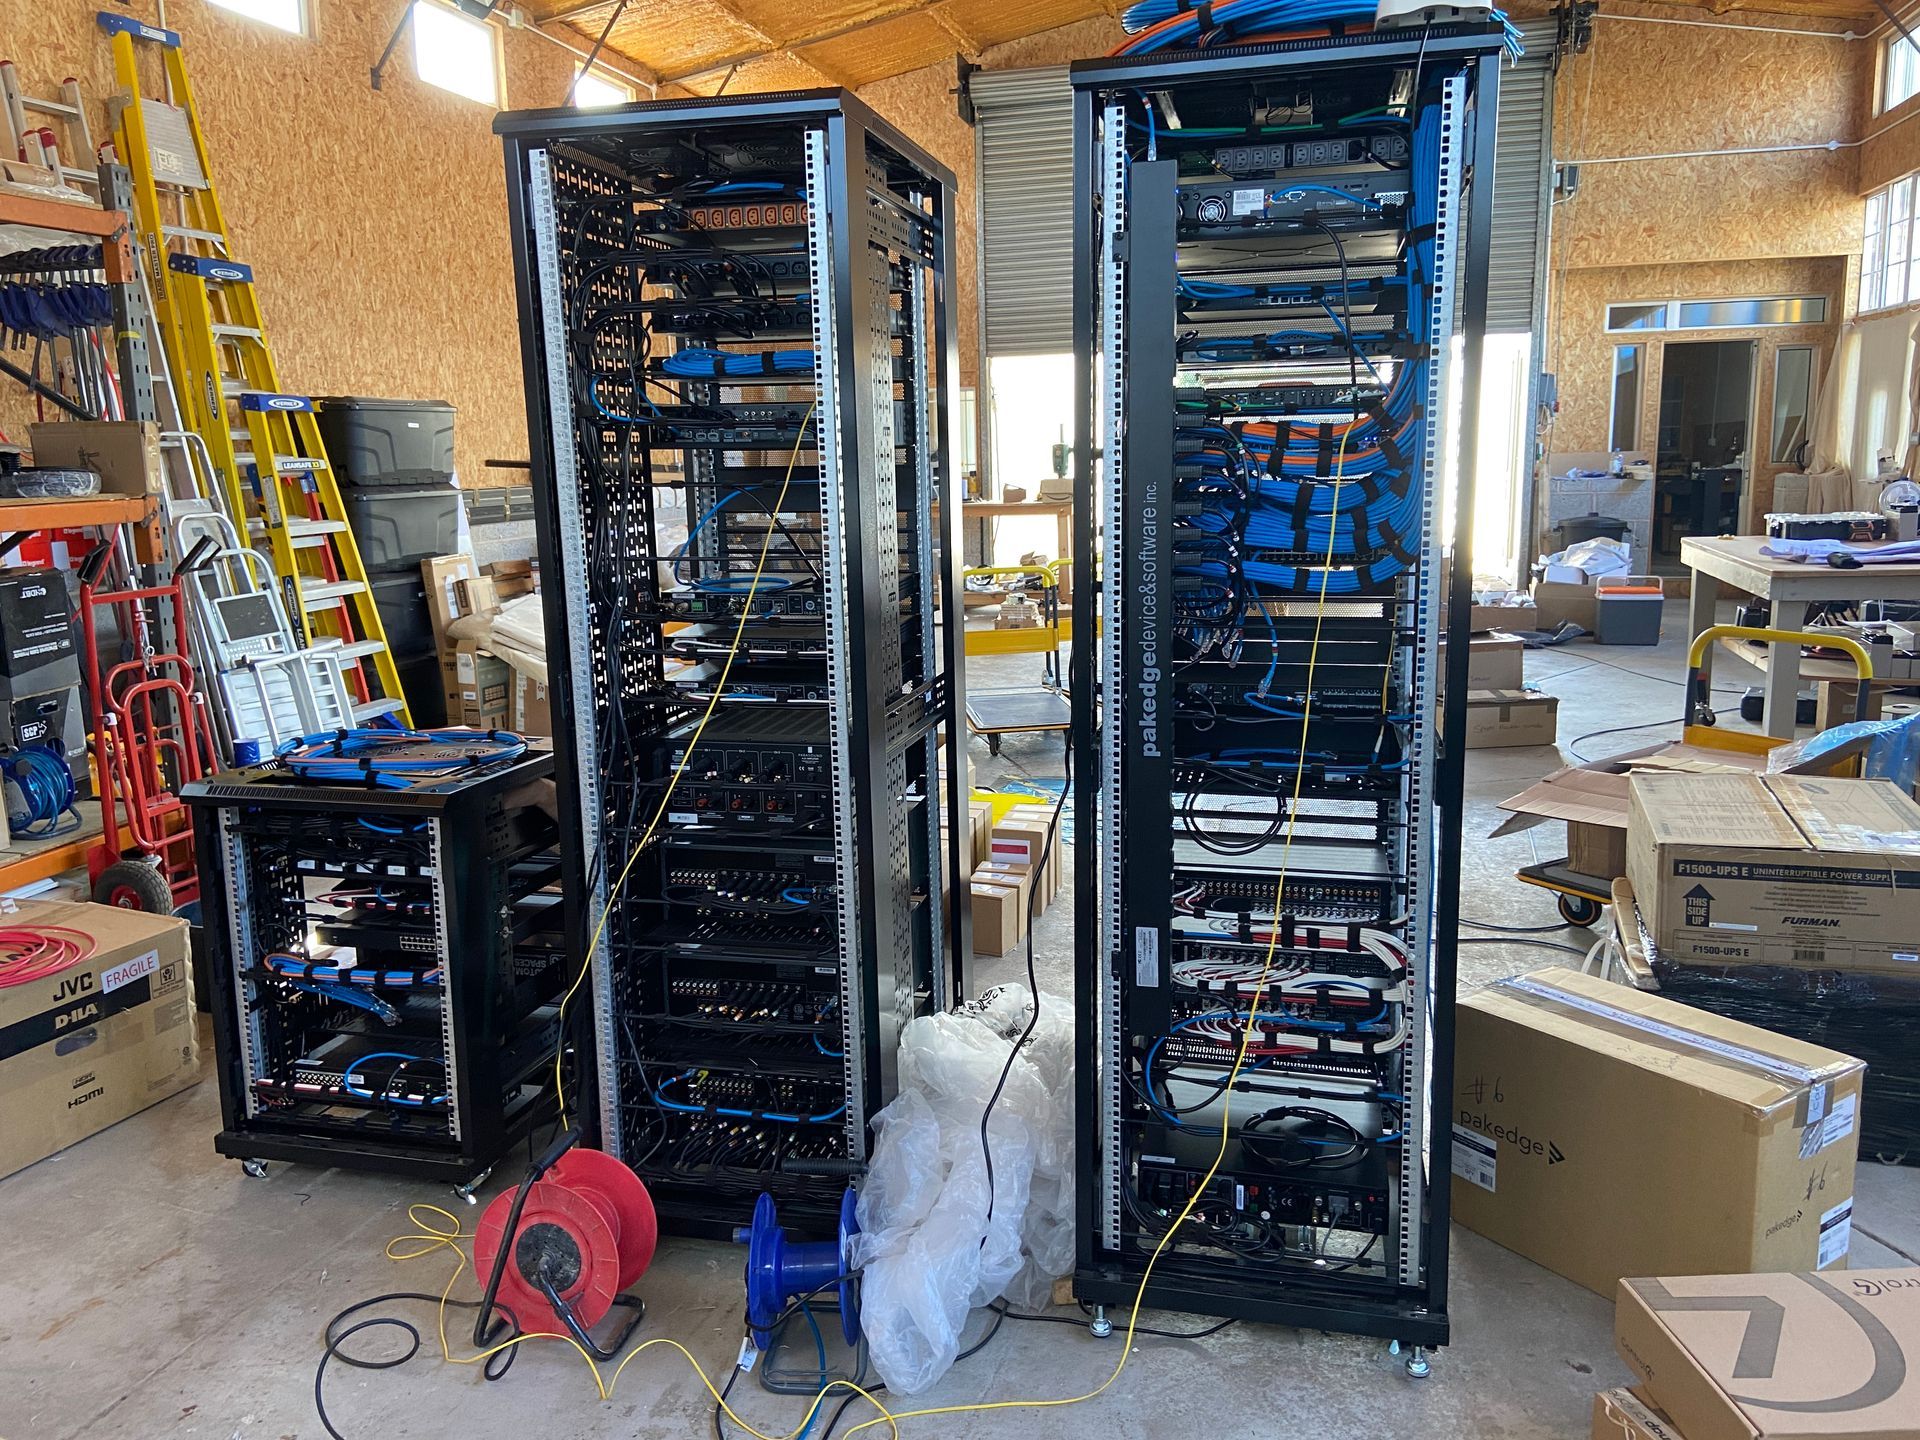
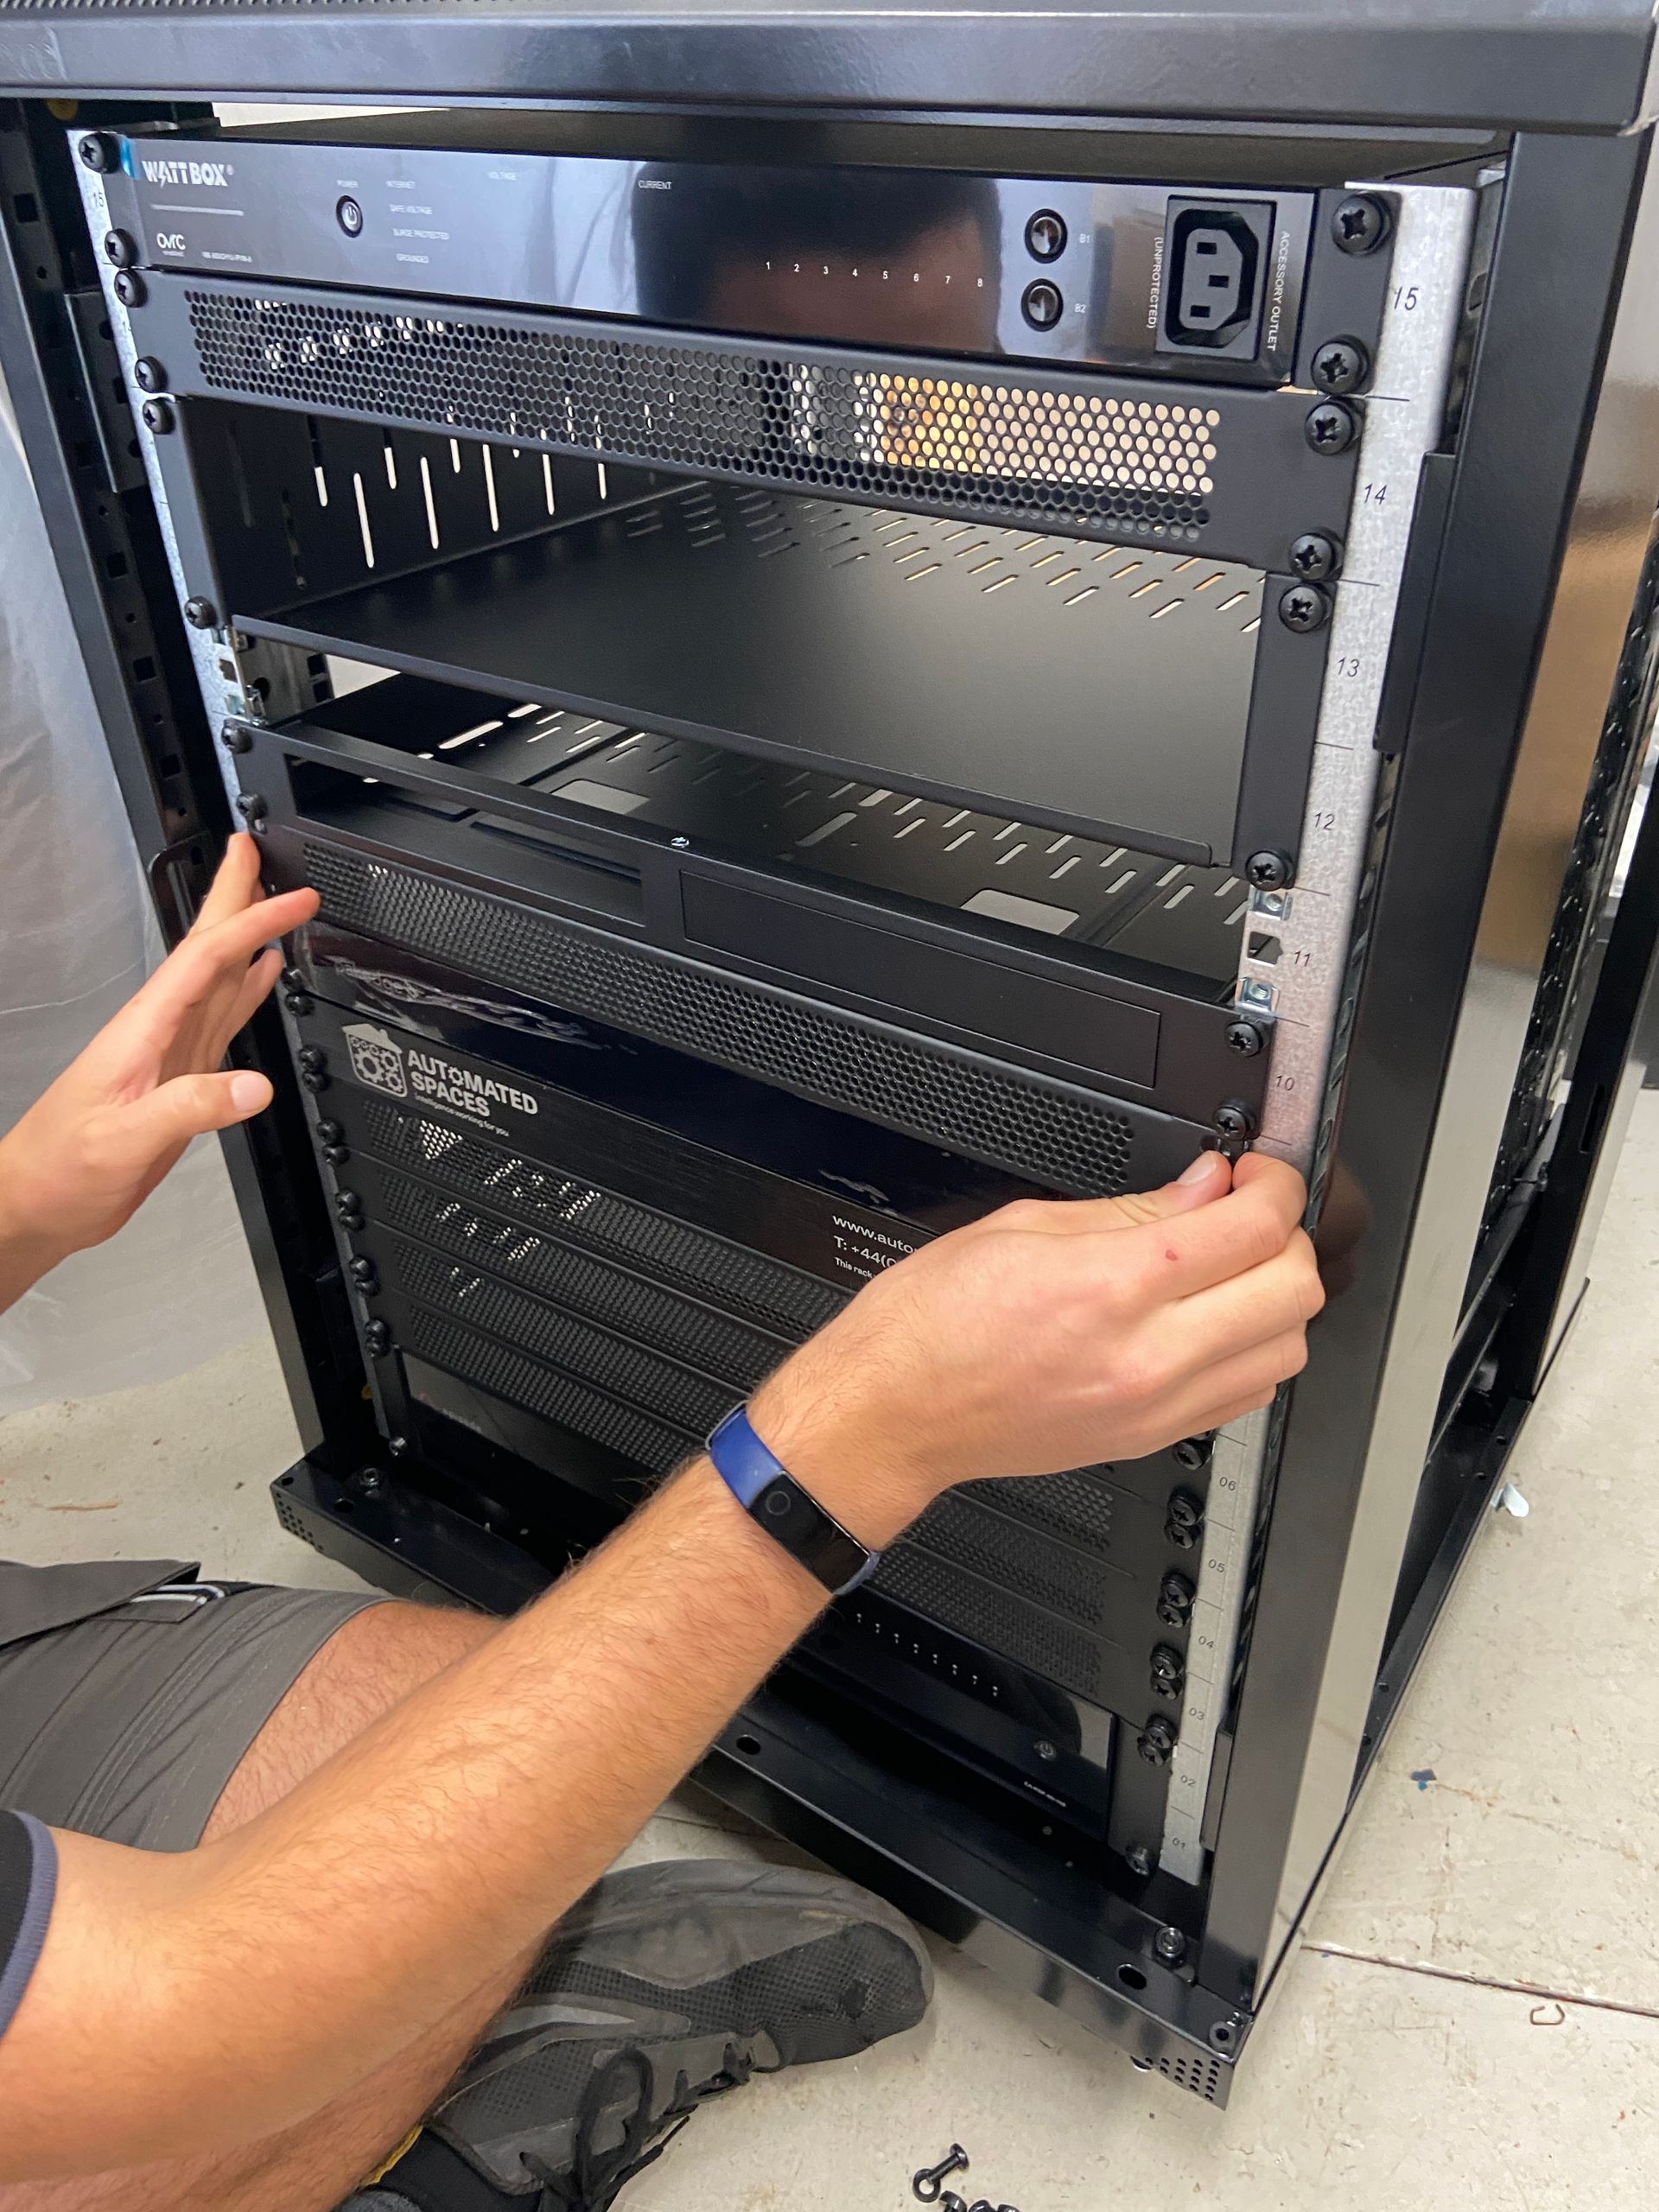
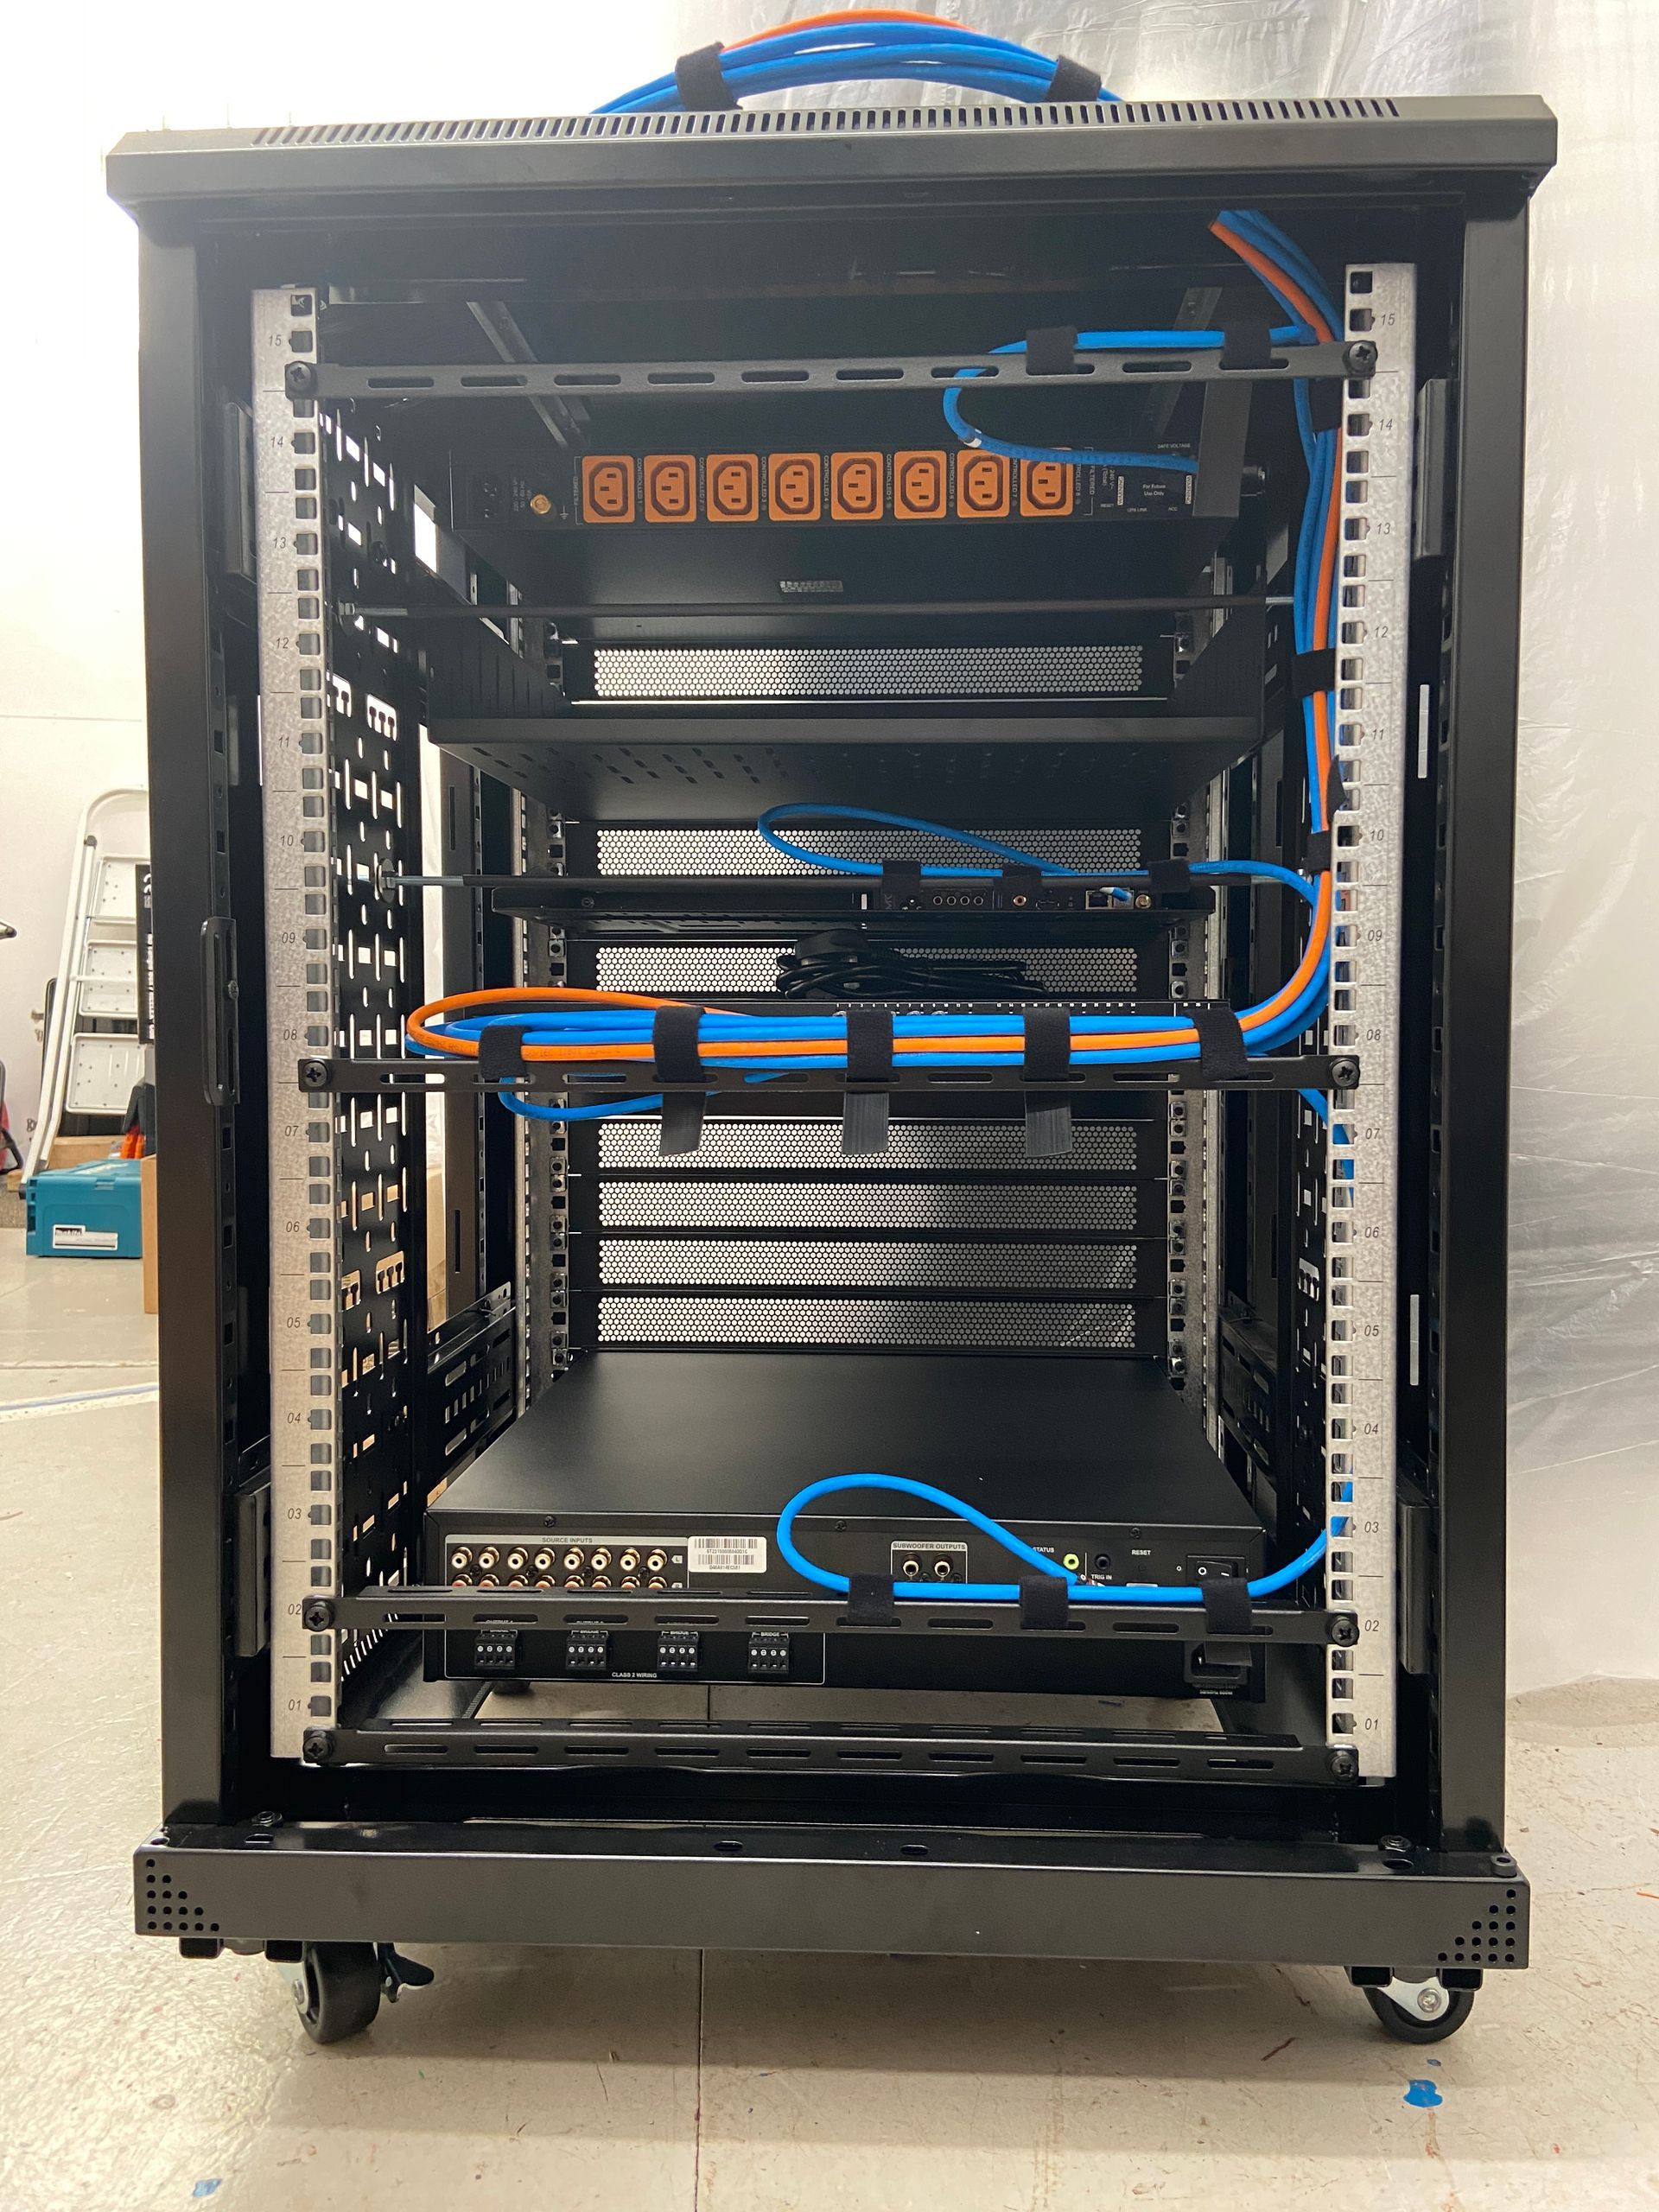
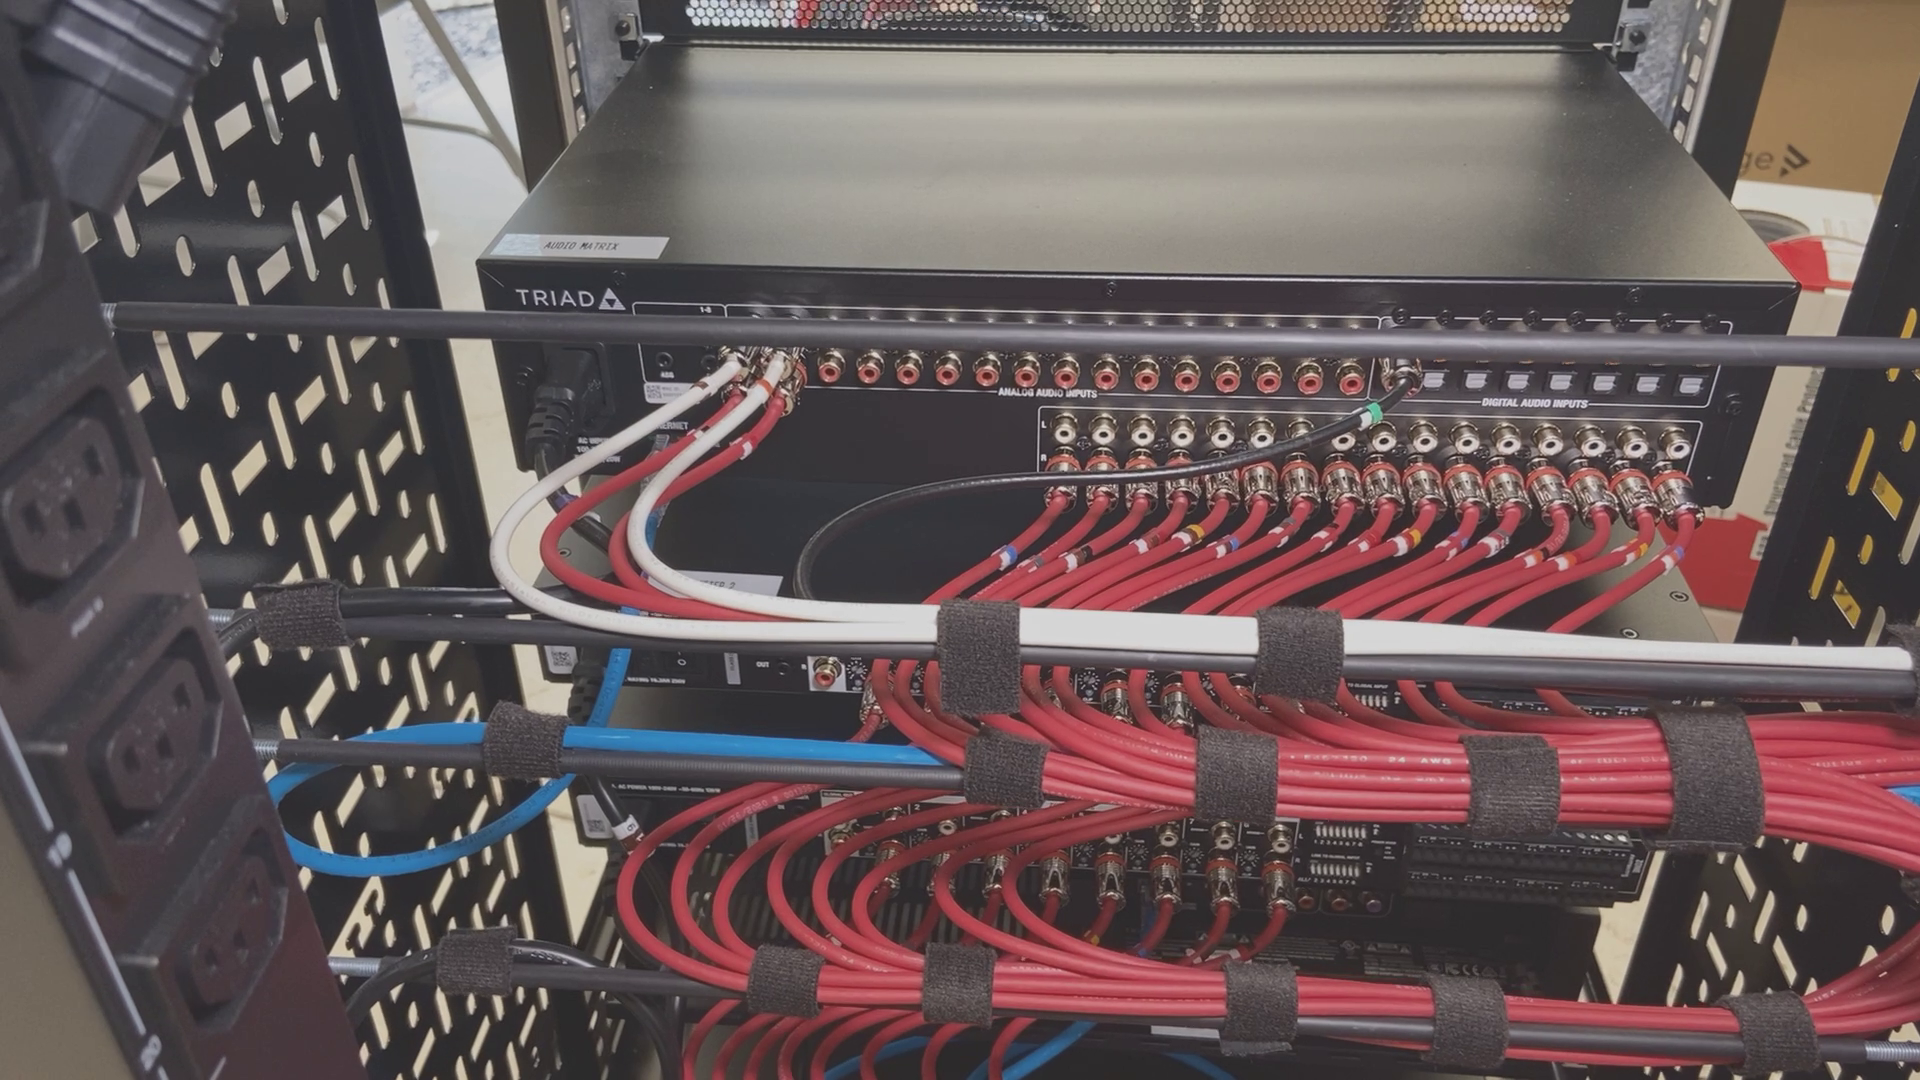
We installed the various equipment into the server racks; 2 x 42U servers racks for the main house along with a smaller 15U server for the Sport Pavilion. We carried out an initial soak testing of the equipment and then installed the various server rack equipment interconnecting cables as well as lacing in the Patch Panel cables from the network switches. We left these patch cables with enough length to be installed into the ceiling mounted basket tray over to the location of the Patch Panel mounted on the rear wall in the Head End.


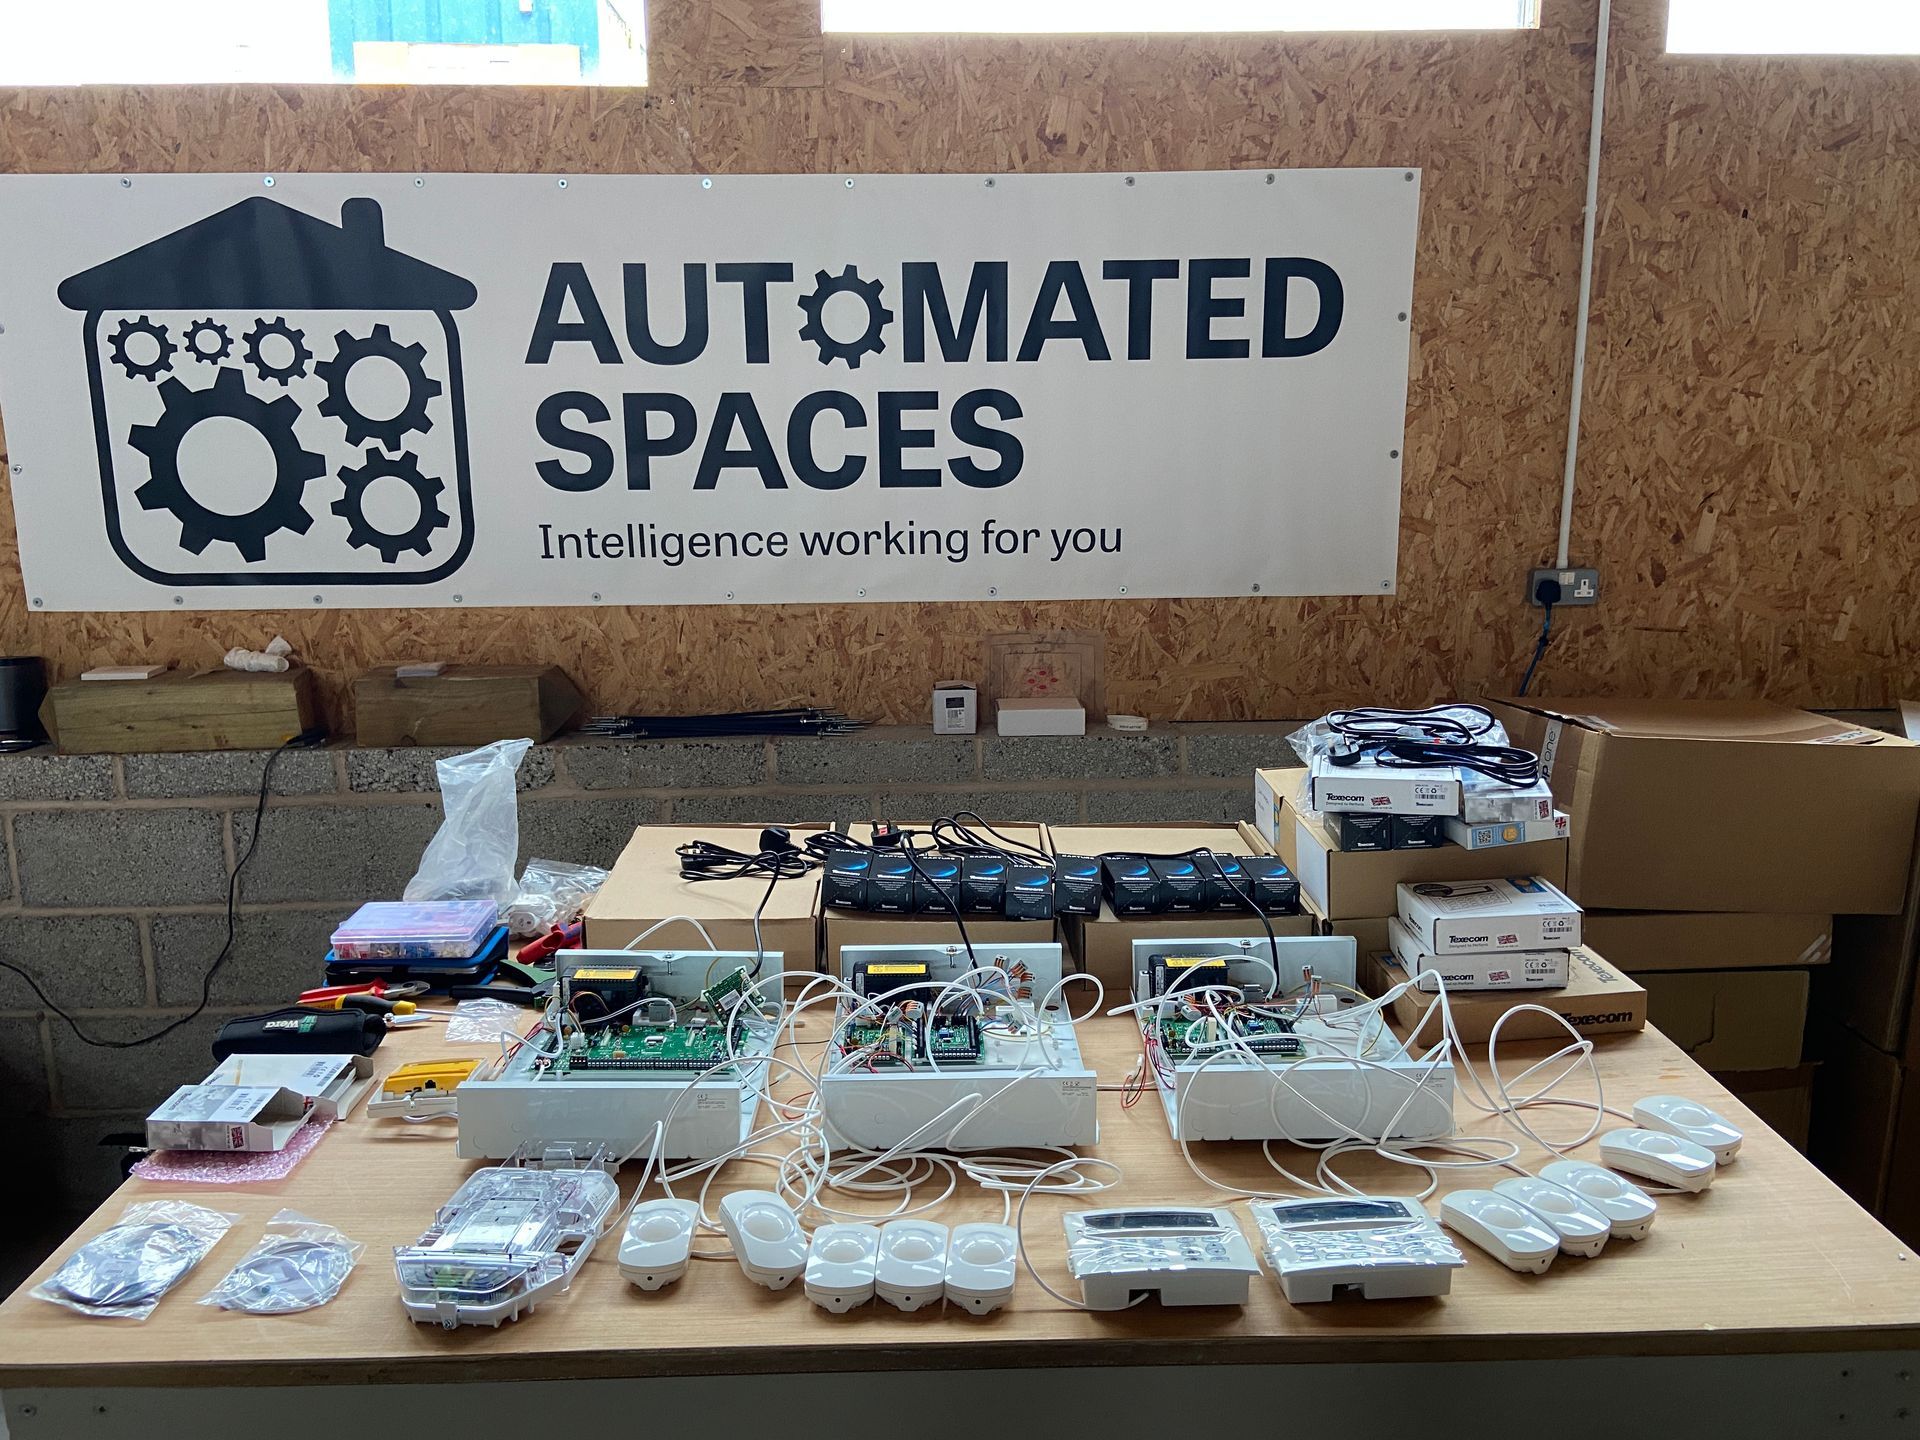
2nd fix bench testing
Once all the various rack mounted equipment was installed, configured and tested, we were then able to commence bench testing of several of the systems that would be subsequently installed into the property.
We connected all 12 of the Wireless Access Points (WAP) on the bench so that we could ensure that they were functioning as expected. It also allowed us to apply the associated configuration to each individual WAP. This meant when the time came to install each WAP onsite they would only need to be connected to the relevant prewire cable and they would immediately start working.
We carried out the same approach with the CCTV cameras, Control4 Touch Screens, Control4 Remote Controls and Motion Sensors.


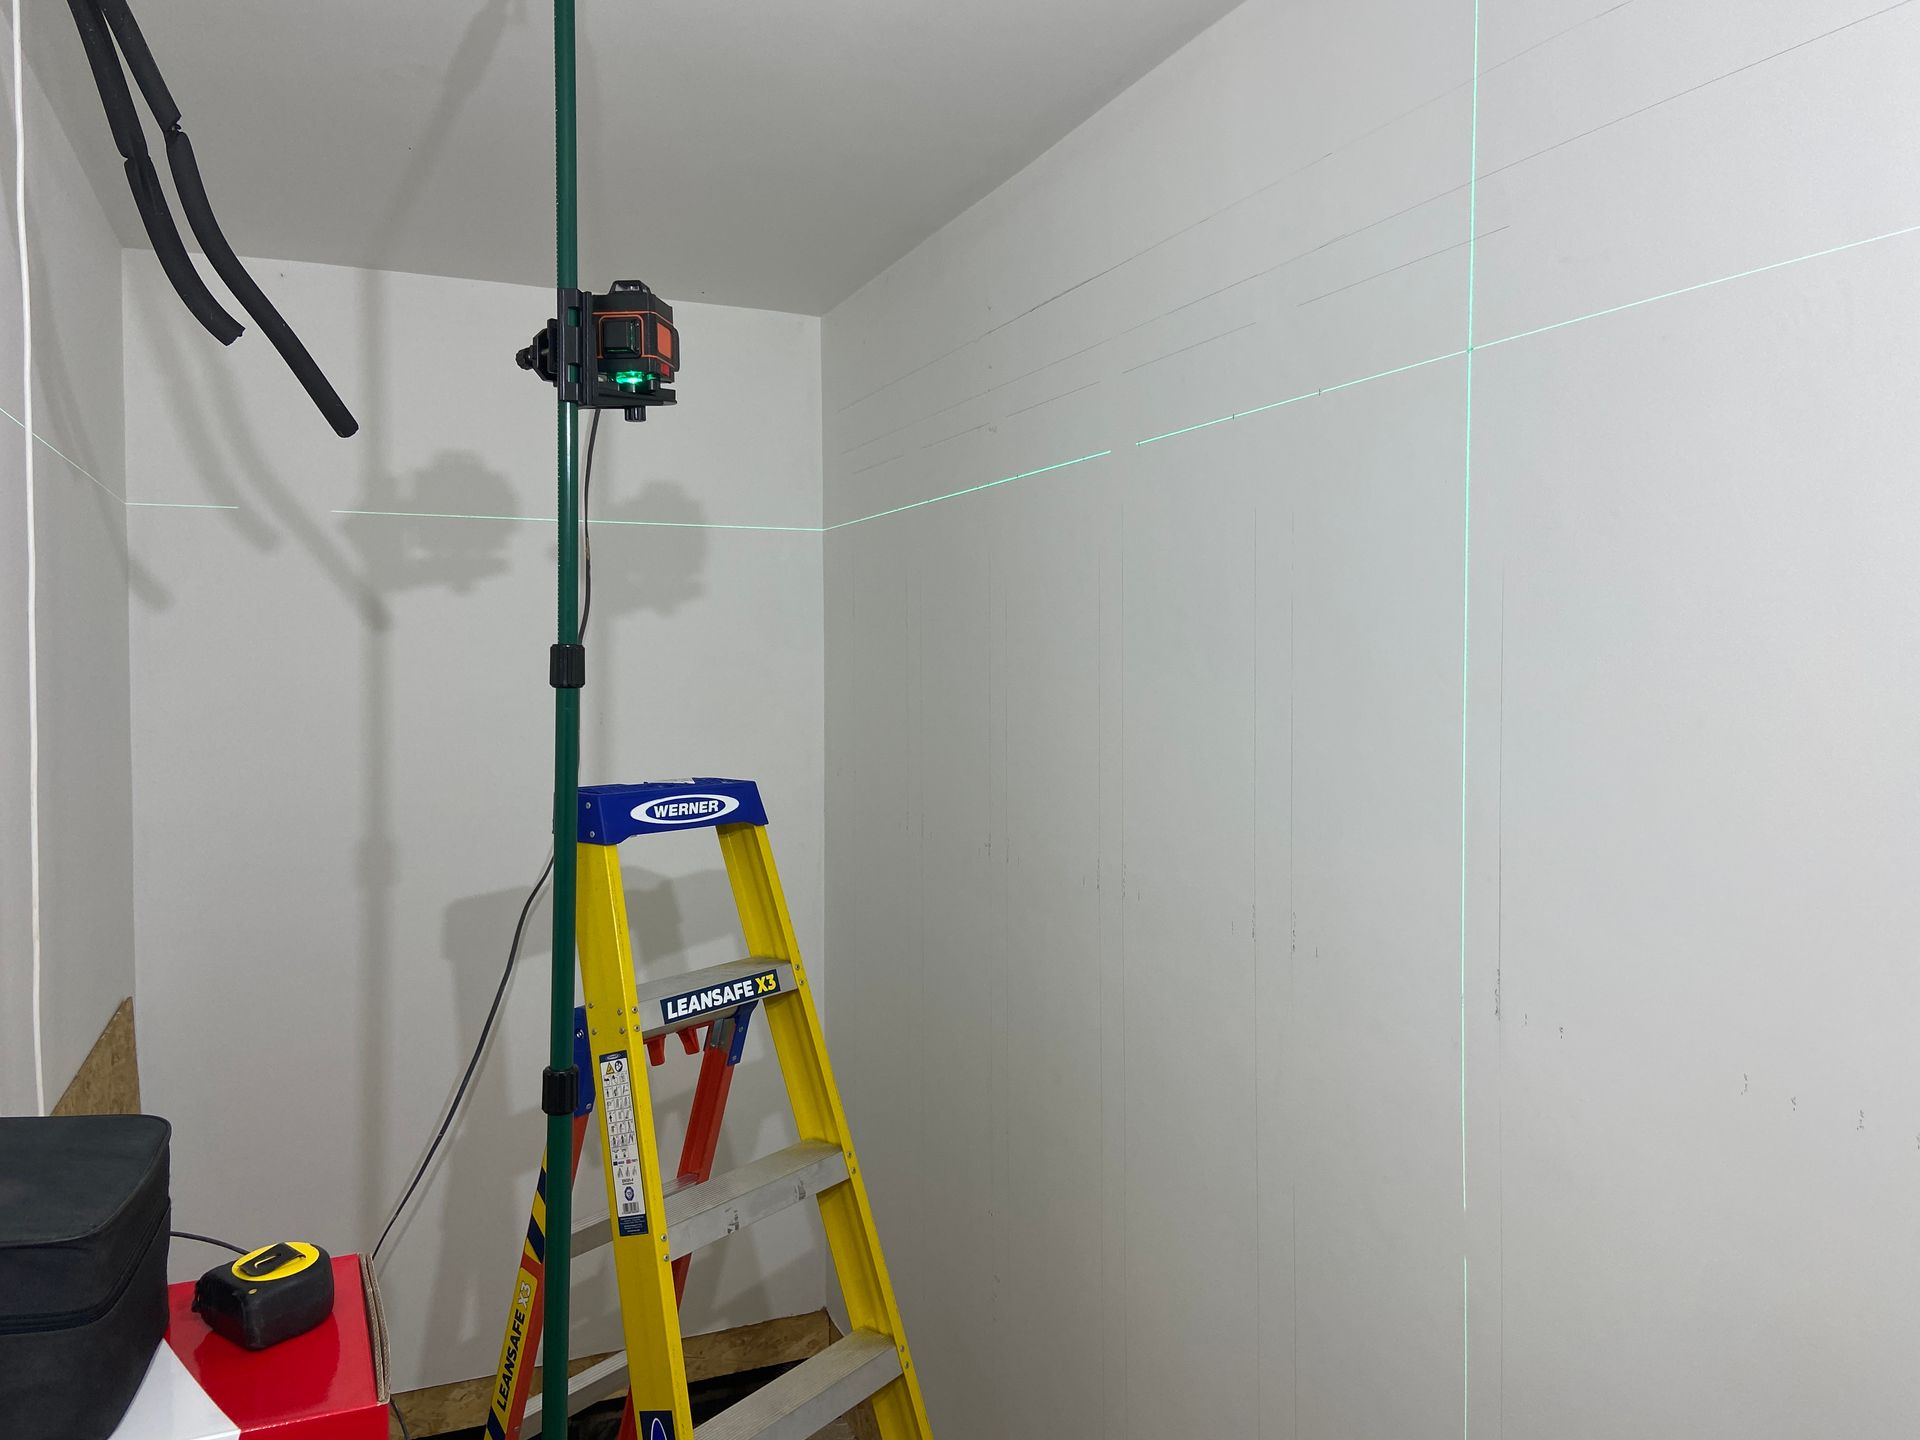
Smart home 3rd fix
After we completed our 1st and 2nd fix activities there was then a period of time before we could commence our typical 3rd fix activities where we would install the equipment onsite.
During the 3rd
fix phase, we carried out the hardware installation around the property including:
- CCTV Cameras
- Speakers – Indoor
- Speakers – Outdoor
- Wireless Access Points
- Control4® Touch Screens
- Control4® Remote Controls
- Control4® Keypads
- Control4® Keypad Faceplates
- Control4® Keypad Buttons
- Control4® Door Station
- Automated Blinds
- Intruder Alarm PIRs
- Intruder Alarm Keypads
- Intruder Alarm Sounder Bells
- Intruder Alarm Contact Sensors
- Wall Mounted TV Points
- Wall Mounted Data Sockets
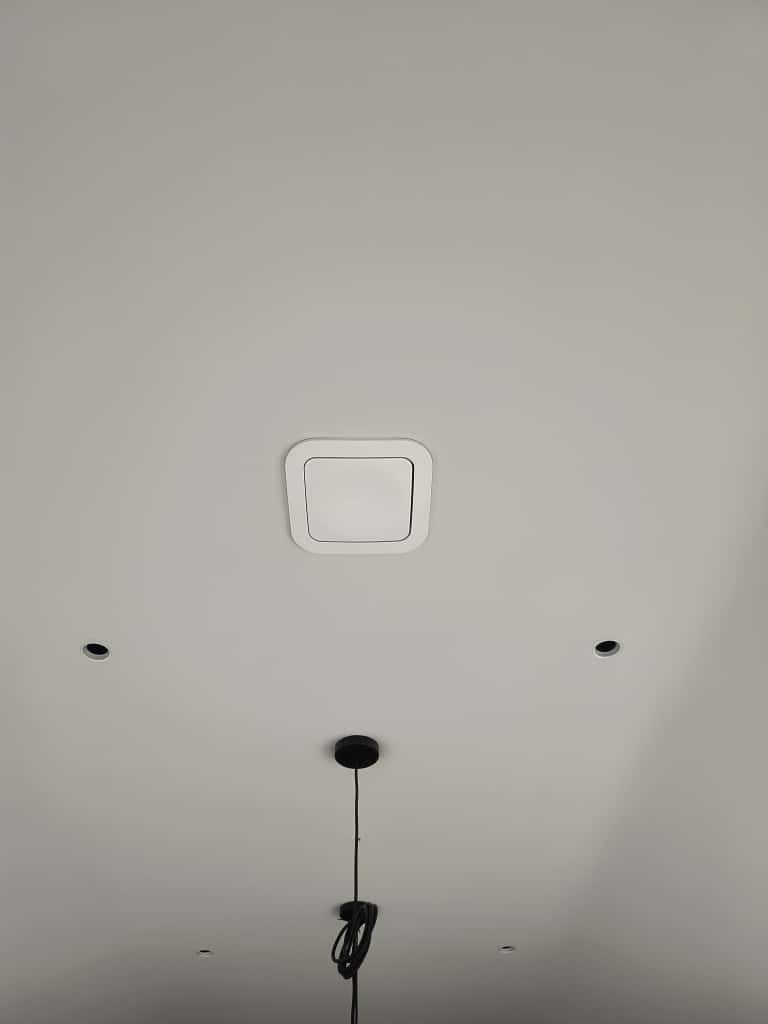
- Motion Sensors
- Stretch Fabric
We then commissioned all this hardware onto the network followed by testing their operation.
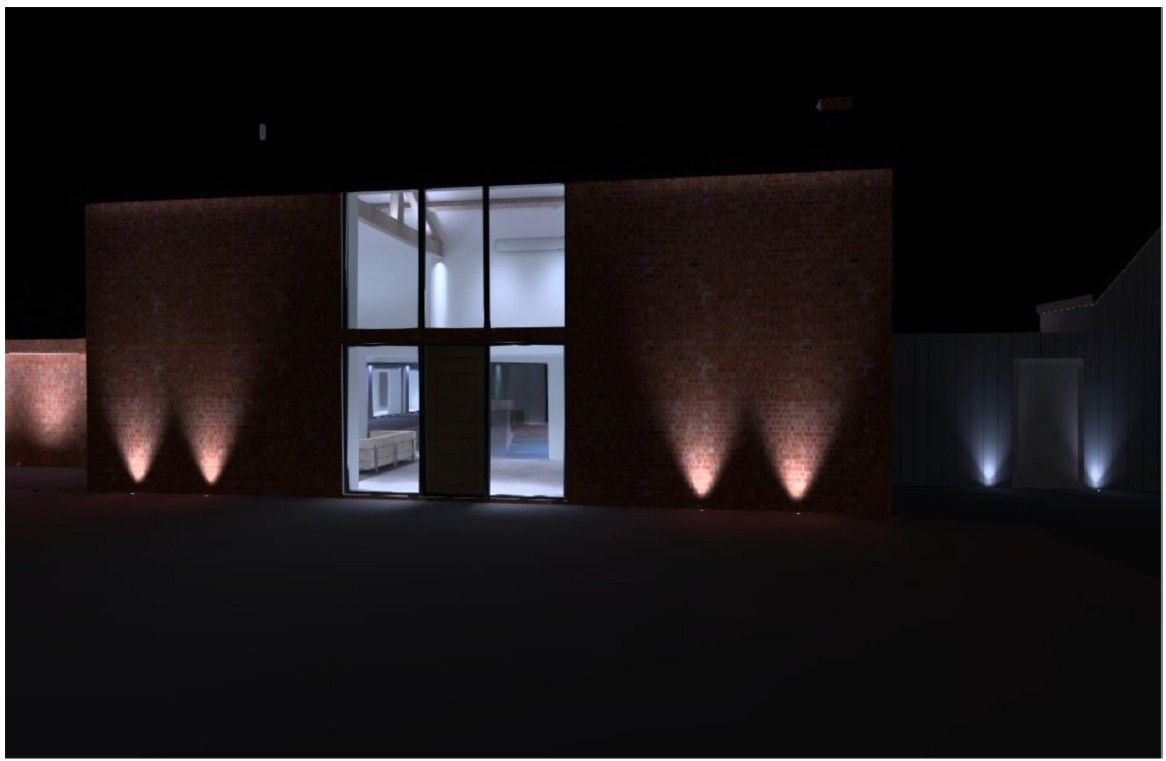
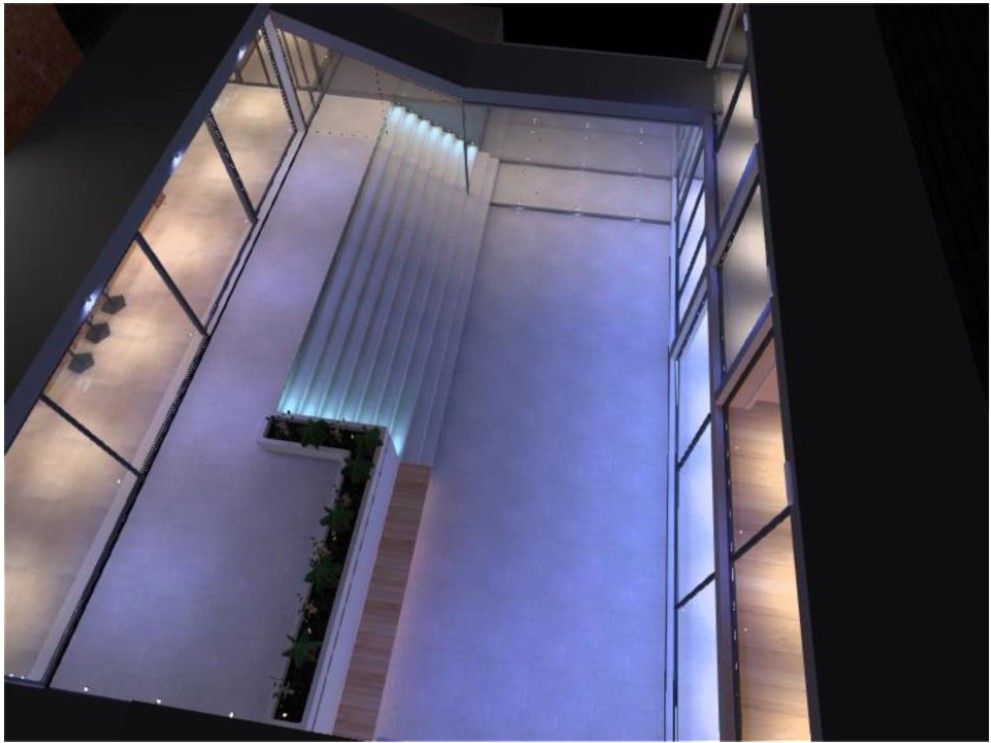
Finished smart home
We will be soon having a professional photographer take some photograph of the finished home...check back to see some amazing photographs

Overcoming specific project challenges
This project, like most constructions projects had several challenges which we were able to overcome, ranging from:
- Significant change in proposed building layouts
- which meant we had to significantly alter our project documentation
- Project being put on pause
- this meant that we had to swap the normal order of our works and complete a significant part of the server rack building before we completed the 1st fix activities. We also had to take a break from the project and come back to it after several months
- Change in main contractor
- this meant we had to re-establish a working relationship with the contractor, their electrician and plumber. We also had to bring them up to speed with the scopes of our various works
- Access to the site
- the site is located in a very rural location and access to the property was occasionally prevented due to flooding on the main access roads
- Limited Internet access options - due to the remote location of the property the standard broadband results in a very low bandwidth connection. The client decided to go ahead with a Starlink satellite Internet service. This change of ISP meant we had to change the originally selected router to ensure that it was compatible with the Starlink connection
Summary of installed equipment
Safety & Security
- LILIN CCTV System:
- 10 x Indoor
- Network Video Recorder with 12TB HDD Storage (RAID 5)
- Texecom Intruder Alarm
- Control4® Door Station (Internet Connected)
Home Entertainment
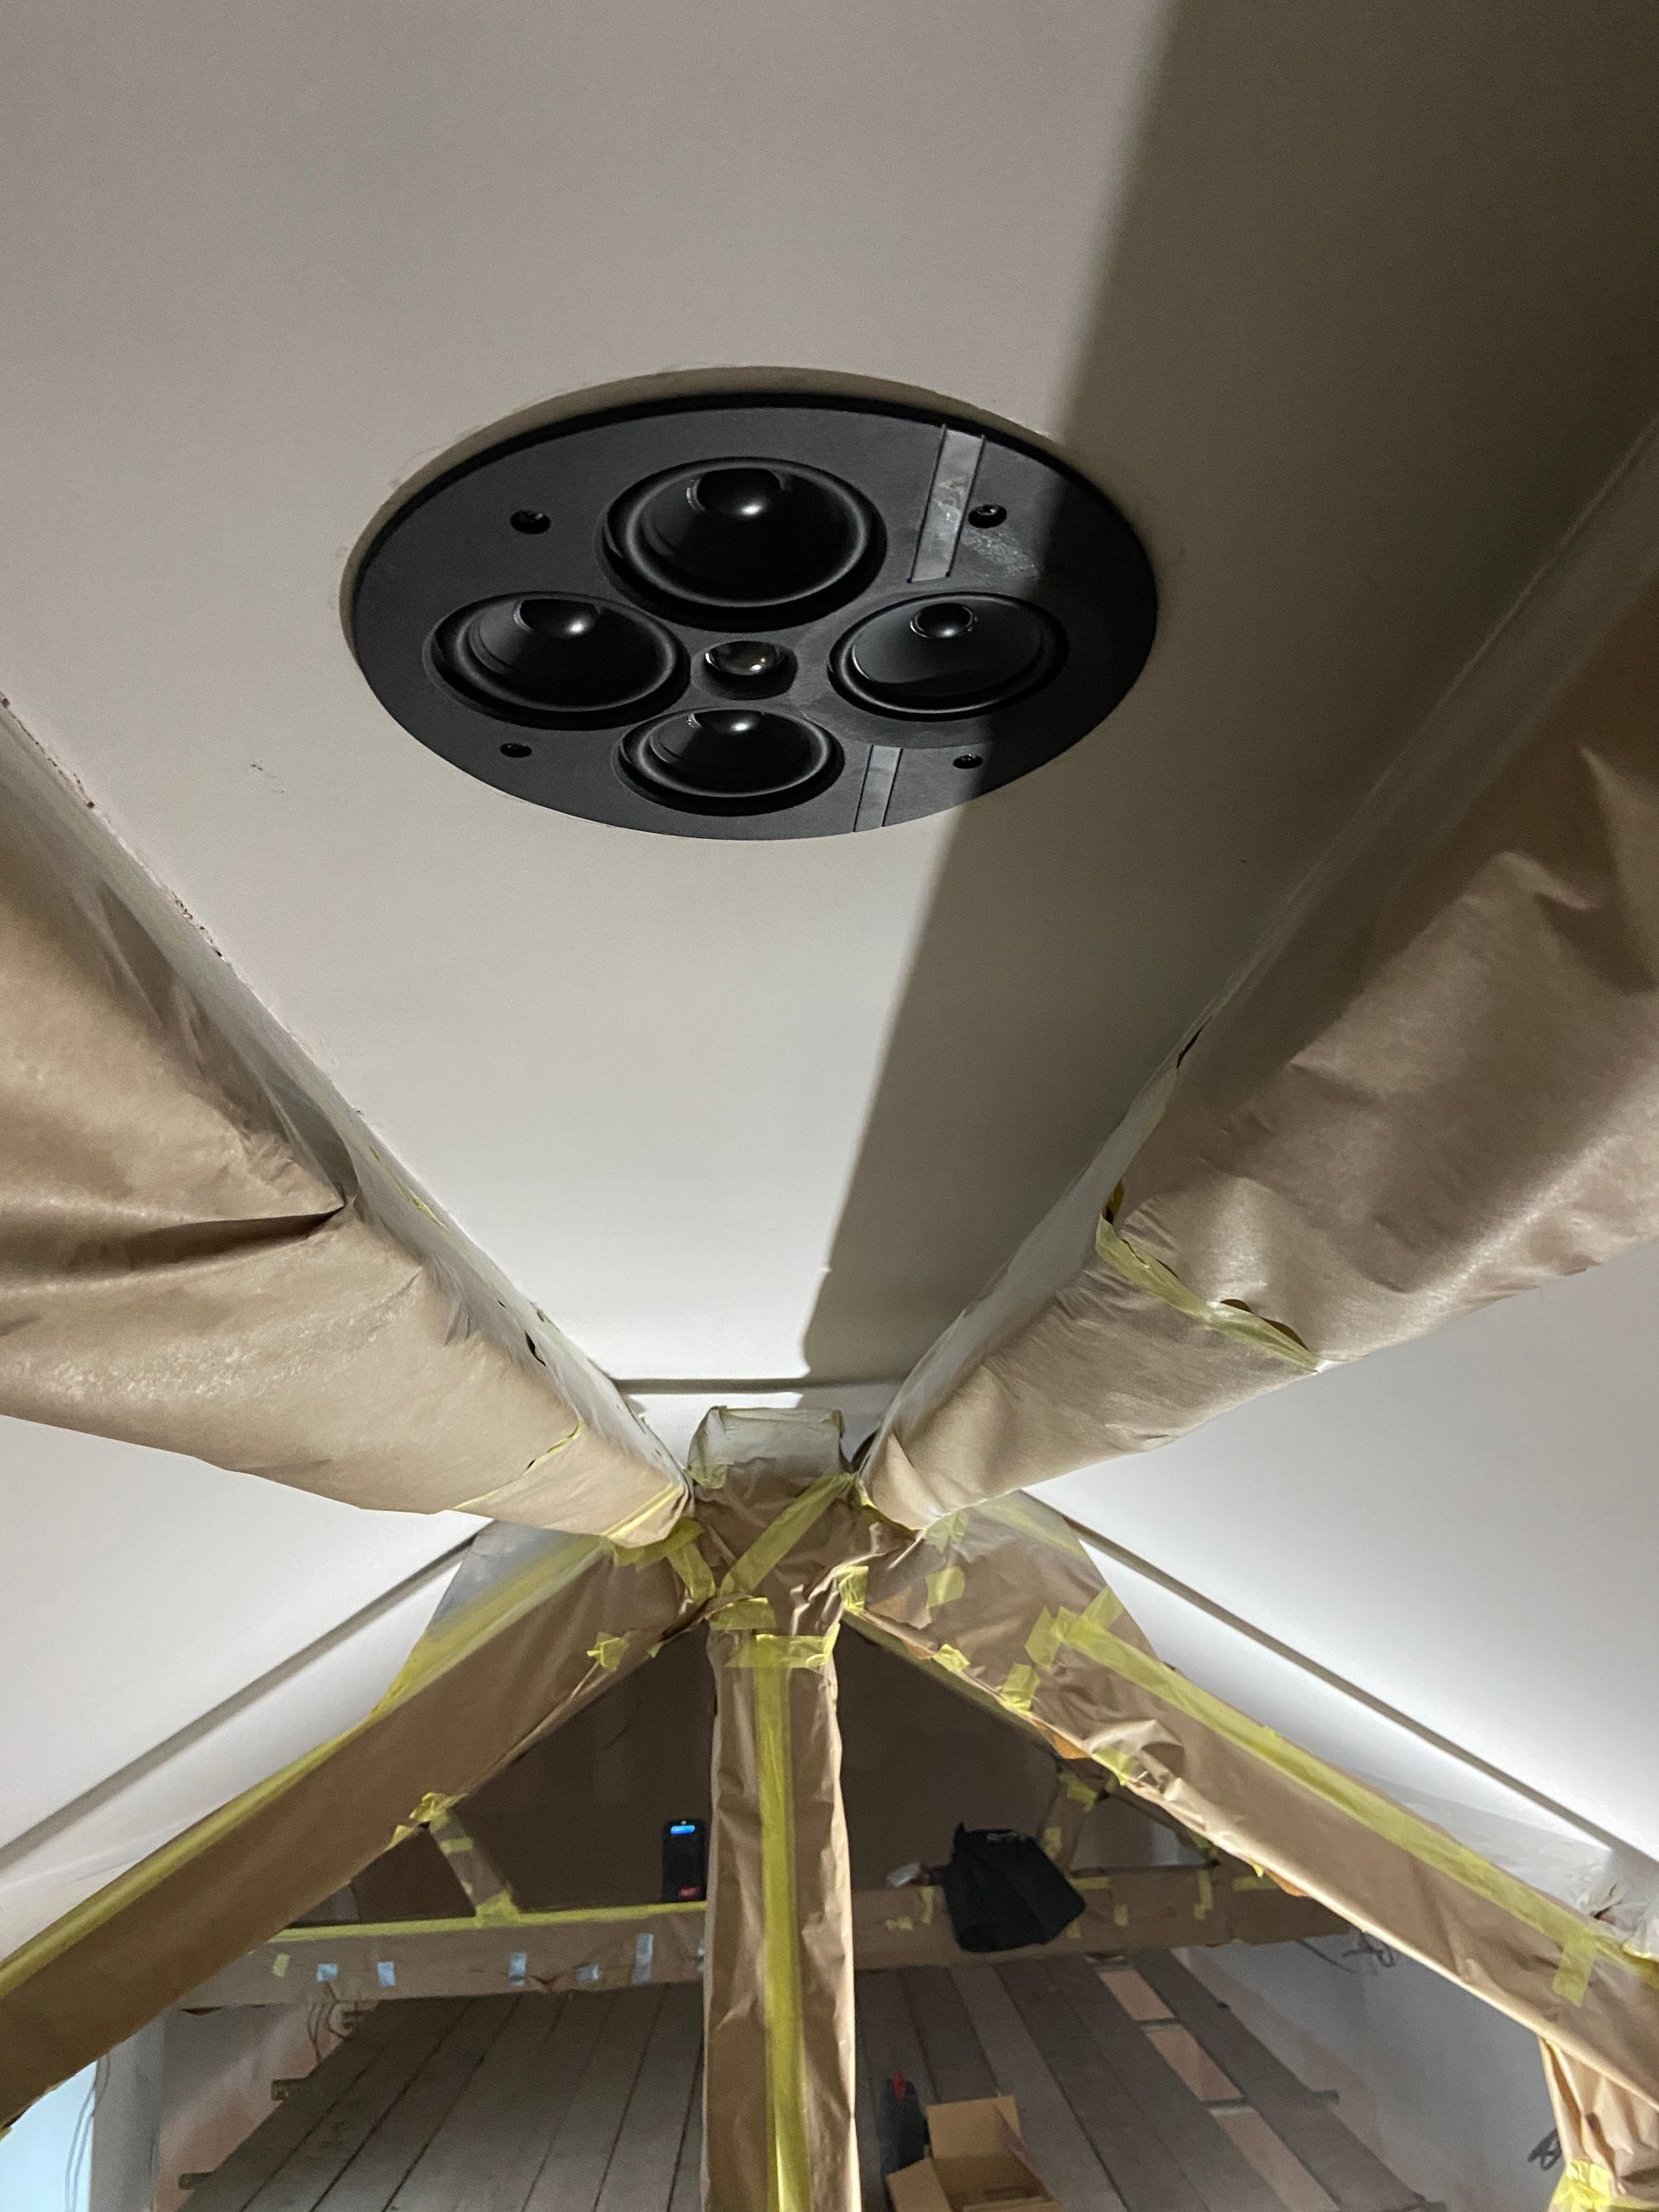
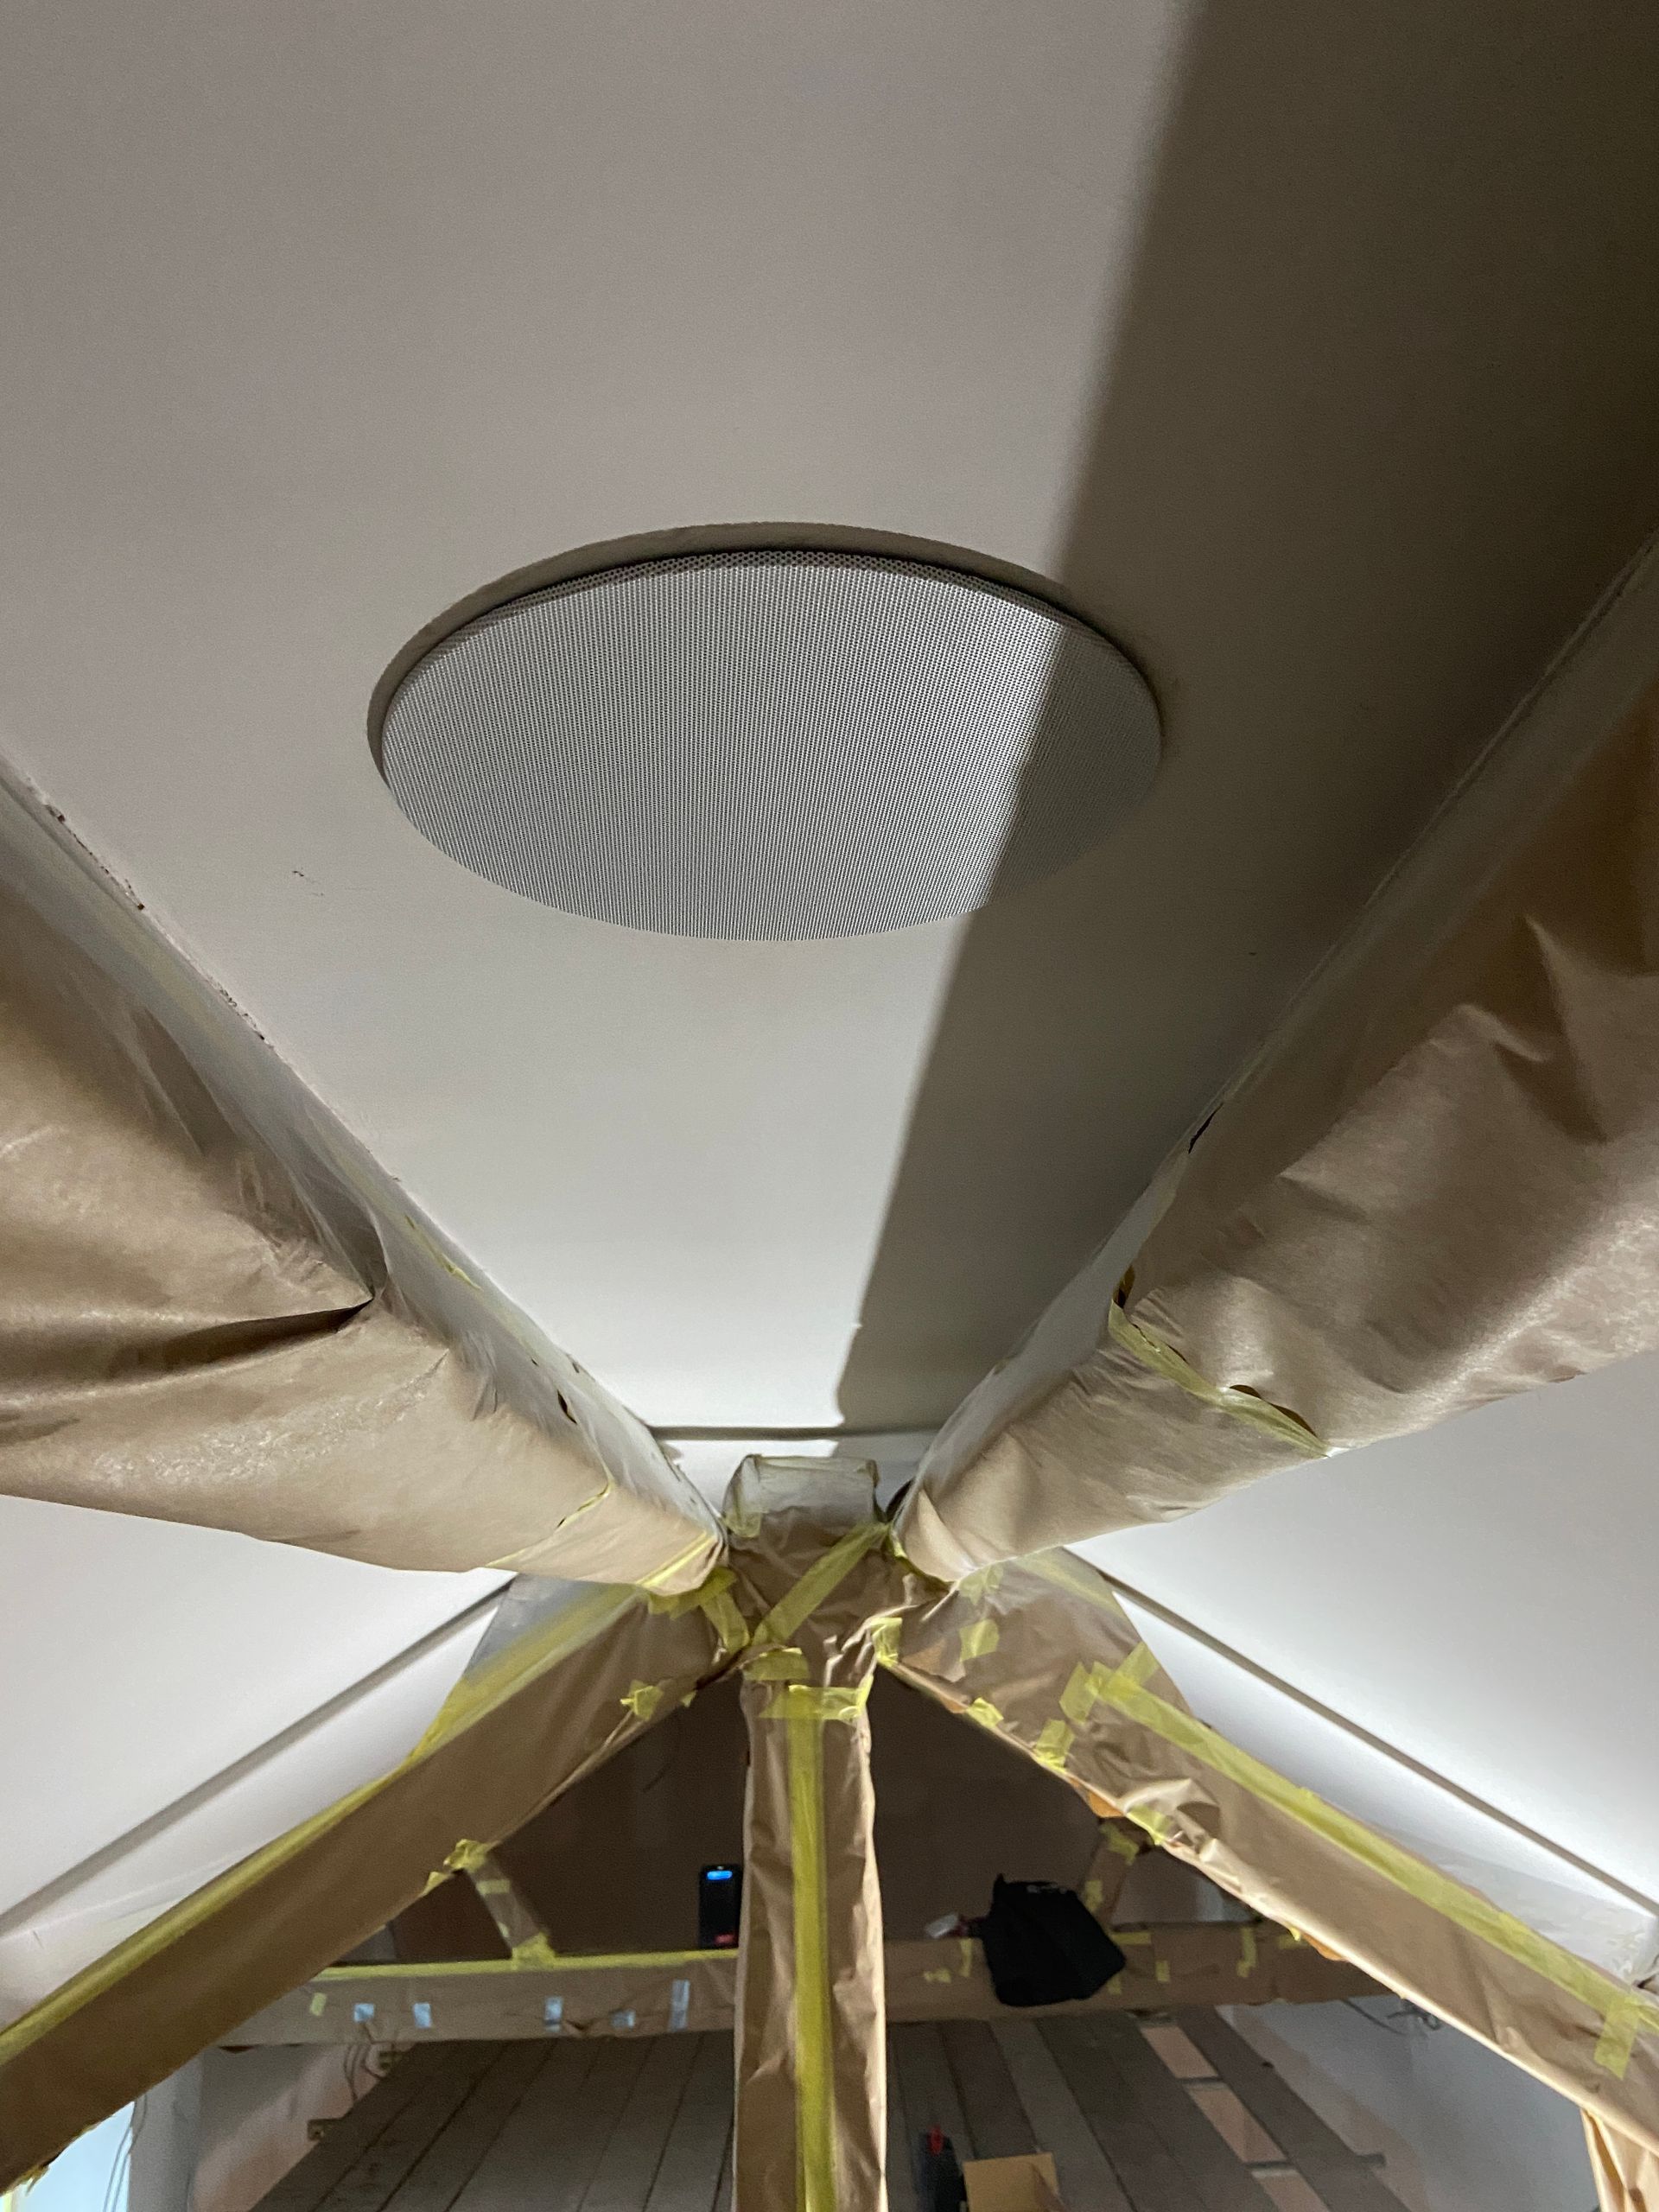
- Home Cinema Room - 9.1.6 - Dolby Atmos:
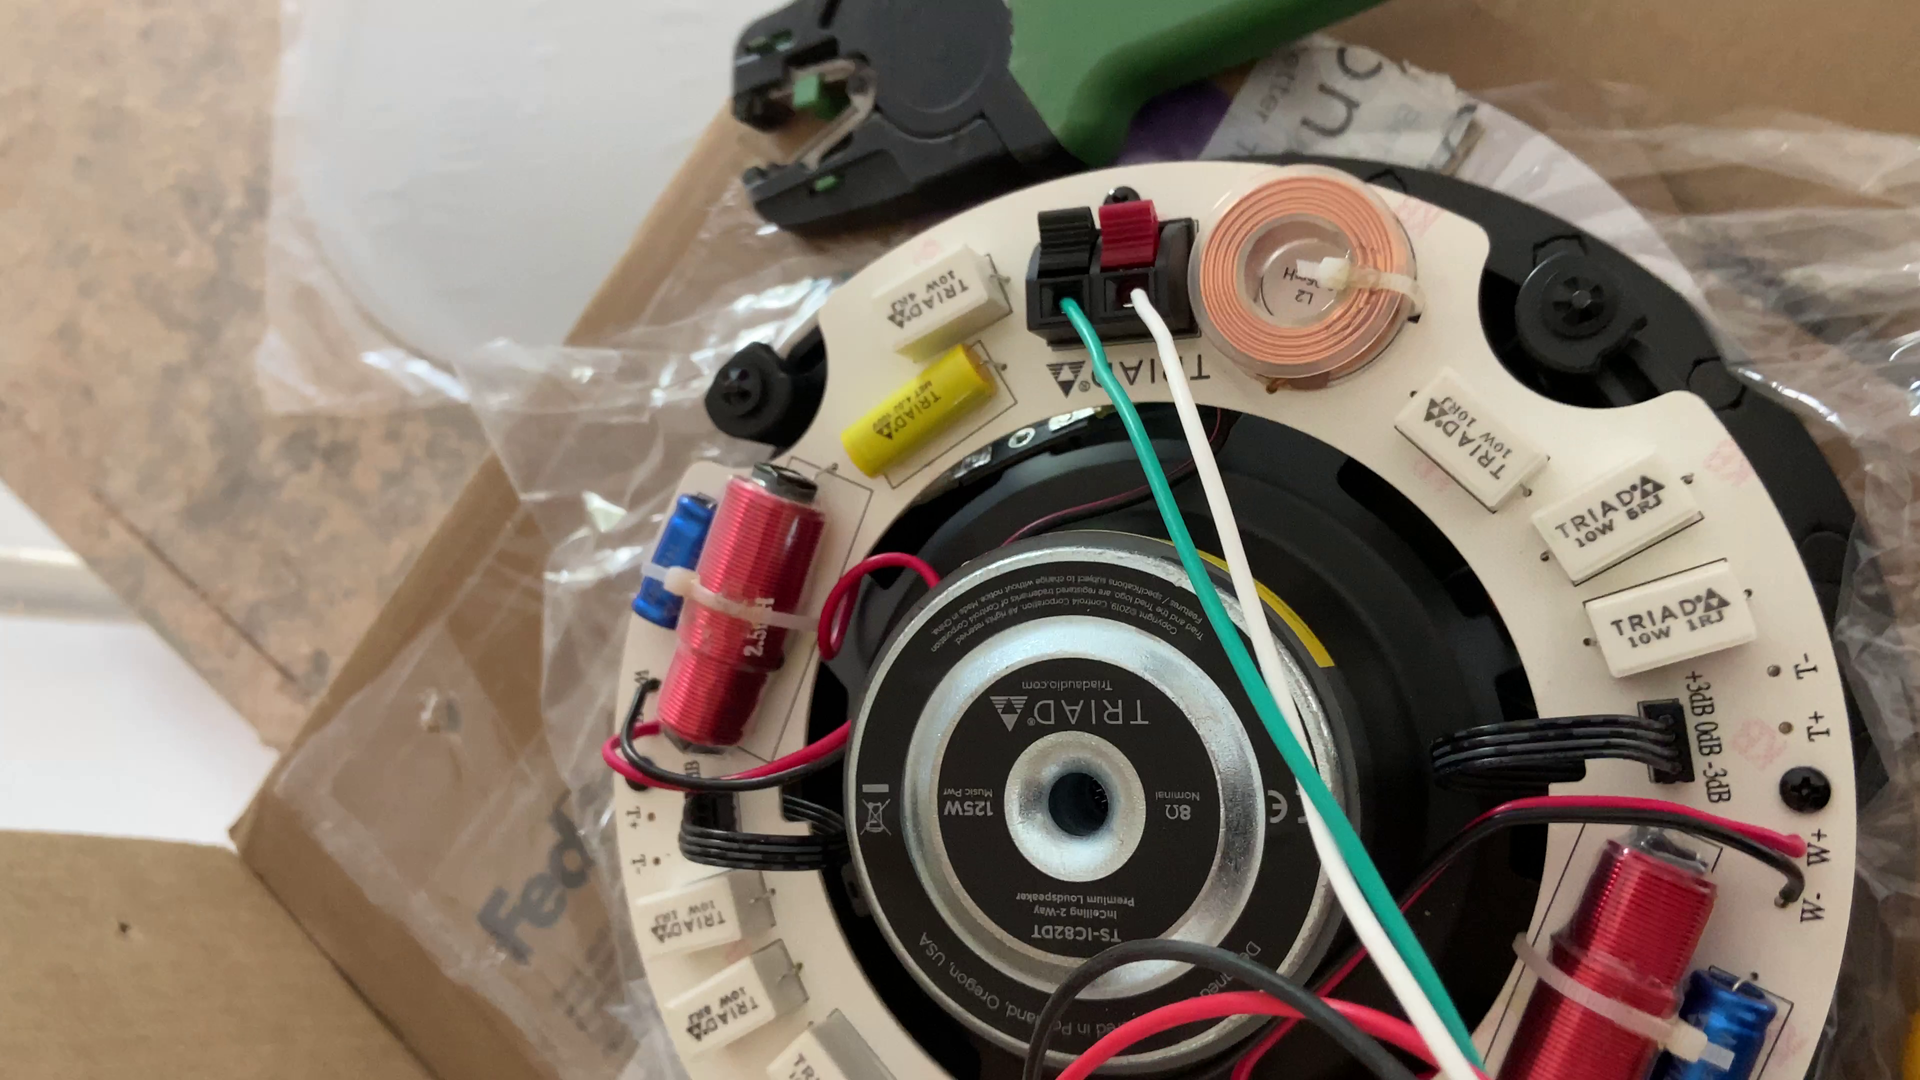
- 3 x Triad® LCR Speakers
- 4 x Triad® Surround Speakers
- 2 x Triad® Wide Speakers
- 4 x Triad® Subwoofer Speakers
- 6 x Triad® Height Speakers
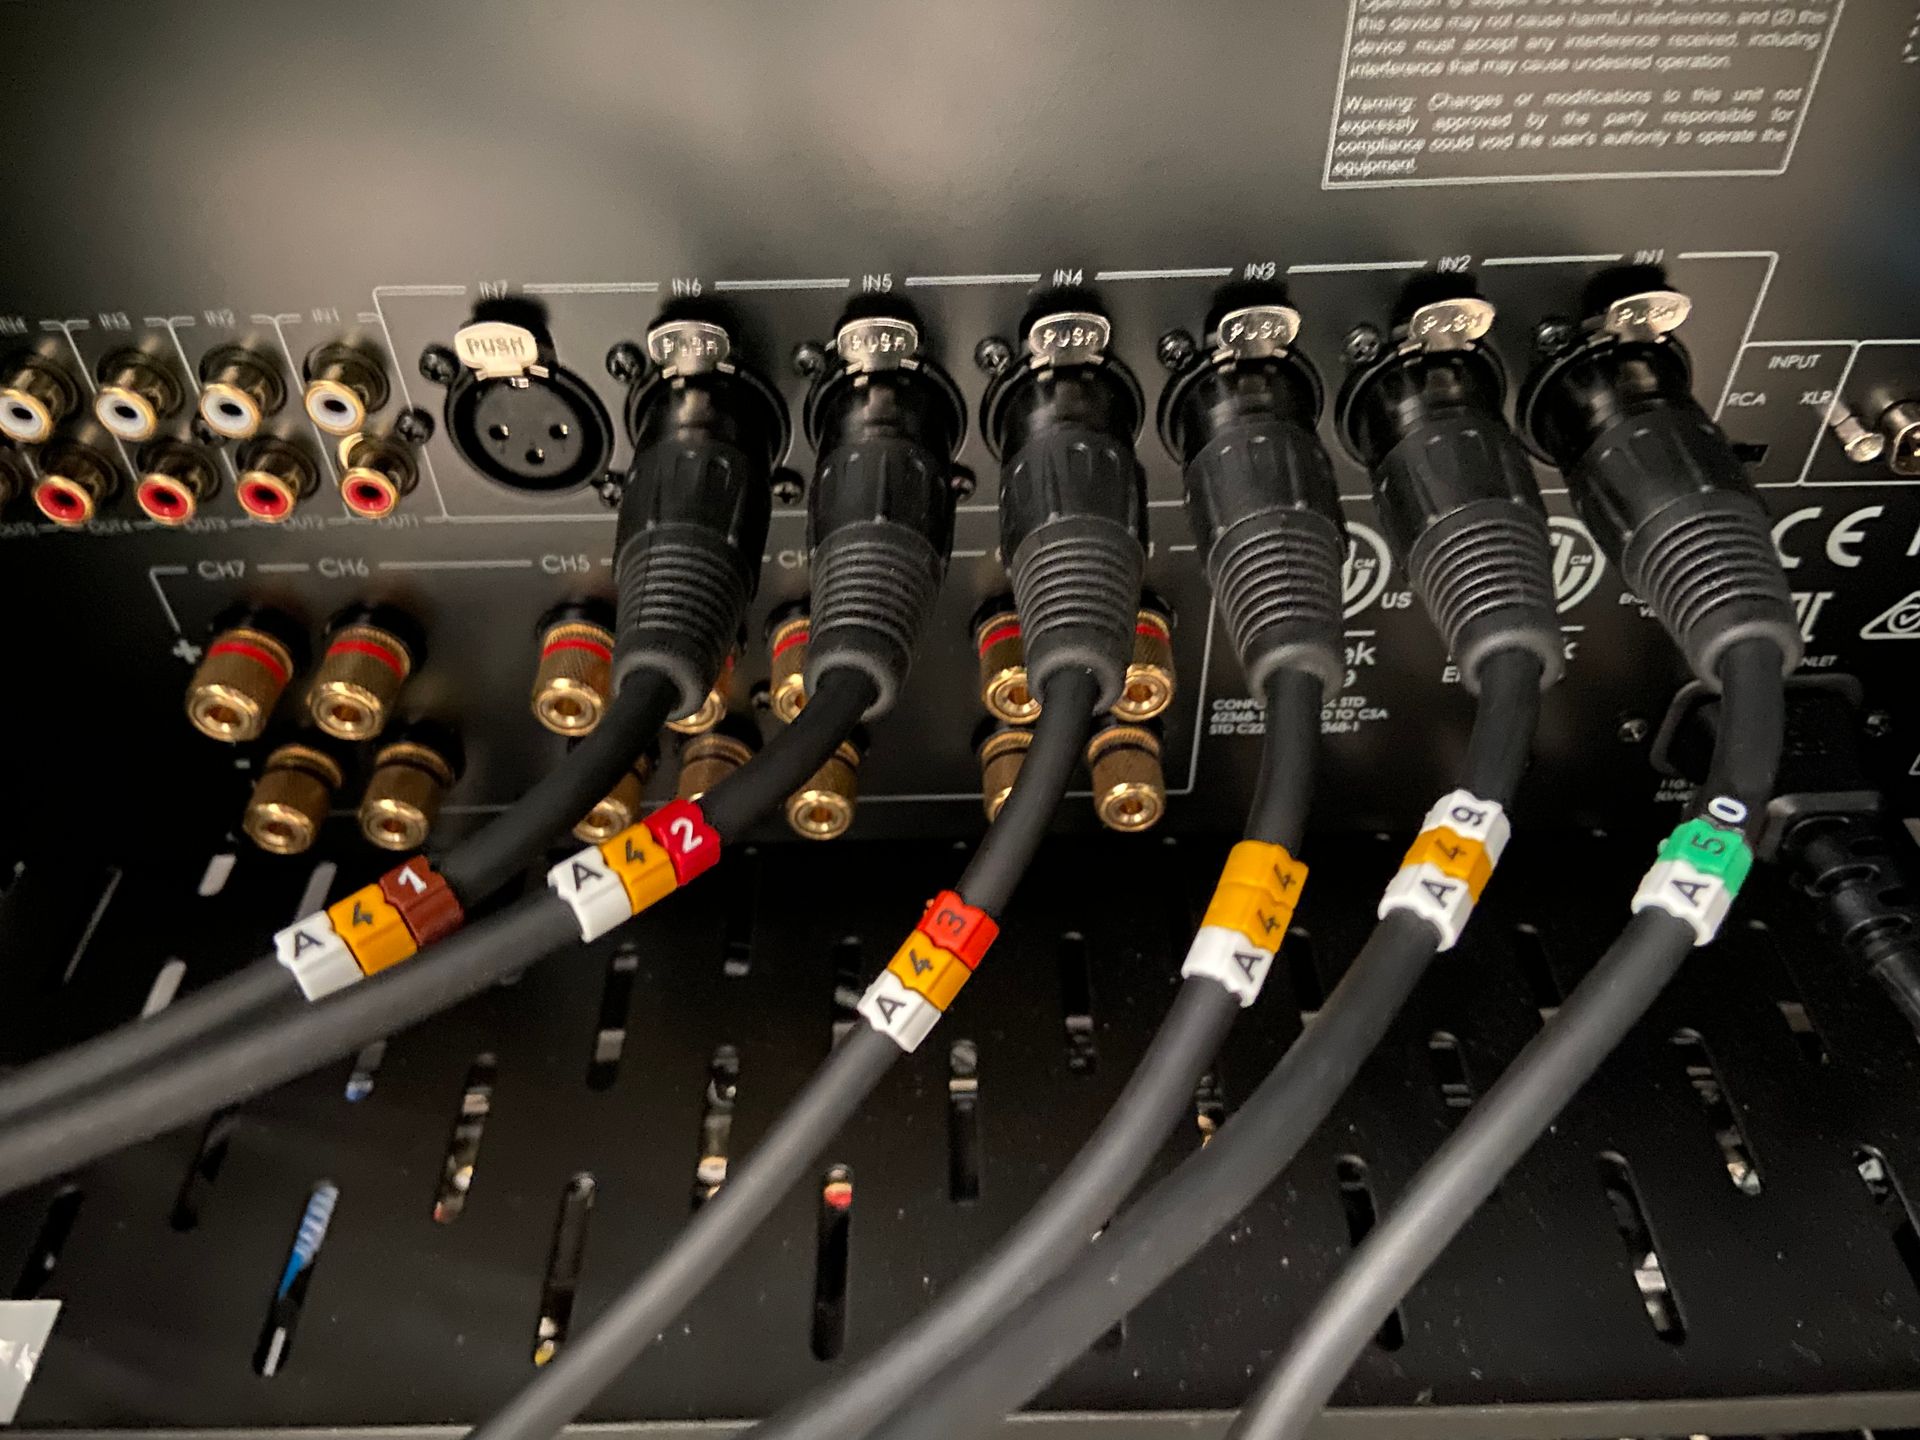
- 1 x Arcam AV Processor
- 2 x Arcam Power Amplifiers
- 1 x Parasound Power Amplifier
- 1 x JVC 4K Projector
- 1 x Panasonic 4K Blu-Ray Player
- 1 x Roku 4K Streaming Media Player
- 1 x Cinema Build Systems – 4m wide 2.4:1 Halo Projection Screen
- Cinema Build Systems Space Frame System
- Cinema Build Systems Acoustic Treatment Panels
- Camira Stretch Fabric Wall Fit Out
- LED Strip Lighting
- THX Calibration
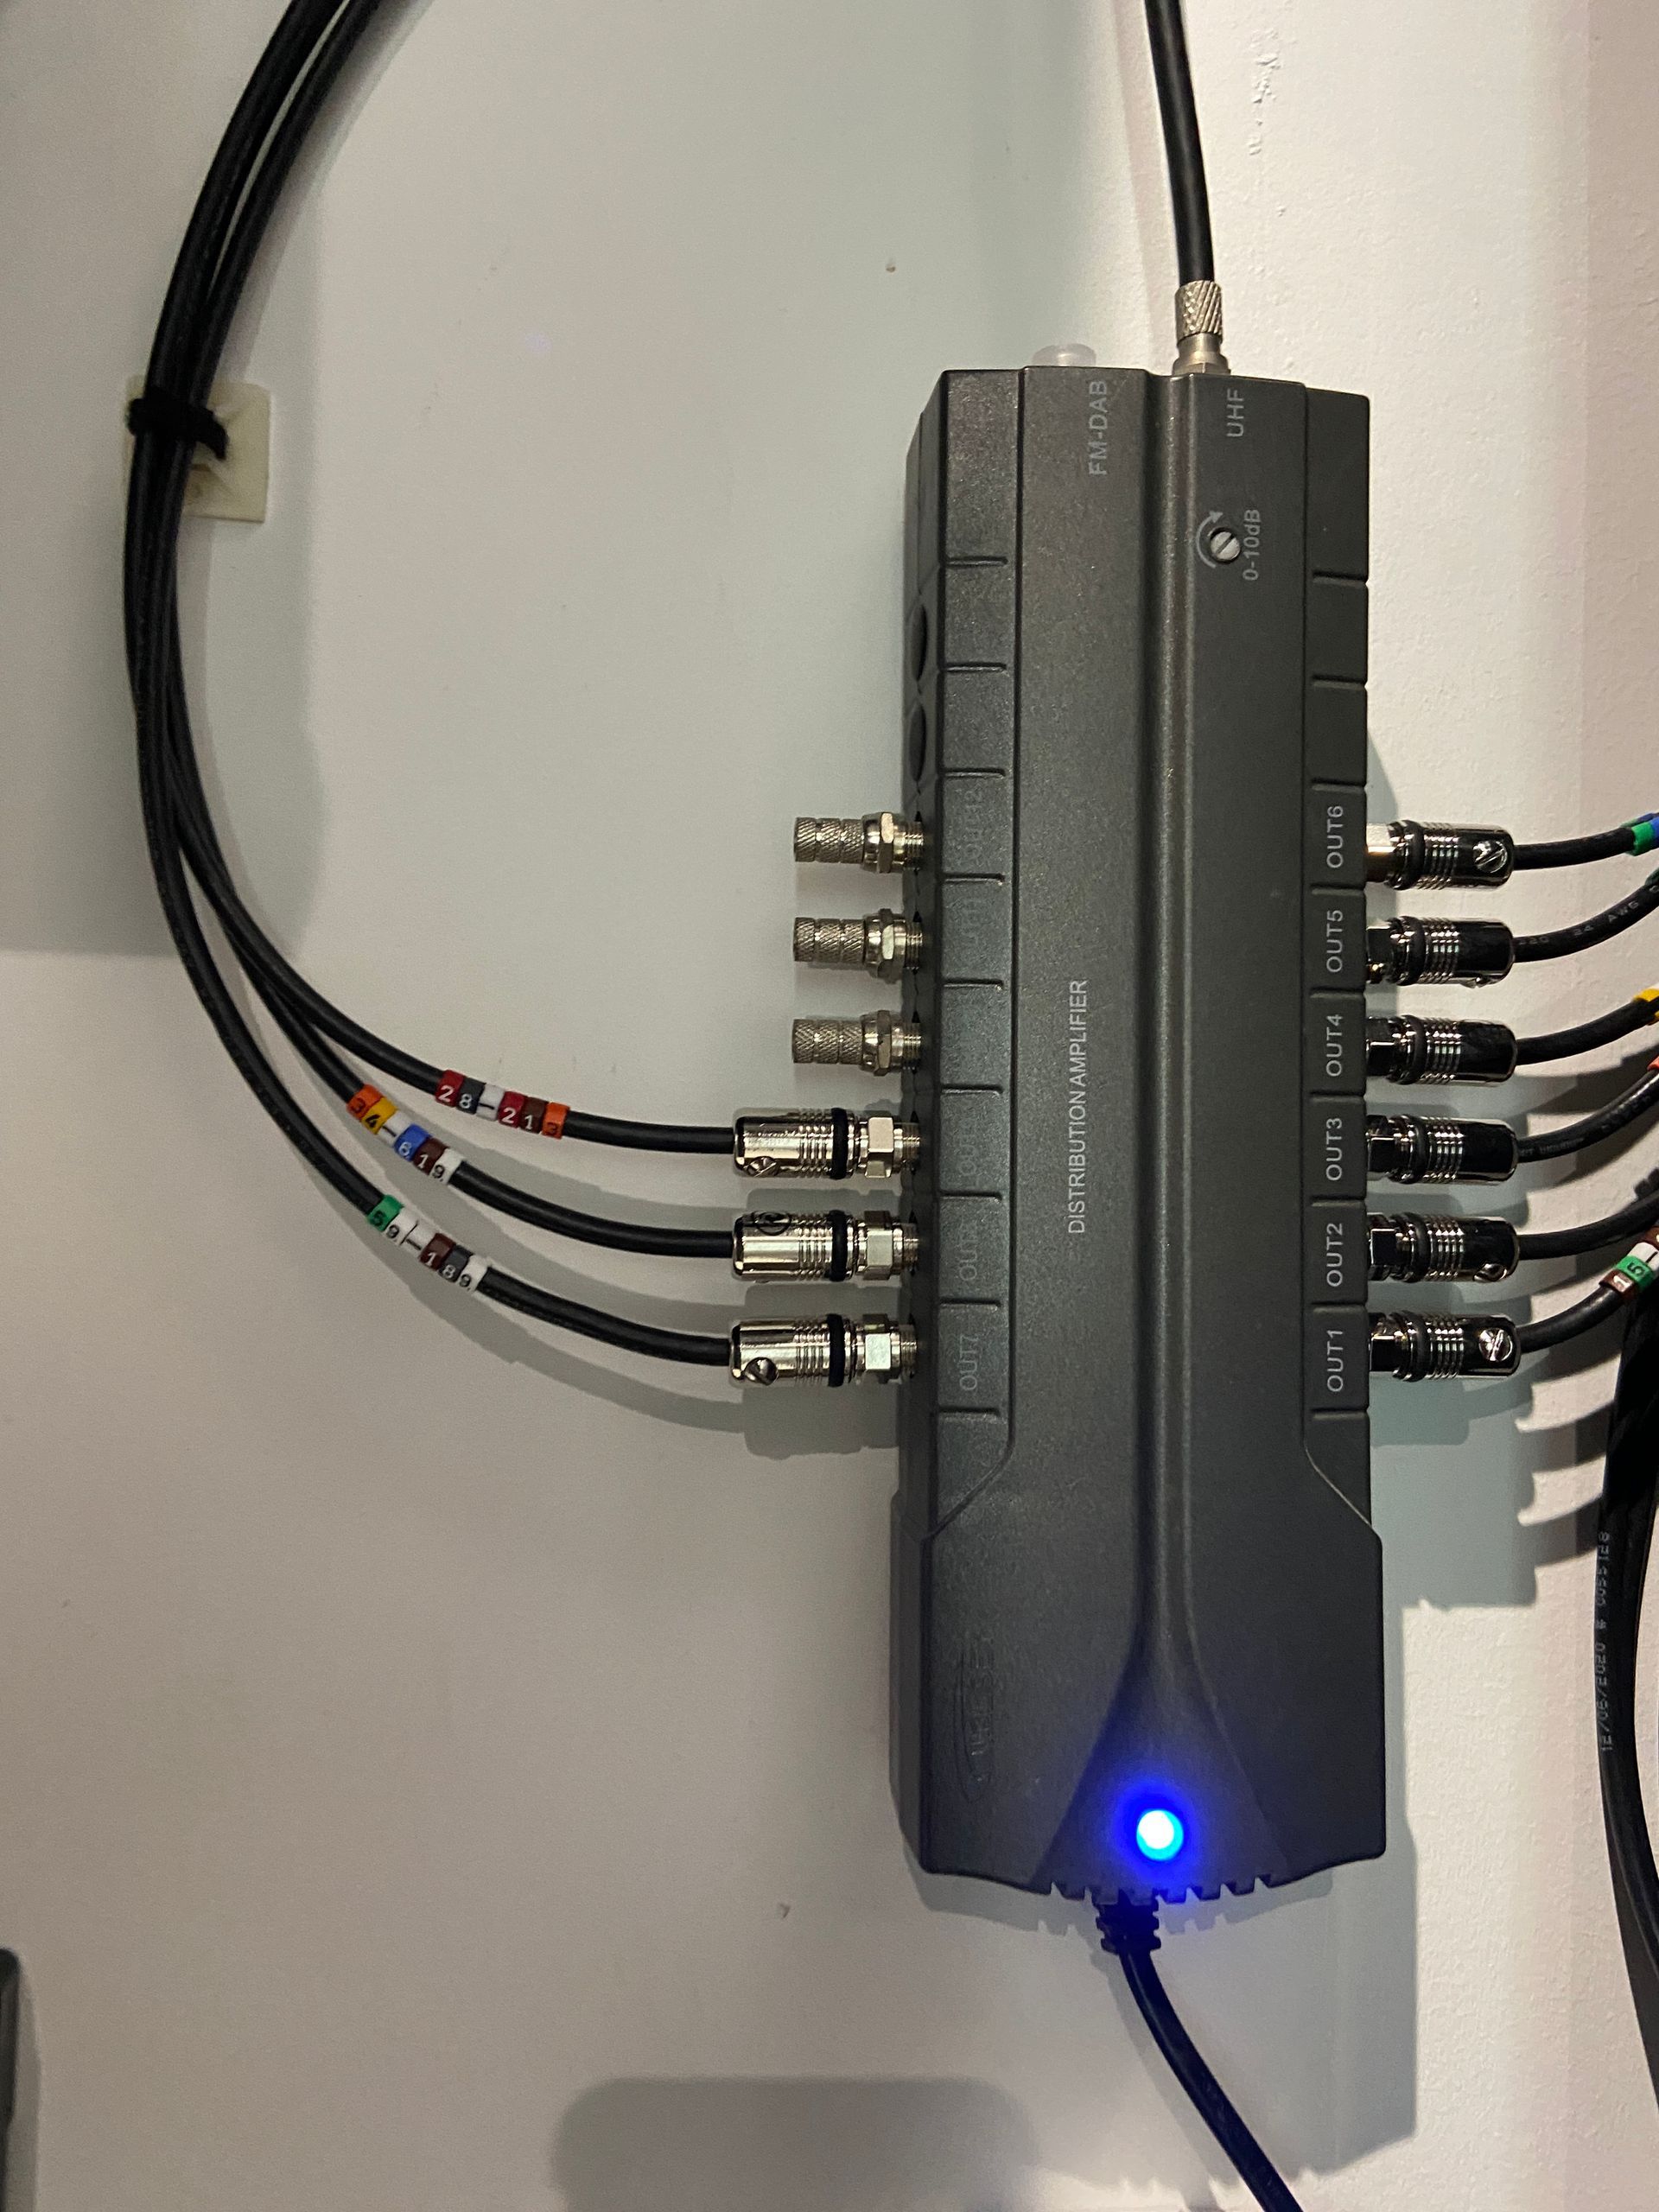
- Multi-Room Video
- 10 x TV Wall Sockets
- Multi-Room Audio (indoor and outdoor)
- 1 x Control4® Audio Matrix – 16 Zone
- 2 x Control4® 8 Zone Amplifiers
- 2 x Control4® Single Zone Amplifier
- 1 x Control4® Audio Matrix/Amplifier – 4 Zone
- Triad® In-ceiling L&R Speakers – 15 Rooms
- Triad® In-ceiling Stereo Speakers – 4 Rooms
- 1 x Triad® In-room subwoofer
- Triad® Outdoor Speakers – 2 Outdoor Areas, each with:
- 2 x On Walls Speaker
Smart Lighting
- Over 1,000 x Indoor and Outdoor Collingwood Lighting LED Light Fixtures
- Control4® Centralised Lighting Panels:
- 11 x 8 Load Dimmer Modules
- 6 x 8 Load Relay Modules
- 2 x 8 Load 0-10v Modules
- 2 x Ethernet Switches
- 2 x Bus Power Supply (for keypads)
- 1 x Bus Ethernet Gateway (for keypads)
- 5 x 5 Slot Lighting Panels
- 50 x Lighting LED Drivers
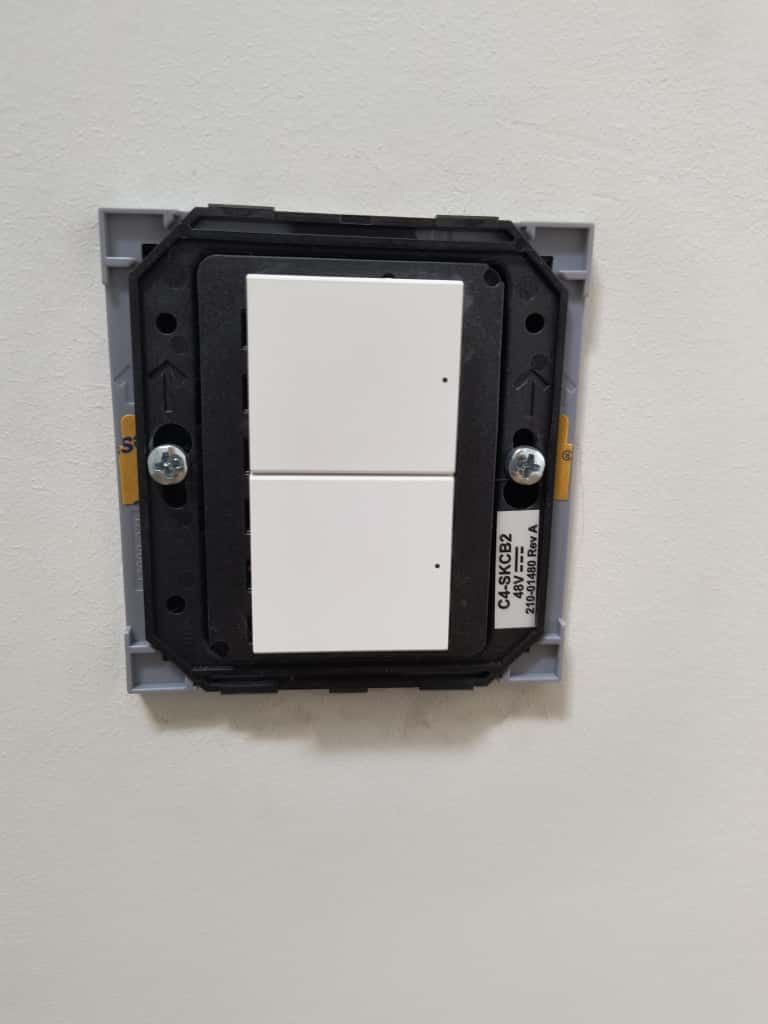
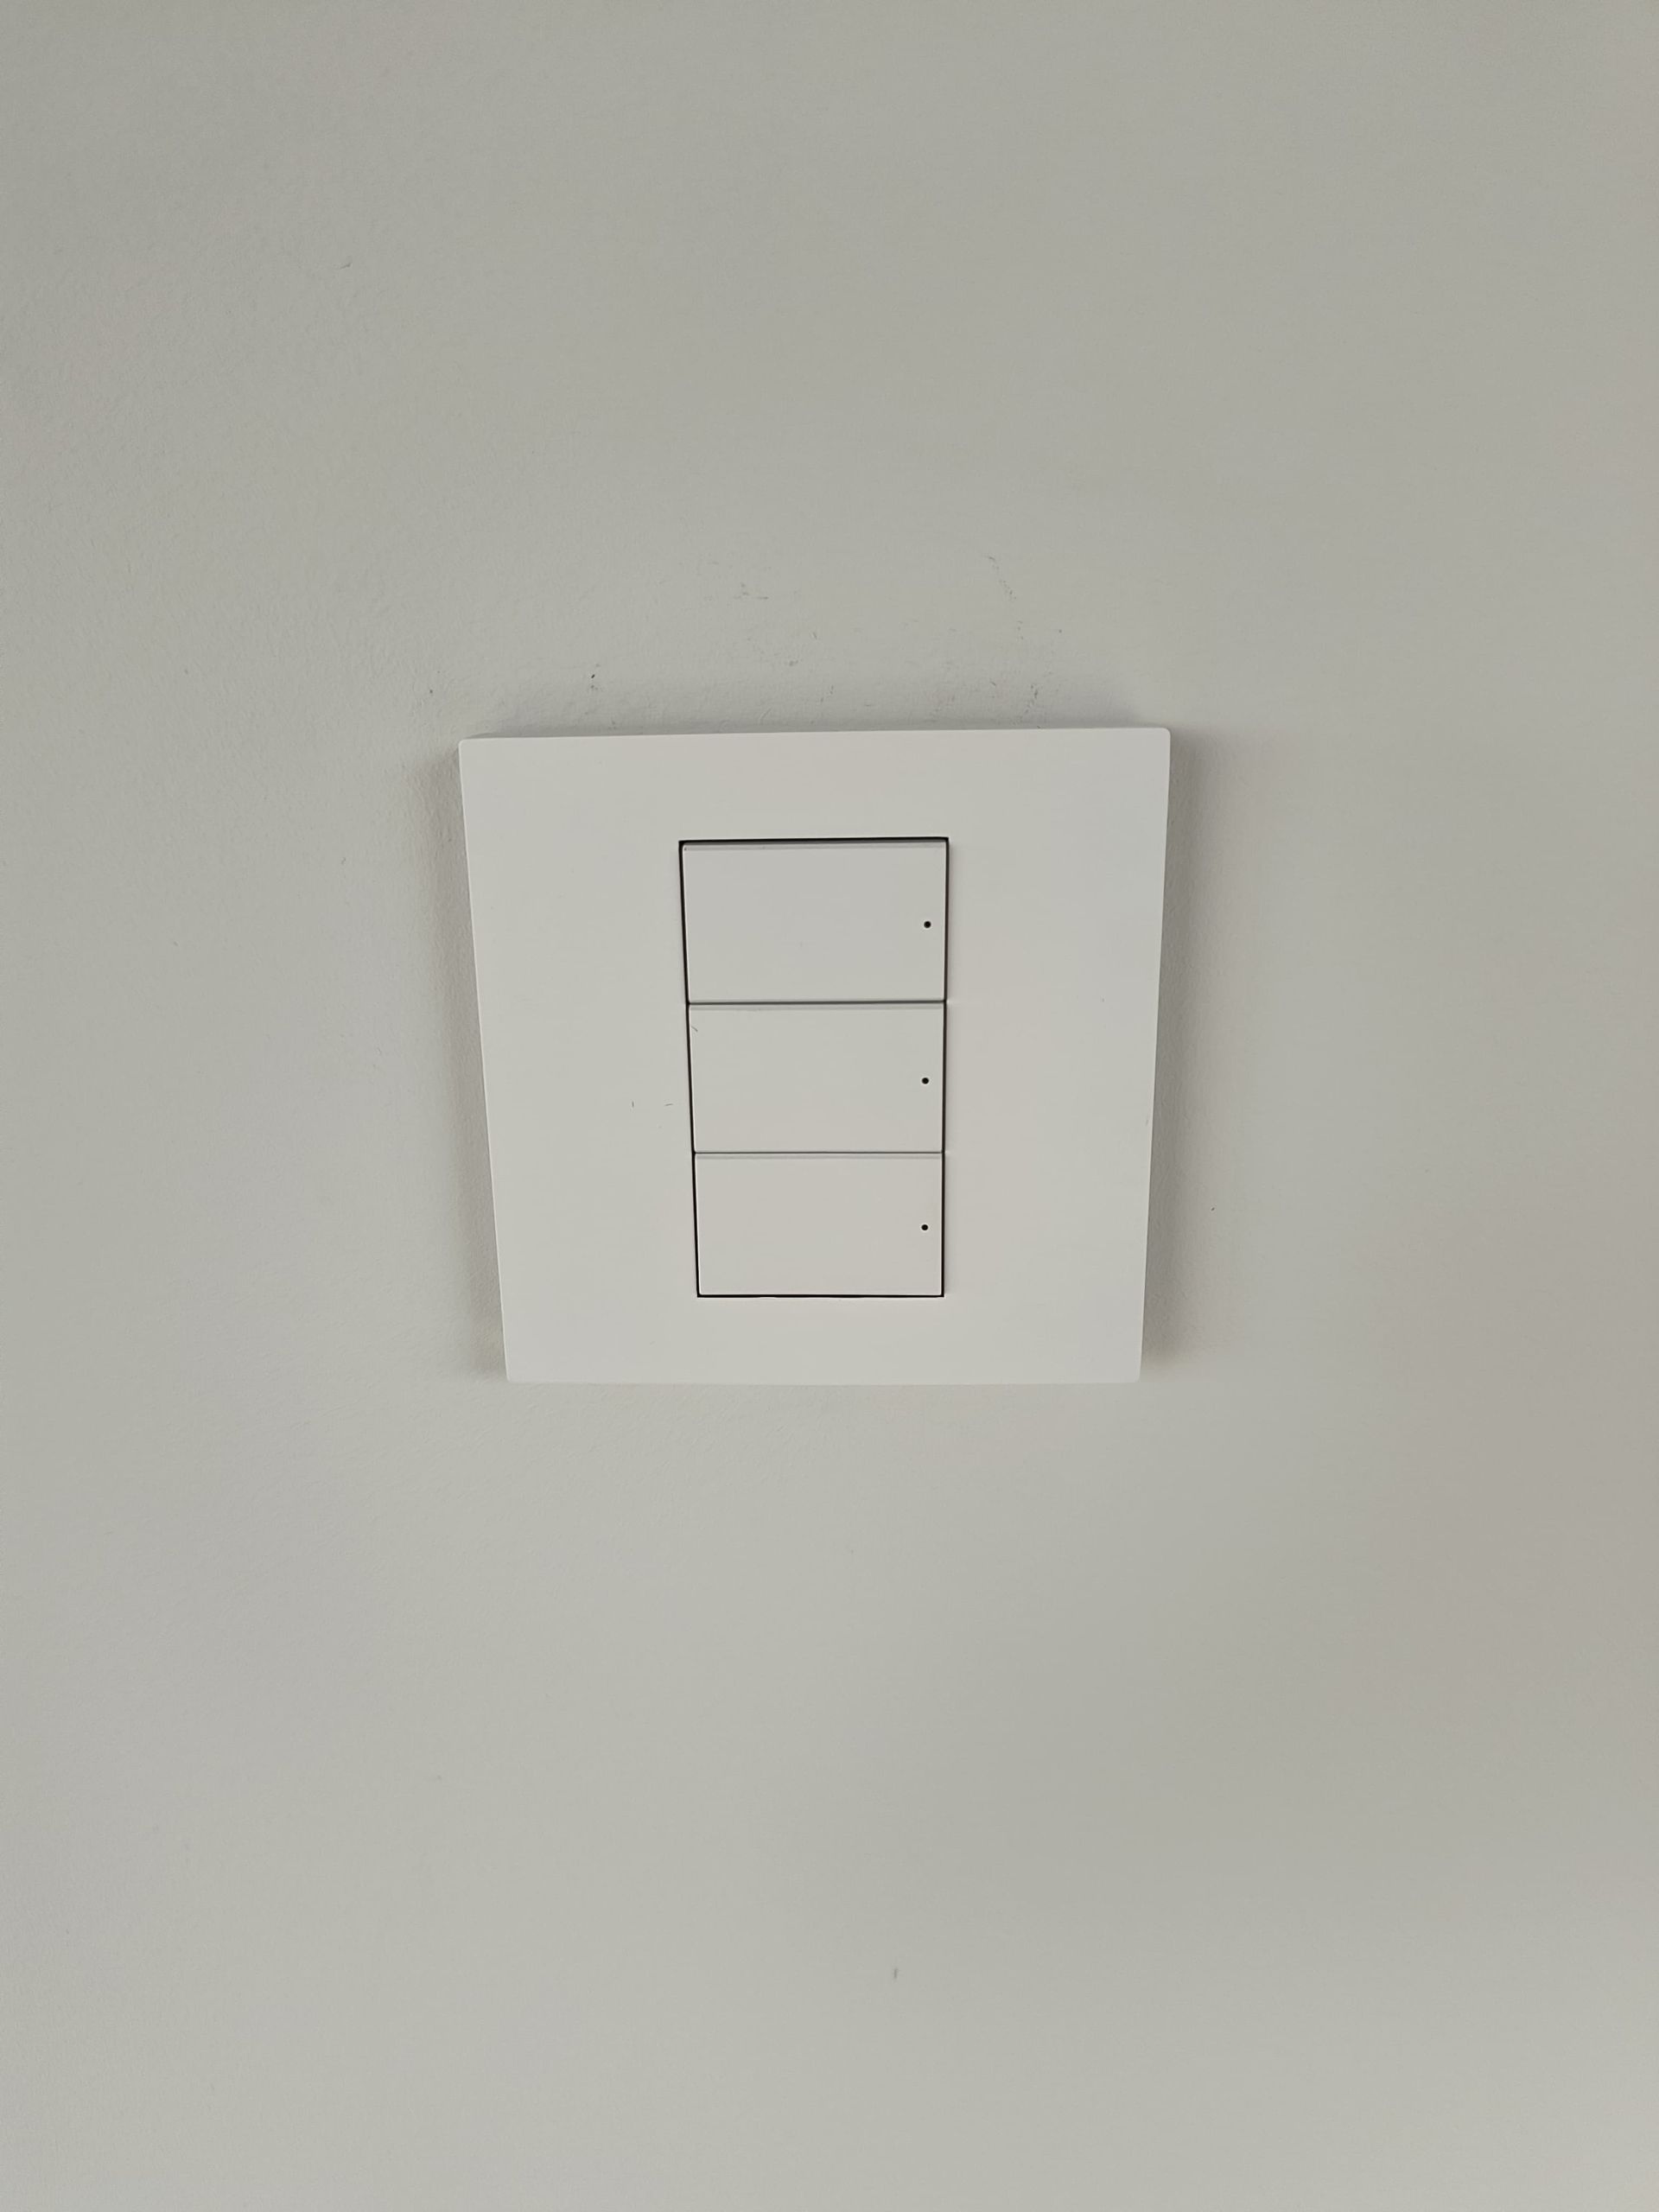
- 48 x Control4® Wired Keypads
- 4 x Control4® Wireless Keypads
- 1 x Control4® Puck Switch
- 1 x Control4® Puck Dimmer
- 1 x Control4® Low Voltage Puck
- 9 x Faradite Motion Sensors to activate lights
- 1 x External Light Sensor
Comfort & Convenience
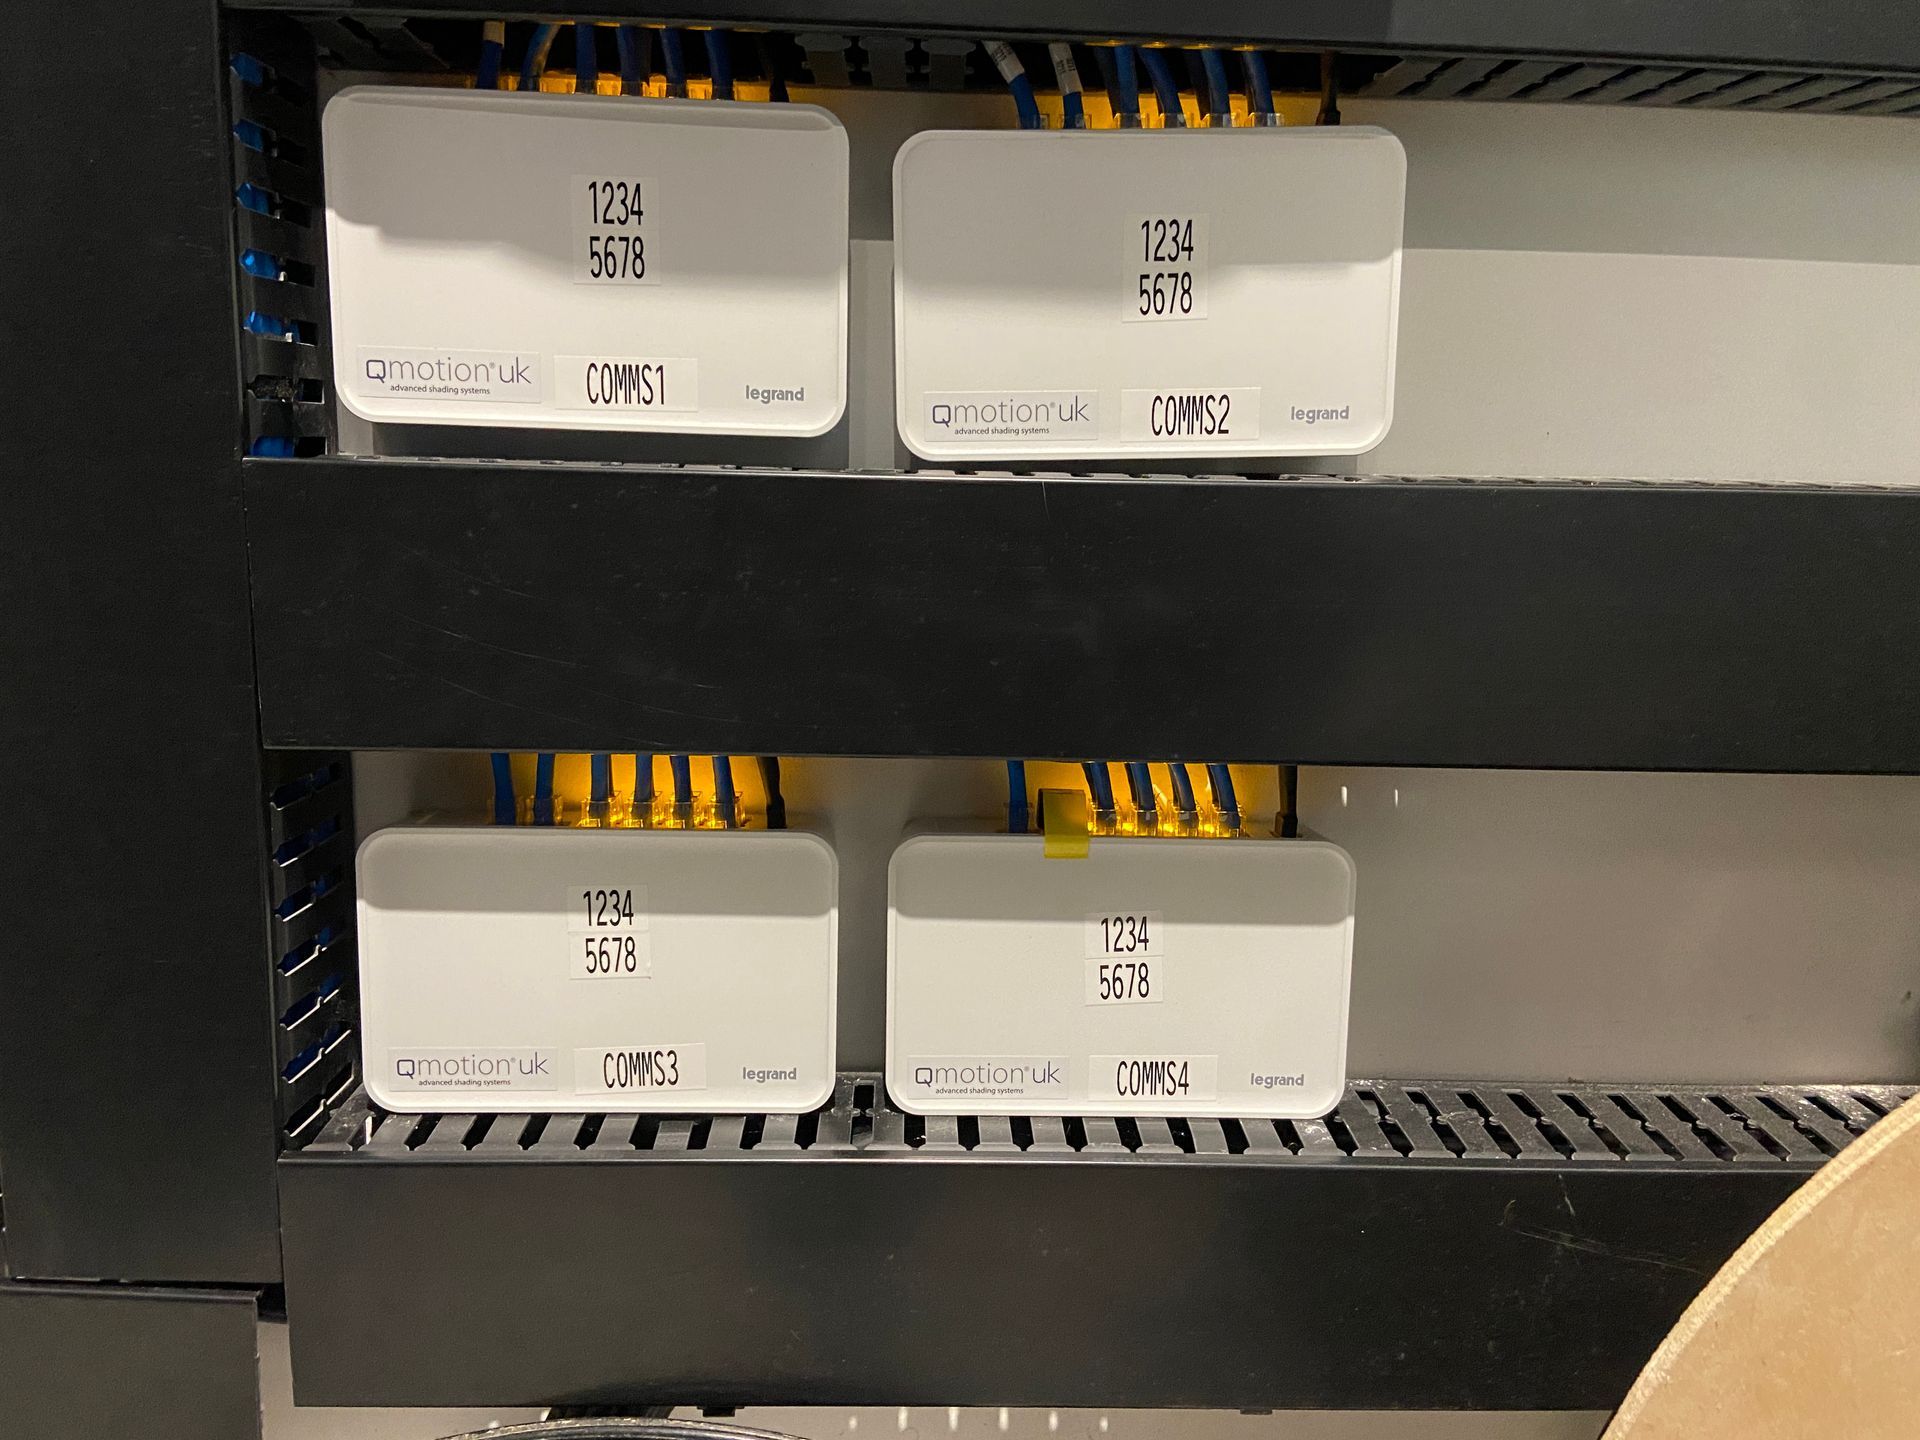
- 31 x Qmotion Motorised Roller Blinds:
- 29 Wired Blinds
- 2 Wireless Blinds
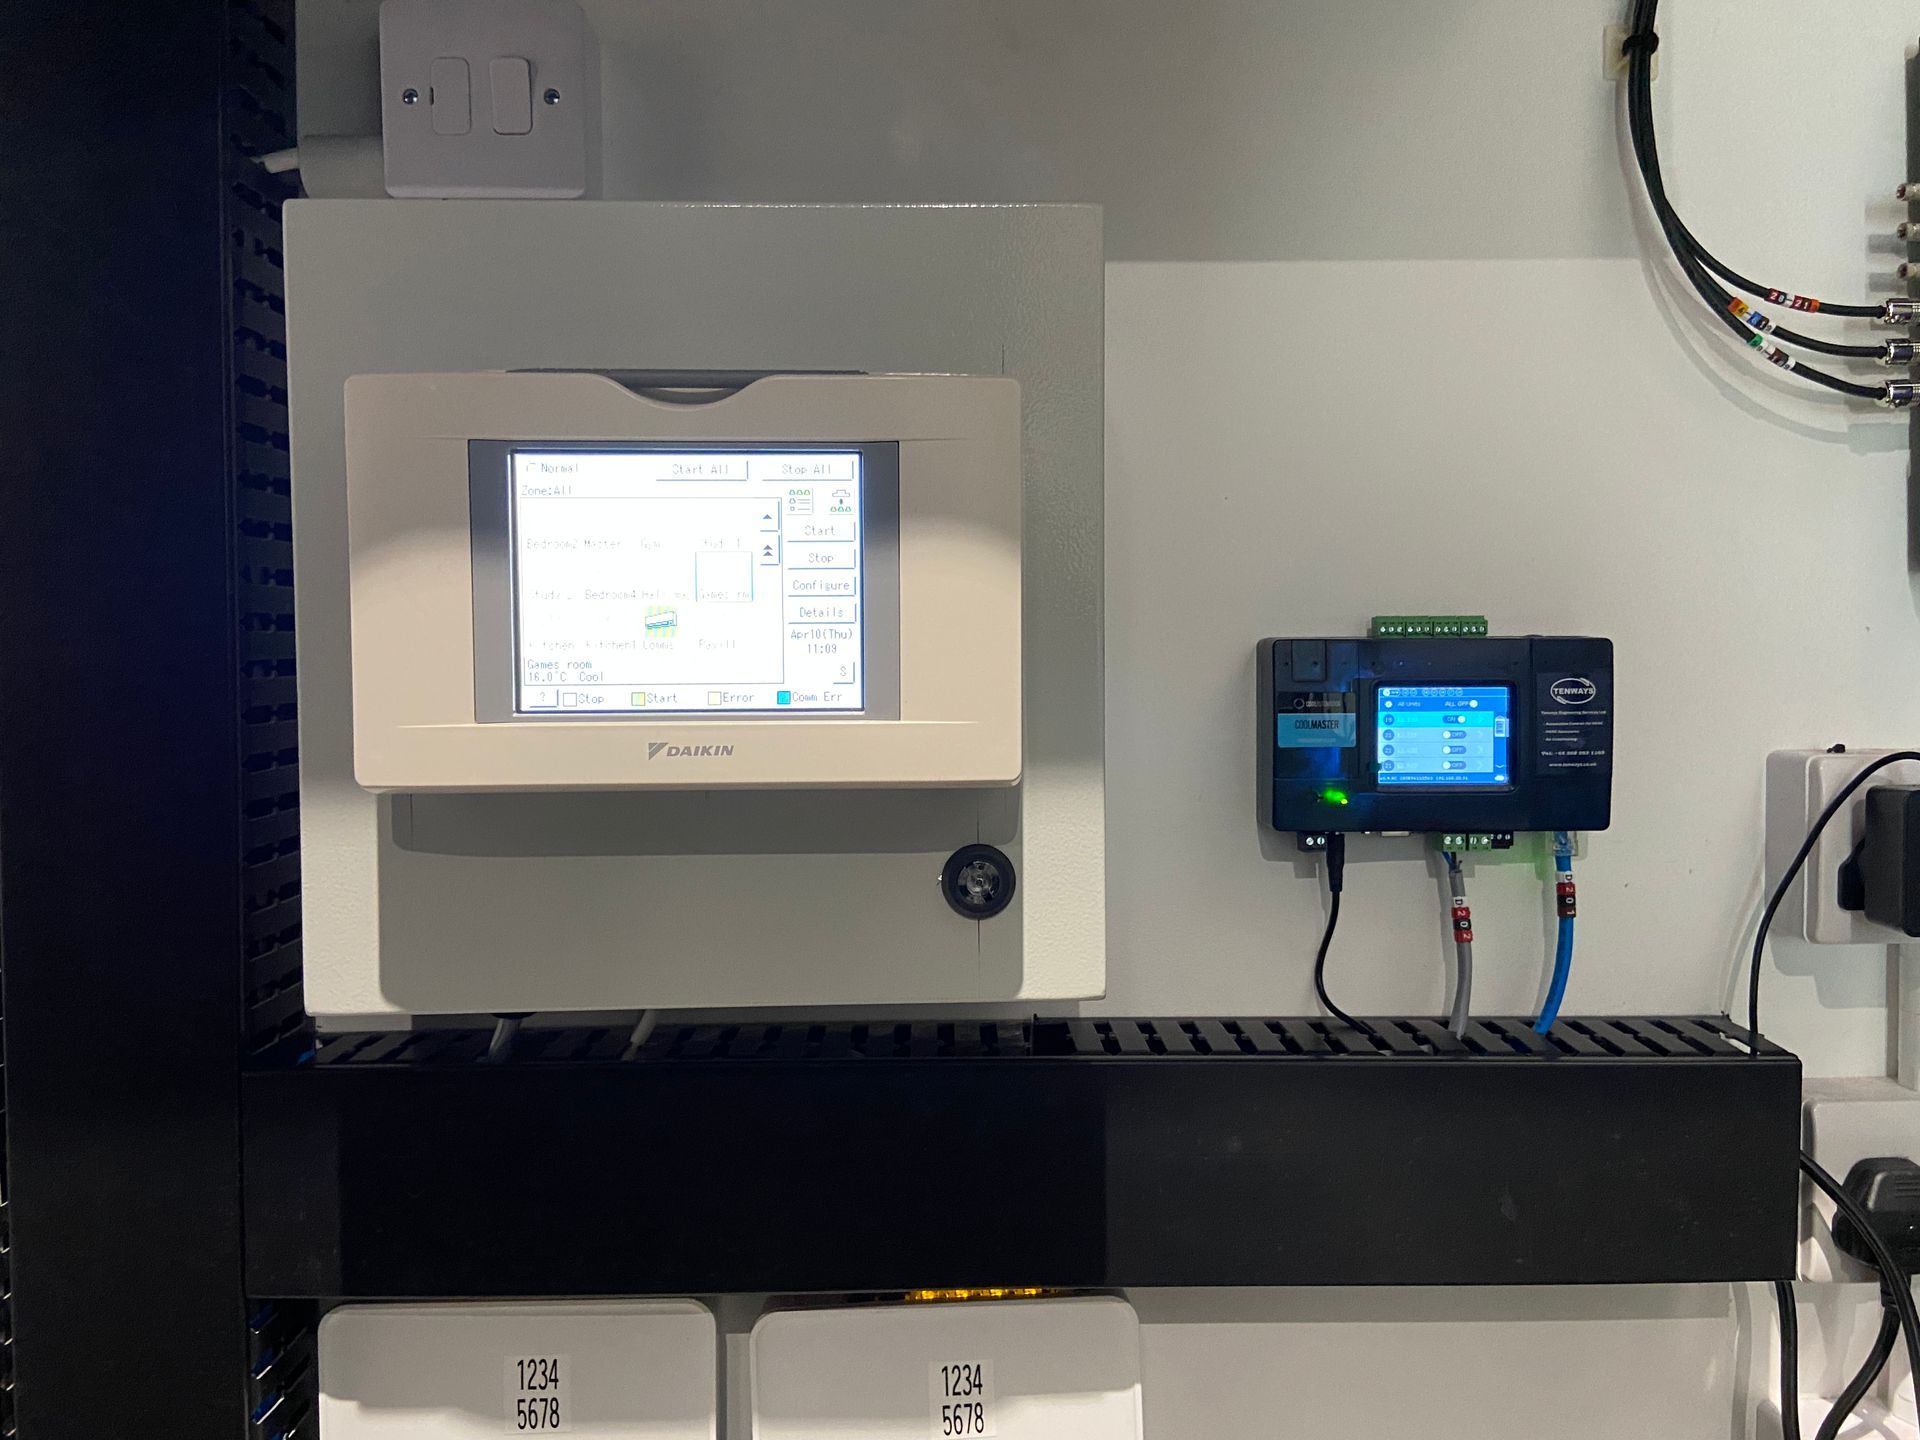
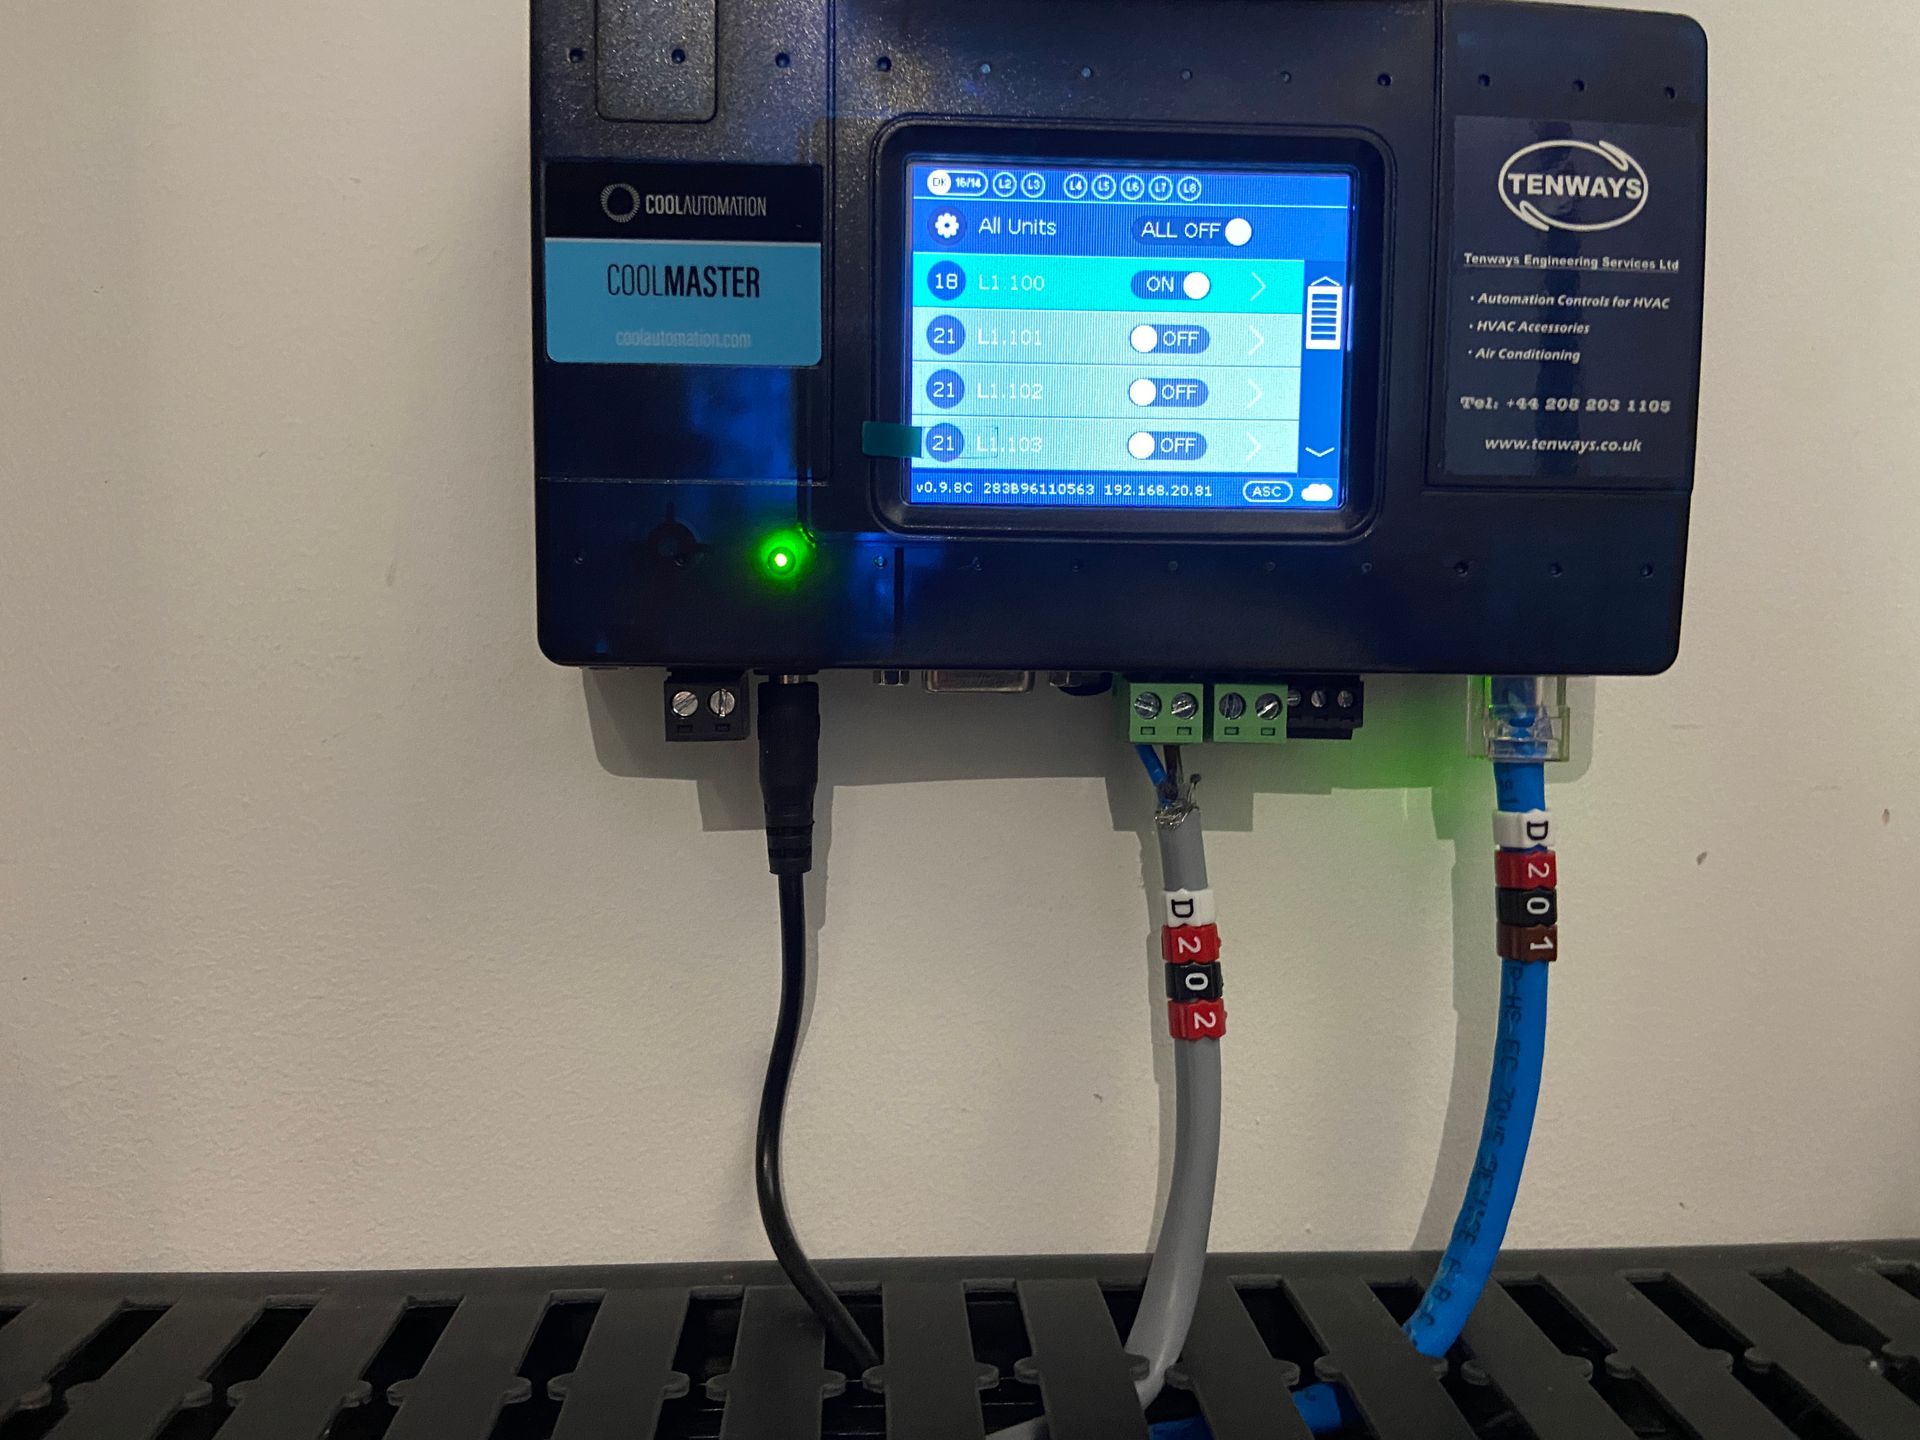
- Integration with Client’s Daikin Air Conditioning
- Integration with Client’s Heatmiser Underfloor Heating
- Integration with Client’s Extractor Fans in Ensuites
Smart Home Control System
- Control4® Controller(s)
- 1 x CA10
- 1 x EA5
- 1 x Core 1
- Control4® Control IO Extender
- Numerous Control4® Software Drivers
- Smart Home Scenes
Intelligent Networking
- 1 x Surgex Surge Protection & Power Conditioner
- 1 x Pakedge® 20 Port PDUs
- 3 x Pakedge® 8 Port PDUs
- 2 x Pakedge® PDU Temperature Sensors
- 1 x Pakedge® Router
- Pakedge® Wireless Access Points:
- 11 x Indoor
- 1 x Outdoor
- 4 x Pakedge® 44 Port Layer 3 Managed Network Switches
- 3 x Pakedge® 24 Port Layer 3 Managed Network Switches
- 60 x RJ-45 Wall Data Sockets
- 2 x 48 Port Patch Panel
- 1 x 24 Port Patch Panel
- 2 x 42U Racks
- 1 x 15U Rack
- 1 x 12U Wall Mounted Rack
- 1 x Furman UPS
- 3 x 10G Fibre Optic Patch Cable Network Switch Interconnects
- 2 x 160m Building to Building 10G Fibre Optic Patch Cables
- 10 x 10G SFP Modules
User Experience
- 2 x Control4® 8” Touch Screens
- 2 x Wall-Smart Flush Mounts for Touch Screens
- 3 x Control4® Neeo Remote Controls
- Mobile Phone Access via Control4® iOS & Android Application
Book a Free of Charge & No Obligation Initial Consultation
Use the form below to book a Free of Charge & No Obligation Initial Consultation...to discuss how we could help you with your specific project.
Note: Search for a suitable date and time. Next complete the relevant details in the form to provisionally book your consultation. We will then get in touch with you to confirm your consultation.
Click here to book using our online scheduling tool

View our other projects
Click the button below to visit the Portfolio section of our website to view our other projects