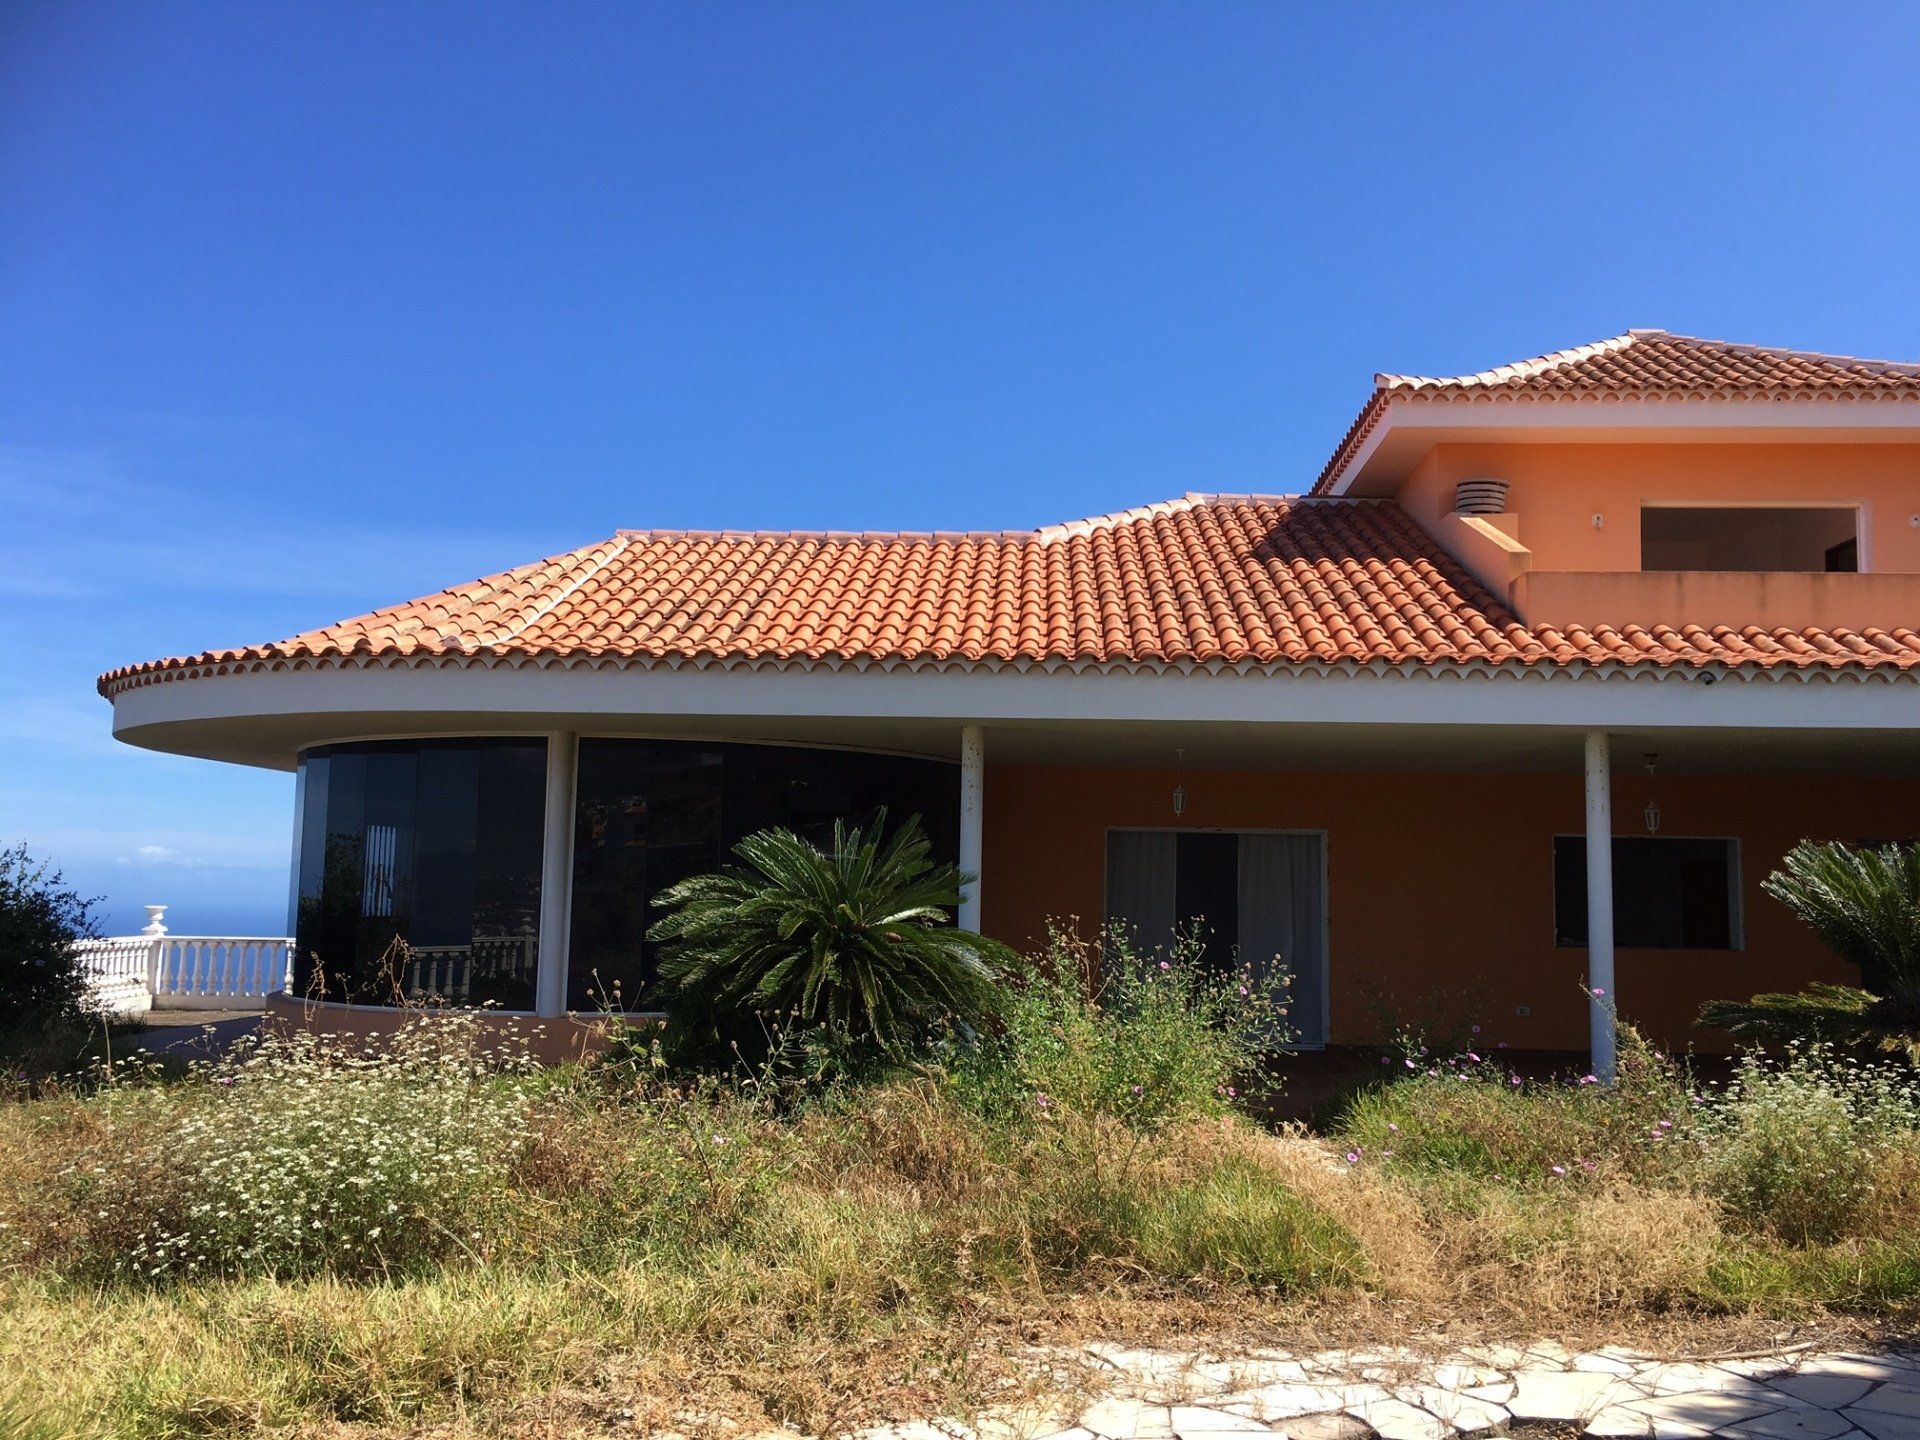
Control4 Smart Home on Canary Islands
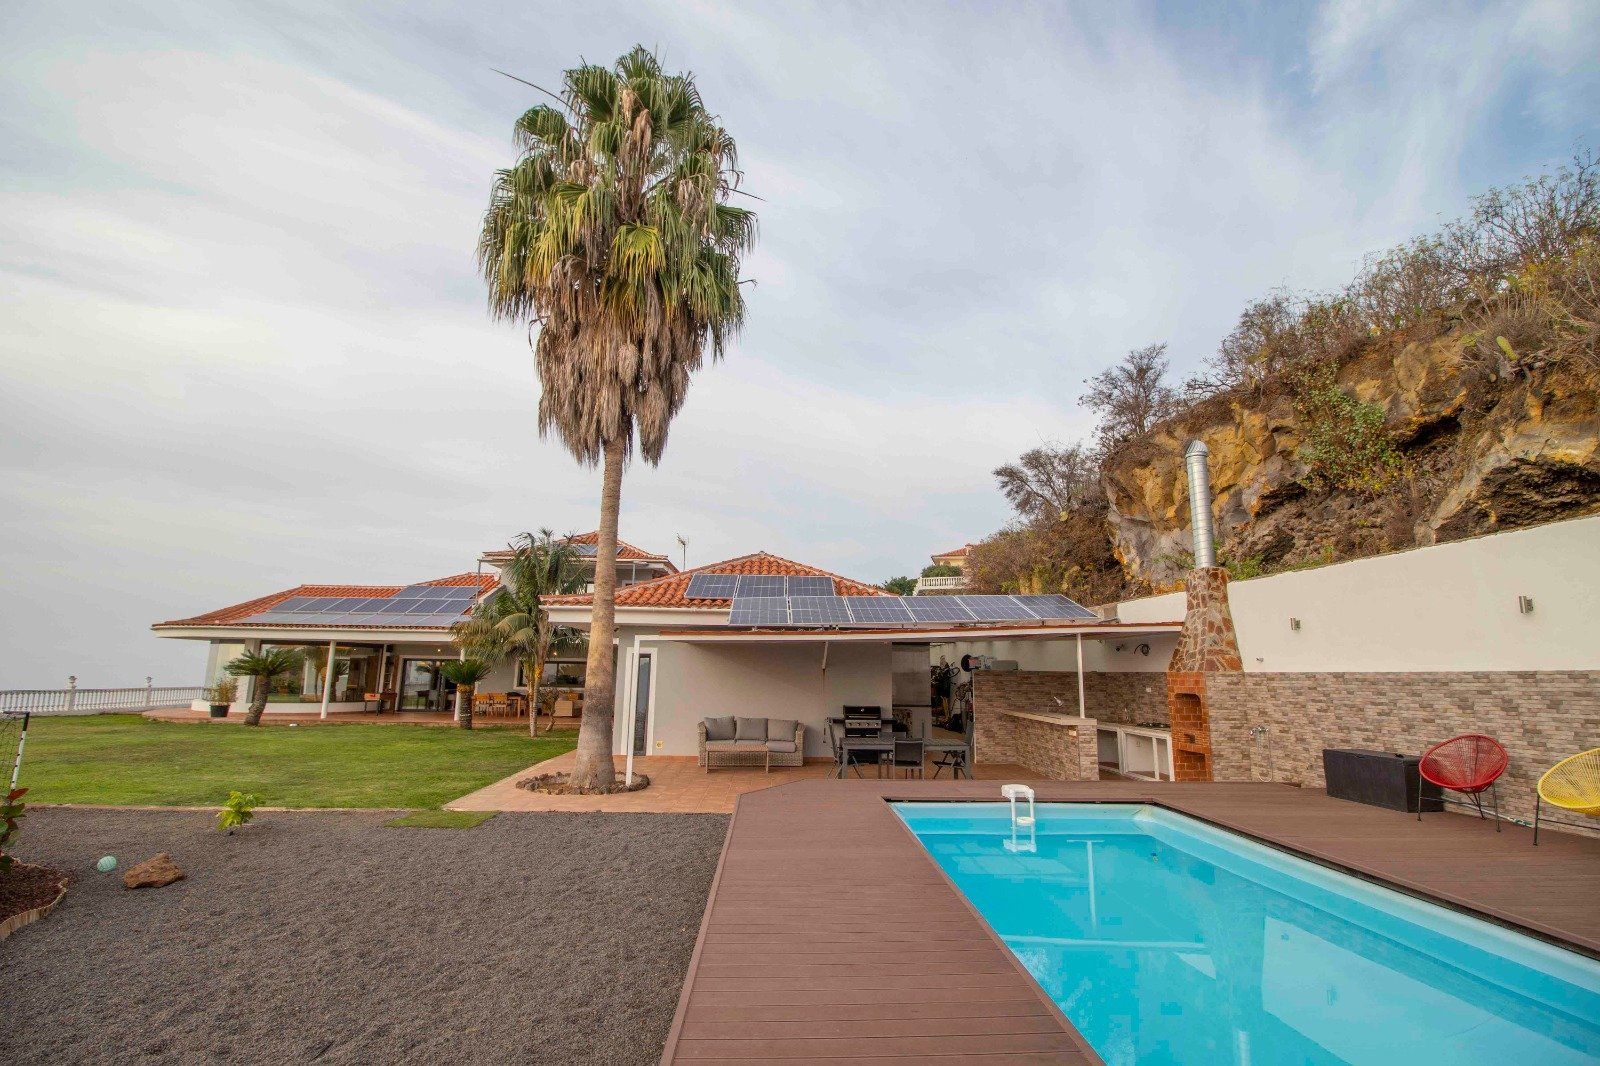
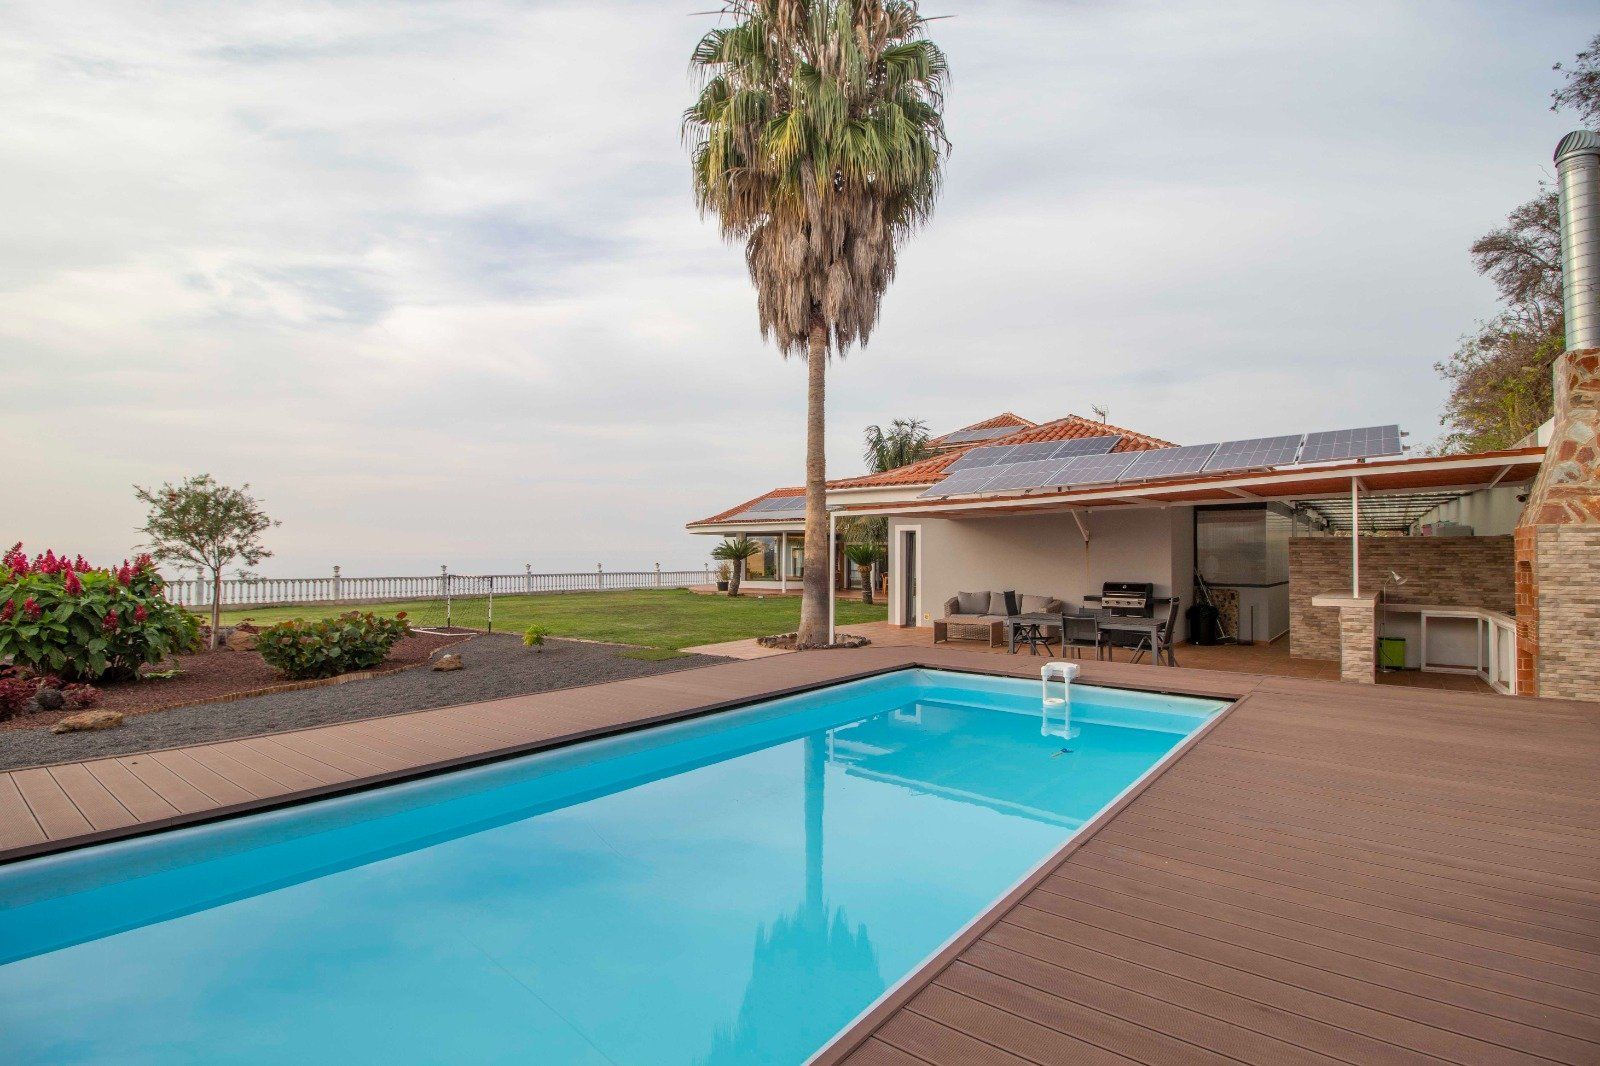
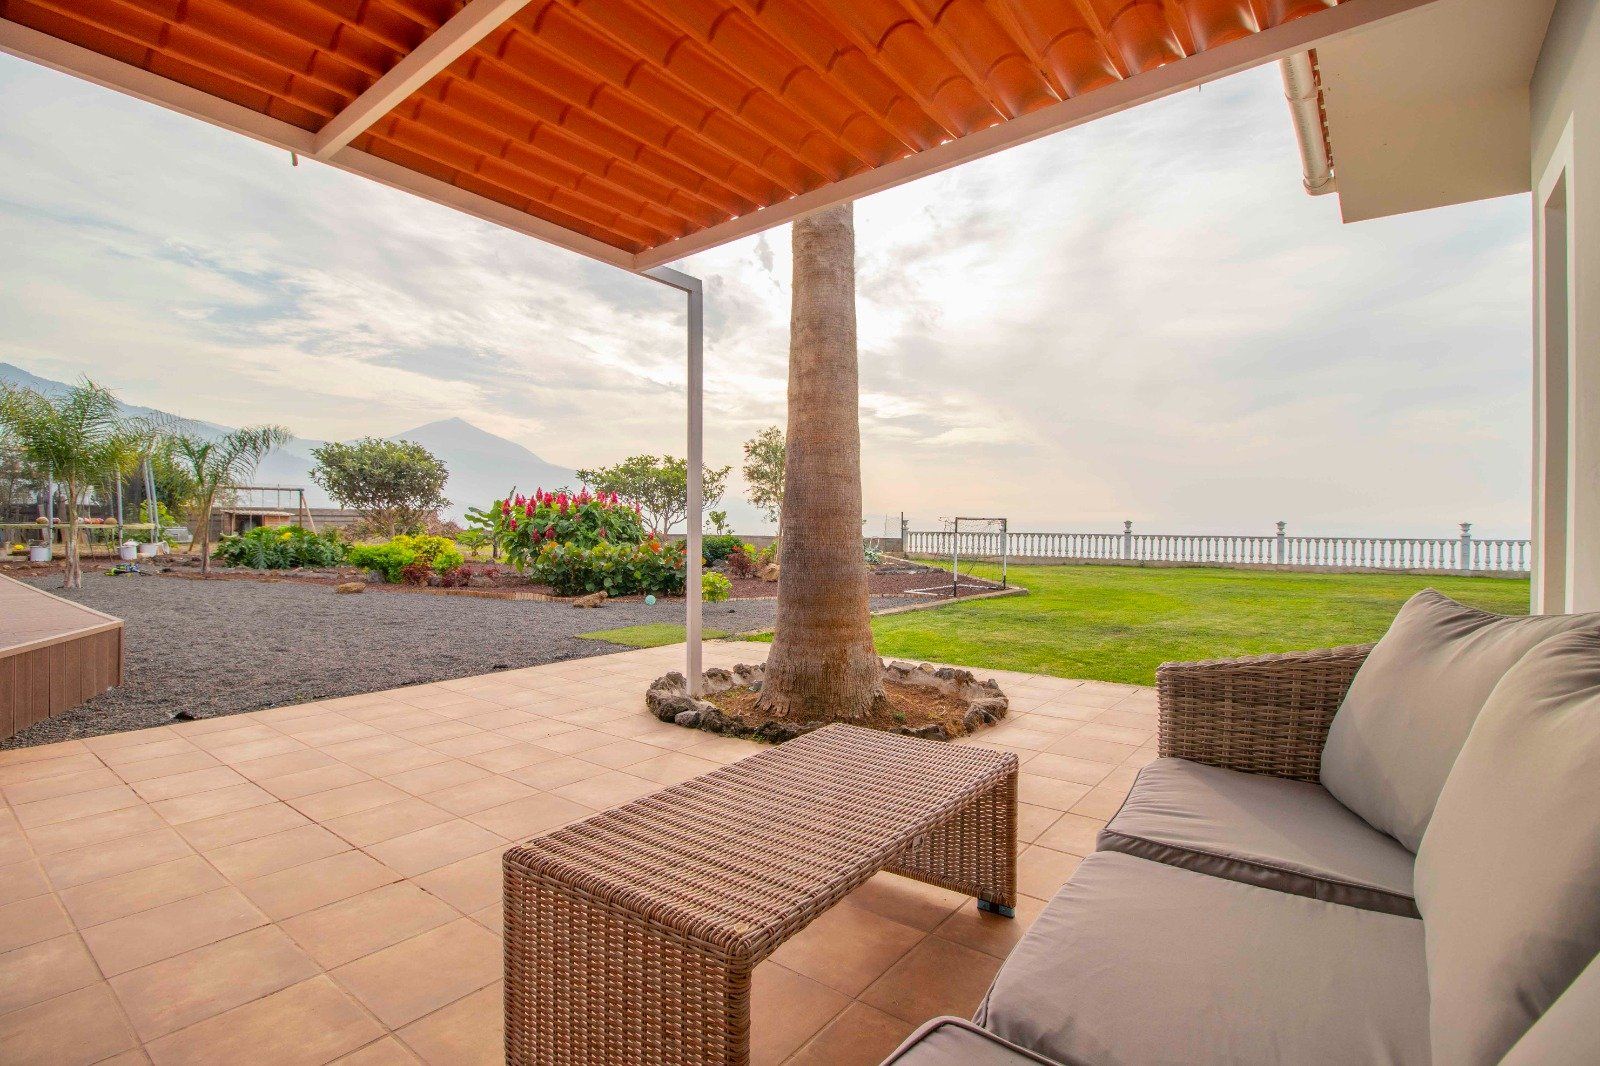
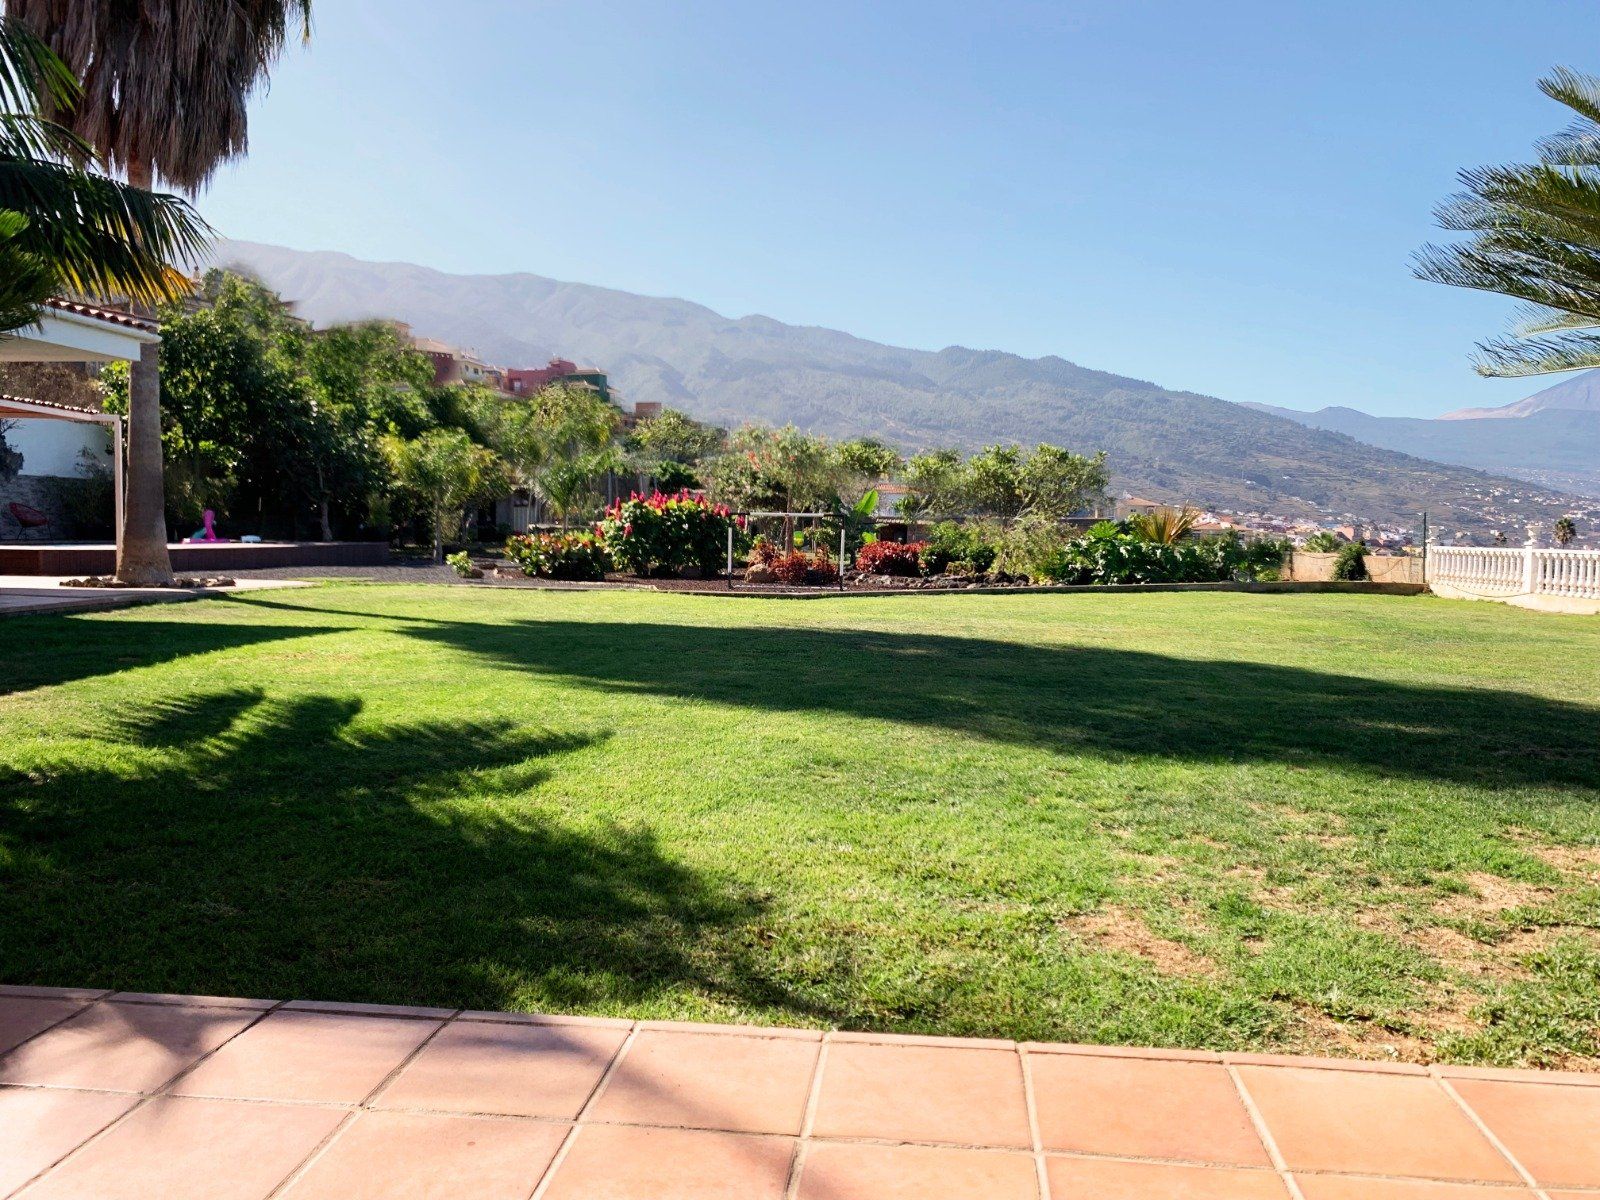
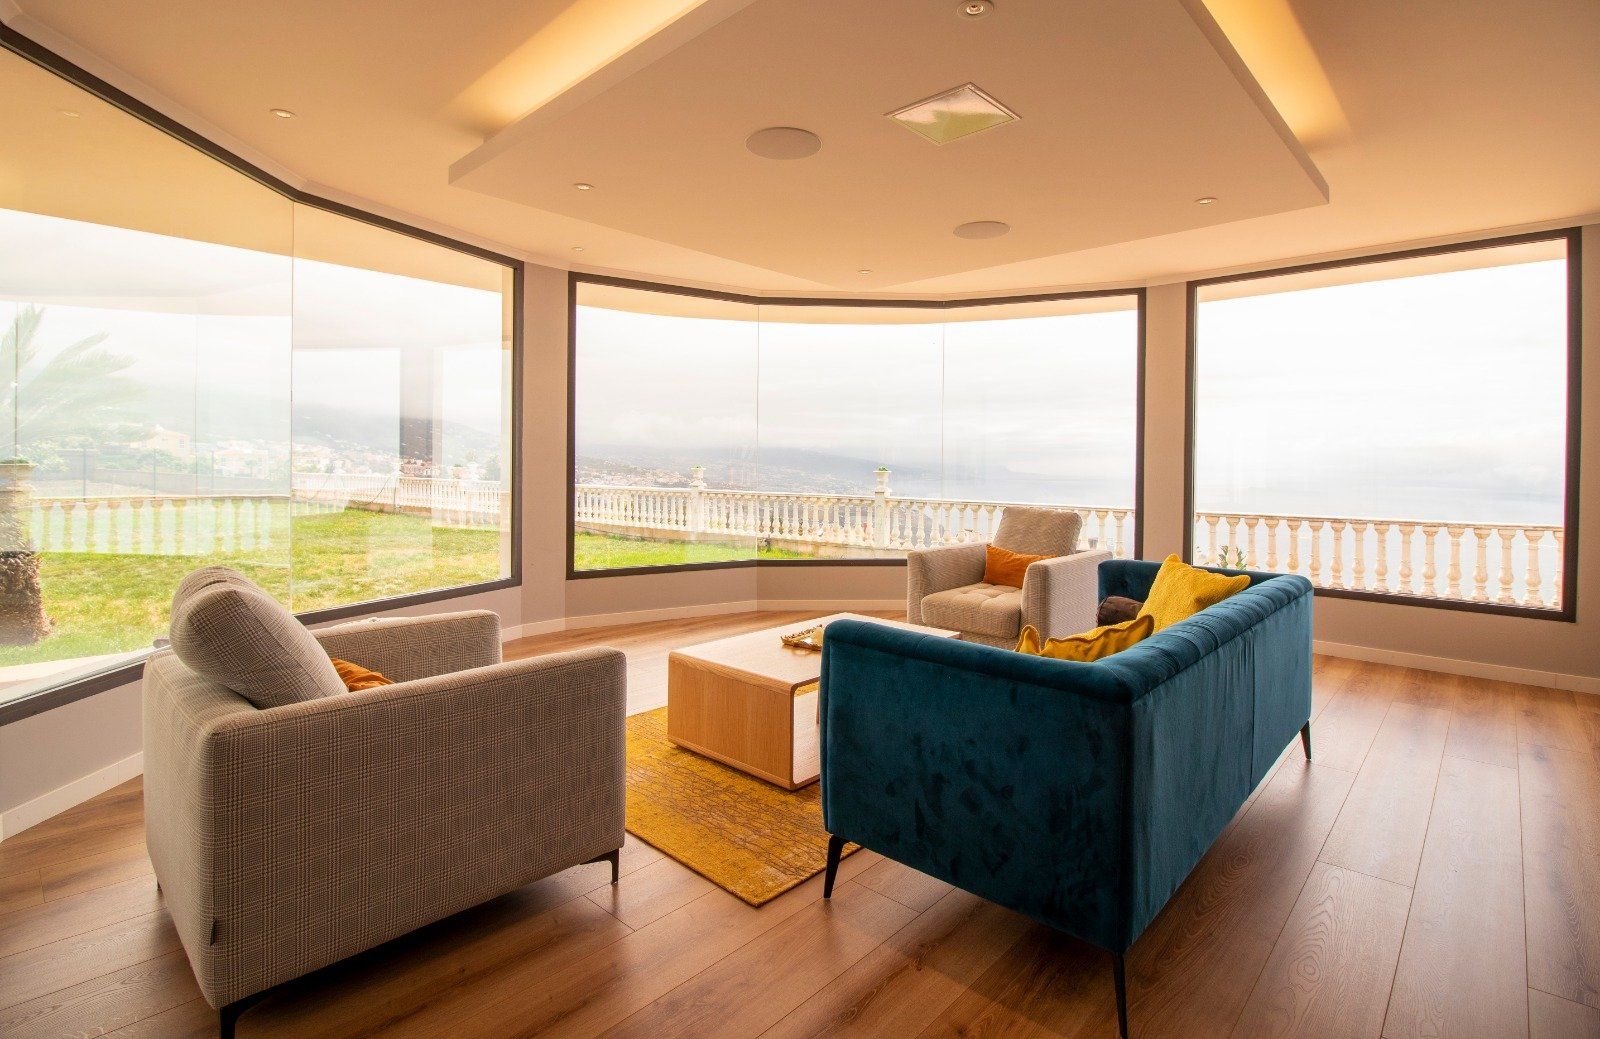
An amazing property with stunning views of the mountains and the Atlantic Ocean...
A special Control4 smart home project
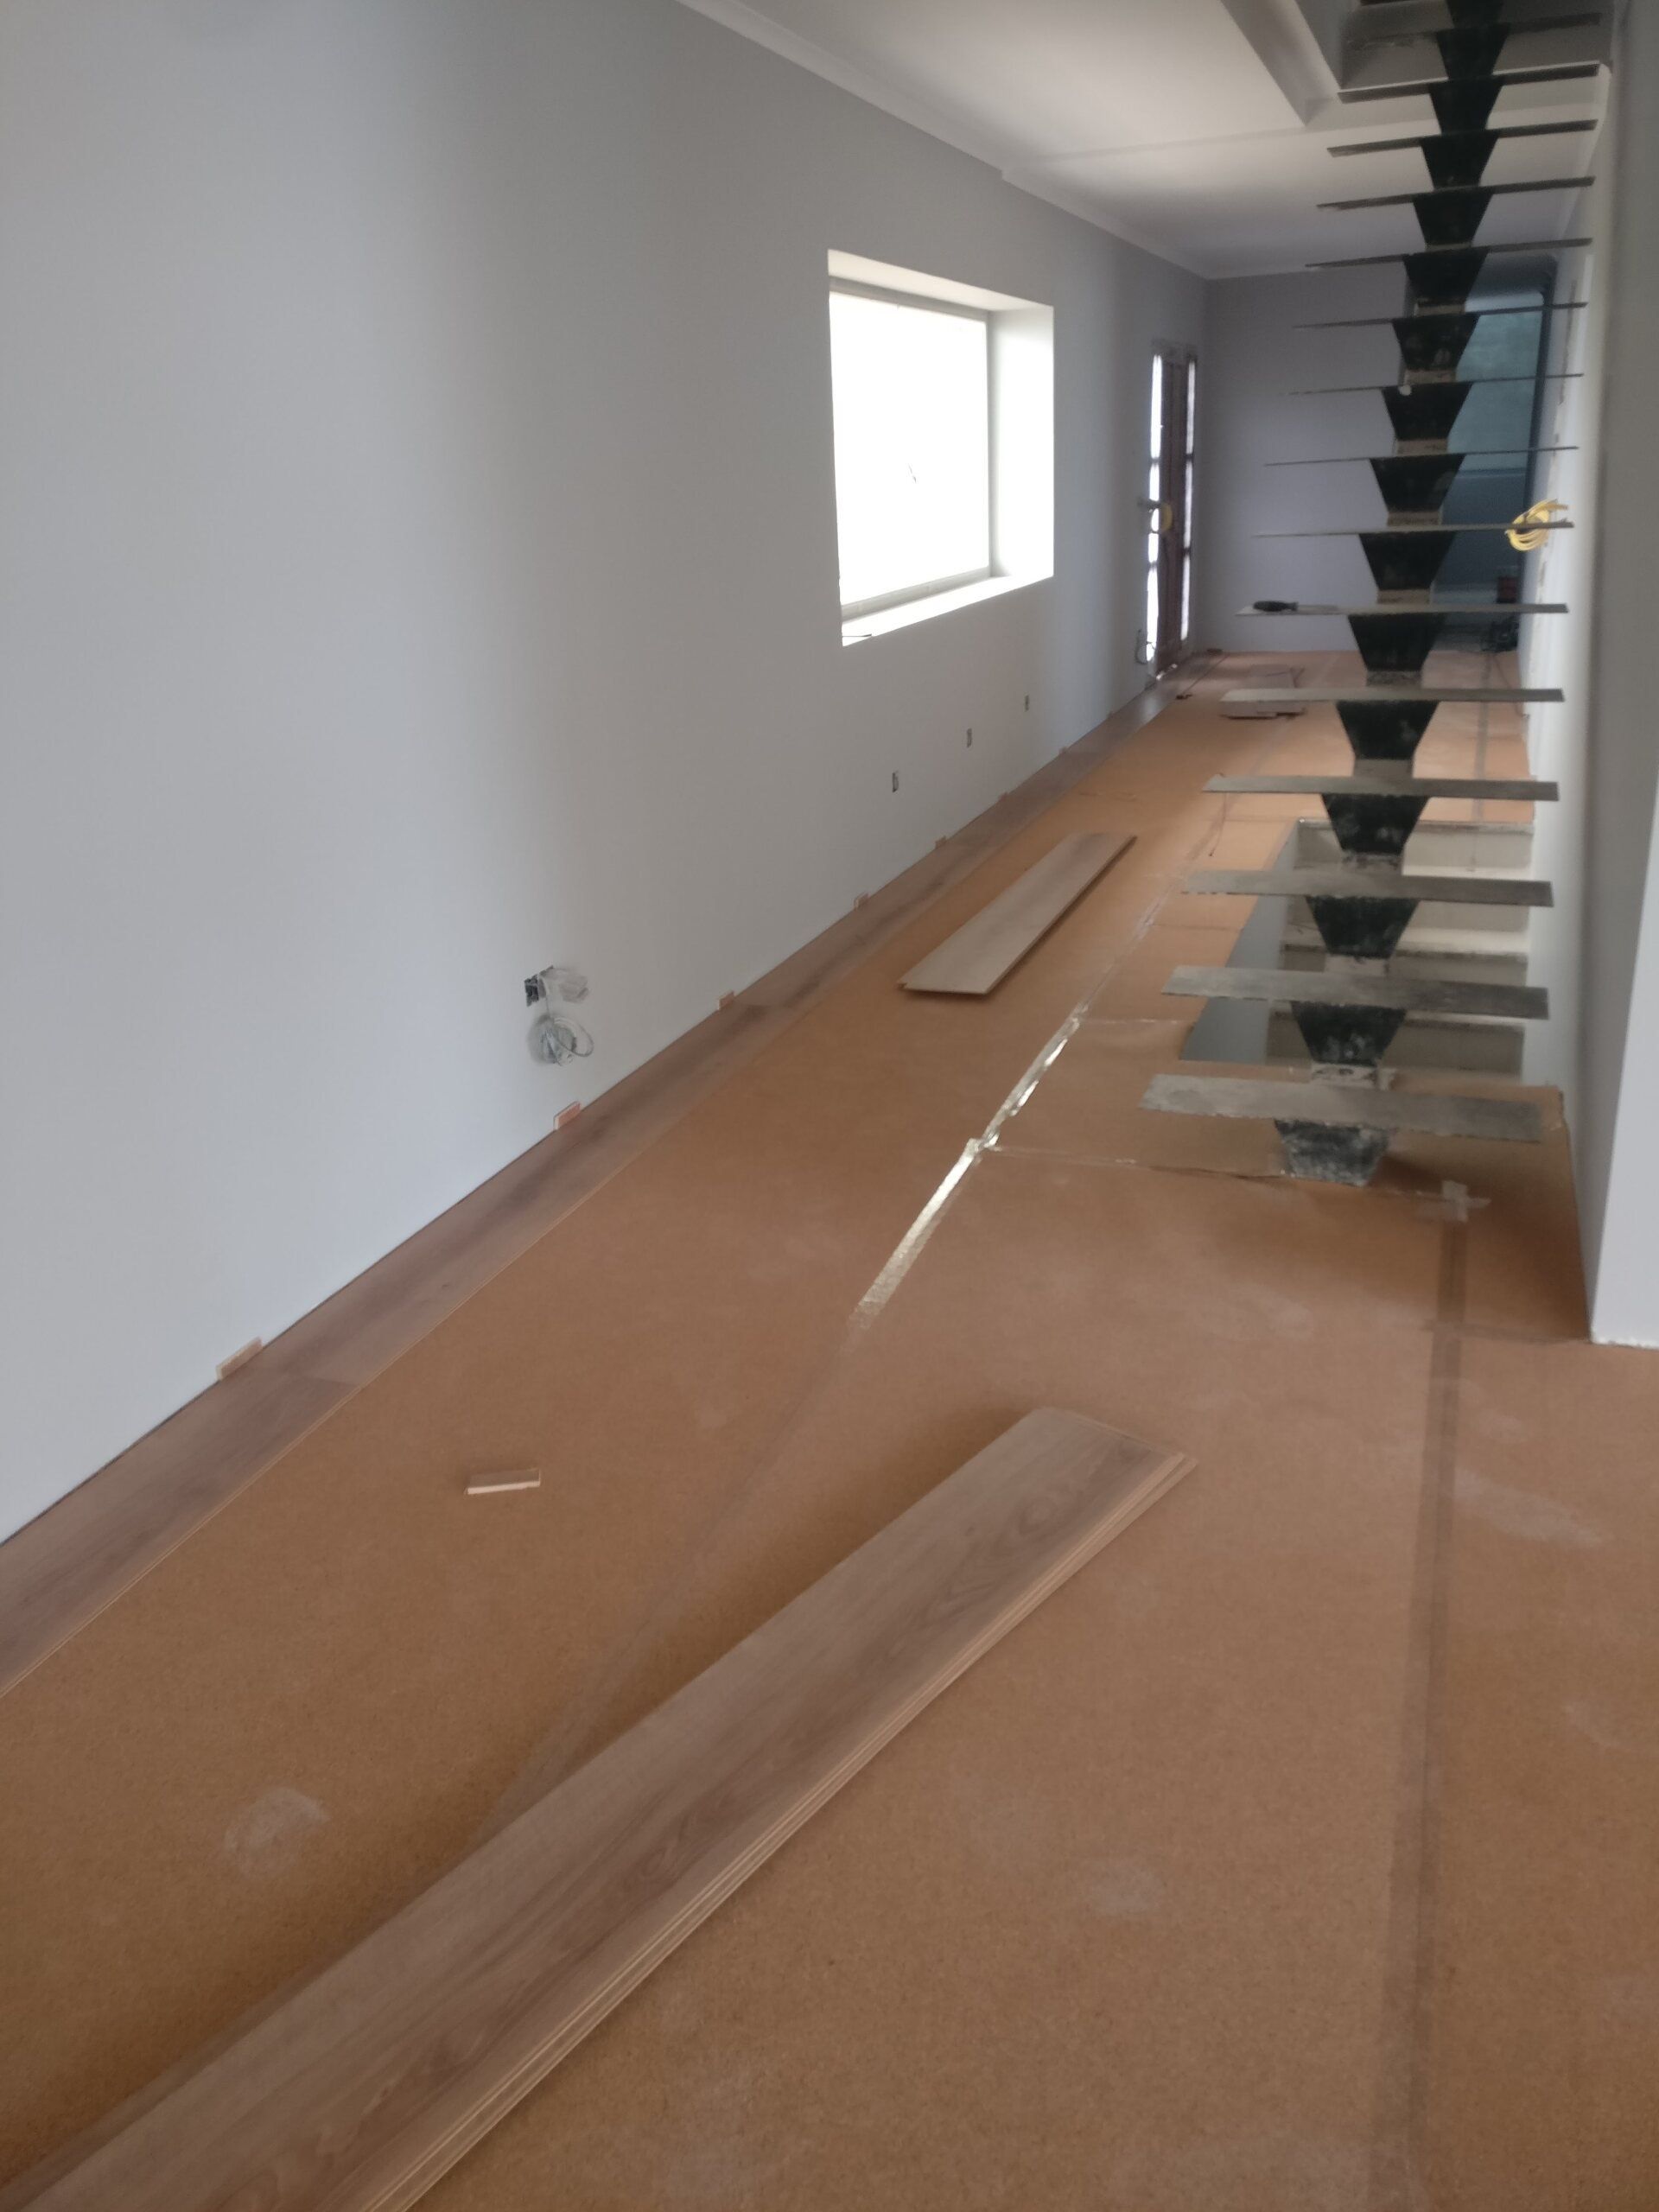
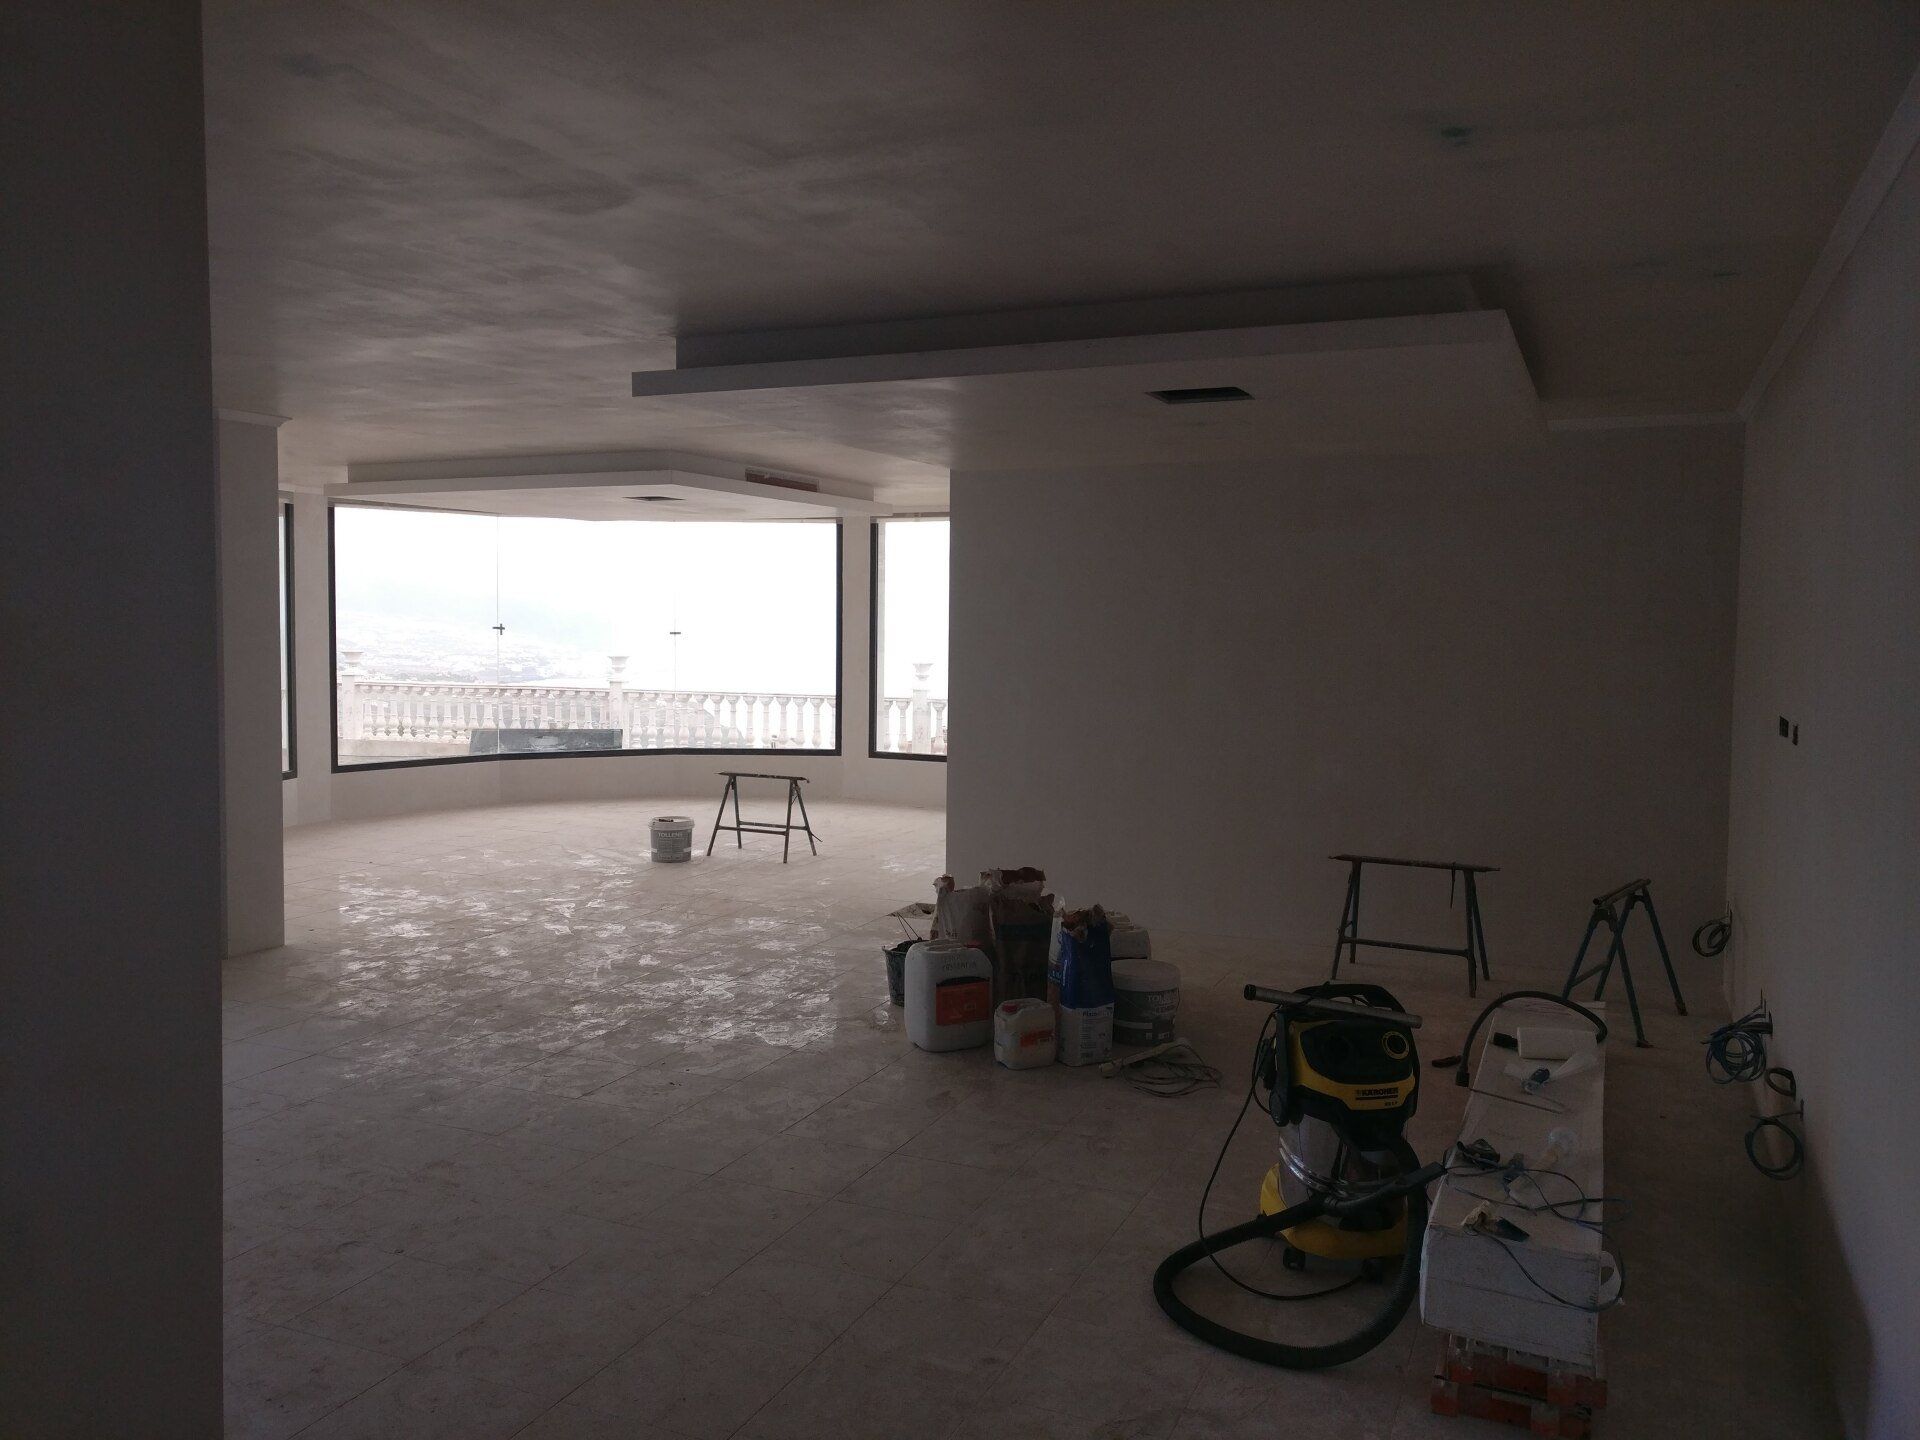
This project was a major renovation, stripping existing plastered walls back to blockwork and completely rewiring the property, changing the layout of the ground floor rooms and adding several new rooms in the extensive basement level.
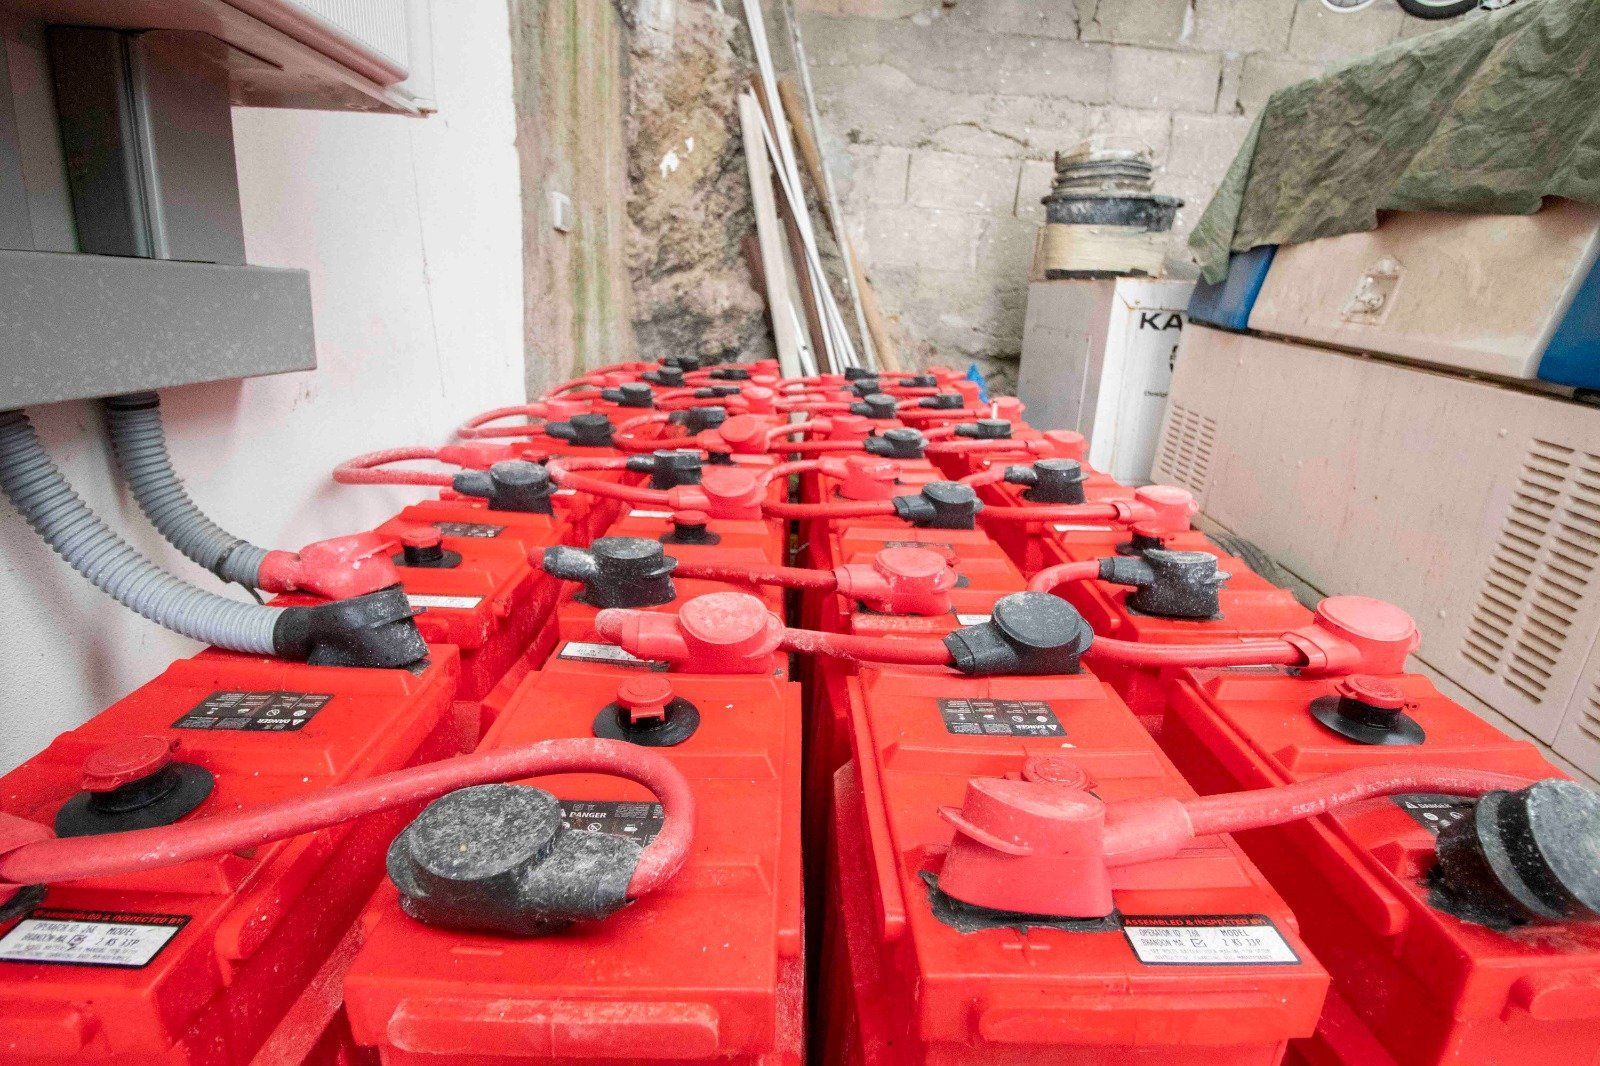
The client also decided to have a large solar panel array and battery back solution to provide the primary source of electrical power to the property i.e., no connection to the local electrical Power Grid.
The client had several key initial requirements for the project:
- Comprehensive security solution for the property
- Ability to listen to music throughout the property
- Great wi-fi signal throughout the property including in the substantial outdoor garden area
We worked closely with the client to deliver a complete smart home solution with Control4 at its core.
Contents of this case study:
- Key project statistics
- Smart home site survey
- Smart home design
- Smart home 1st fix
- Smart home 2nd fix
- Smart home 3rd fix
- Finished smart home
- Overcoming specific project challenges
- Summary of installed equipment
If you would like to discuss how we could help you with your specific project, feel free to call us +44(0)1664 500552
Or click the following button to use our online consultation booking tool
Key project statistics
- 3 x Floors
- 6 x Bedrooms
- 5 x Bathrooms
- 2 x Kitchens
- 37 x Zones of Control4® Smart Home control
- Over 11km of pre-wire 1st fix cables
- 21 x Zones of Audio
- 2 x Media Rooms
- 93 x Circuits of LED Light Fixtures
- 348 x Indoor and Outdoor Collingwood Lighting LED Light Fixtures
- 113 x custom engraved keypad buttons

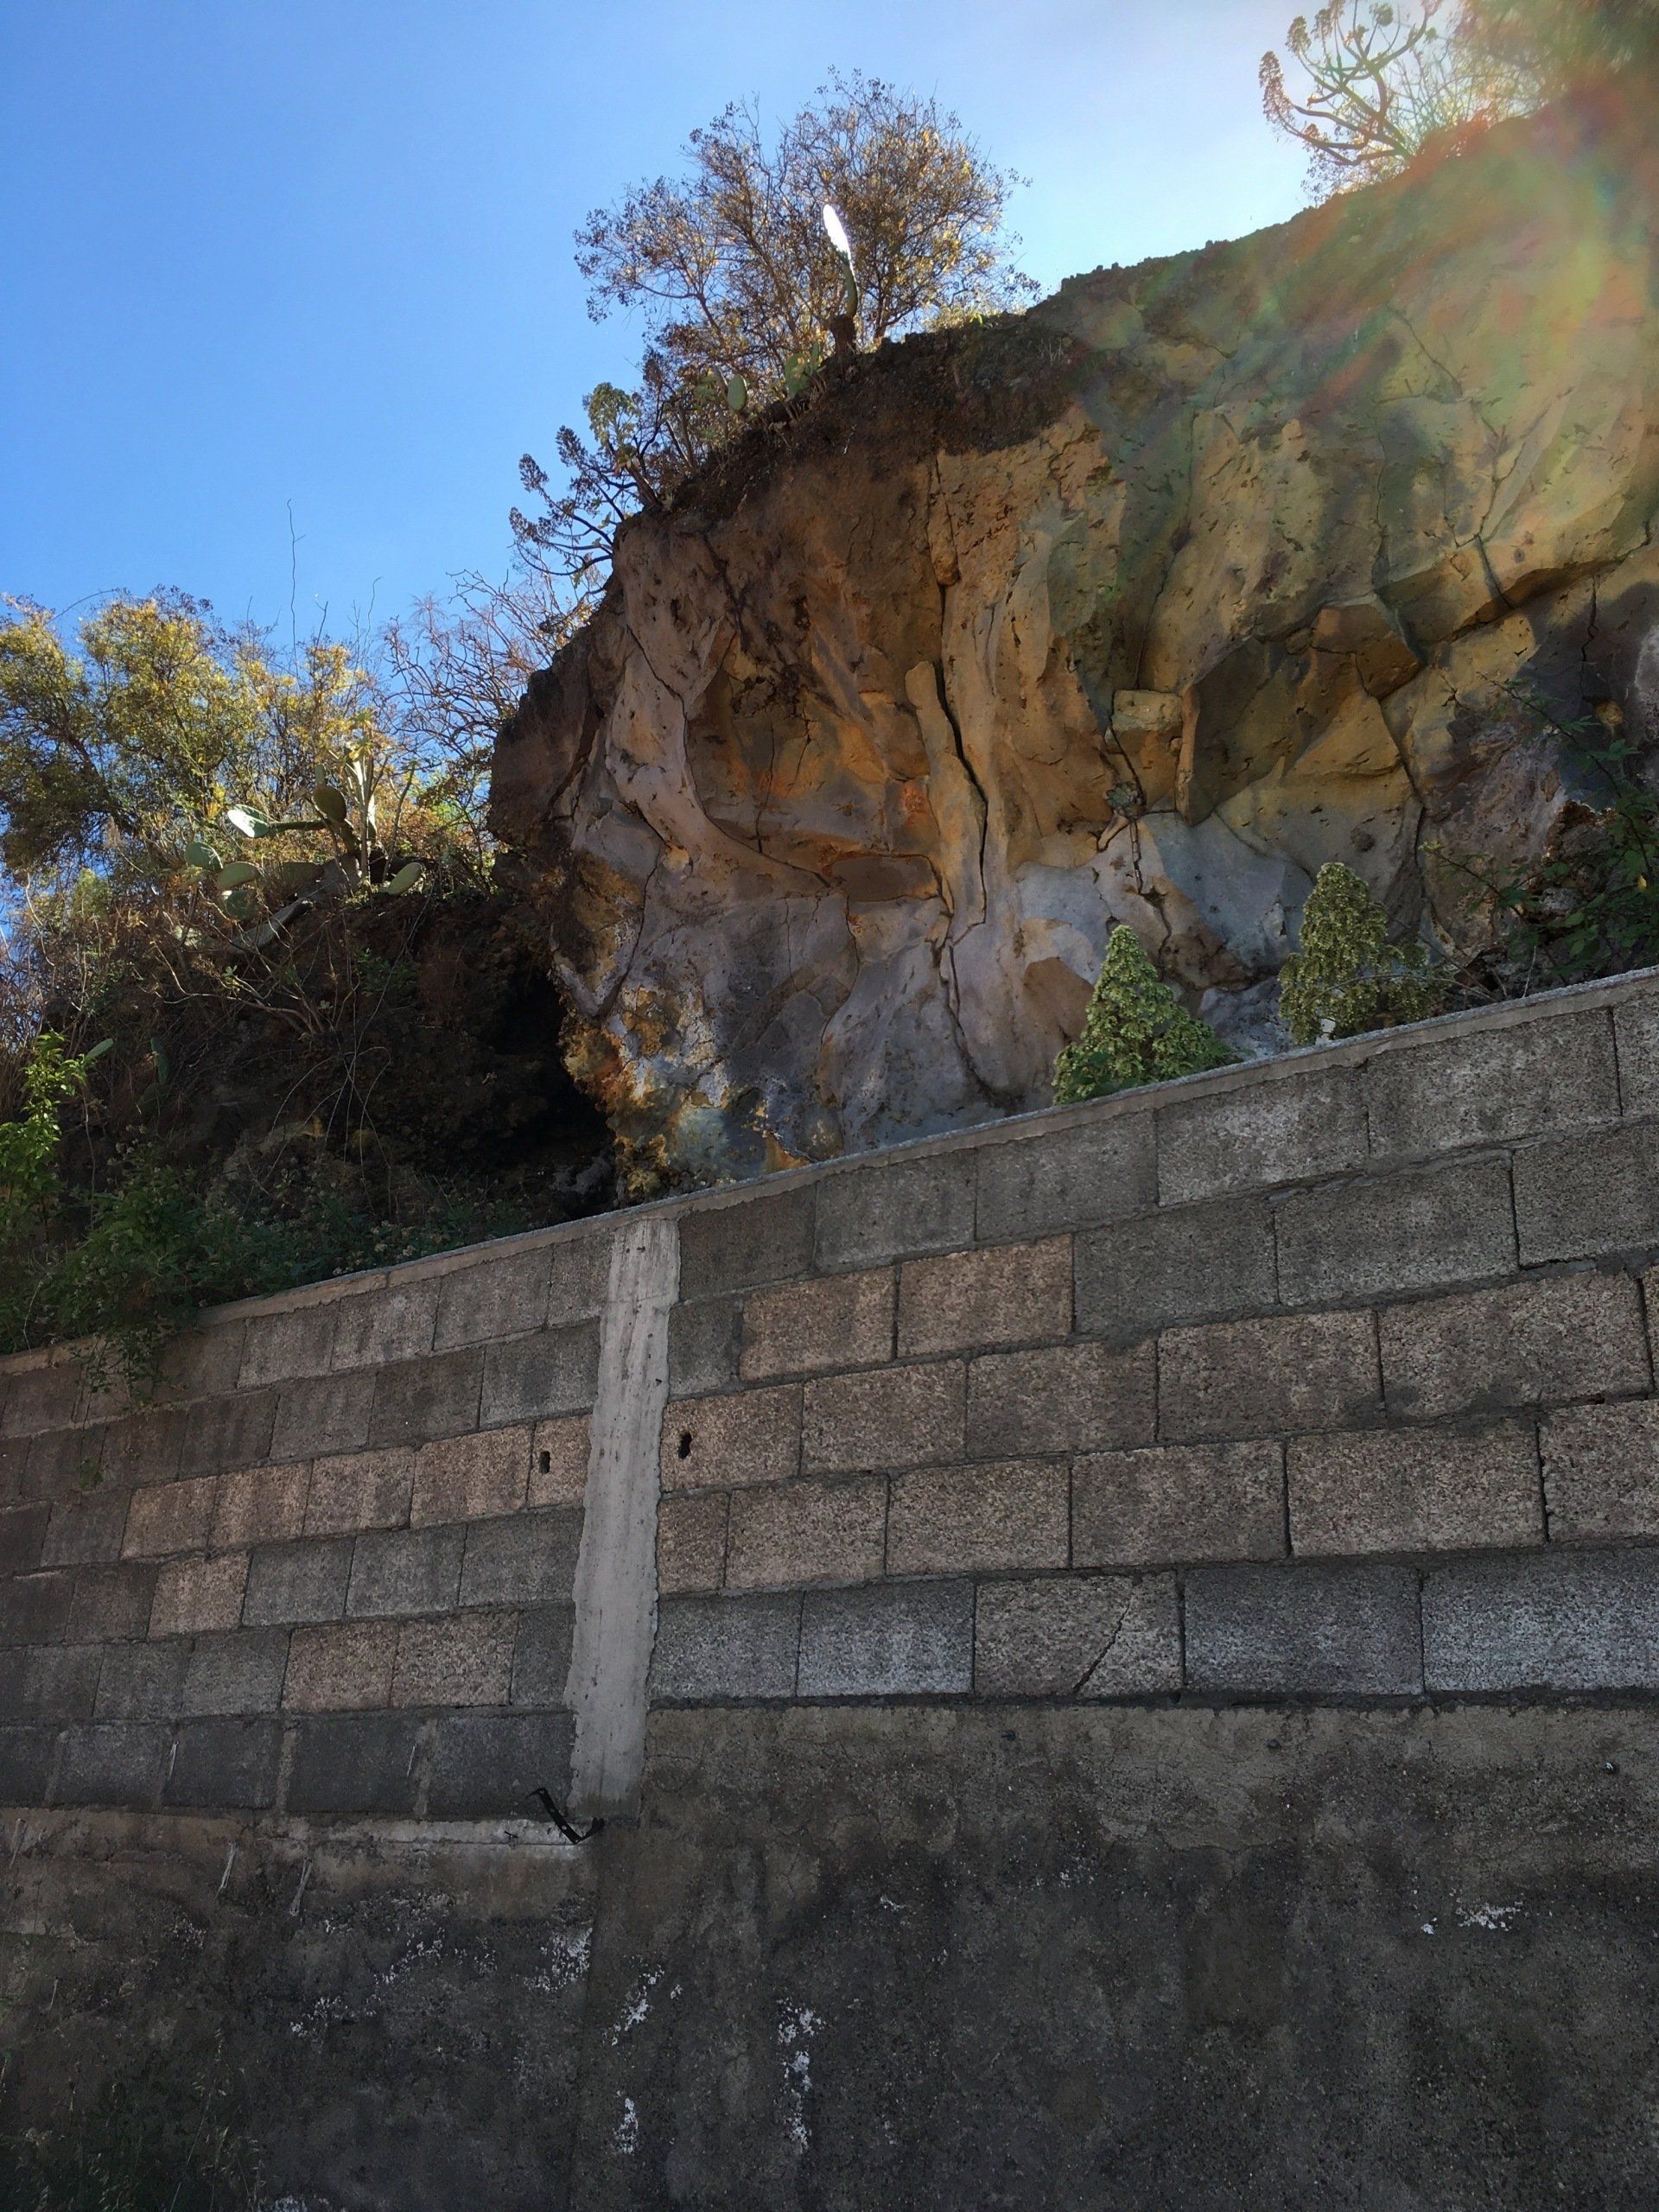
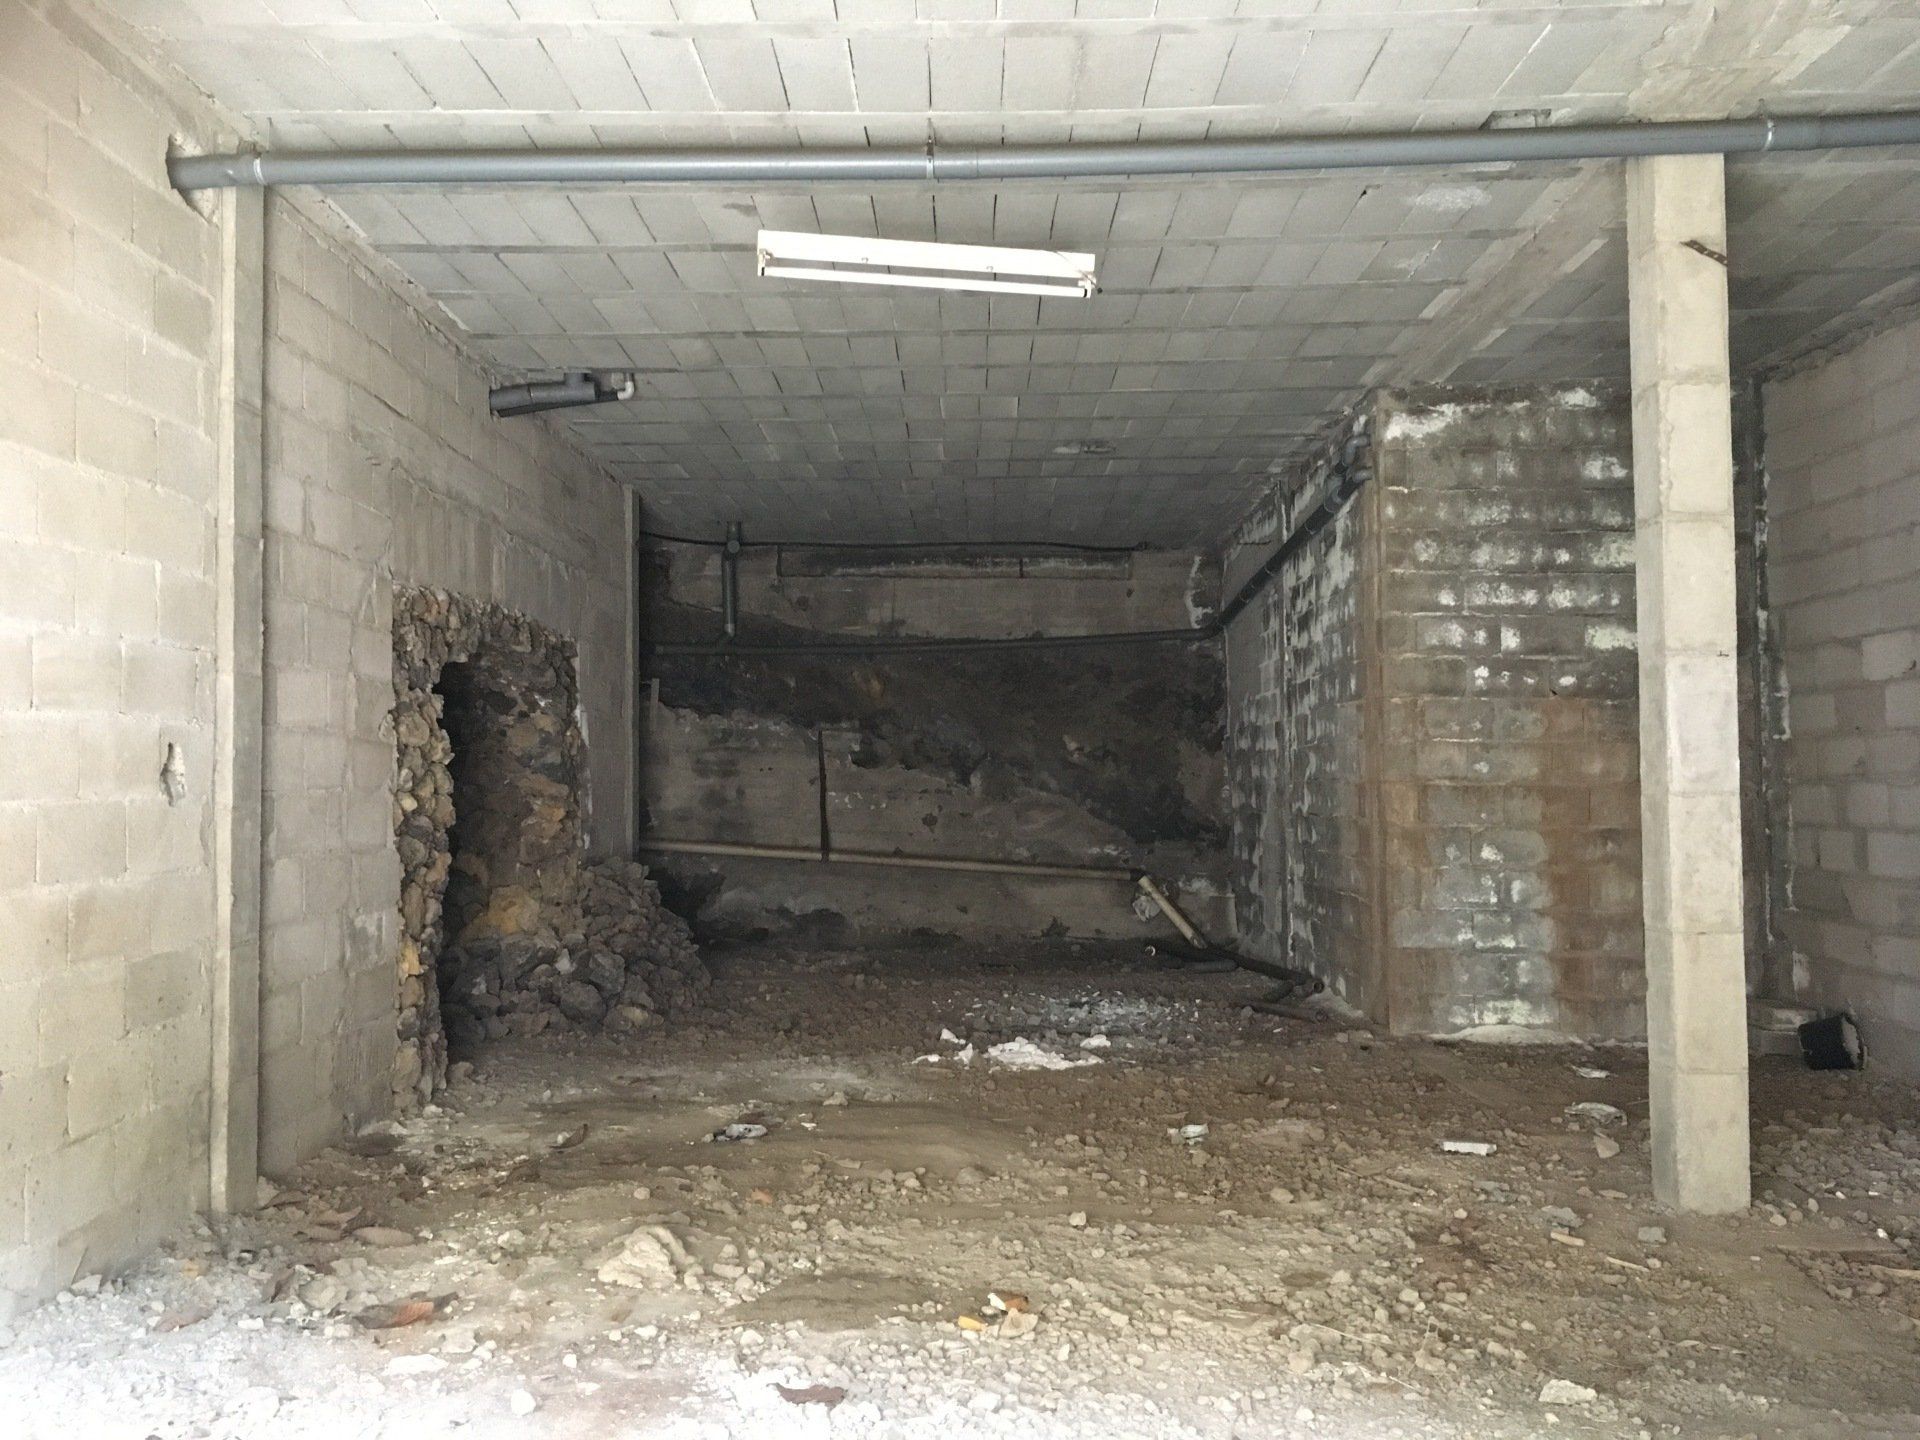

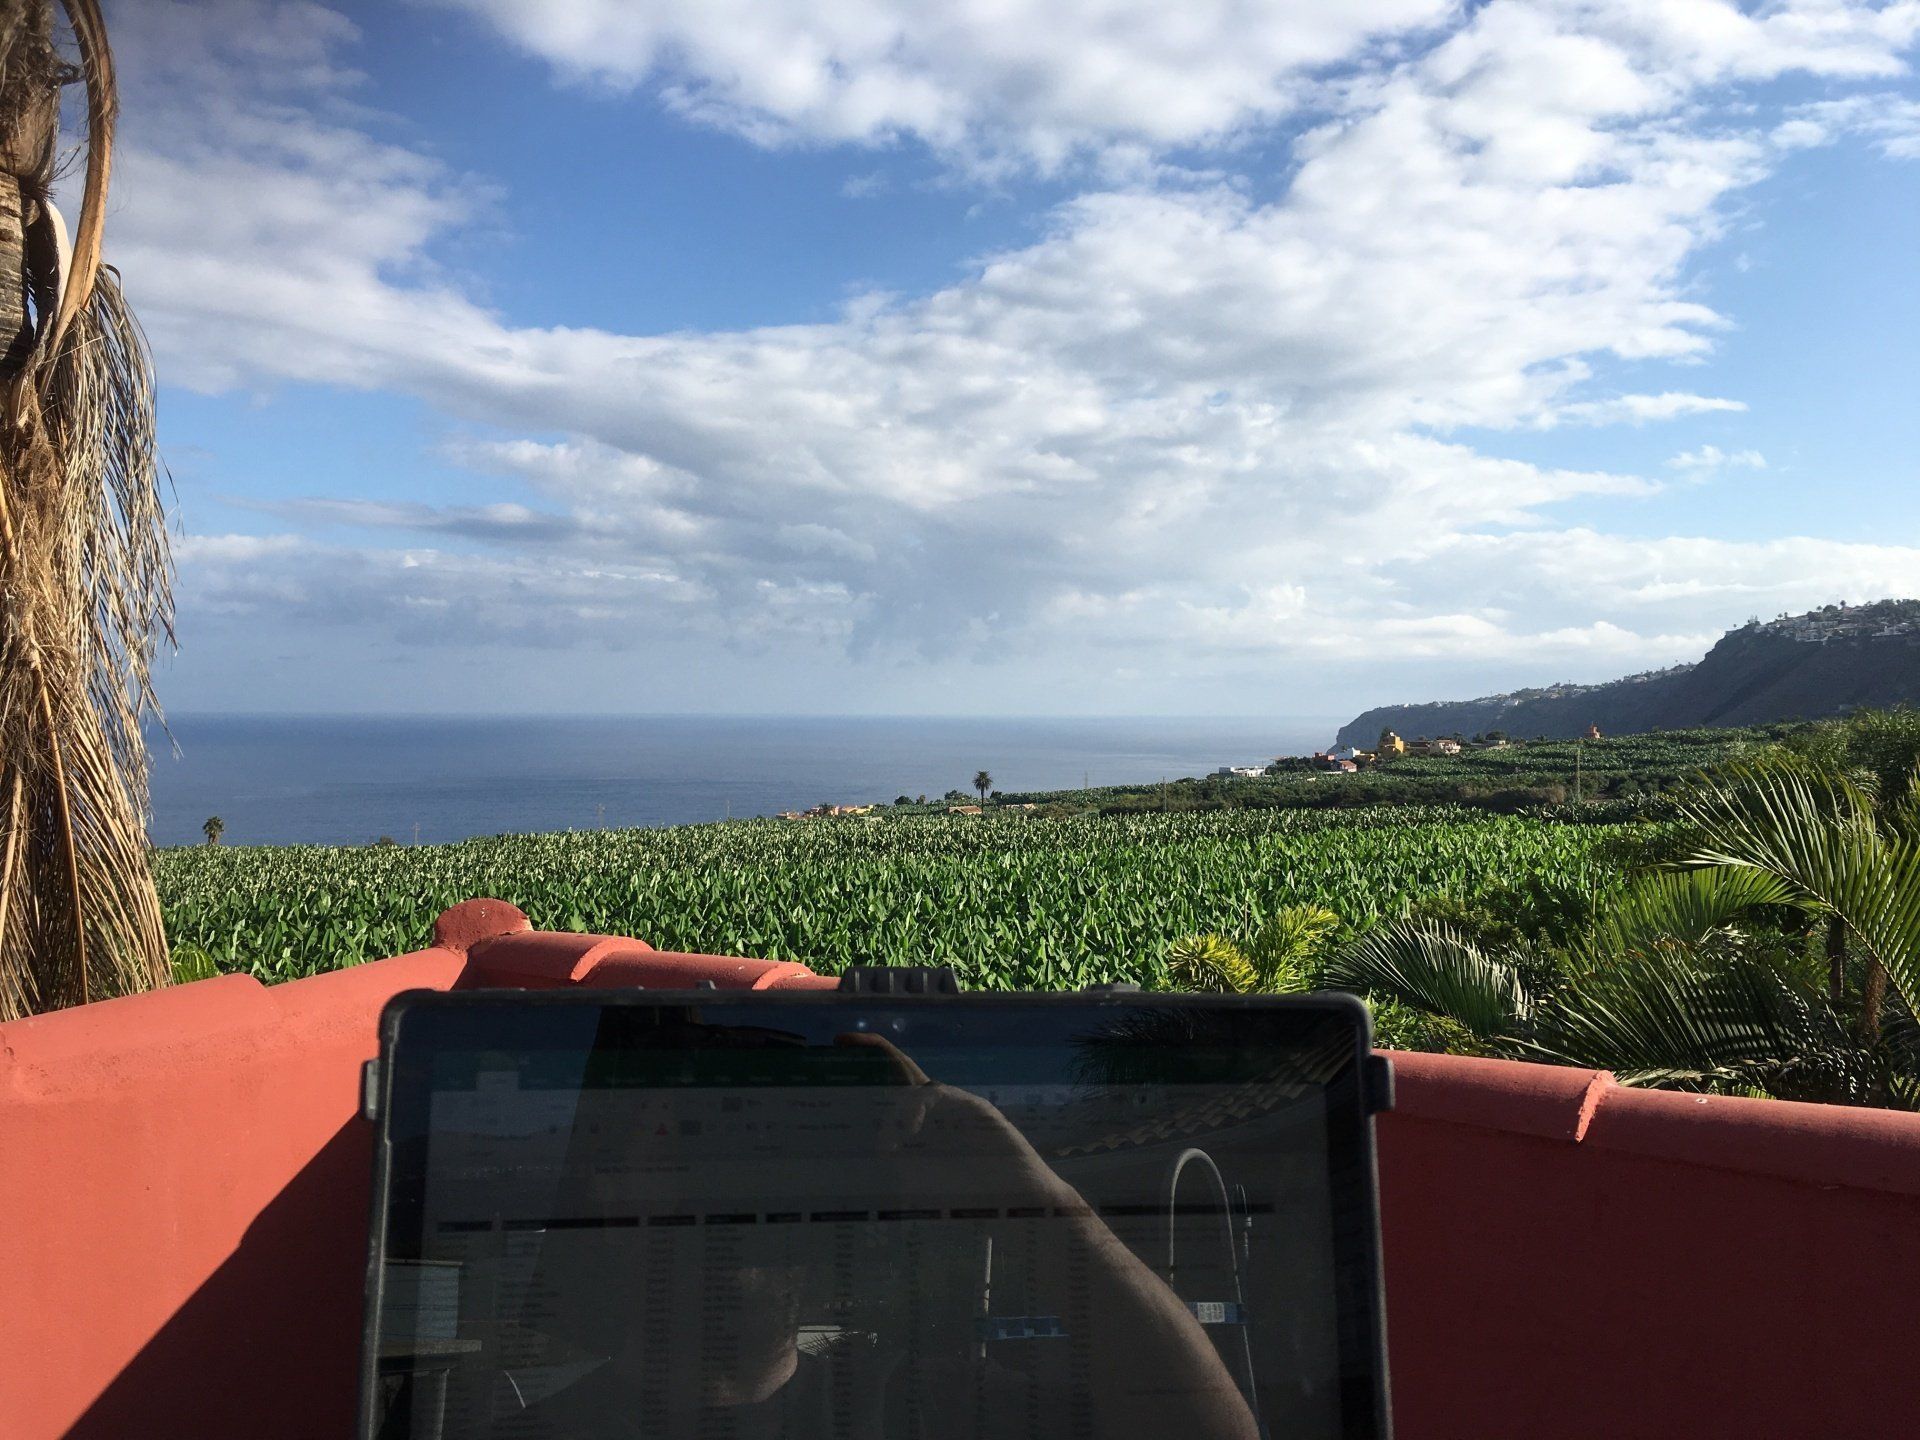
A site survey with a difference
"It’s not often that we have to board a plane, to get to a location, to carry out a site survey but sometimes these special projects do come along."
"The good news is that, with the relevant export licences in place, we have the capability to successfully deliver projects in any location where our clients might need us to go."
Alan Matthews, Managing Director Automated Spaces
The site survey really allowed us to understand some of the amazing features of this property such as:
- Stunning views of the Atlantic Ocean
- The basement of the property was carved into the side of a cliff face and even had exposed rock visible in one of the basement rooms
- The height of the ceiling in the basement rooms e.g., nearly 4m high
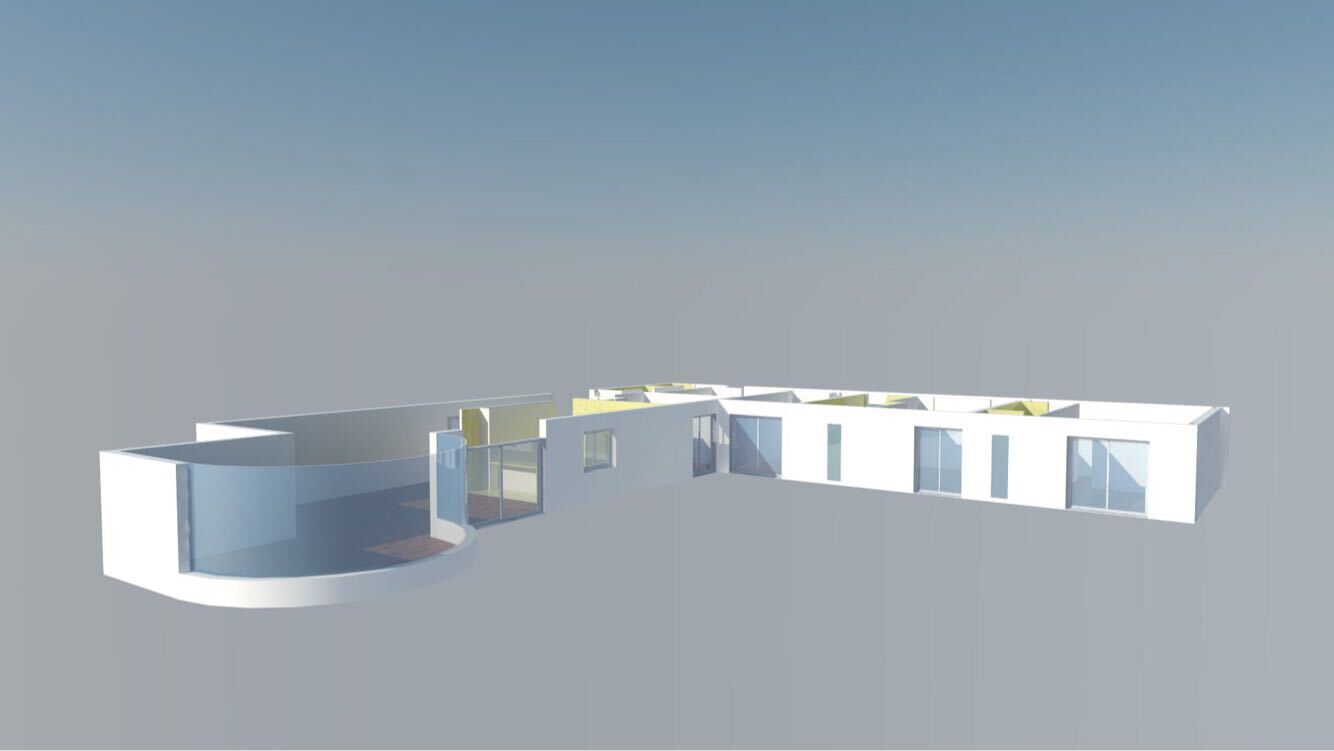
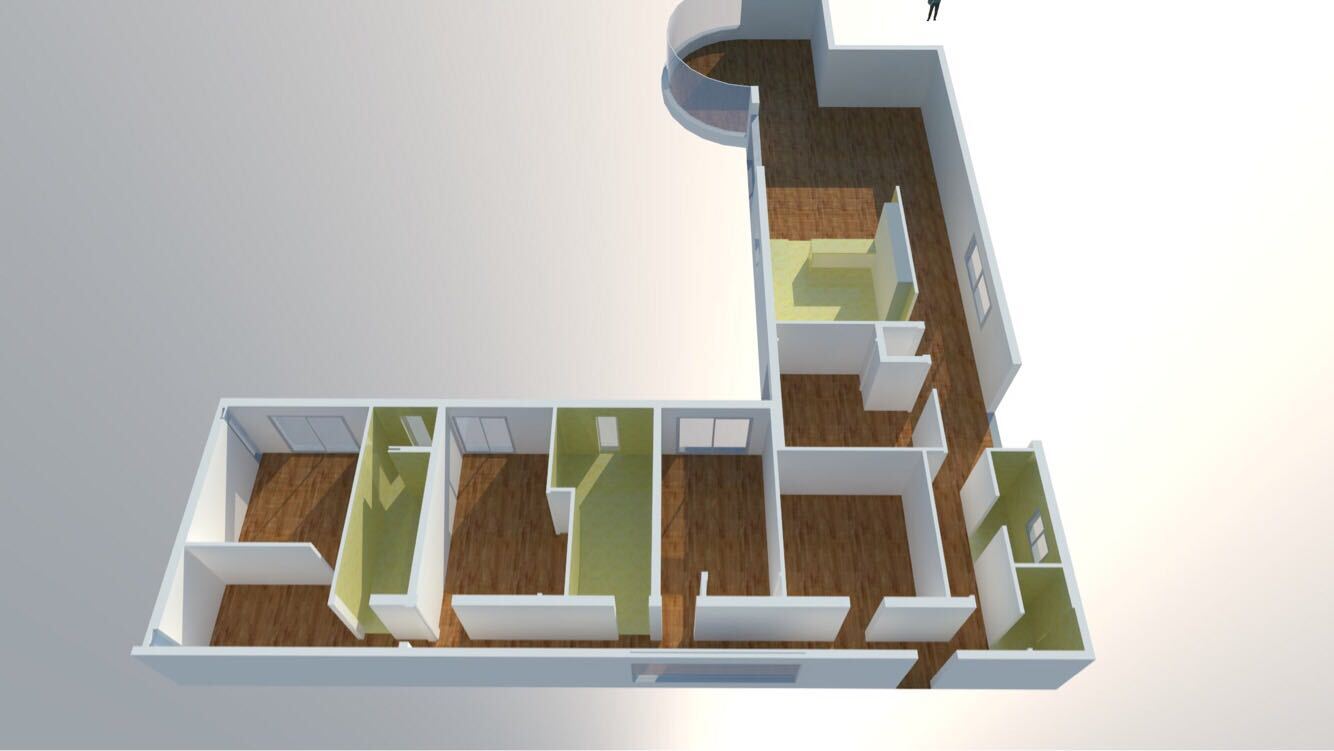
Smart home design
We were engaged by the client during an early part of the design phase and whilst the plans were still at the initial concept phases and on paper.
We had meetings onsite with the Client and Architect to discuss their requirements, the construction materials/methods as well as finishes, and how we could seamlessly integrate any smart home technology.
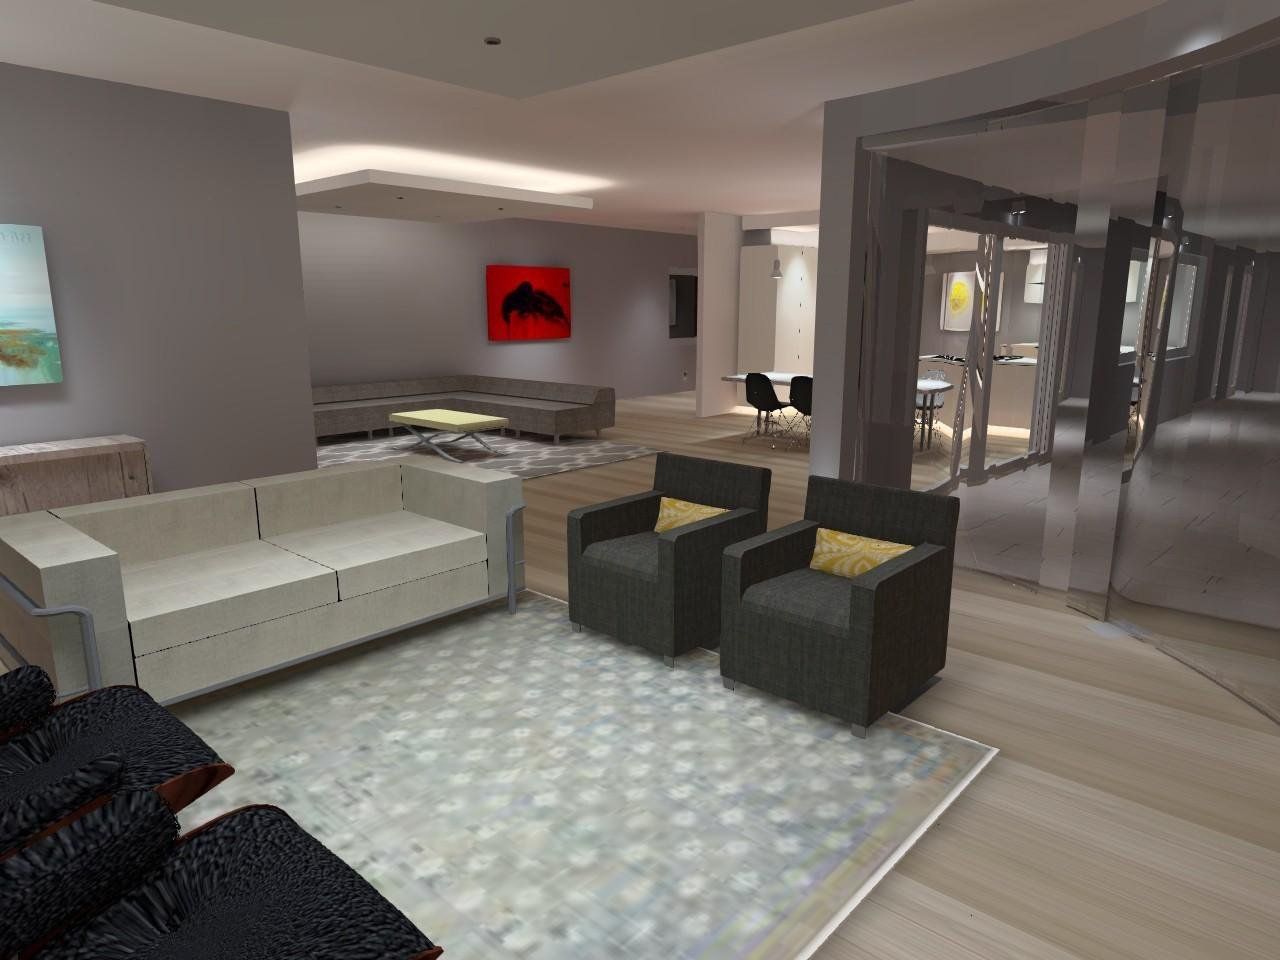
As we were providing a centralised smart lighting solution along with the specific LED light fixtures, we engaged with the Collingwood Lighting Design team. They were able to provide some fantastic 3D renders that really helped the client visual what the rooms in their finished home would look like when lit.
The Collingwood Lighting design also included some elements that the Architect then decided to incorporate into the overall design e.g., the drop ceiling sections in the TV and sitting areas which he then used to conceal some of the ducted air-conditioning units.
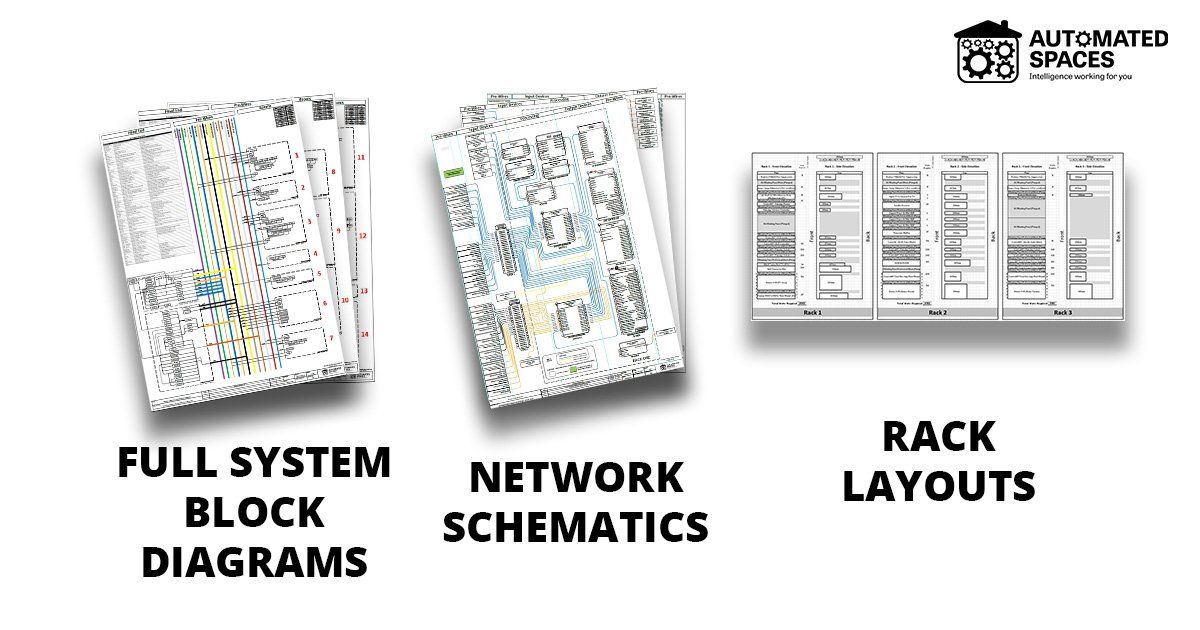
We produced various types of design documentation e.g., full system block diagrams, network schematics, power schematics, audio schematics, video schematics, head-end room layout, CCTV design, rack layouts, pre-wire cable summaries, etc.
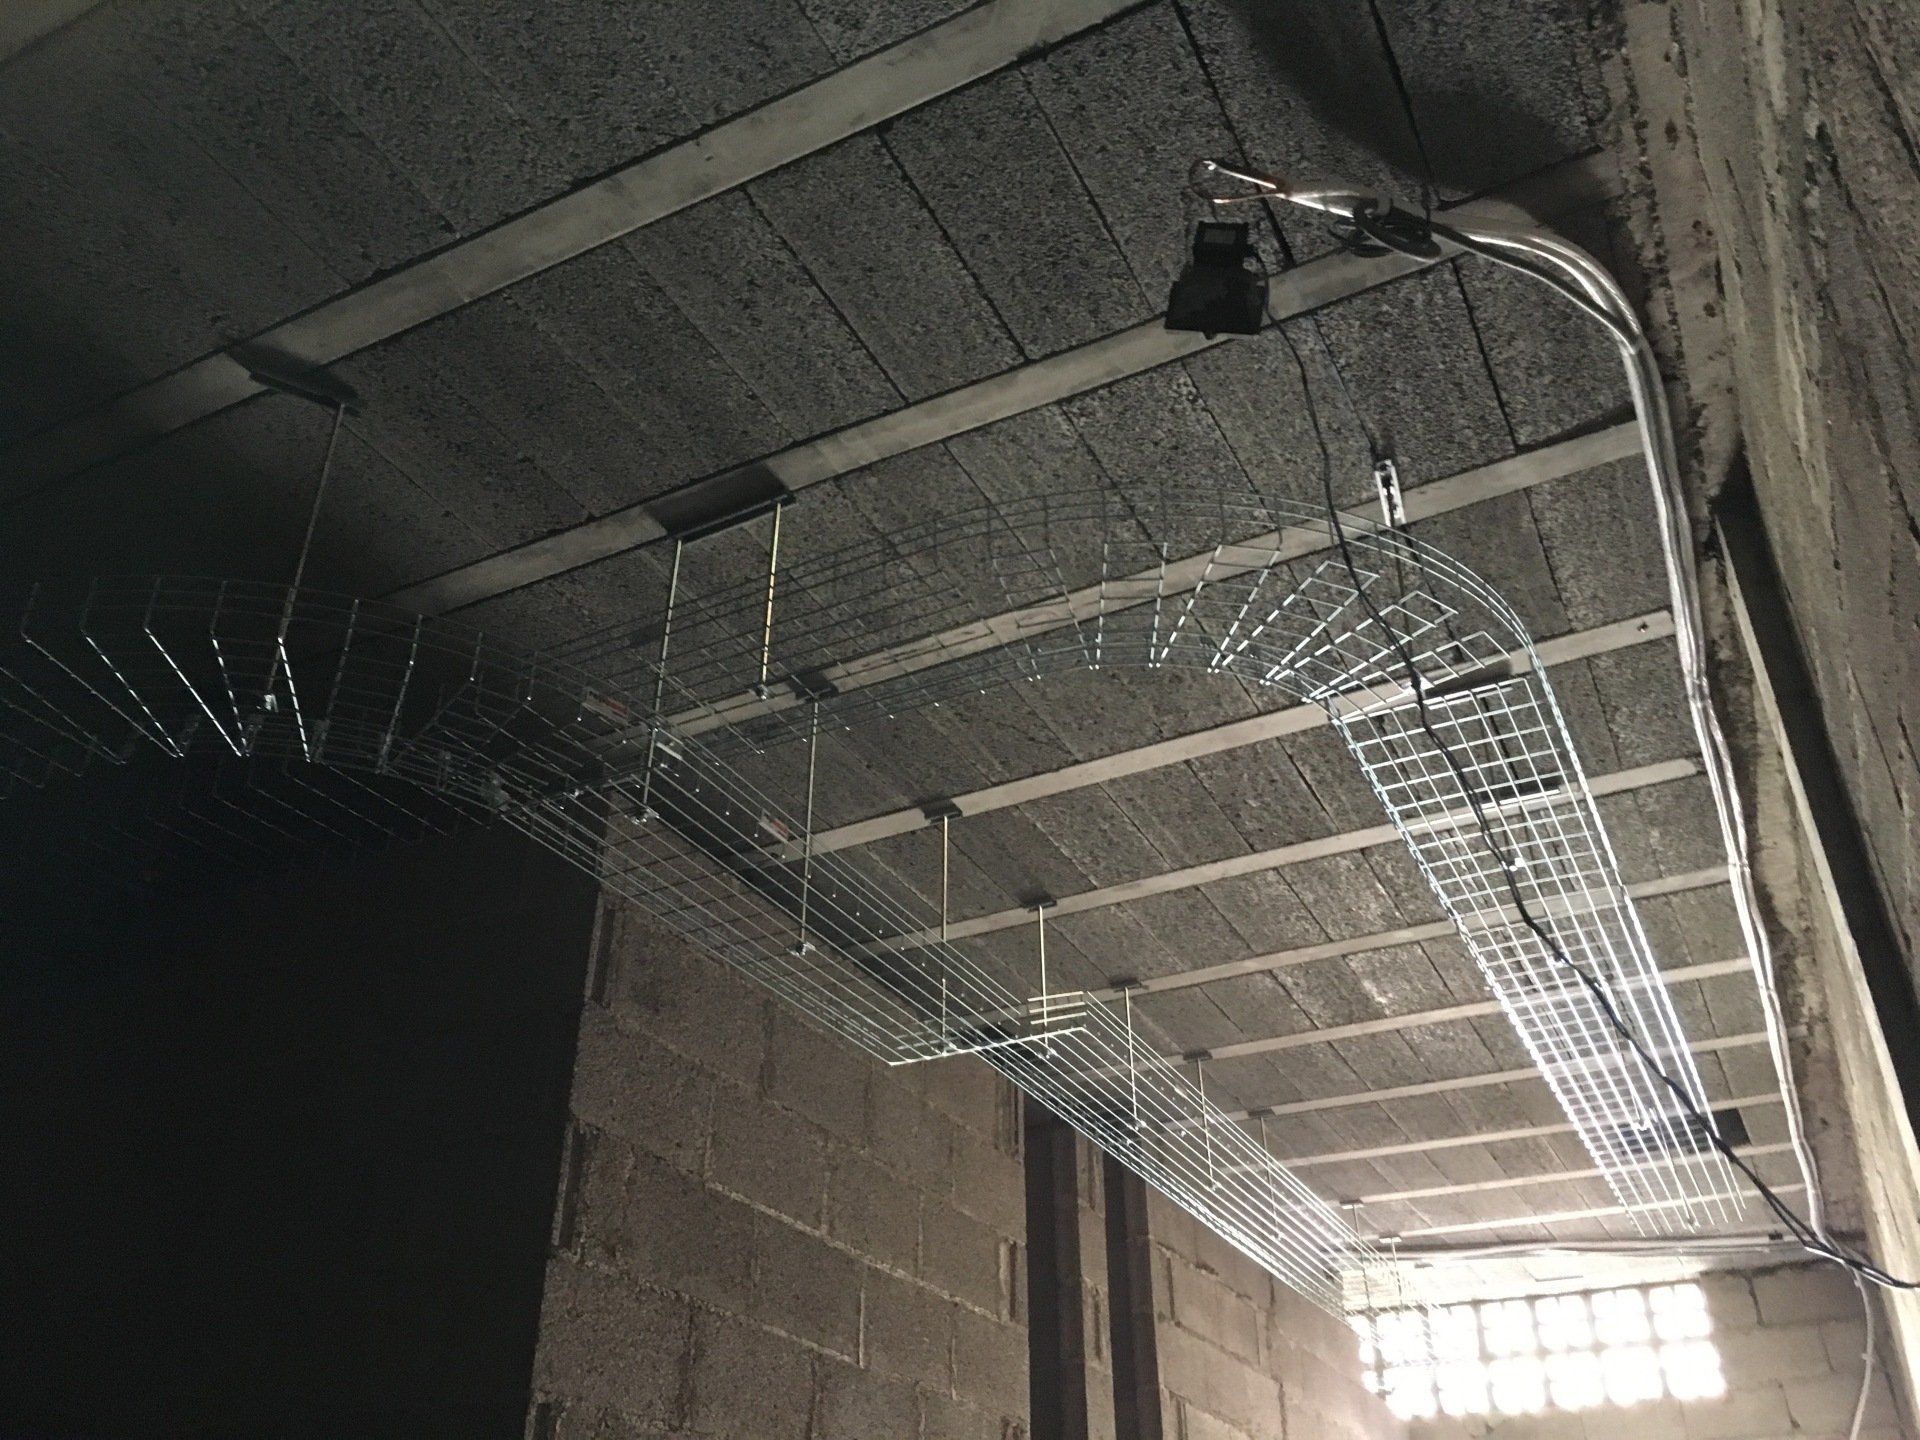
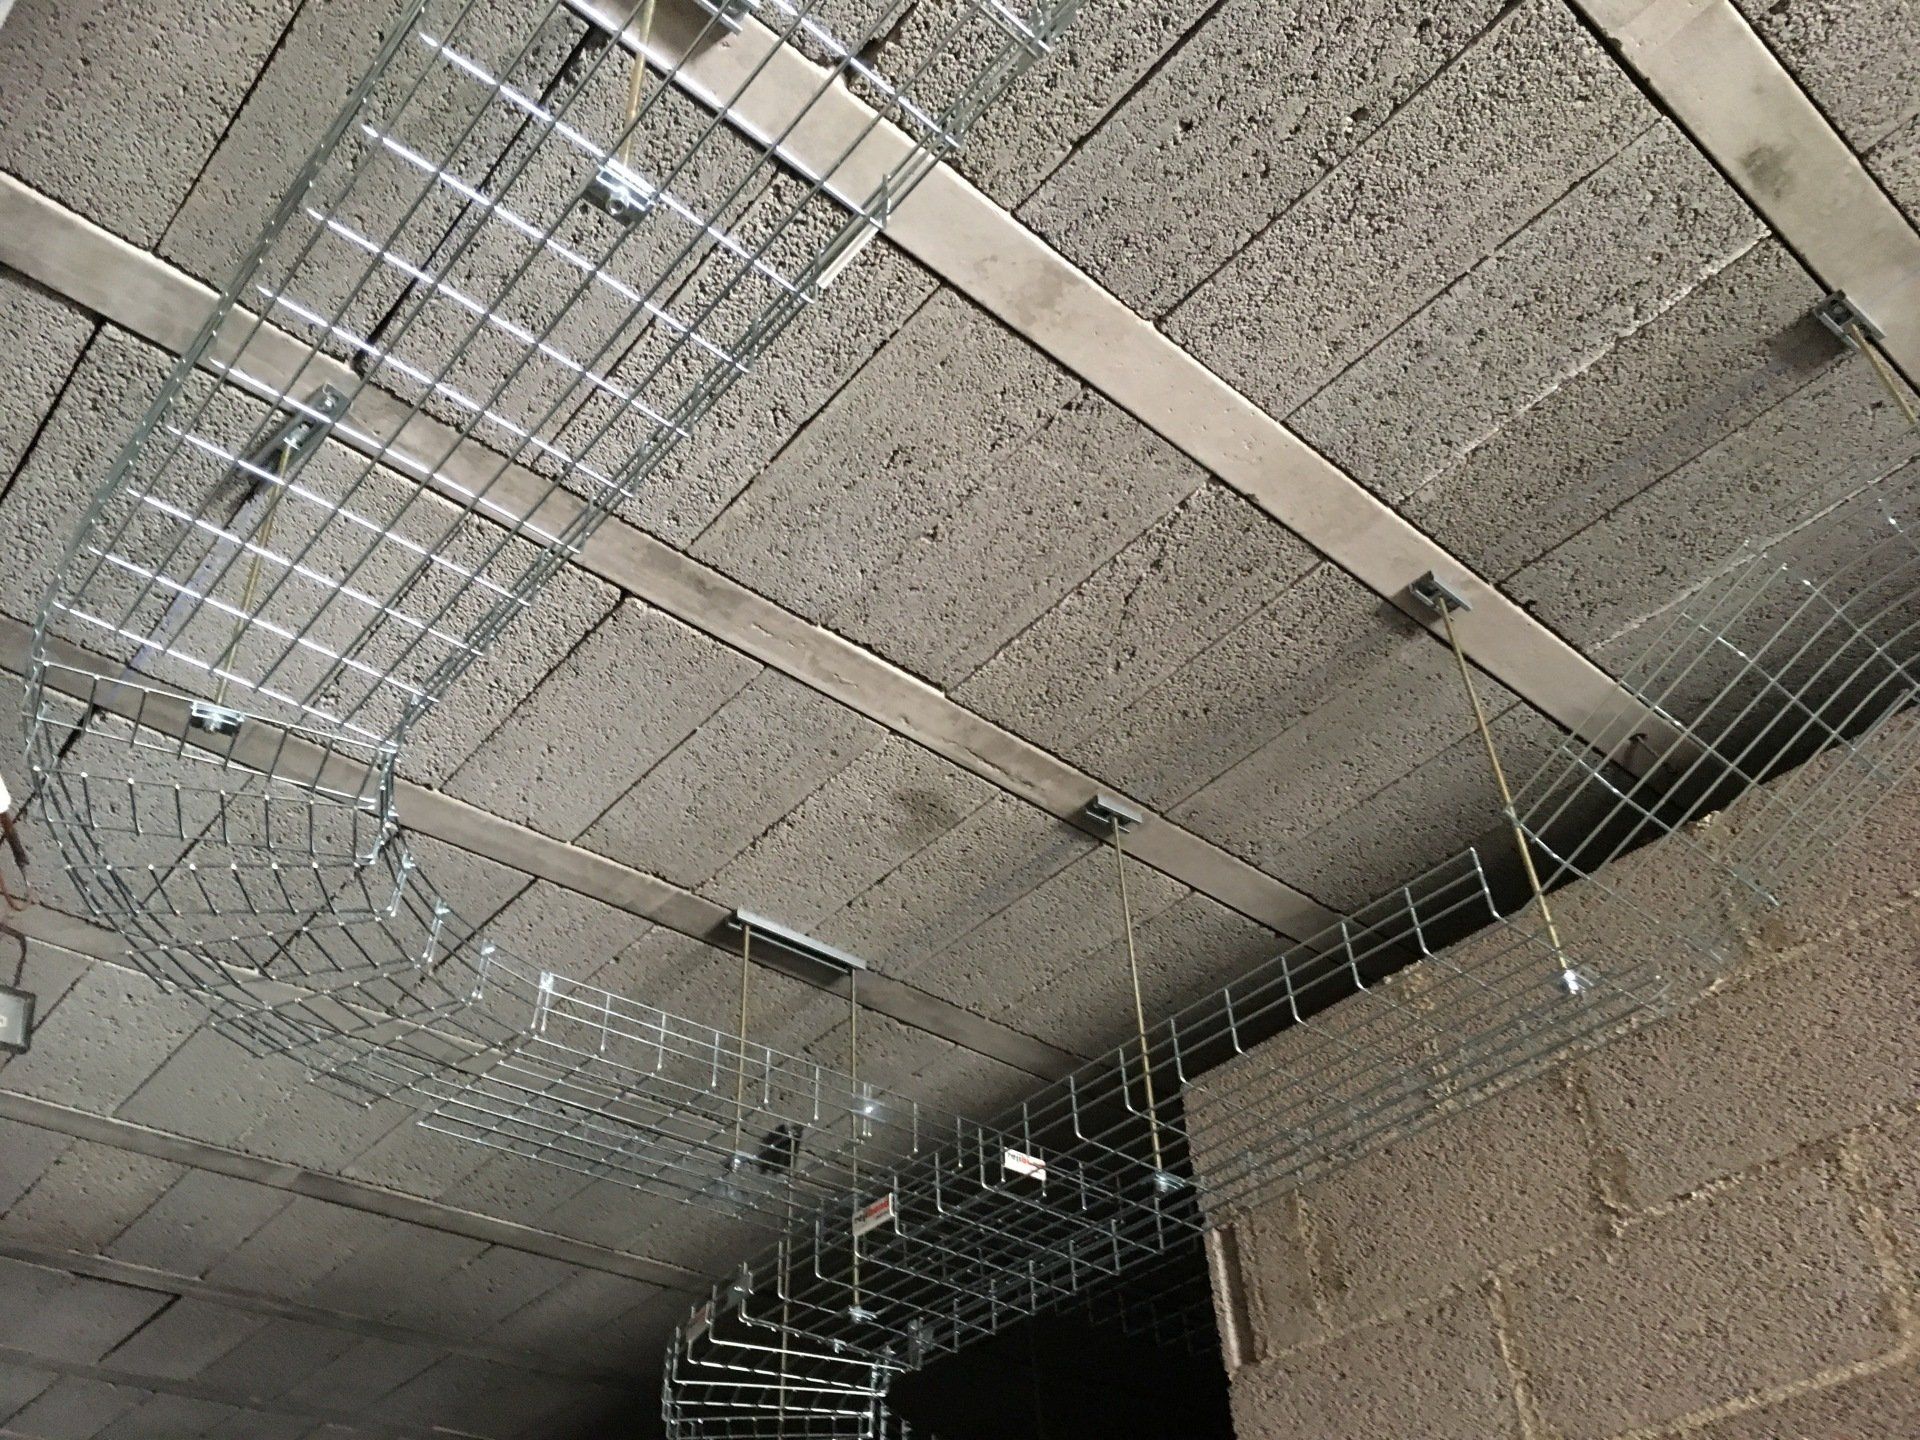
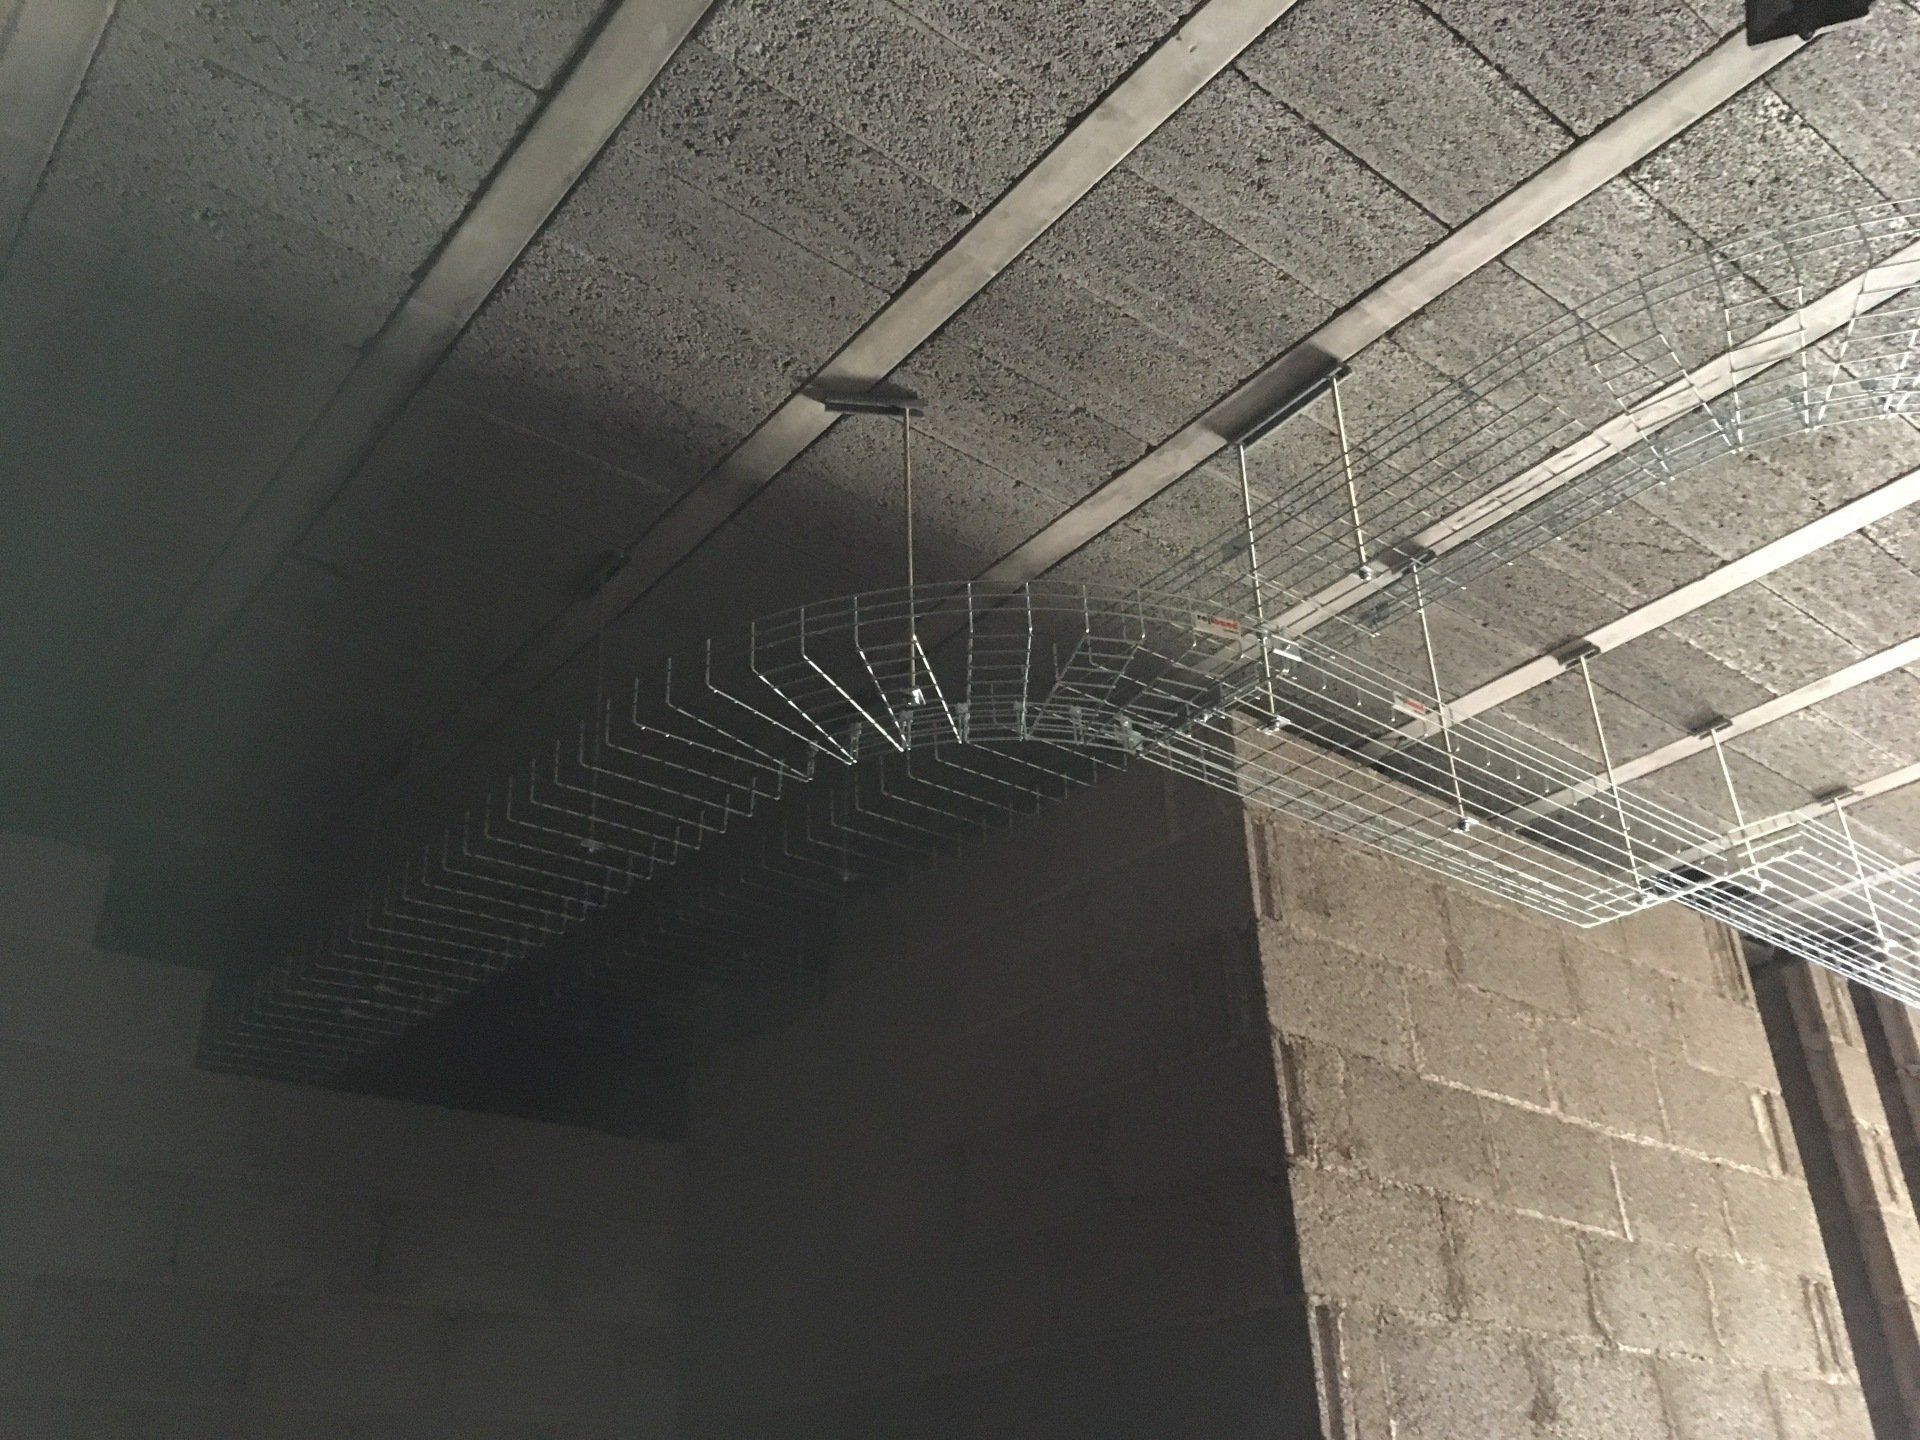
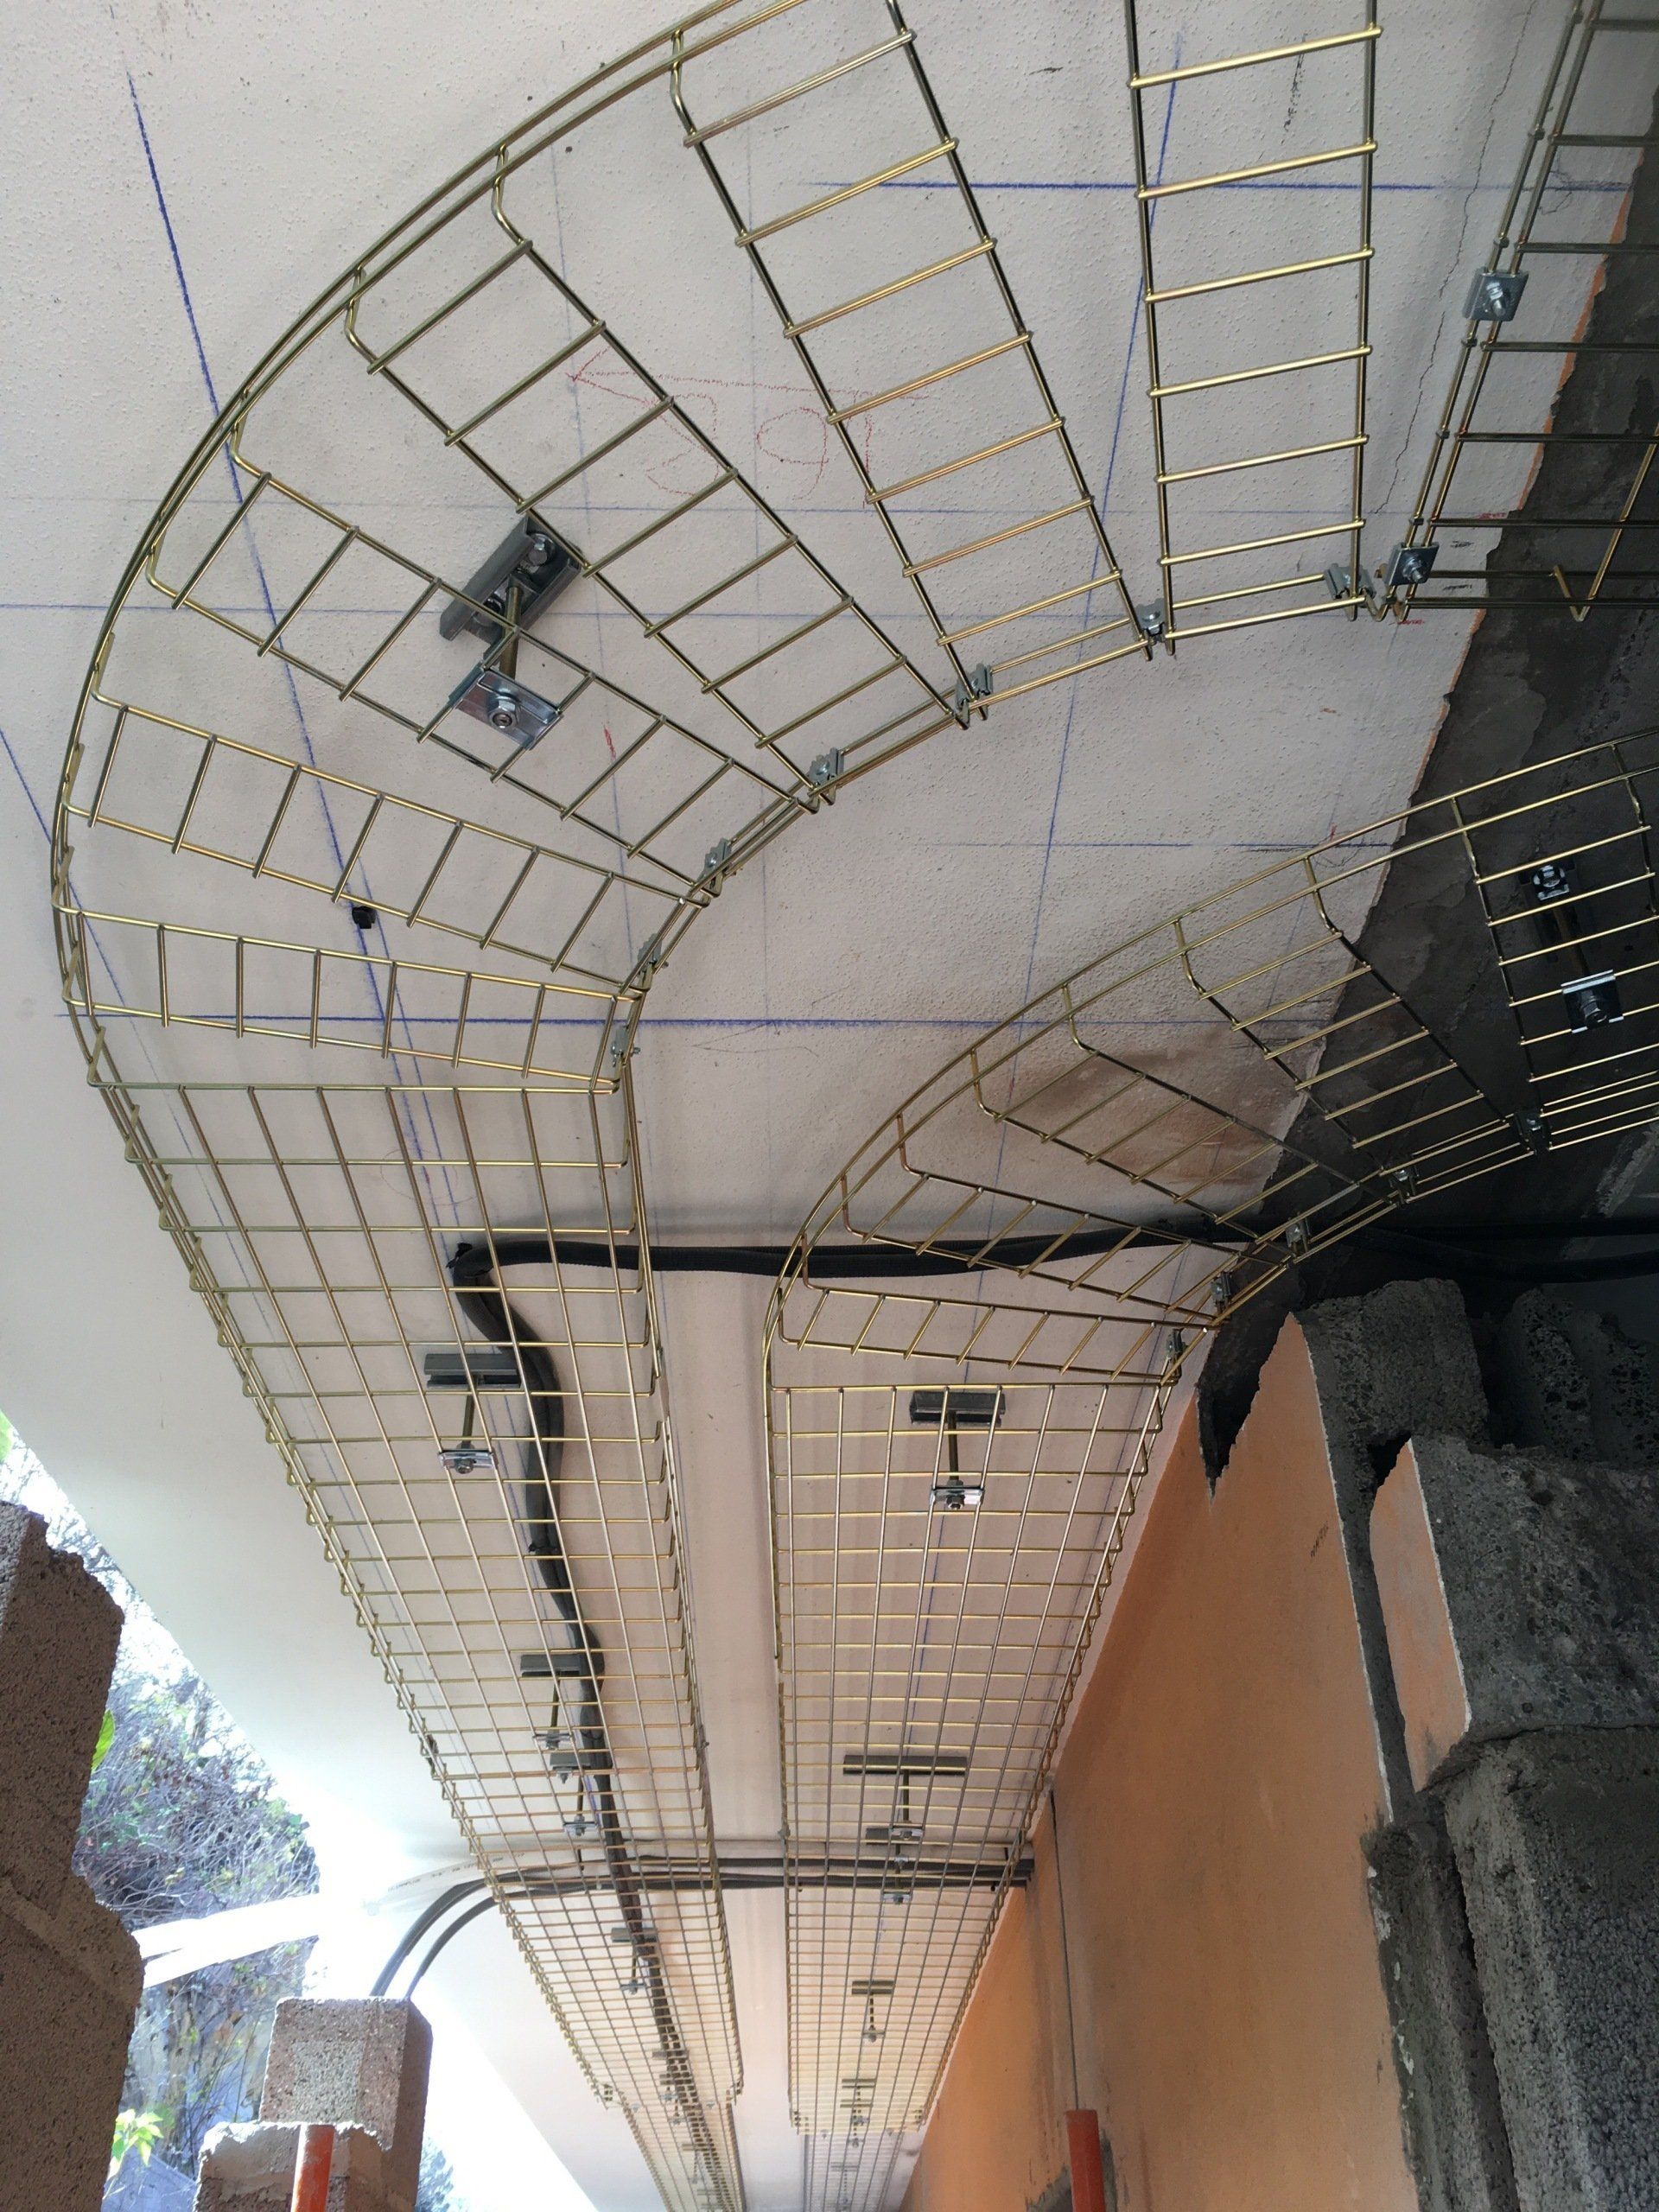
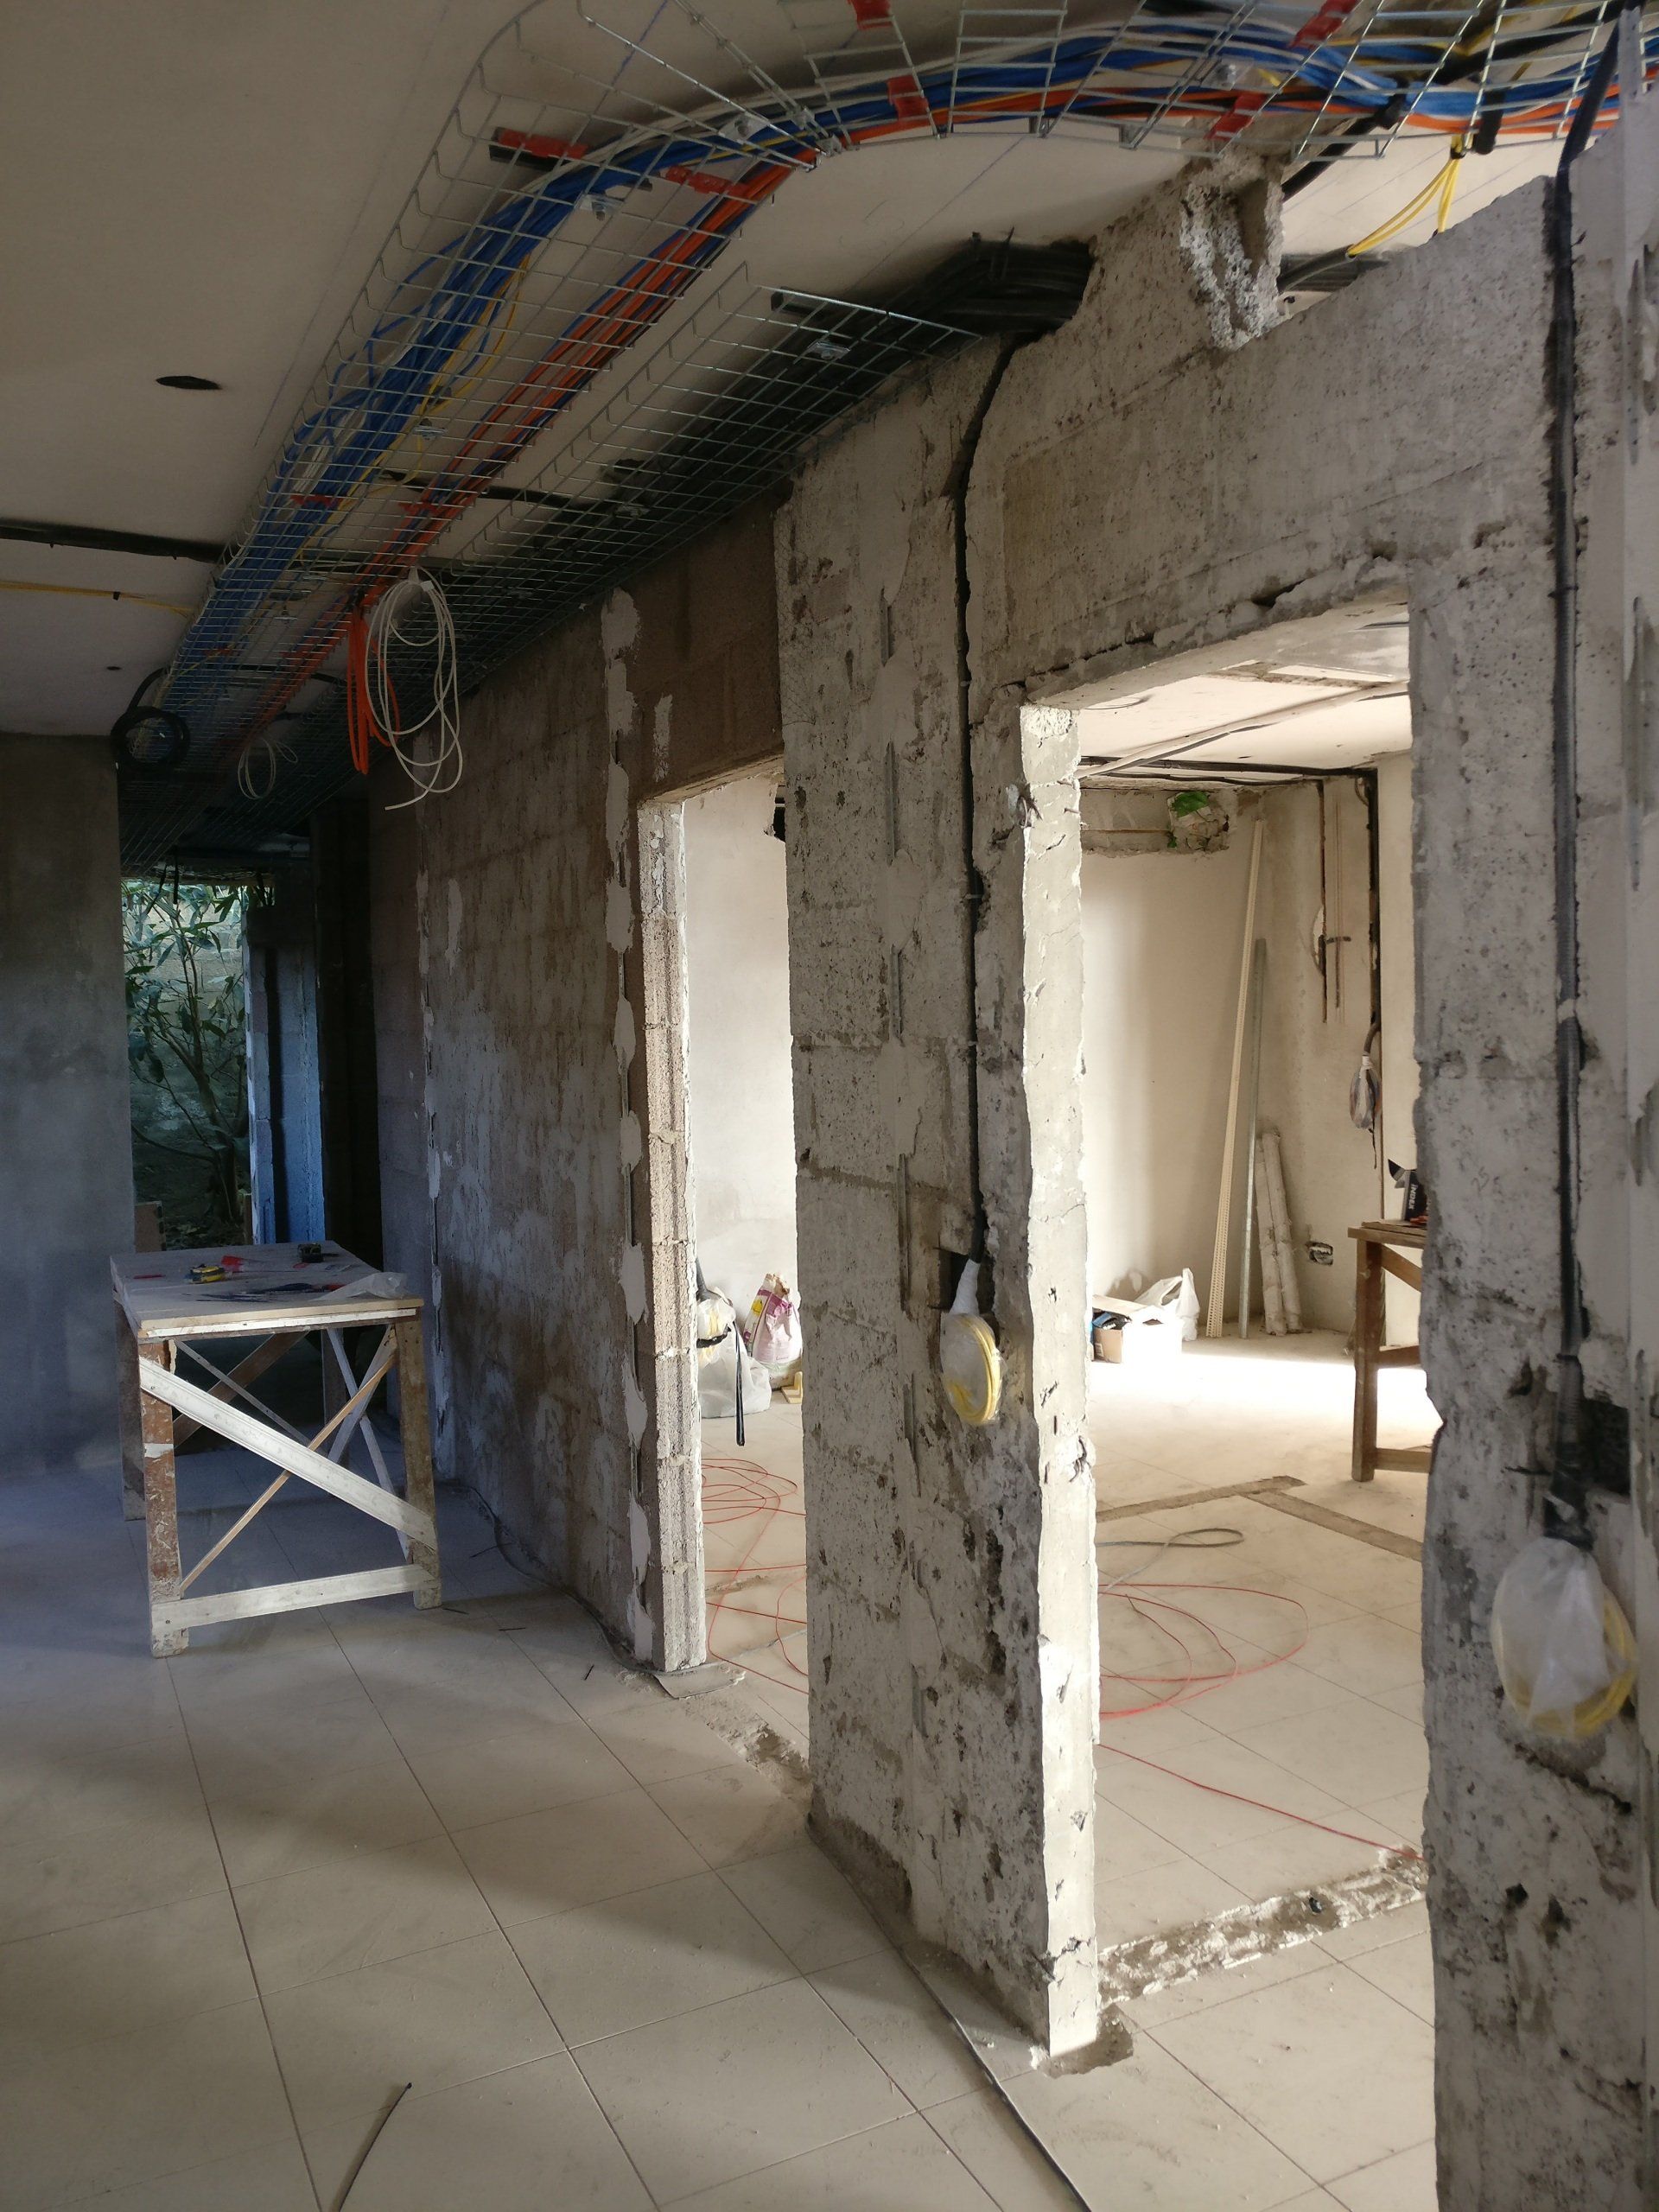
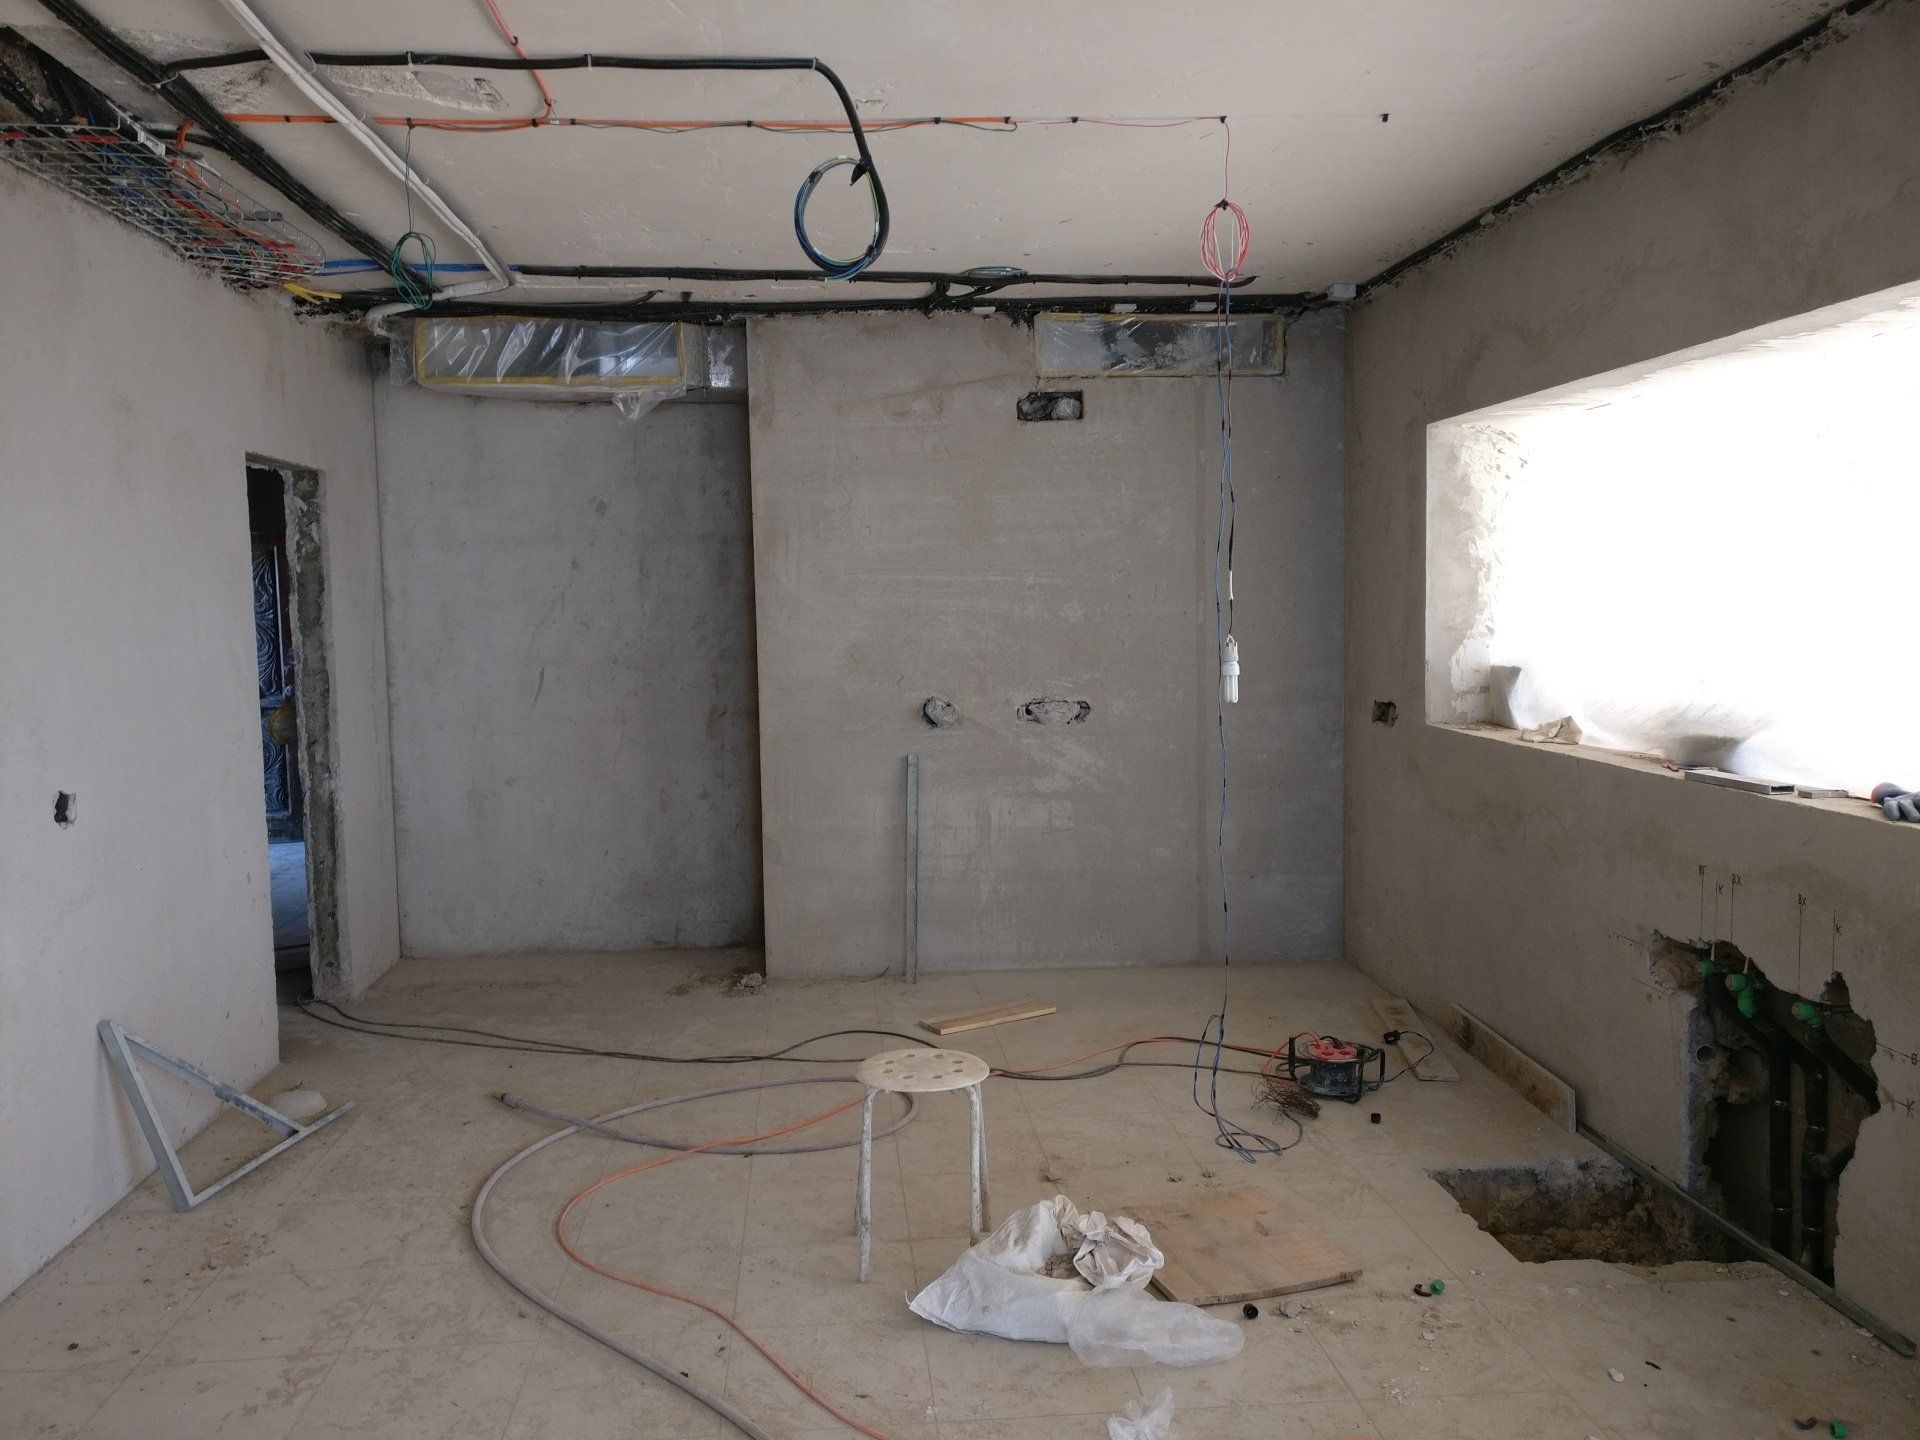
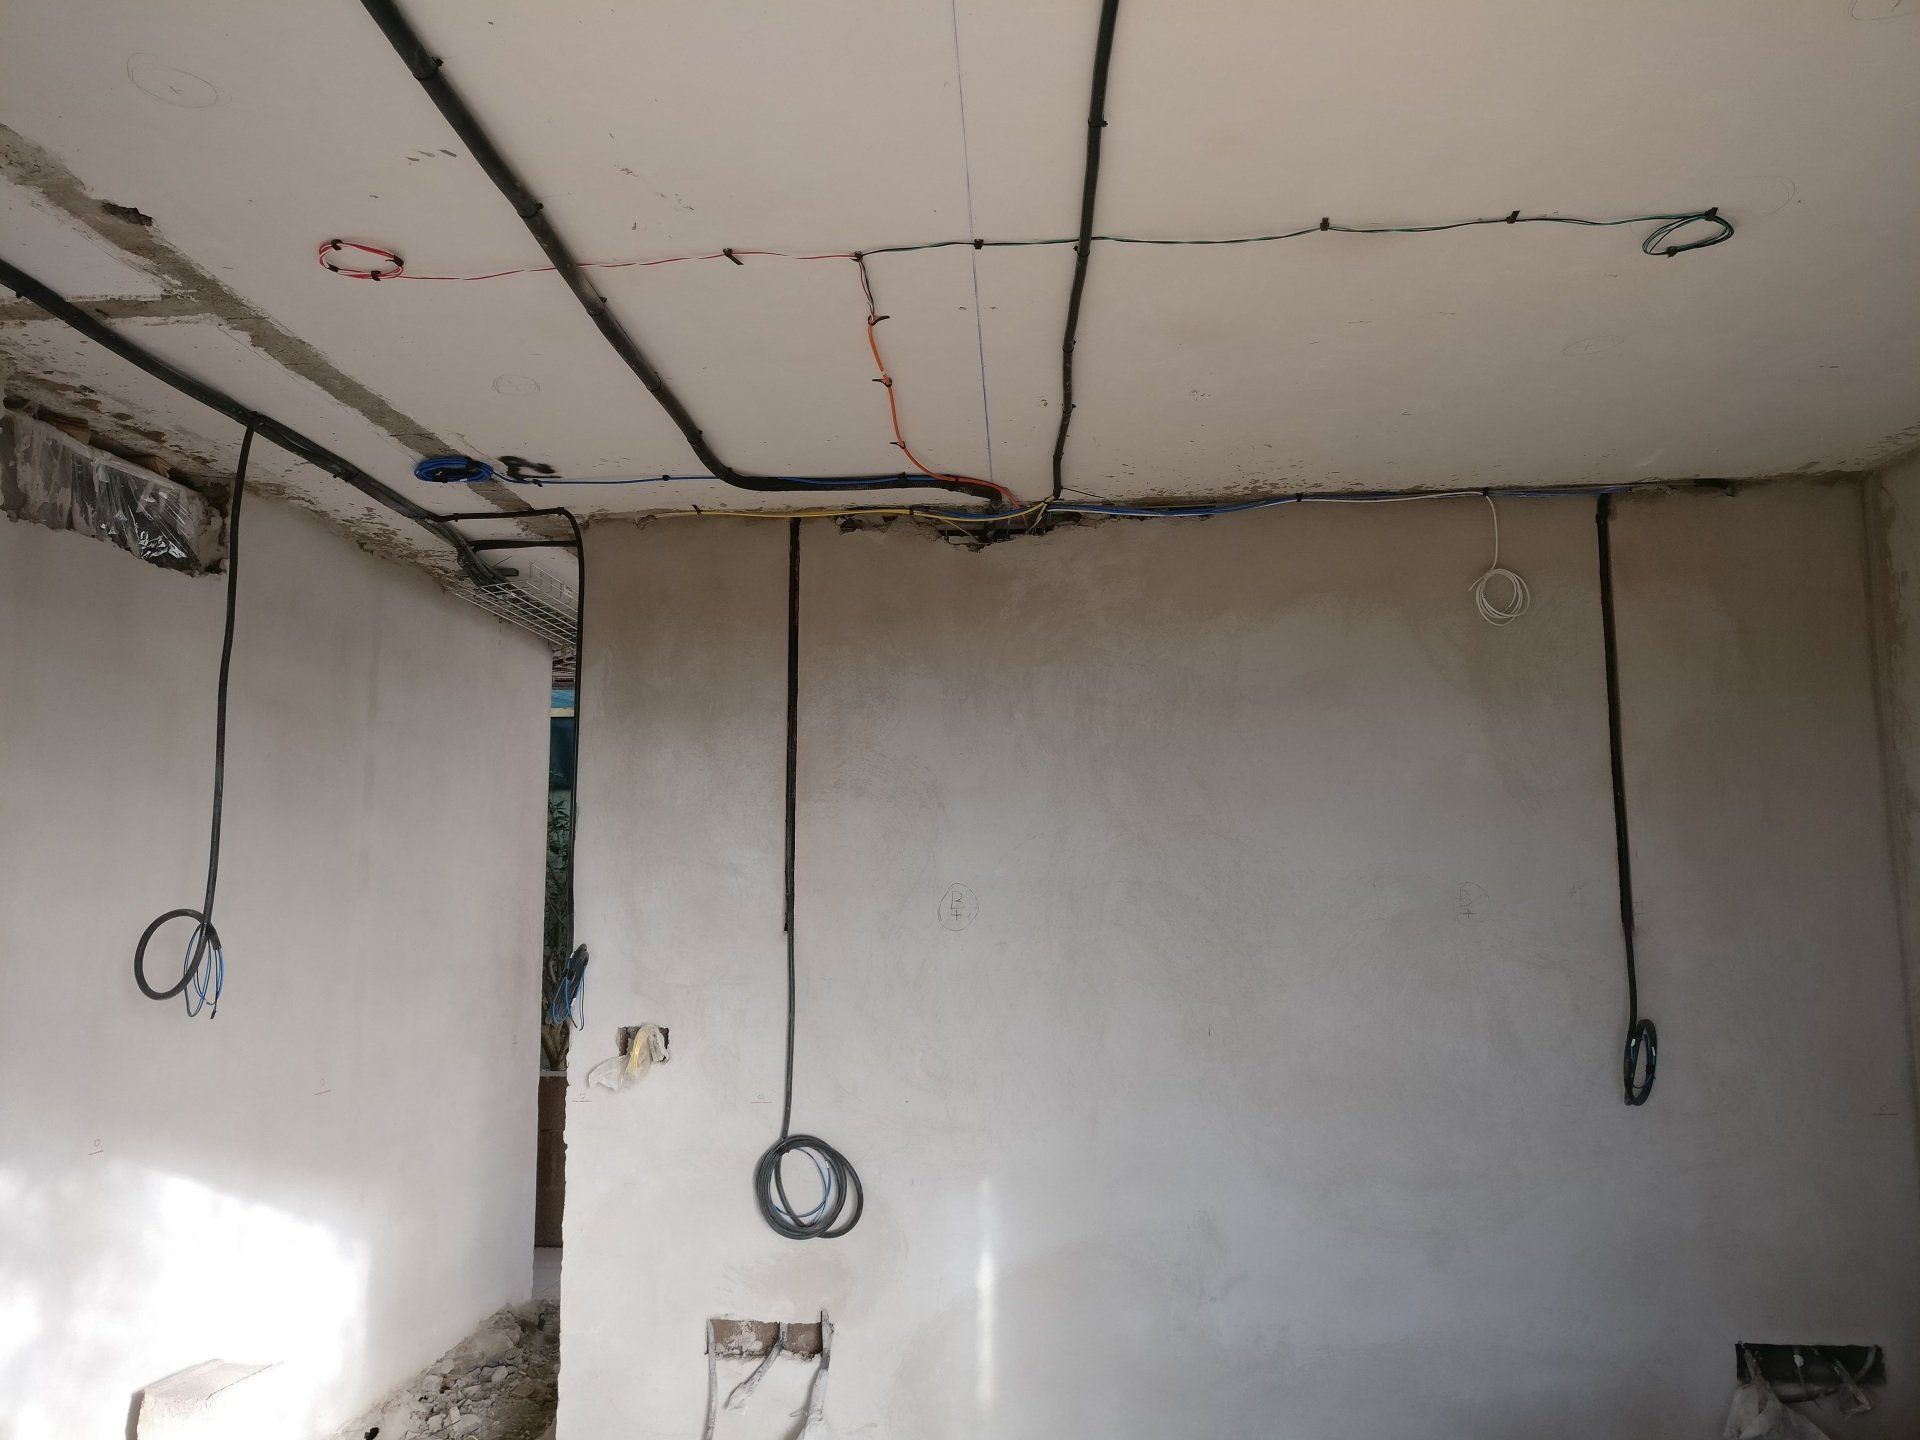
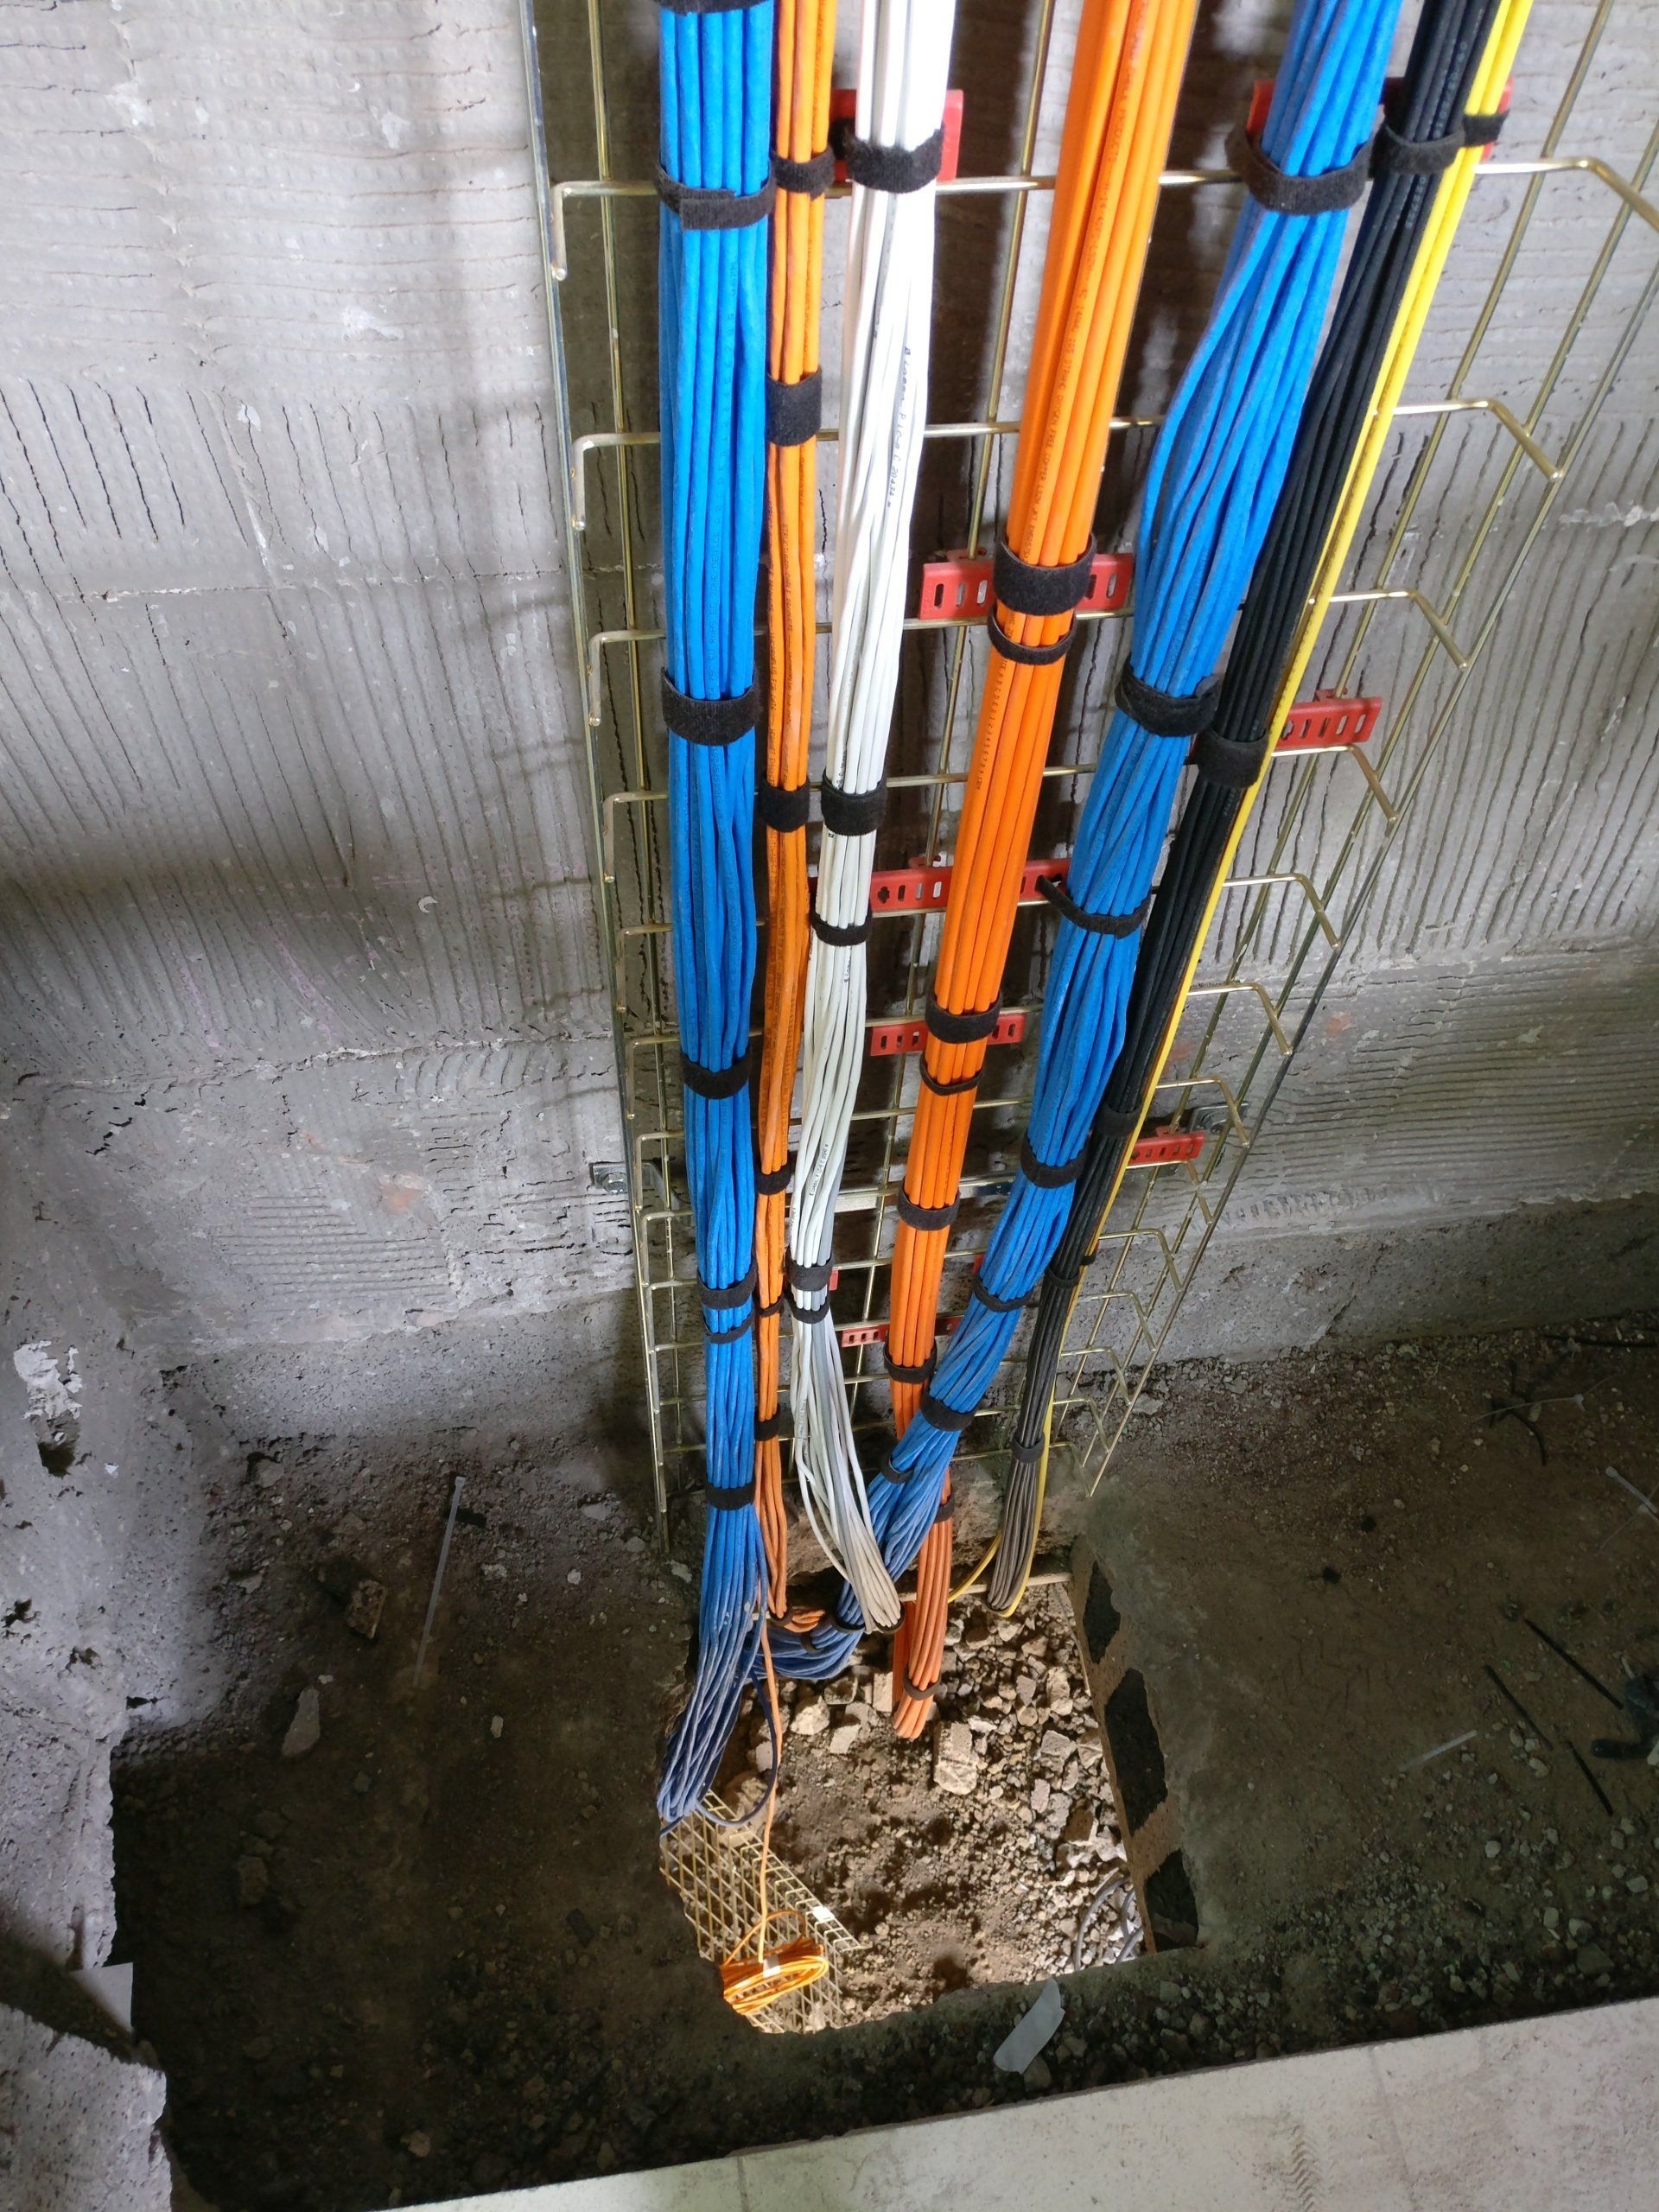
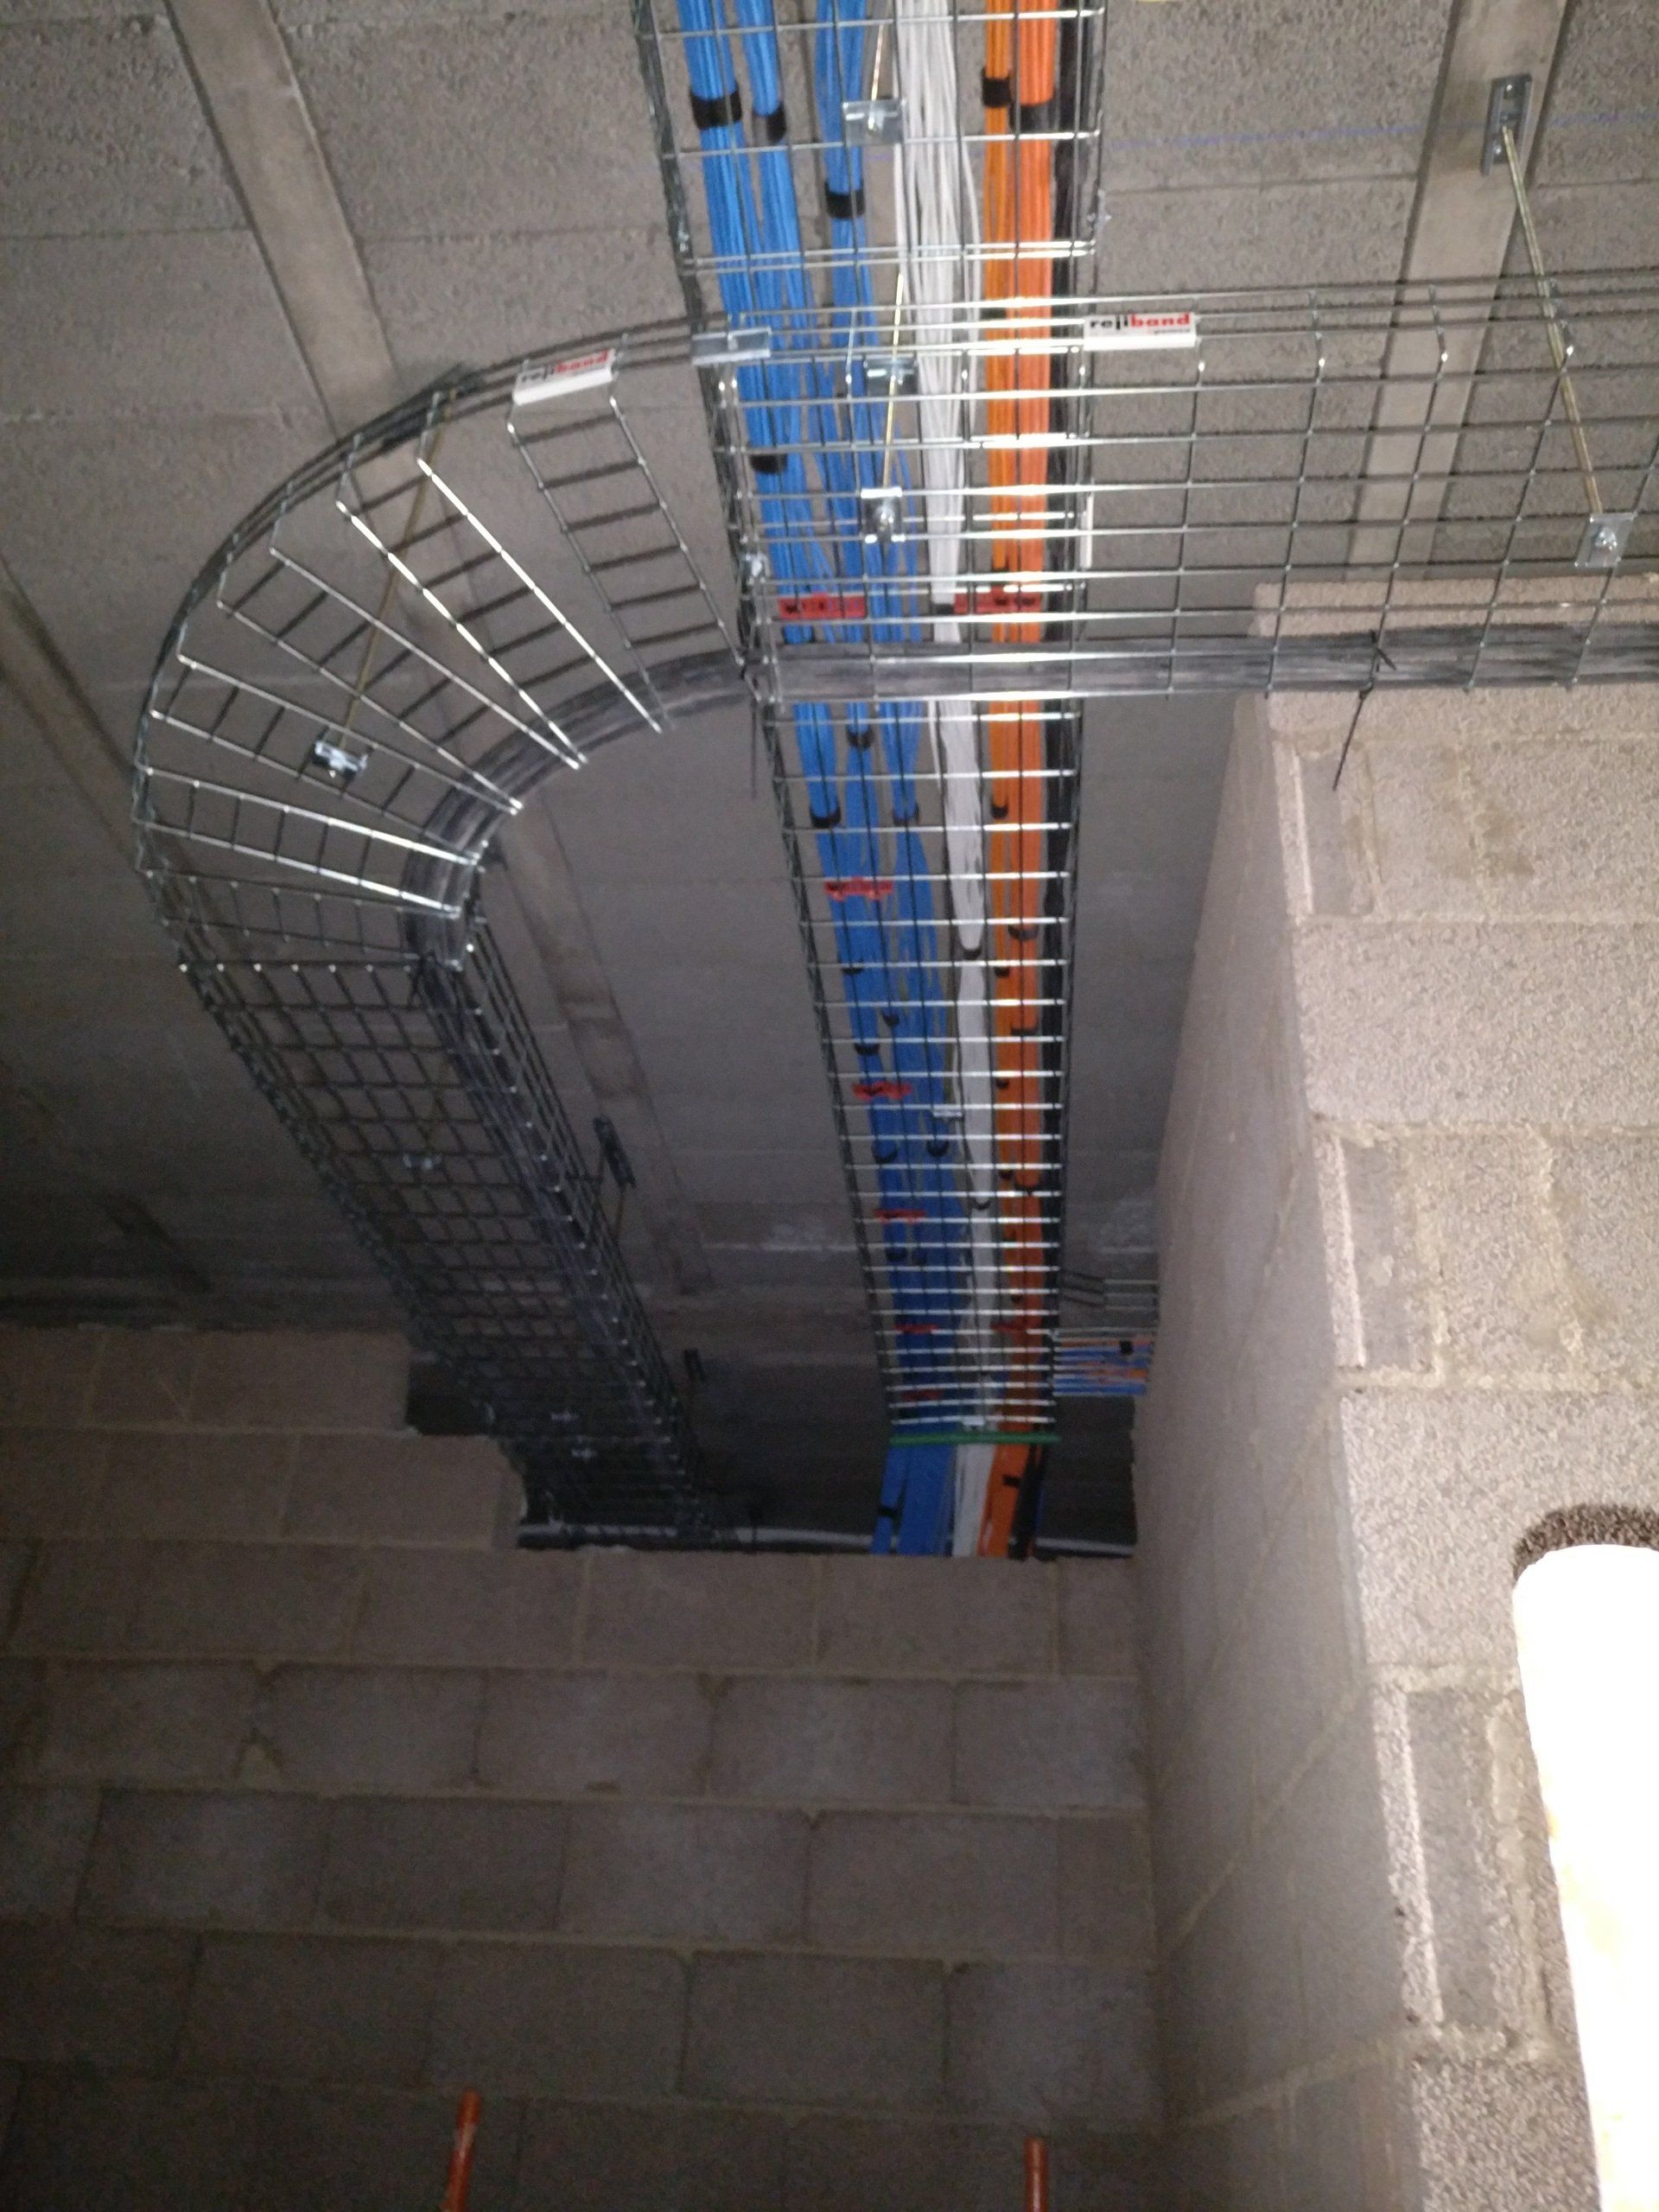
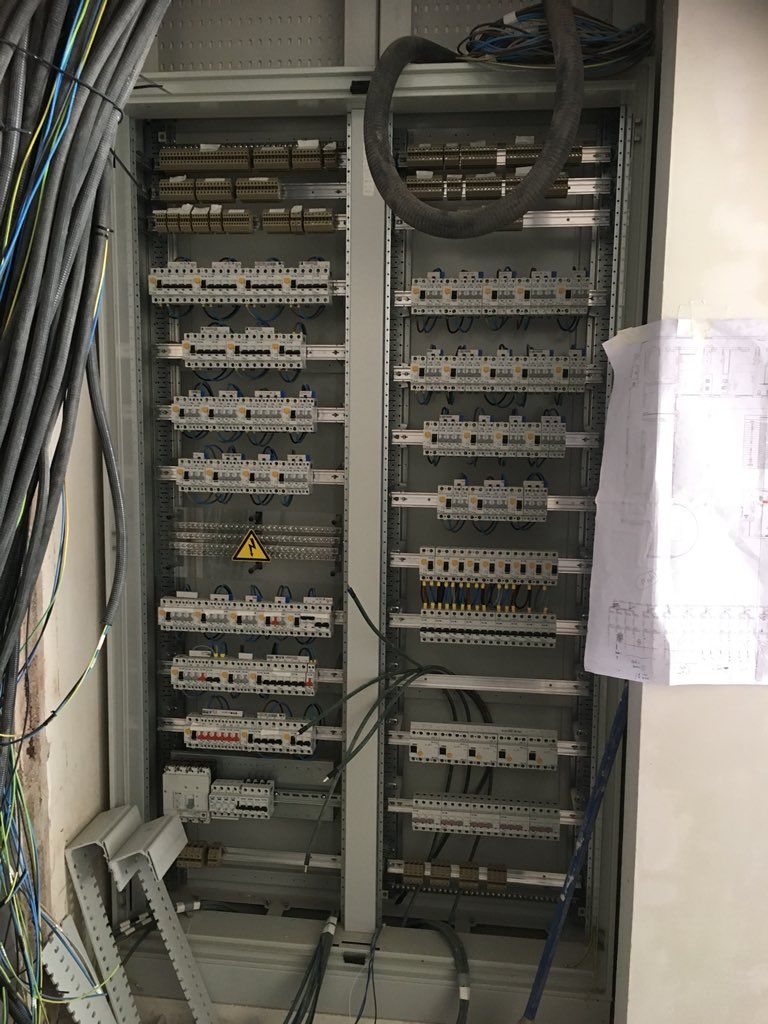
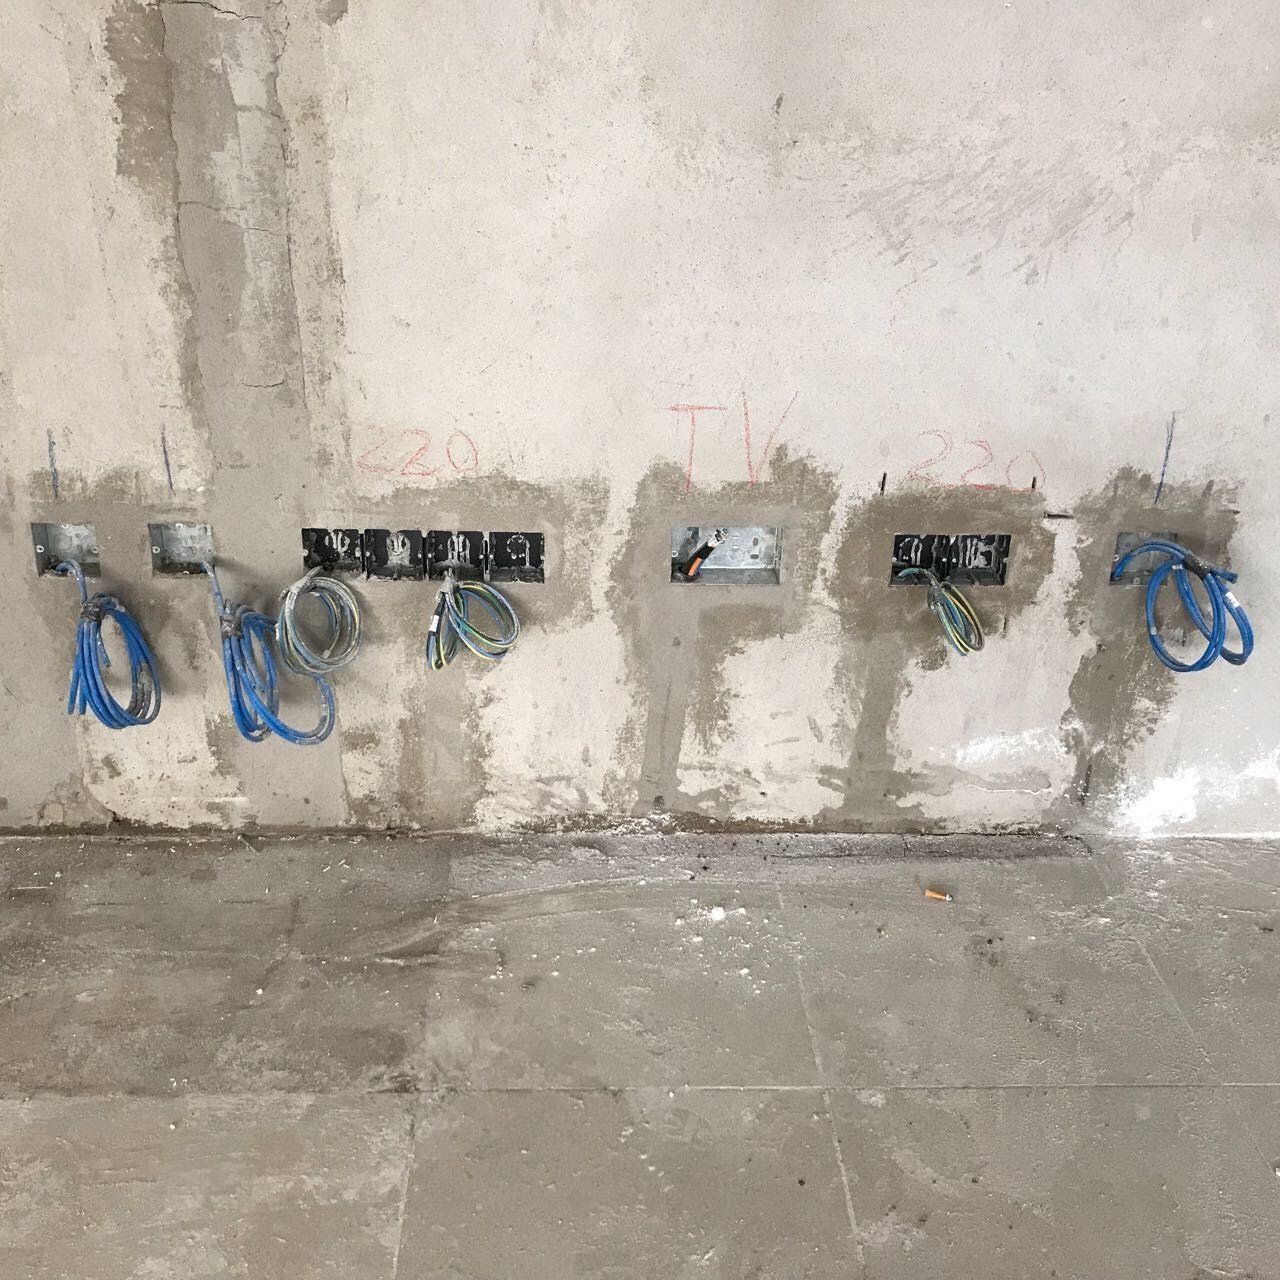
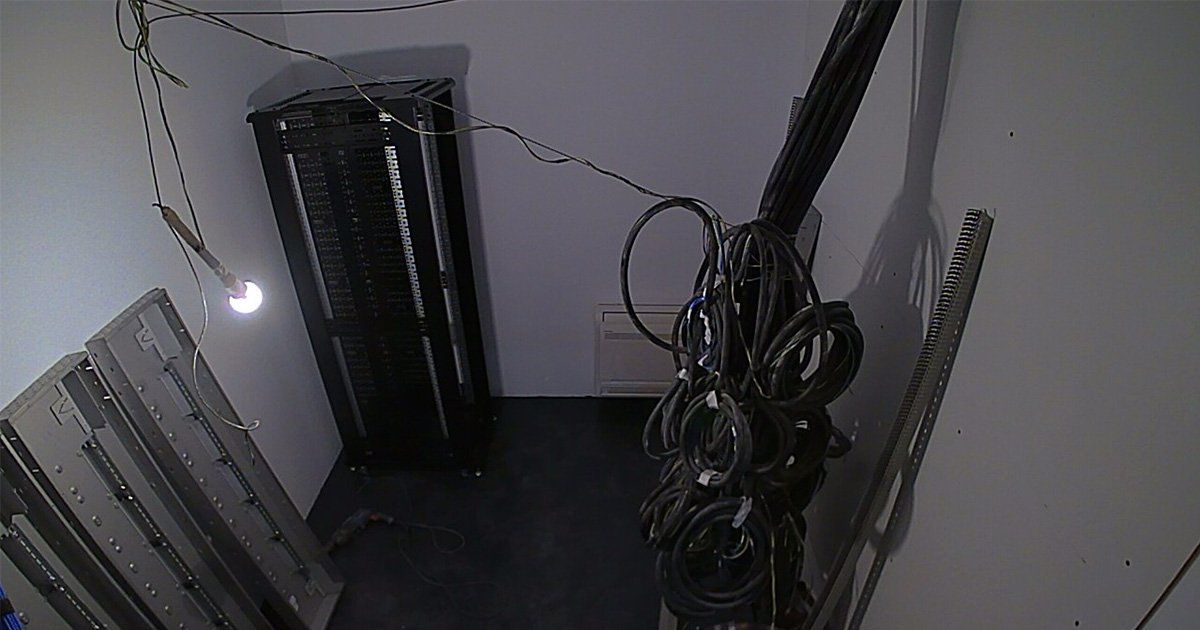
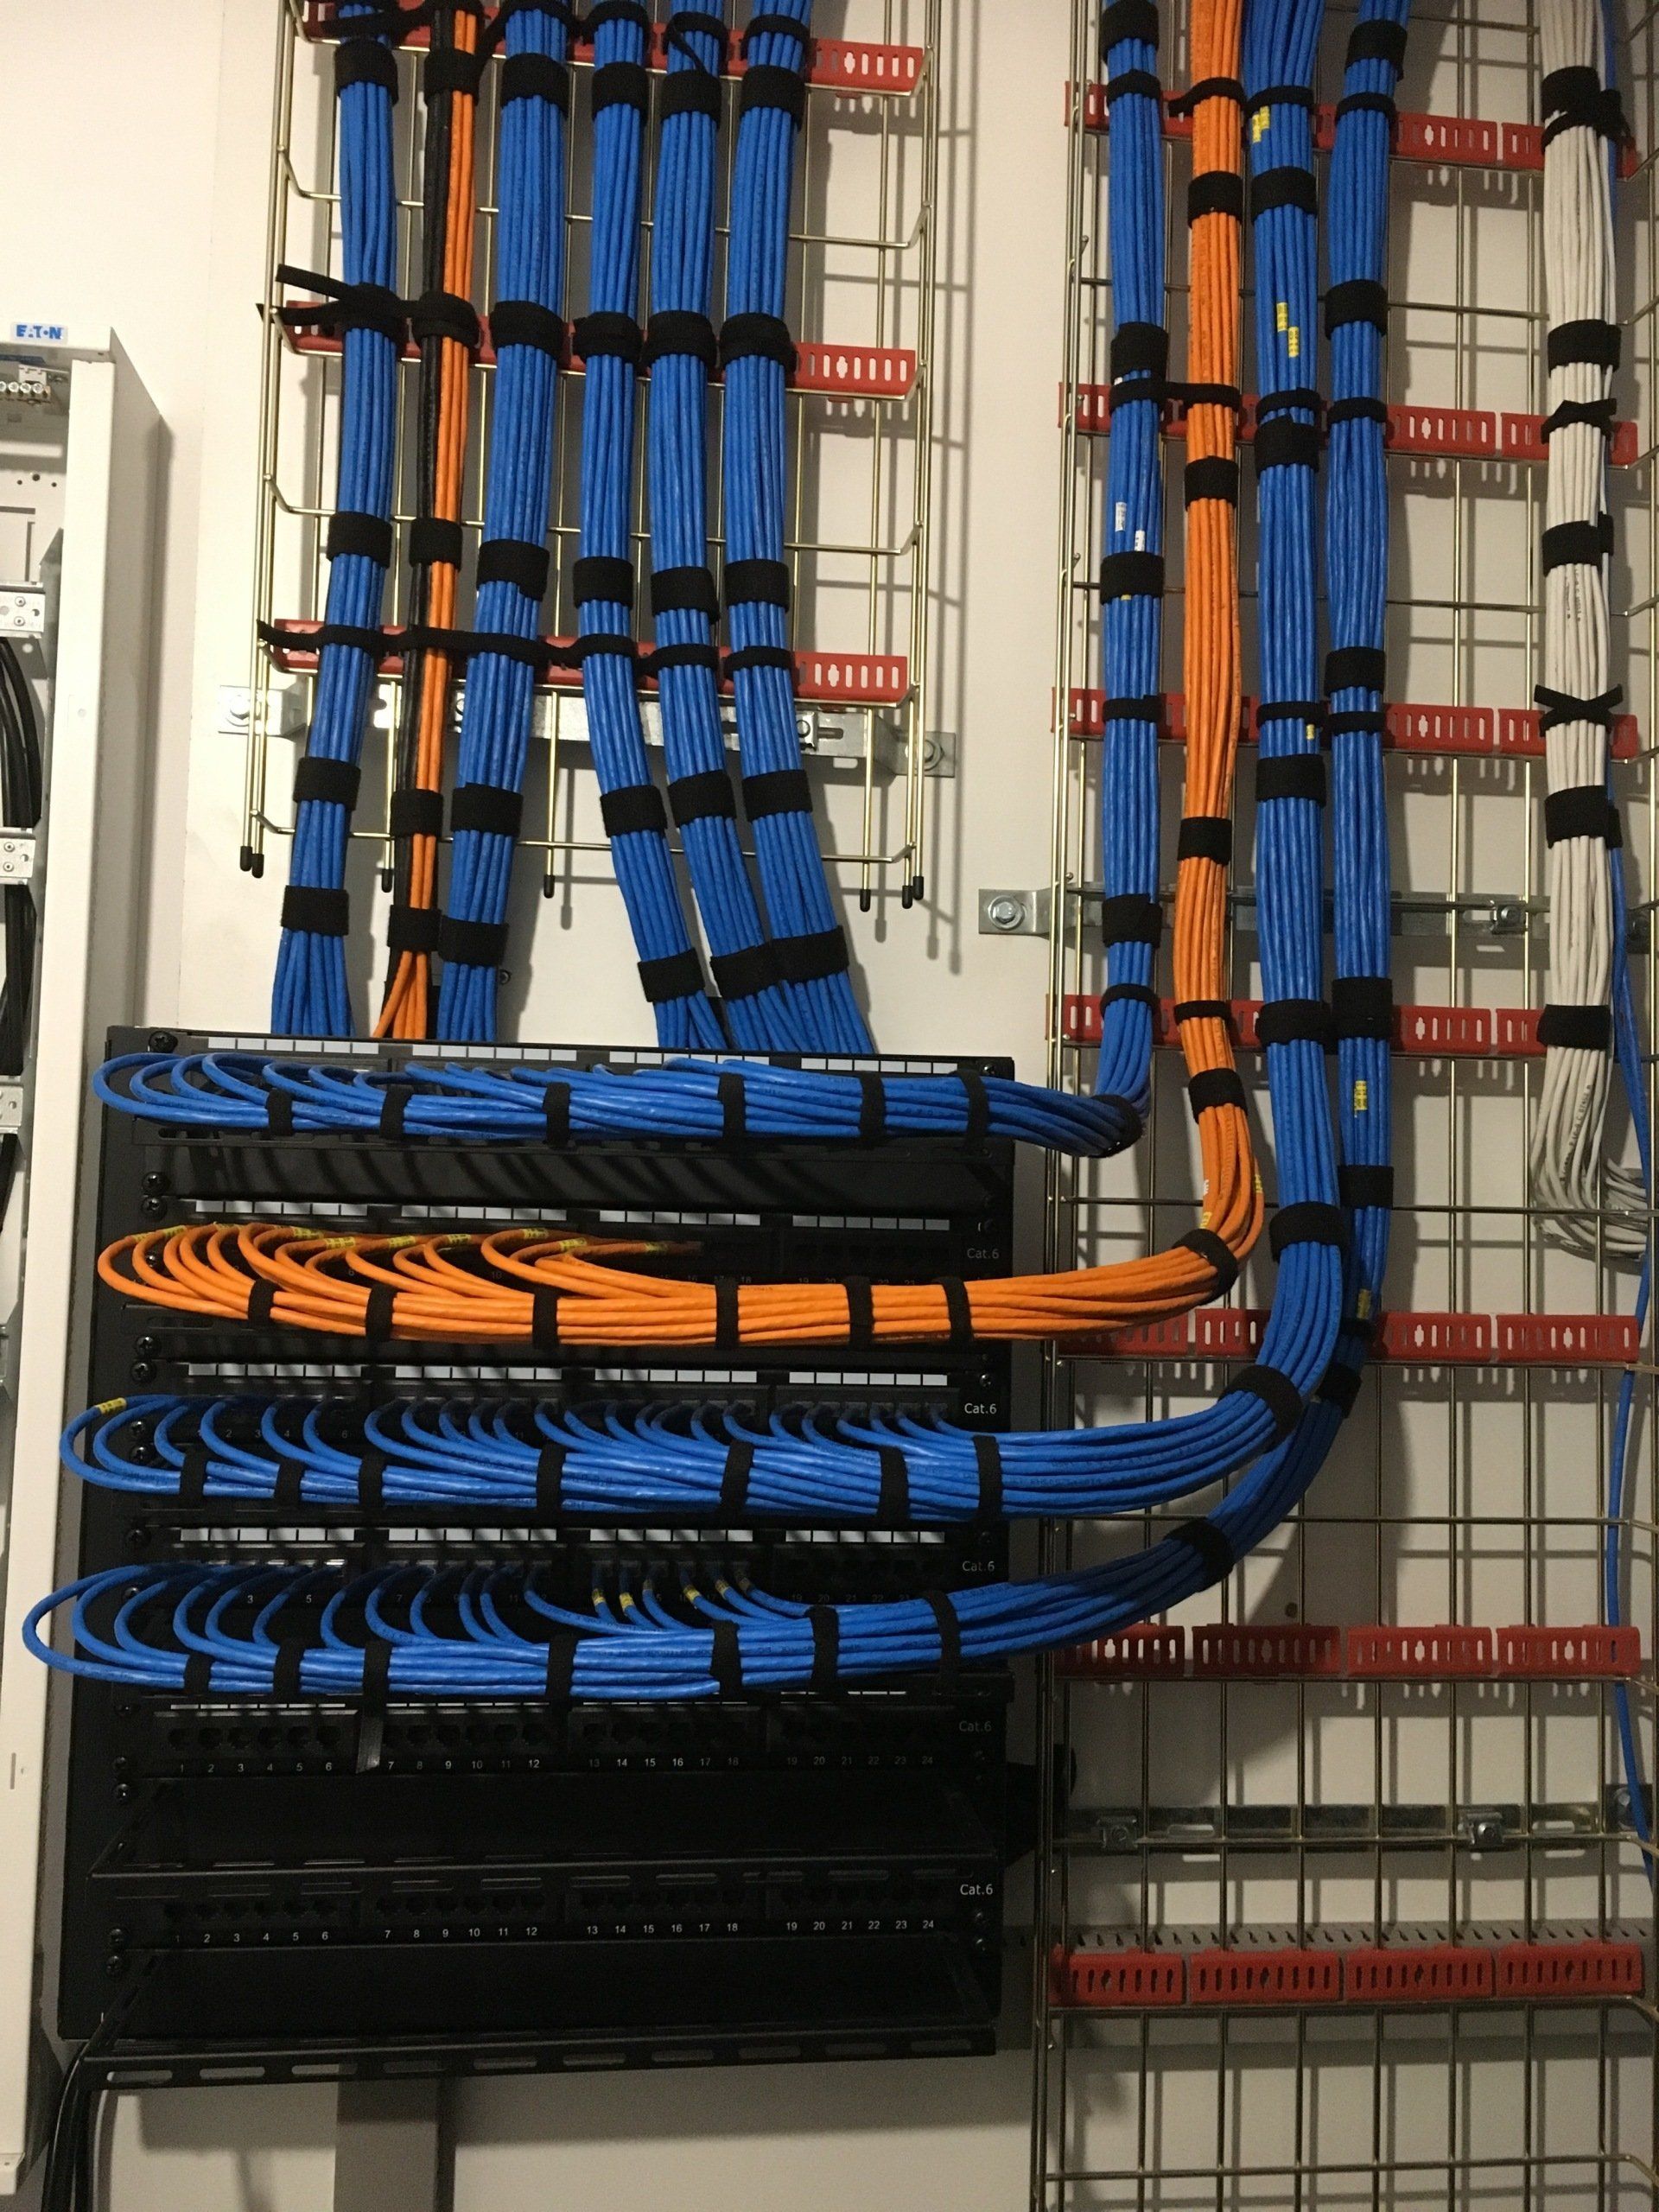
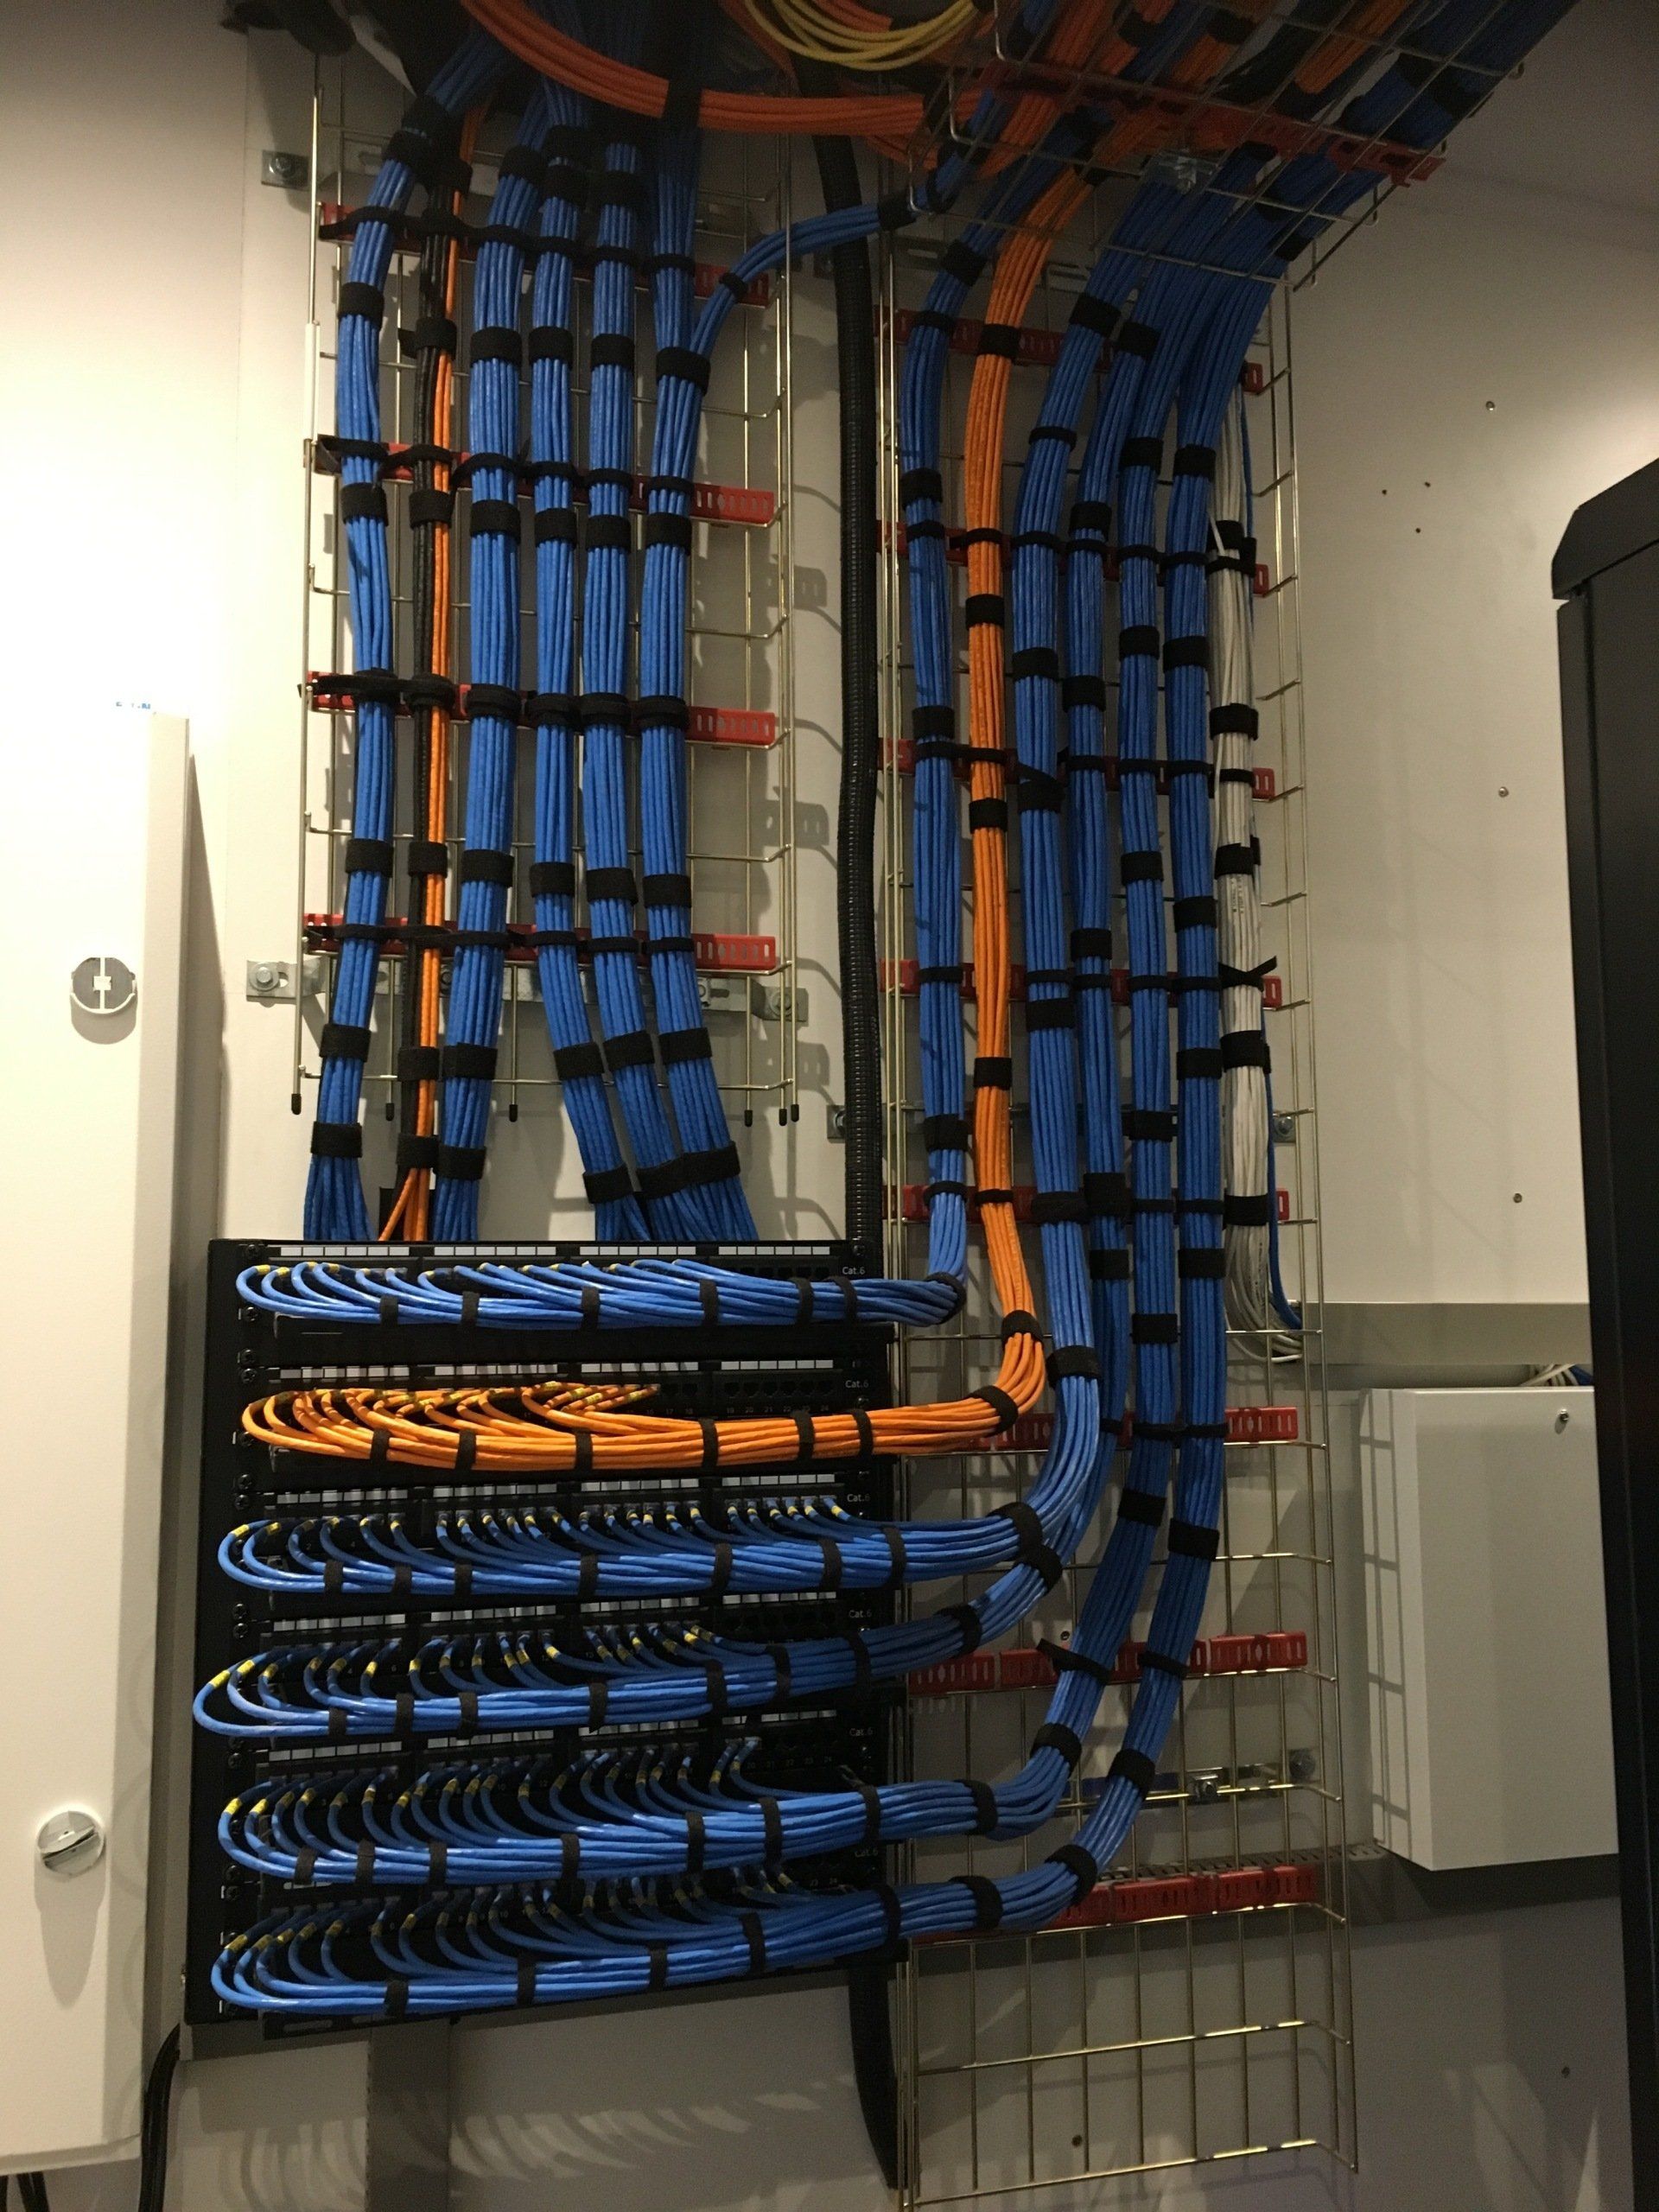
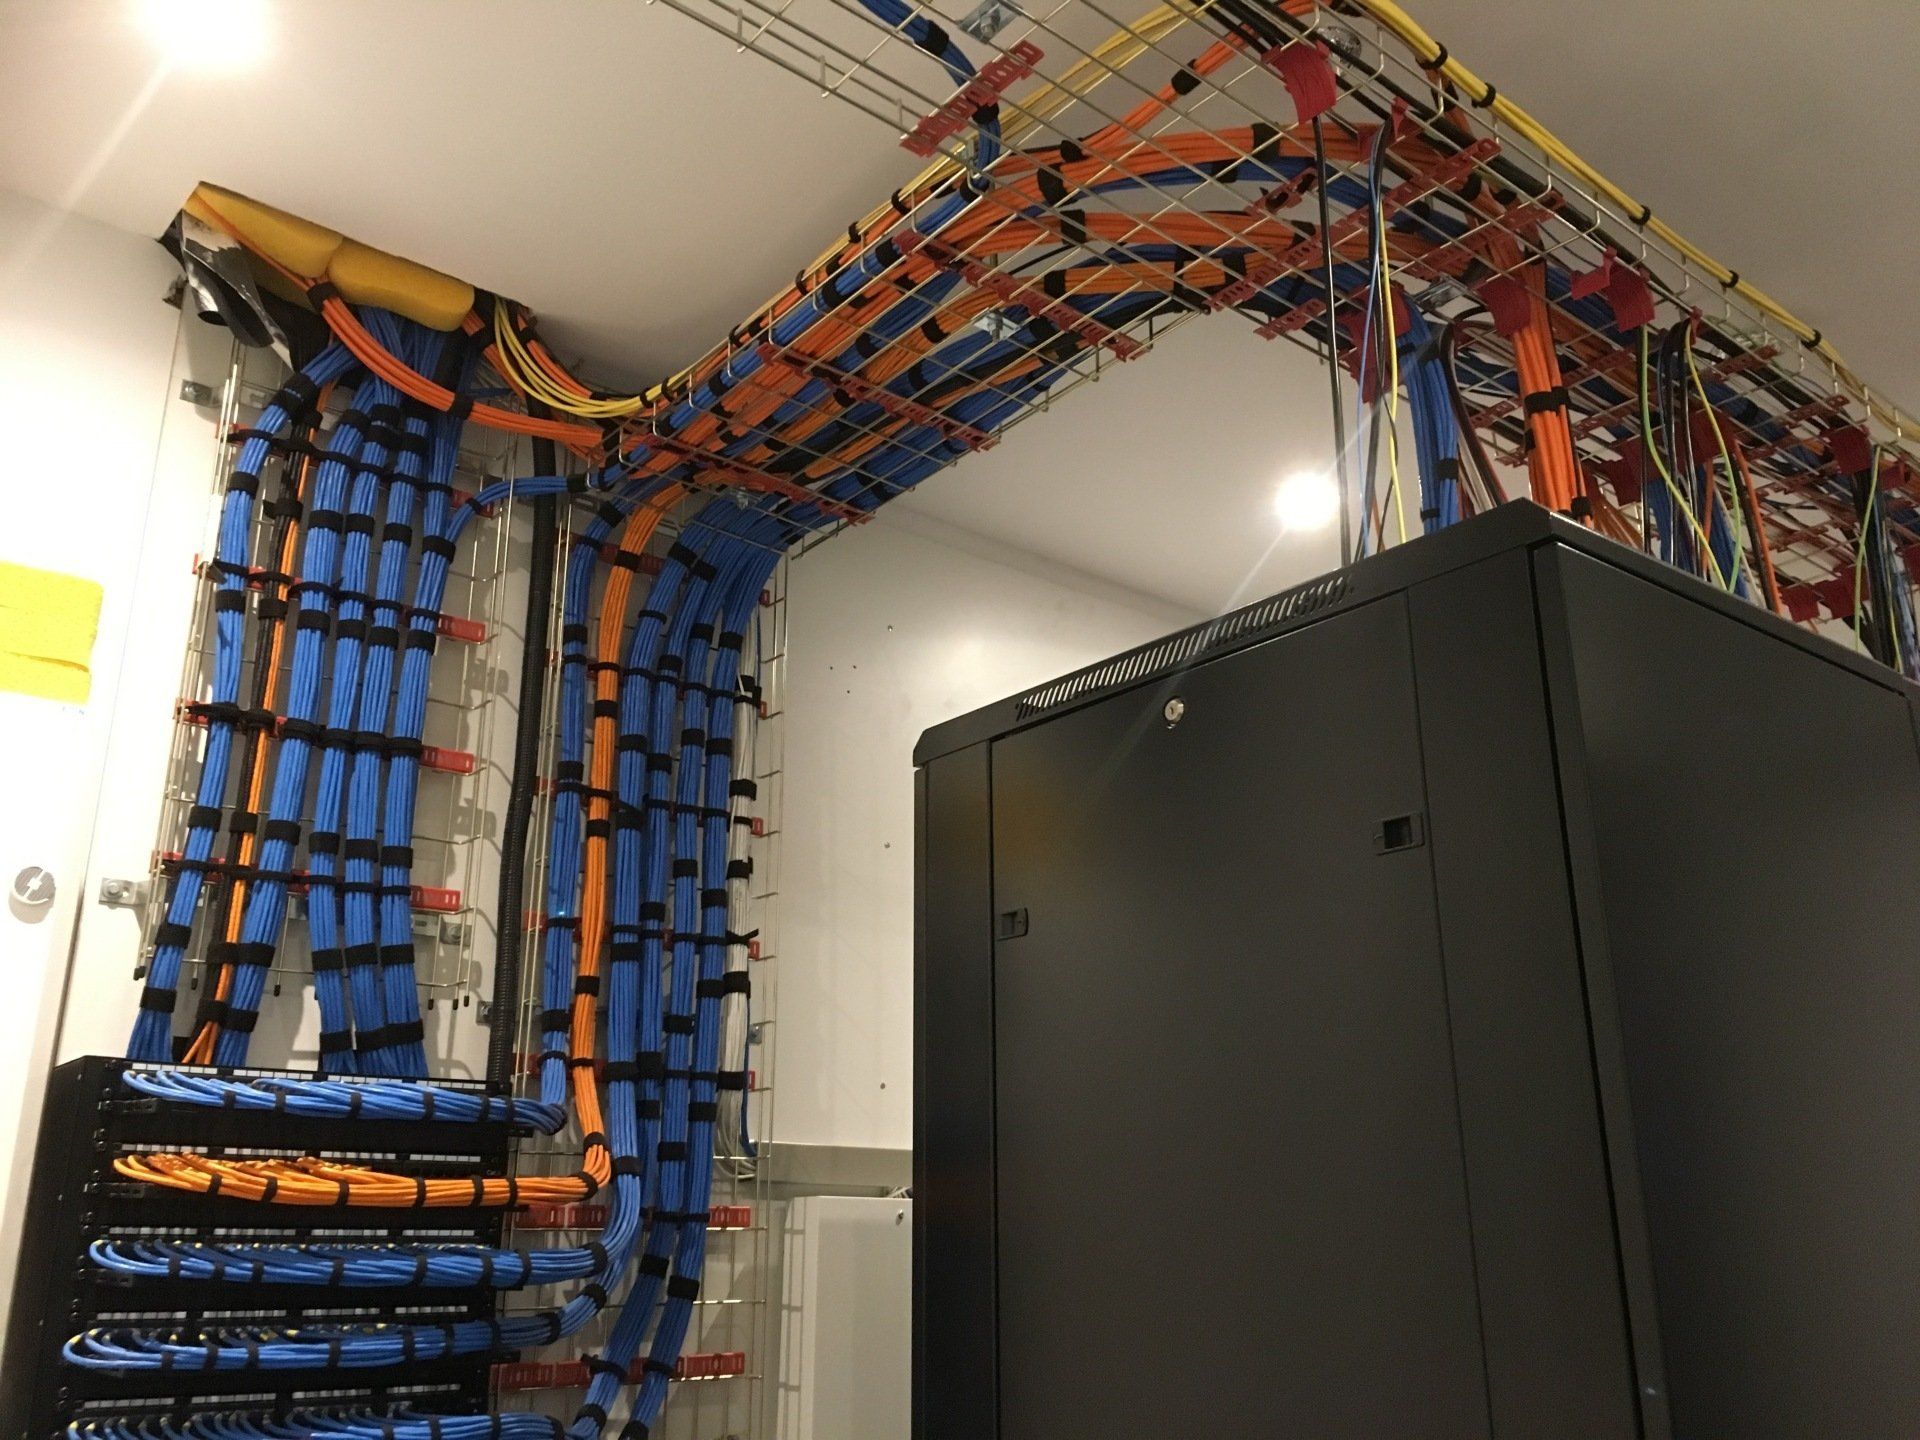
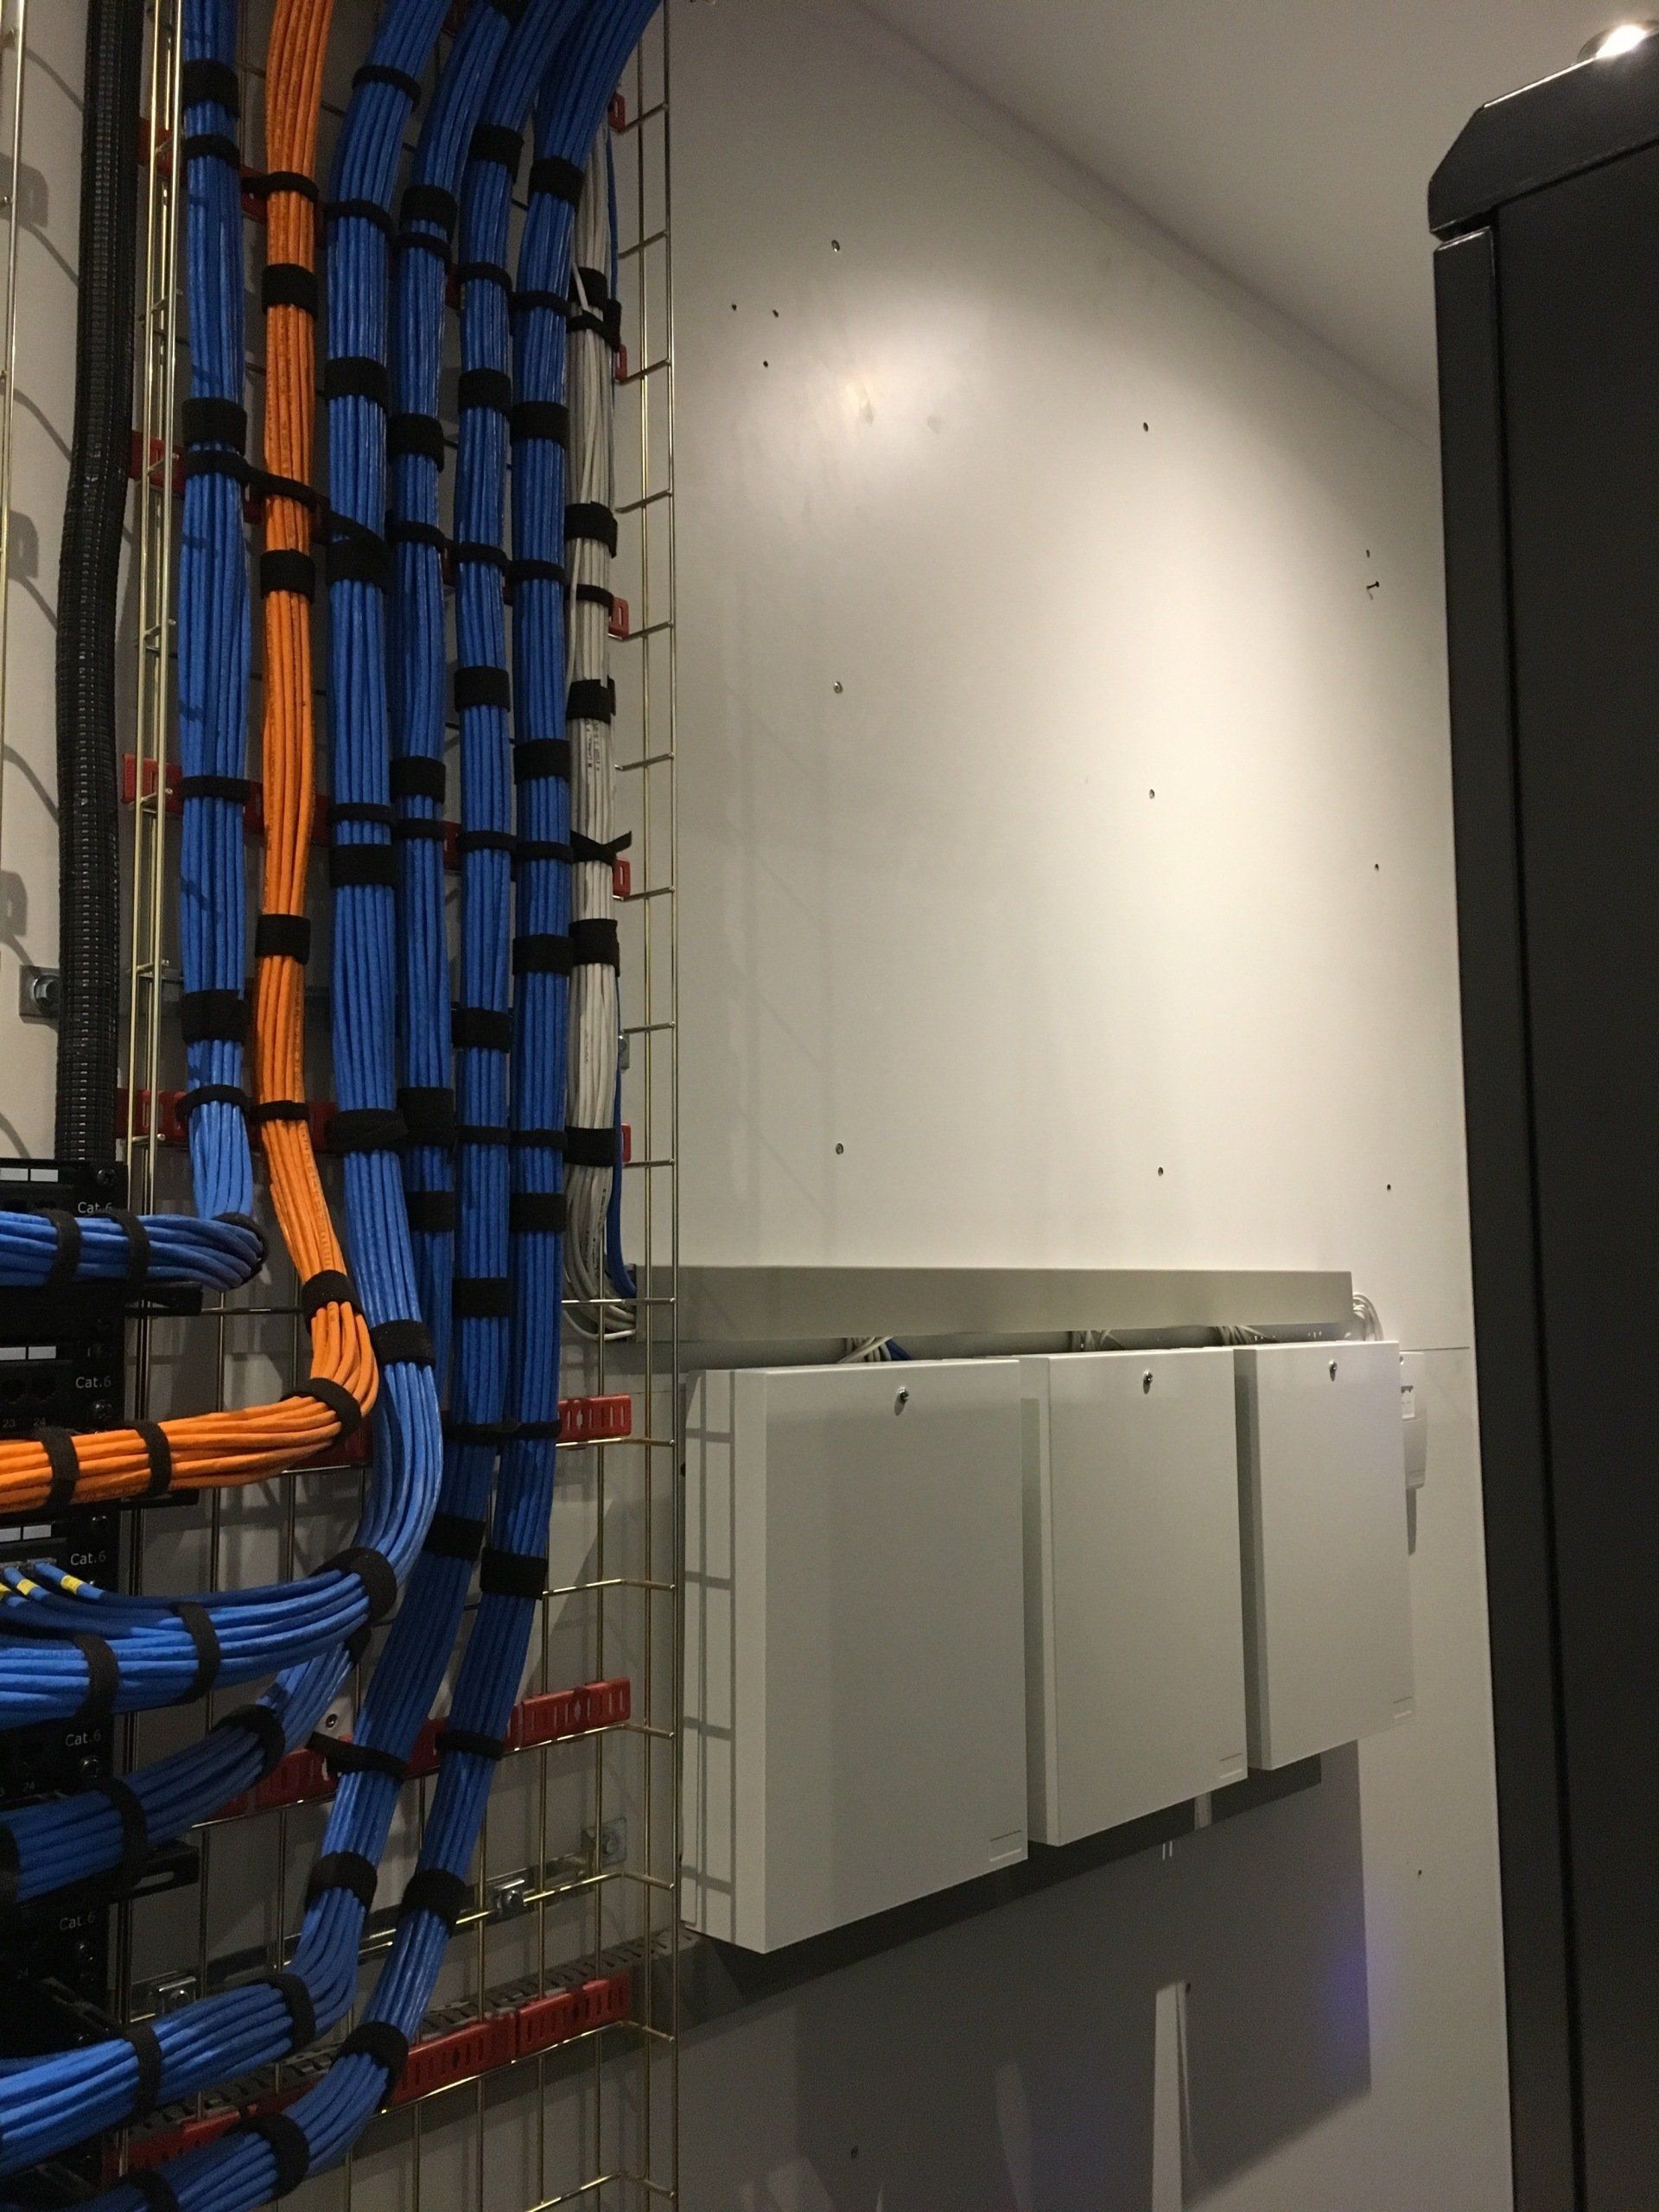
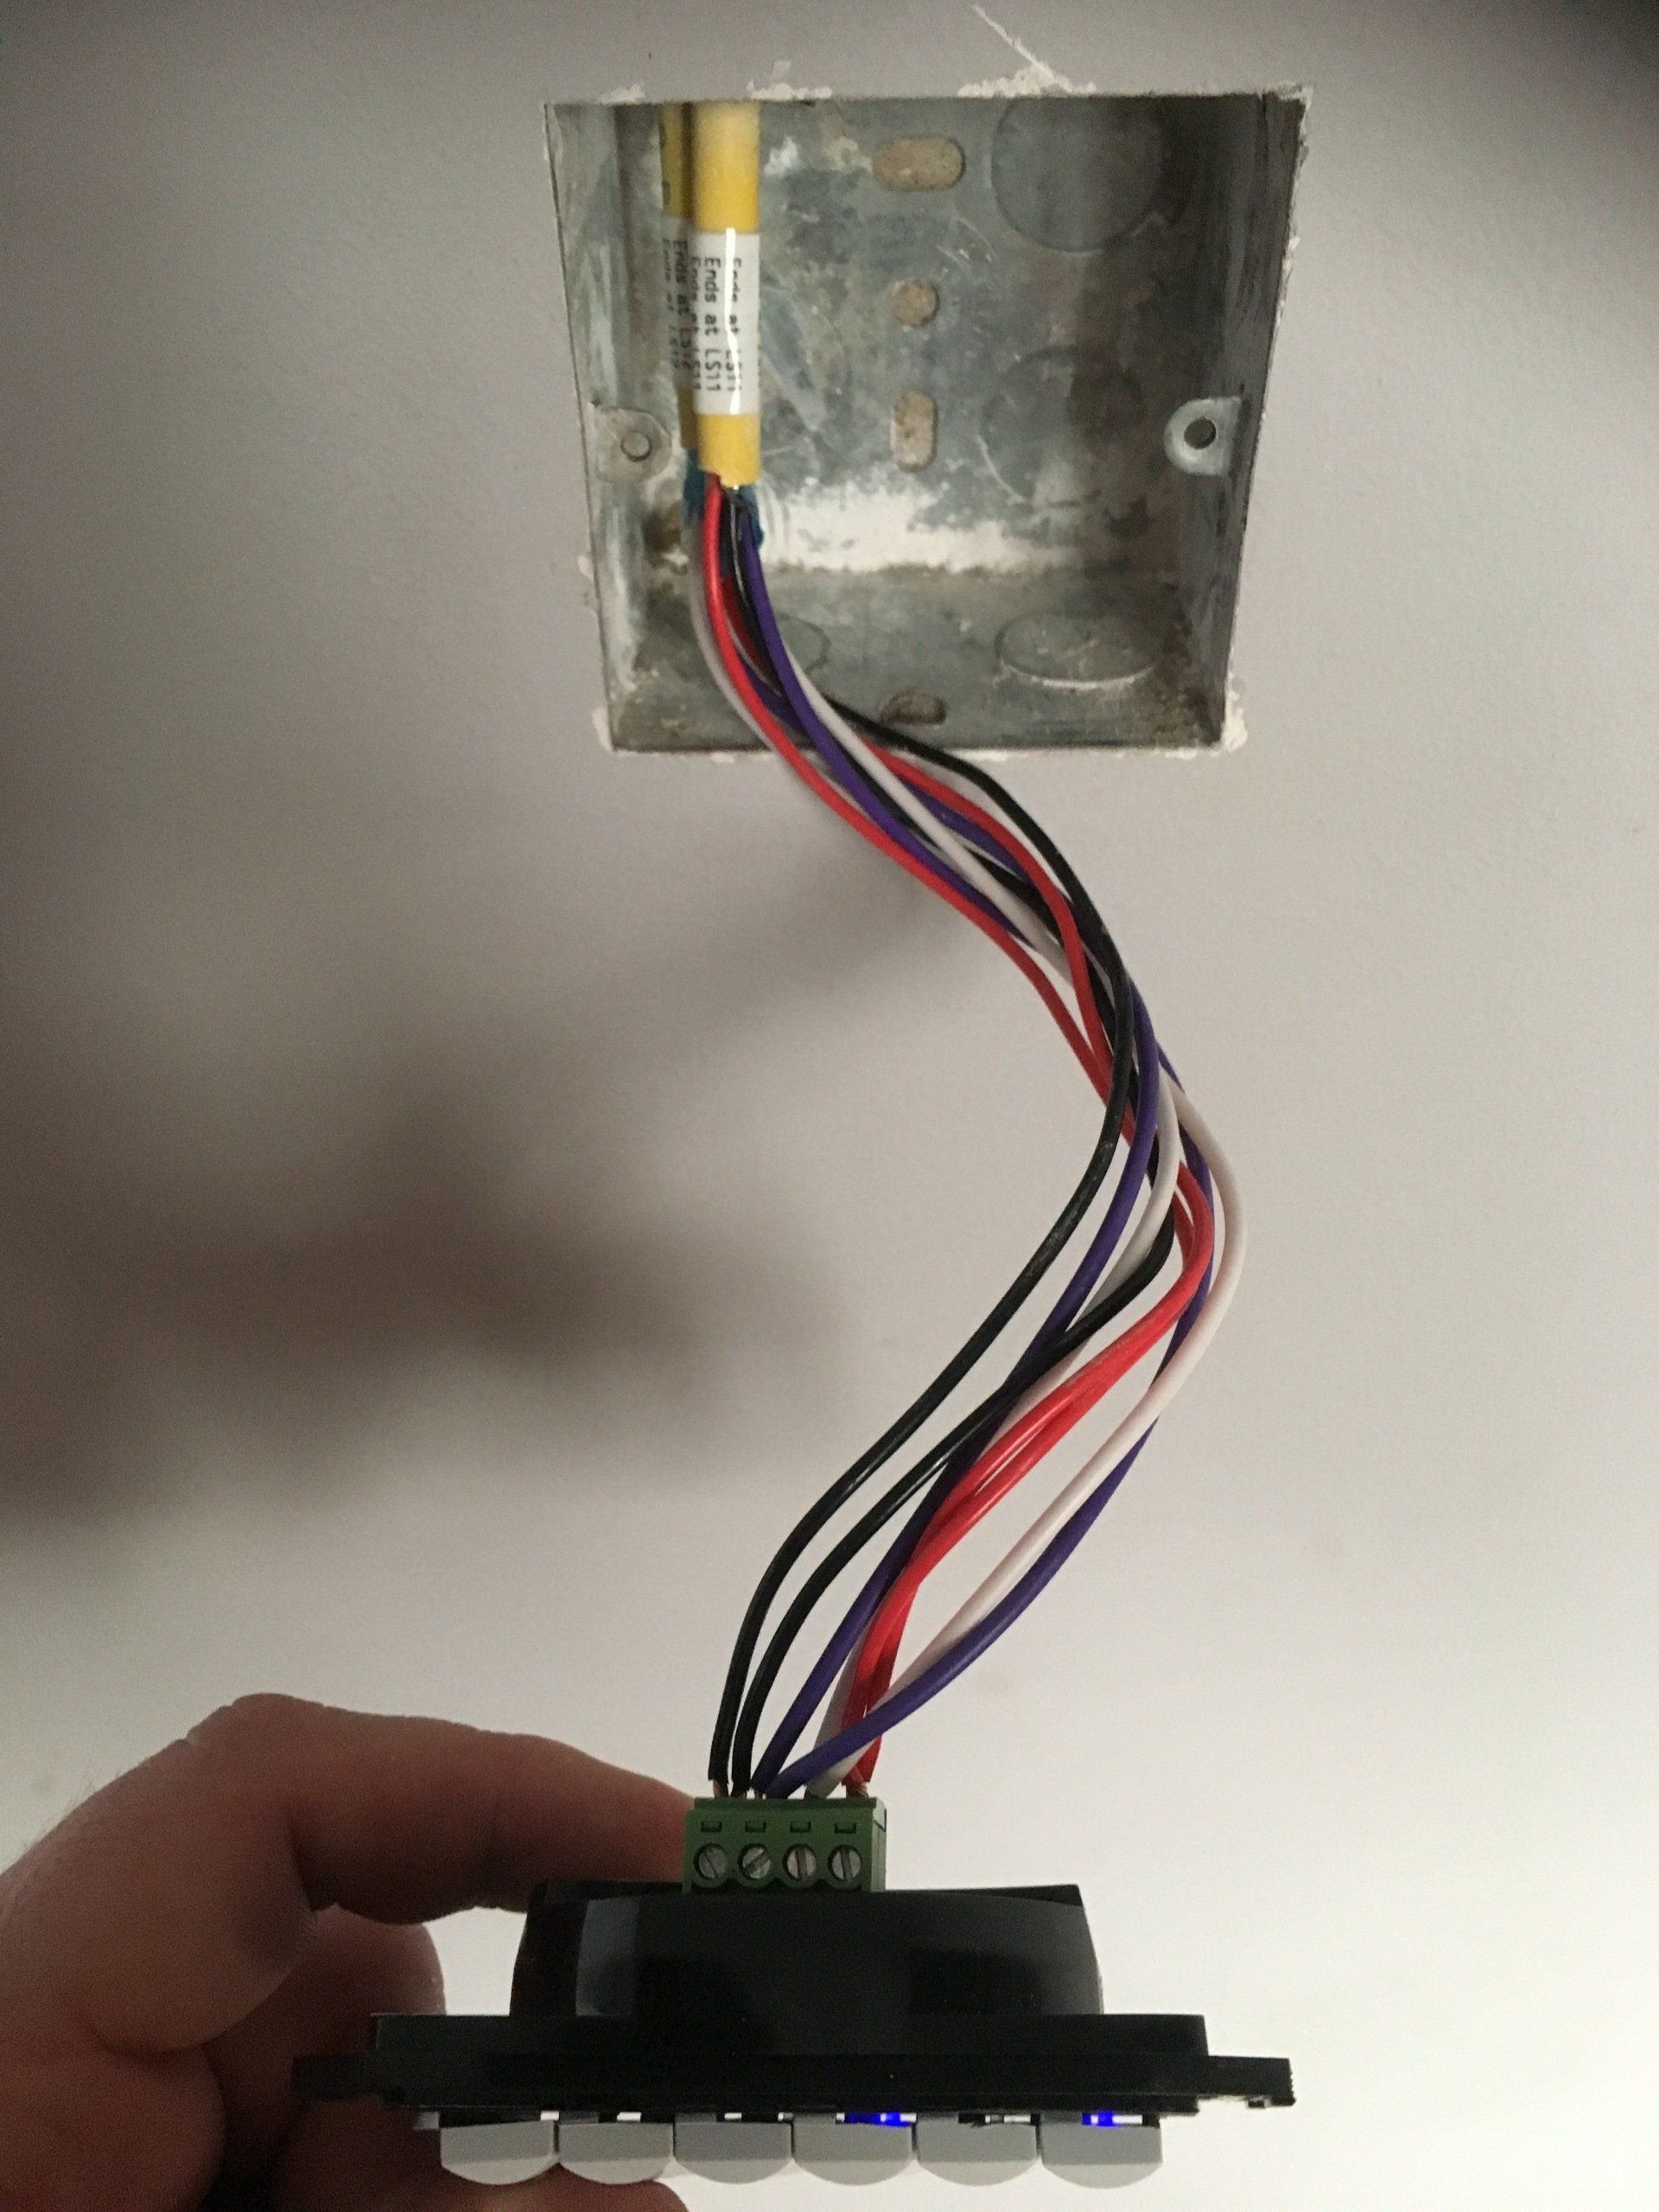
Smart home 1st fix
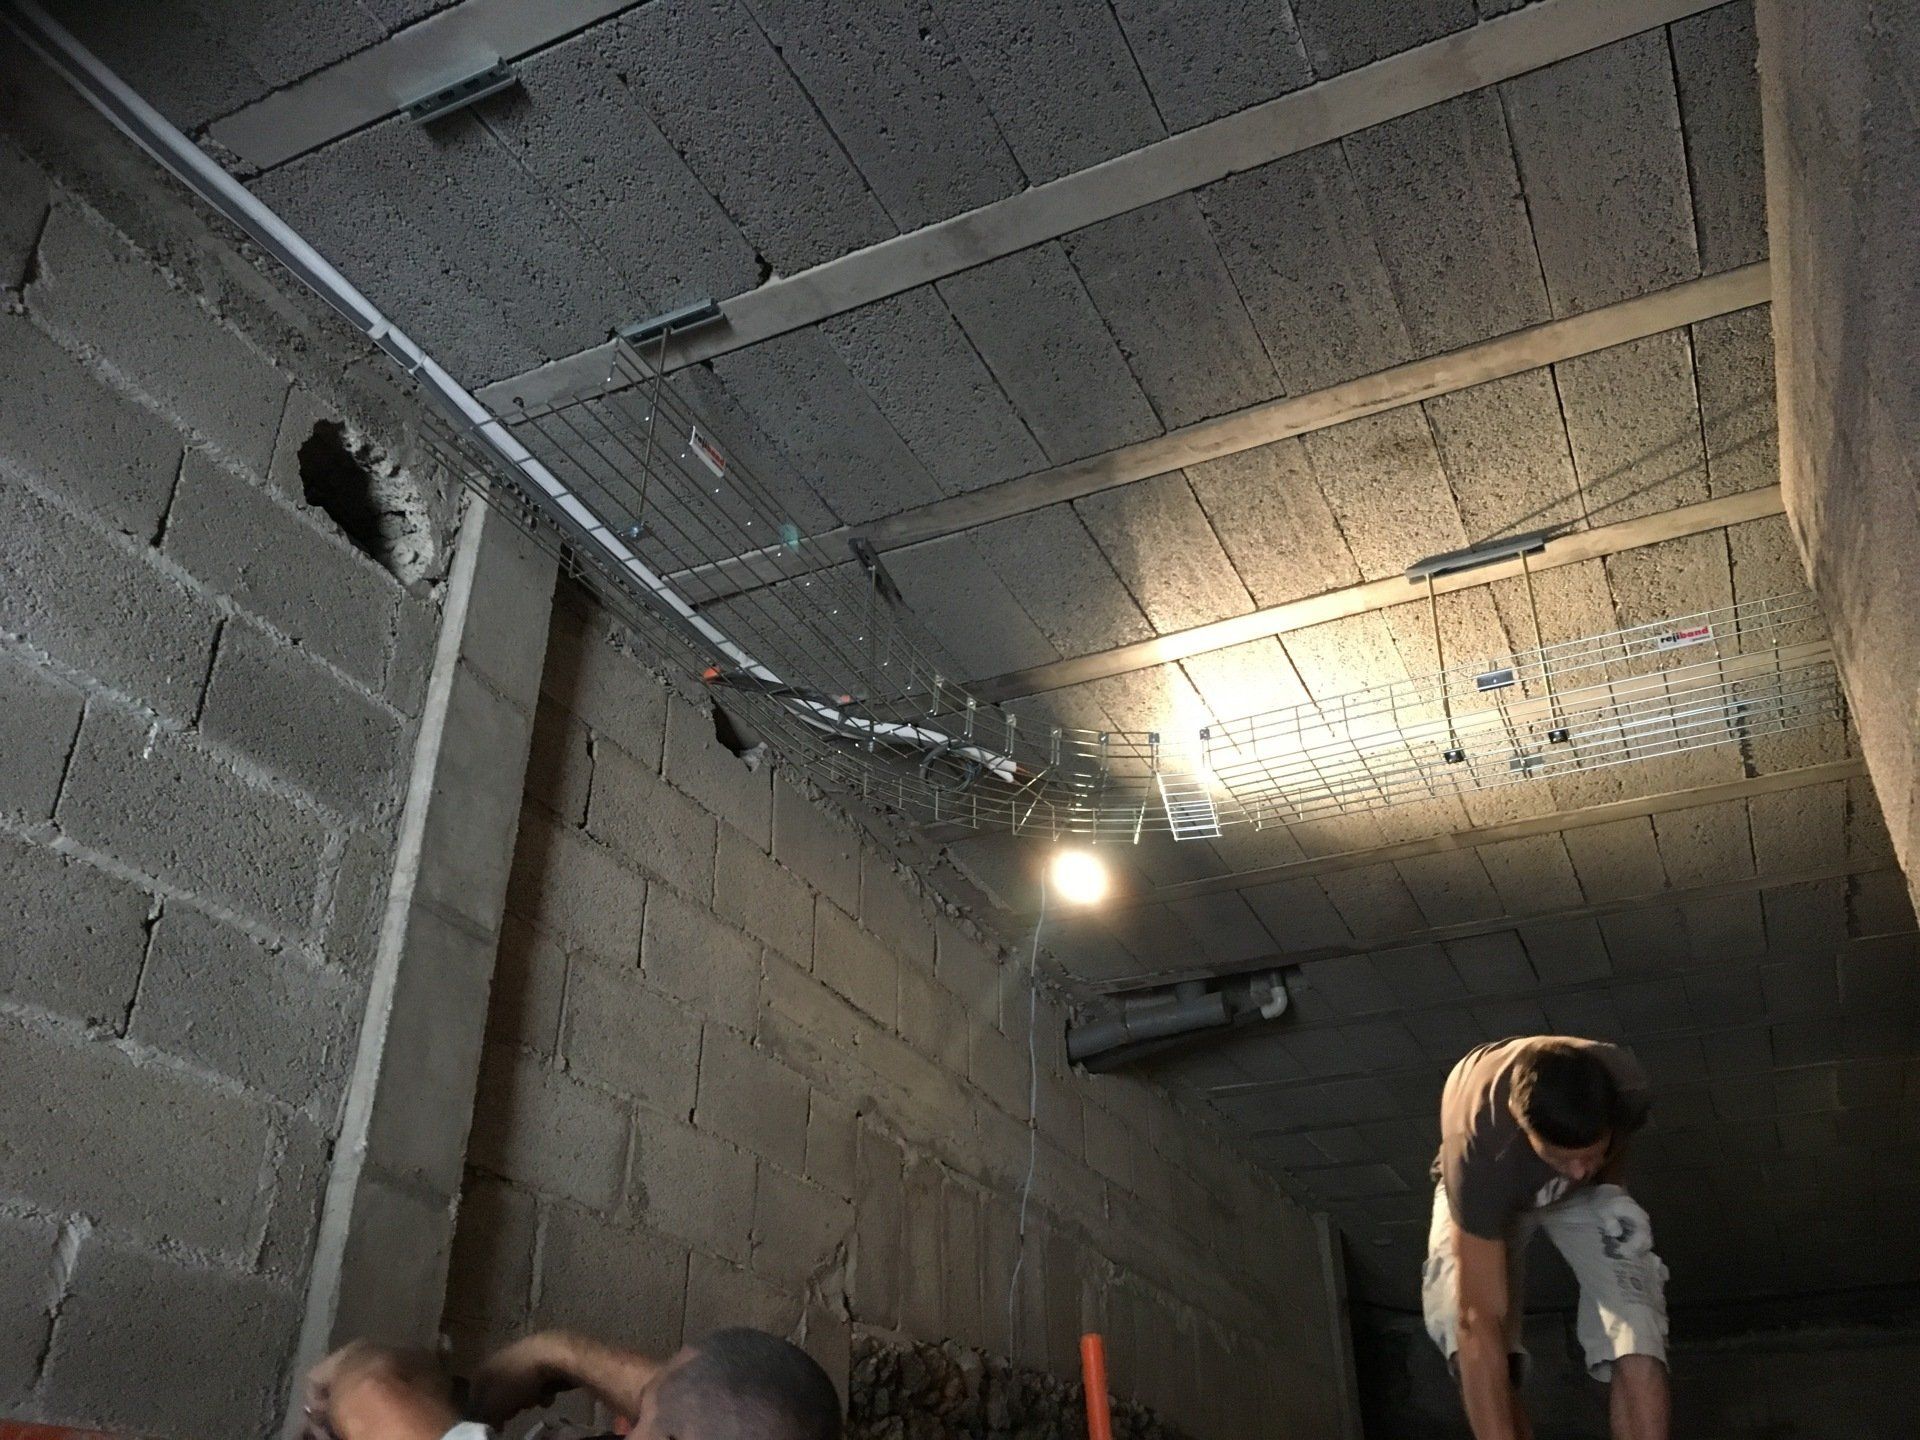
The smart home design, as well as the physical size of the building and outdoor areas, required over 11km of pre-wire 1st fix cables to be installed in this property.
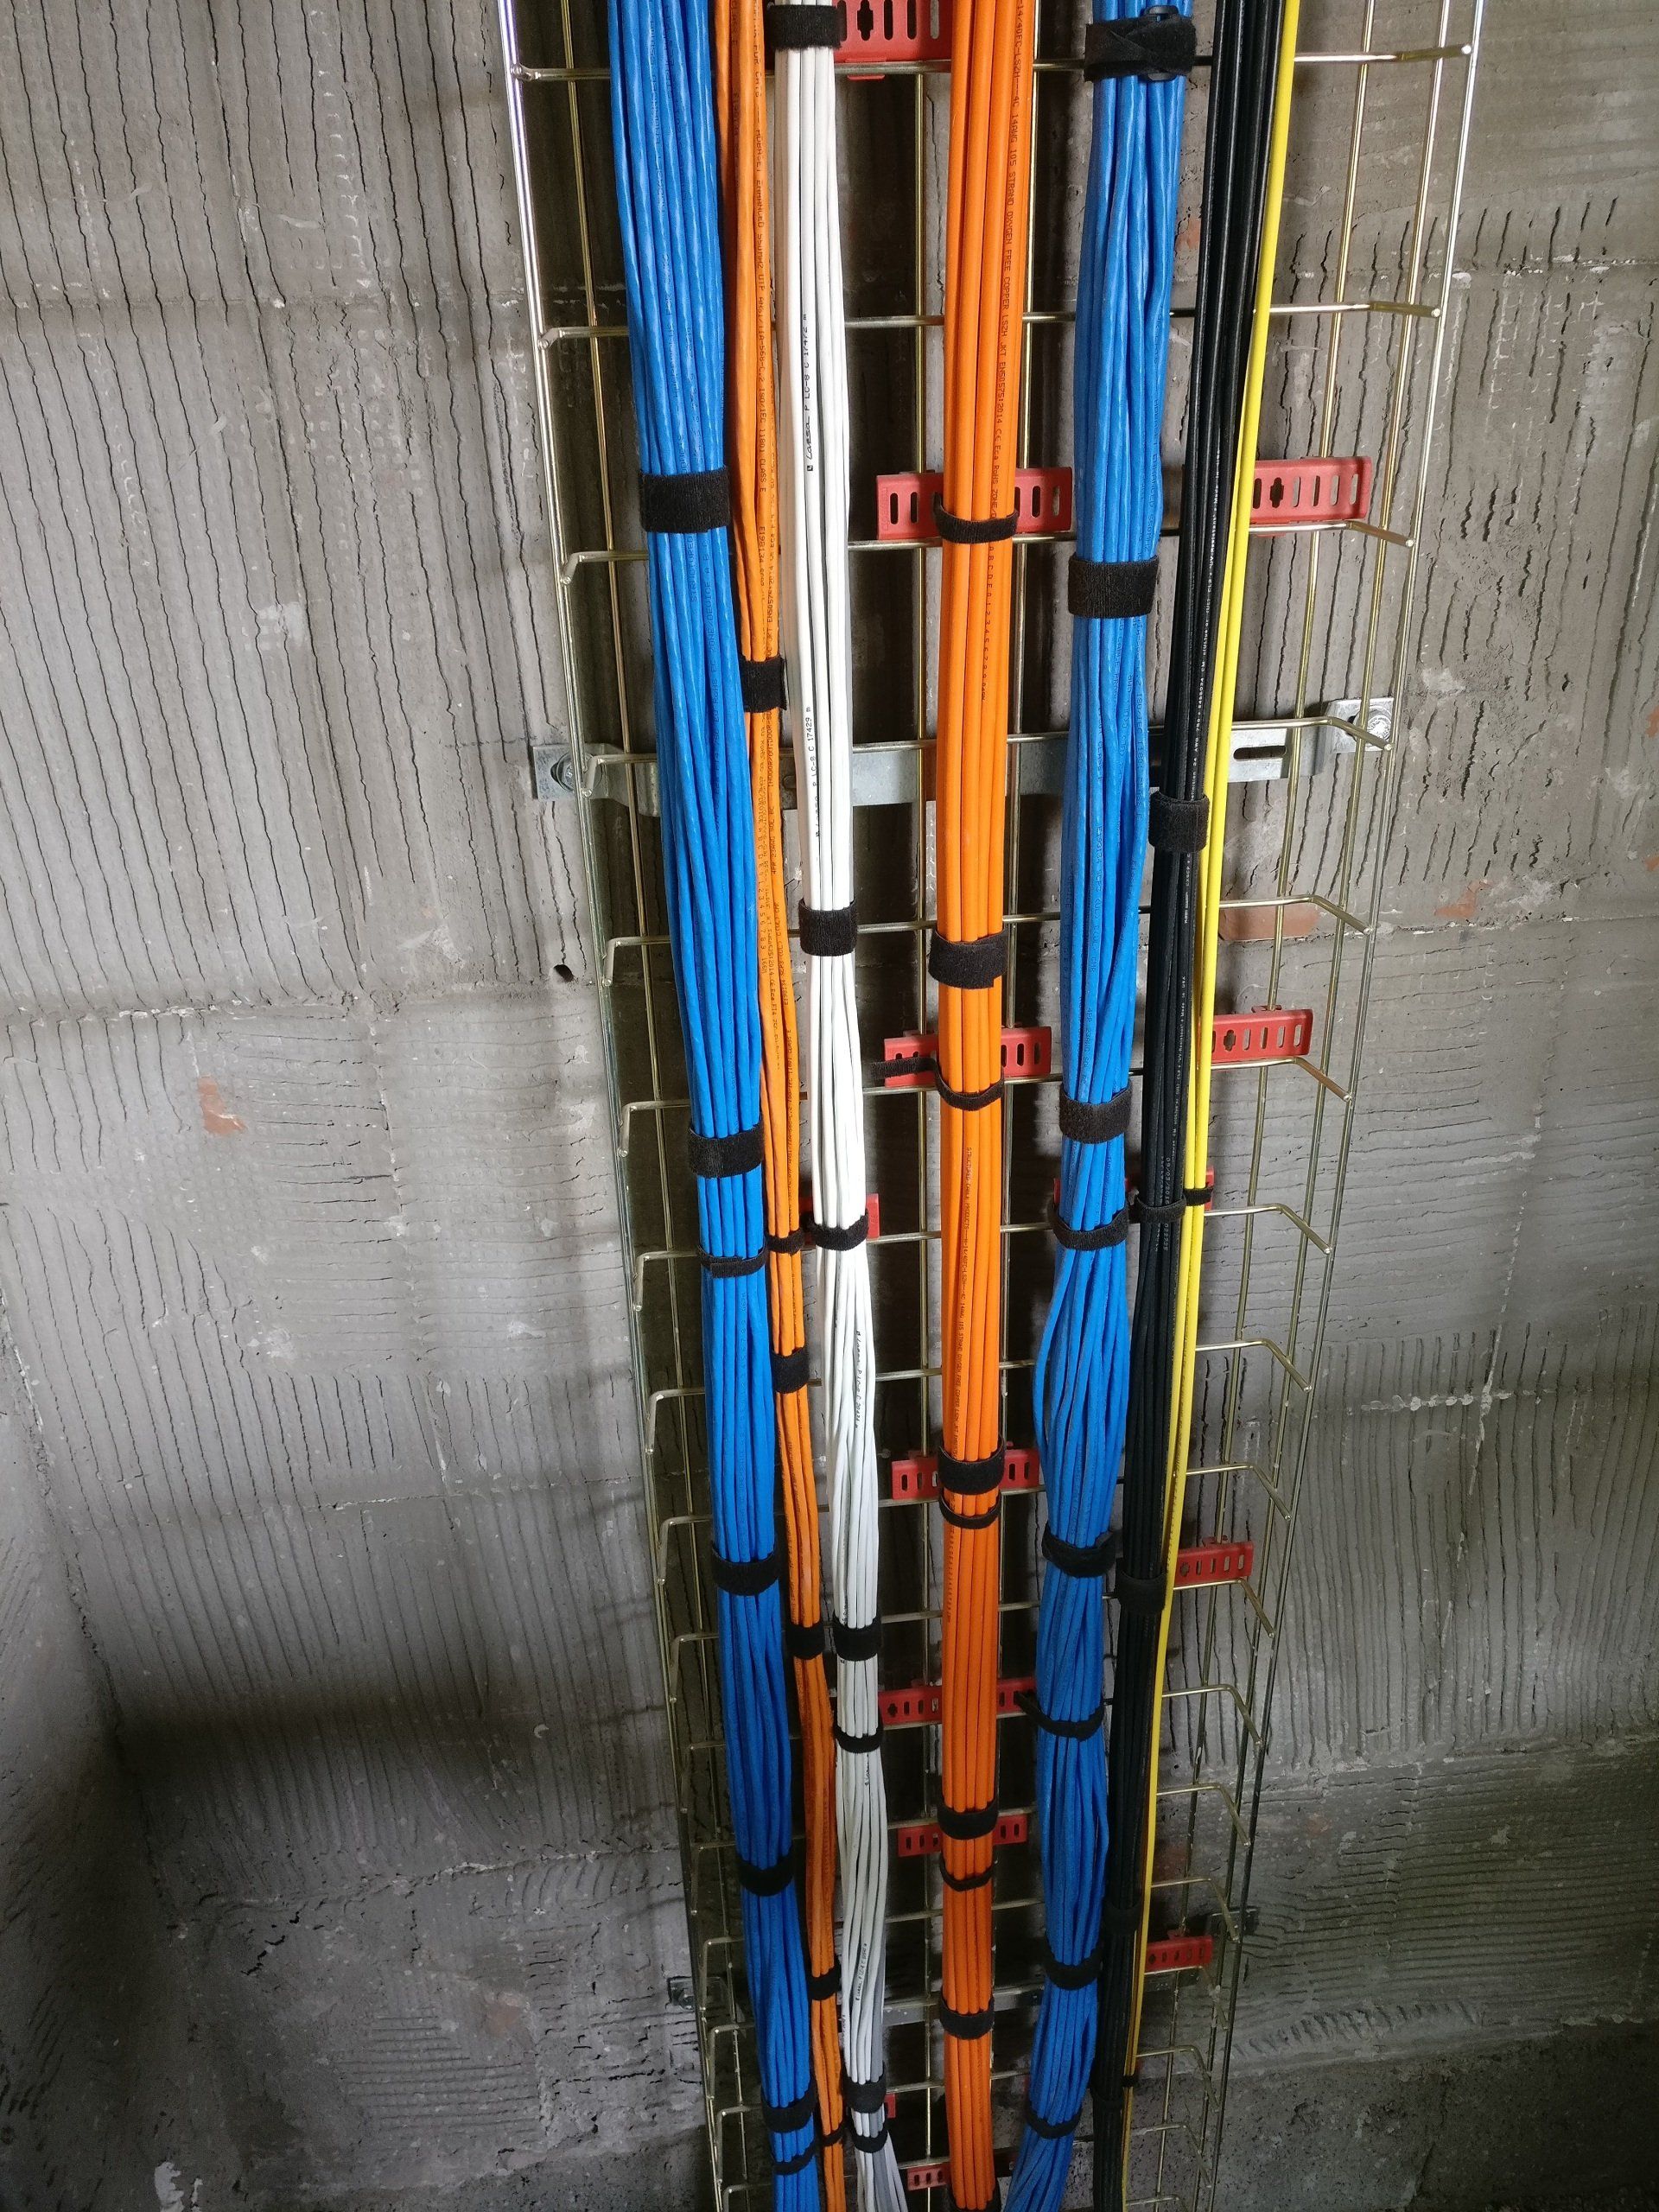
With this amount of cables, it was agreed with the Architect and the client that we should install basket trays around the property back to the central location that was identified as the ‘head-end’ location for all the smart home electrical equipment in the basement.
We next began the process of installing over 200 different pre-wire 1st fix cables, ranging from; intruder alarm cables, outdoor category 6A cables, standard category 6A cables, HD coaxial cables, 4 core & 2 core speaker cables, fibre optic cables and smart lighting 4 core control cables.
We then installed the 4 x Control4 centralised lighting panels into the ‘head-end’ room and organised the associated LED light fixture power cables into the relevant panels.
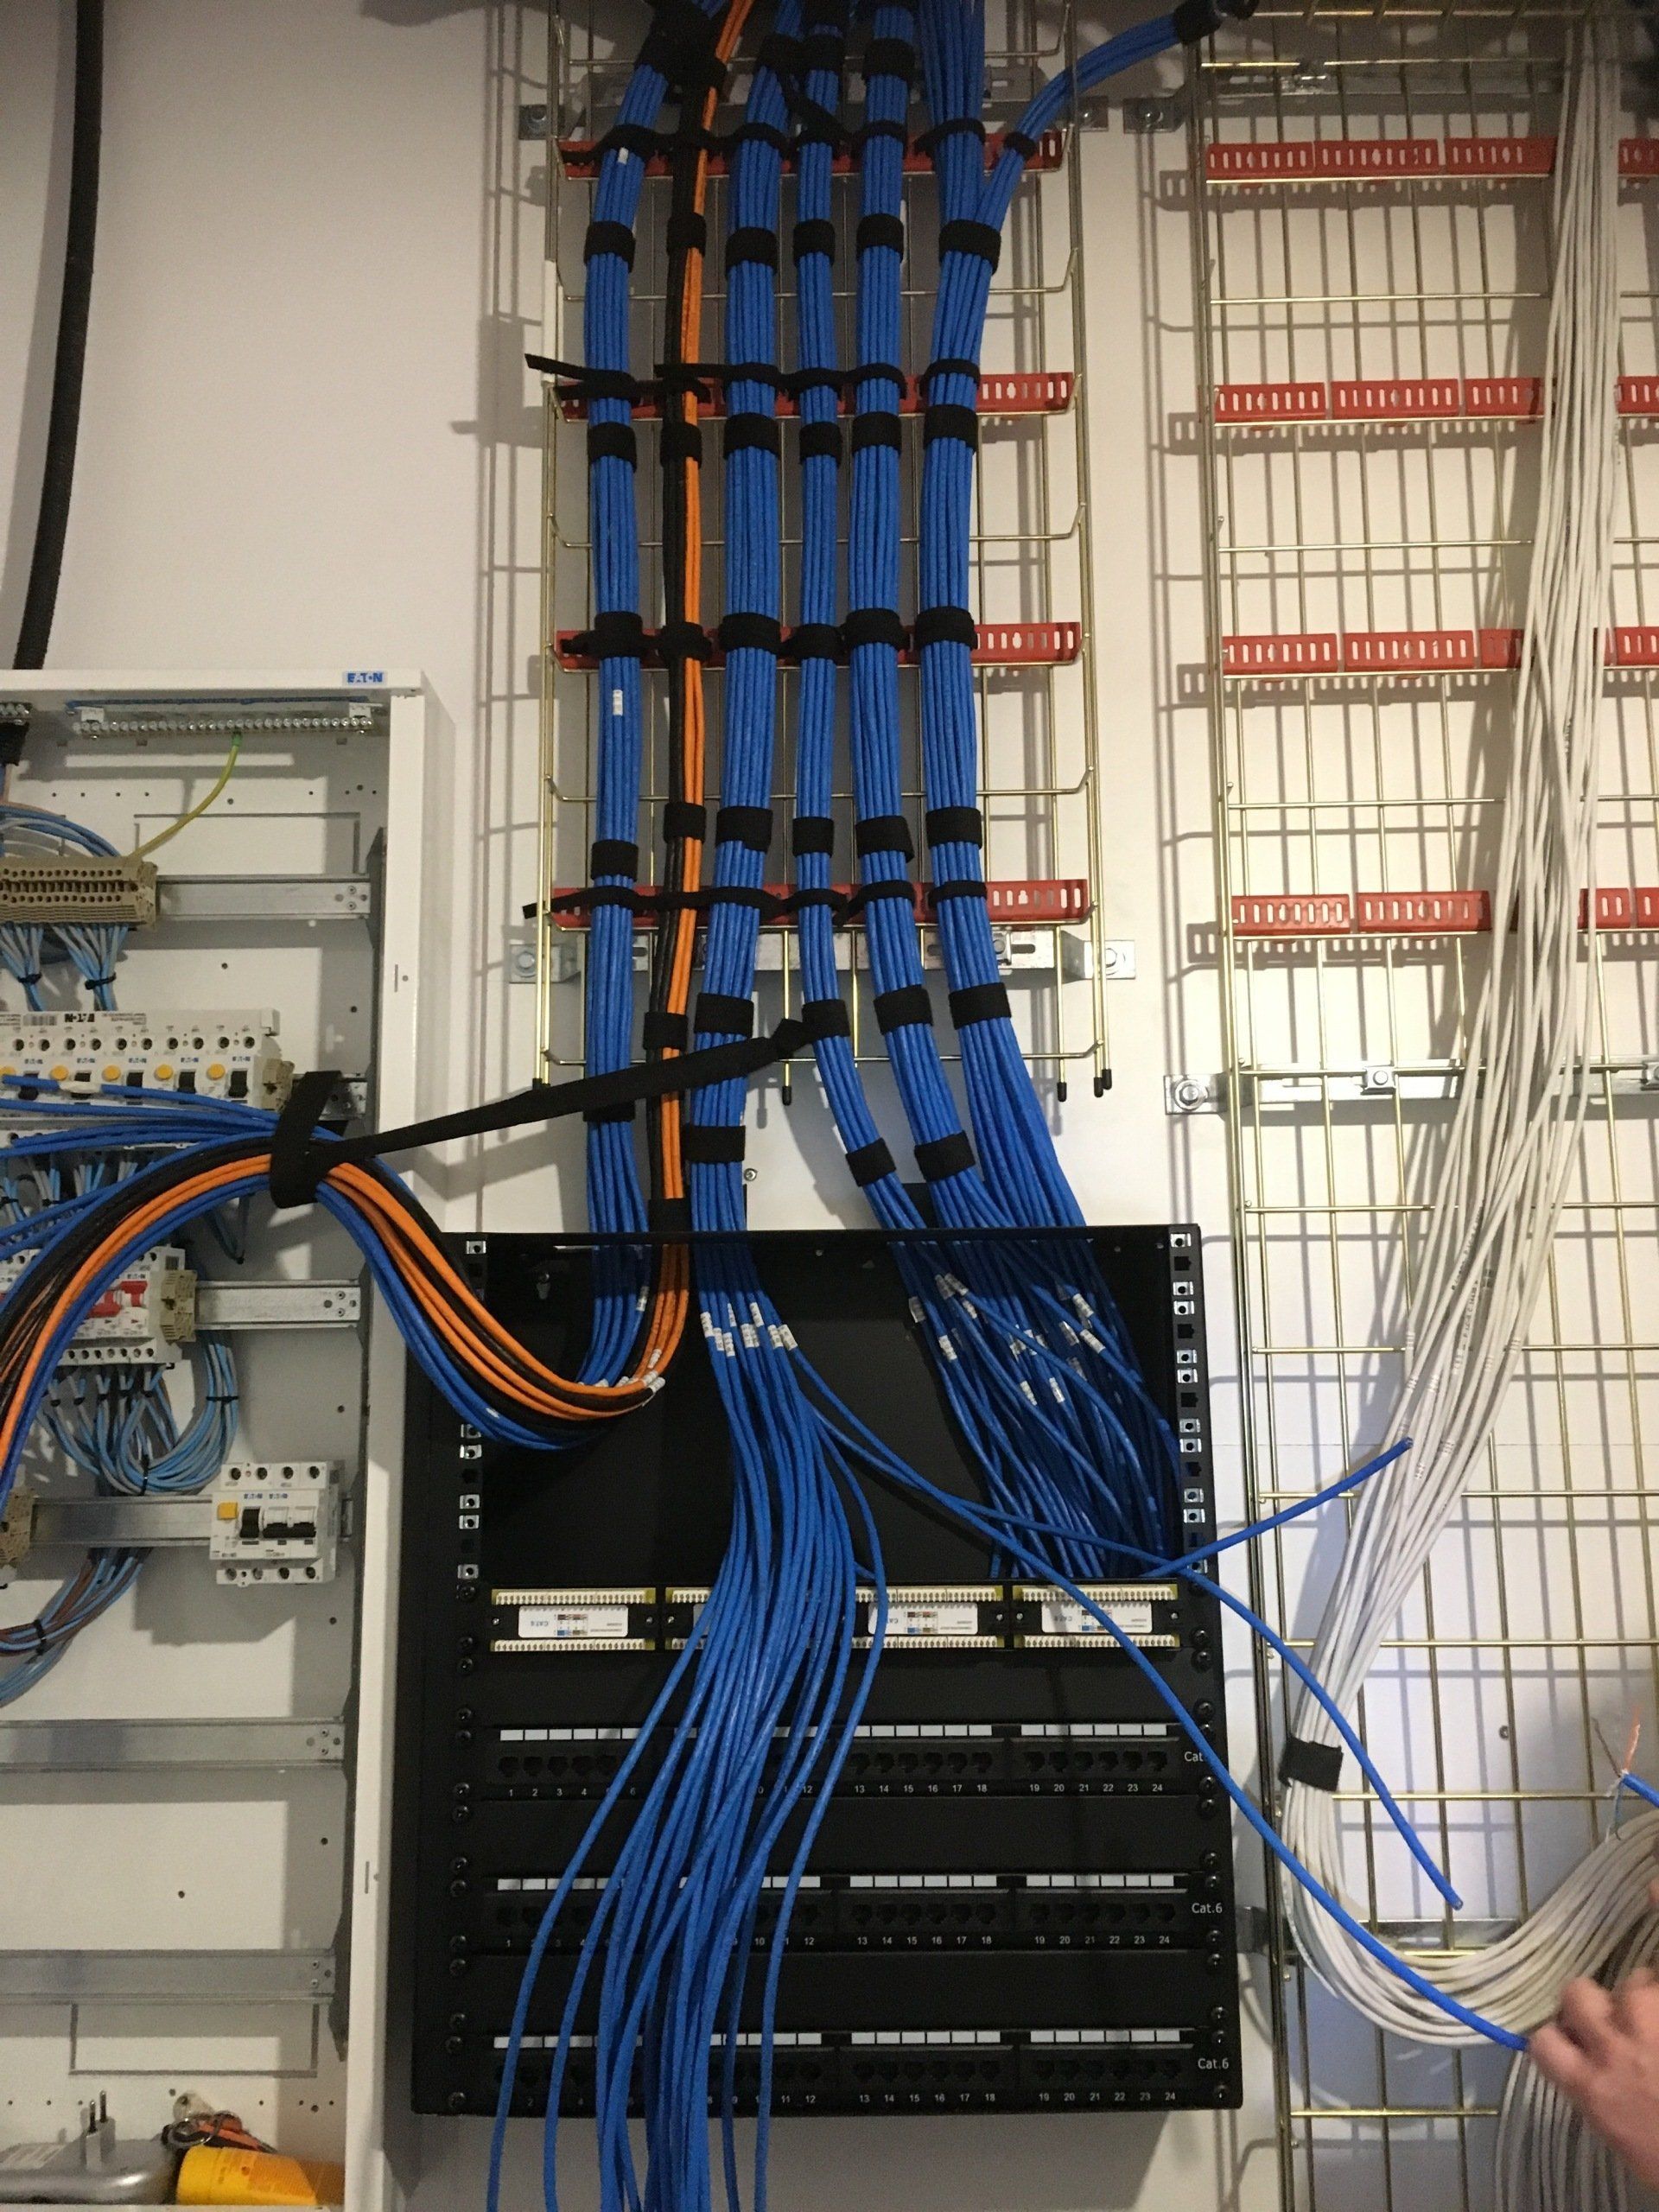
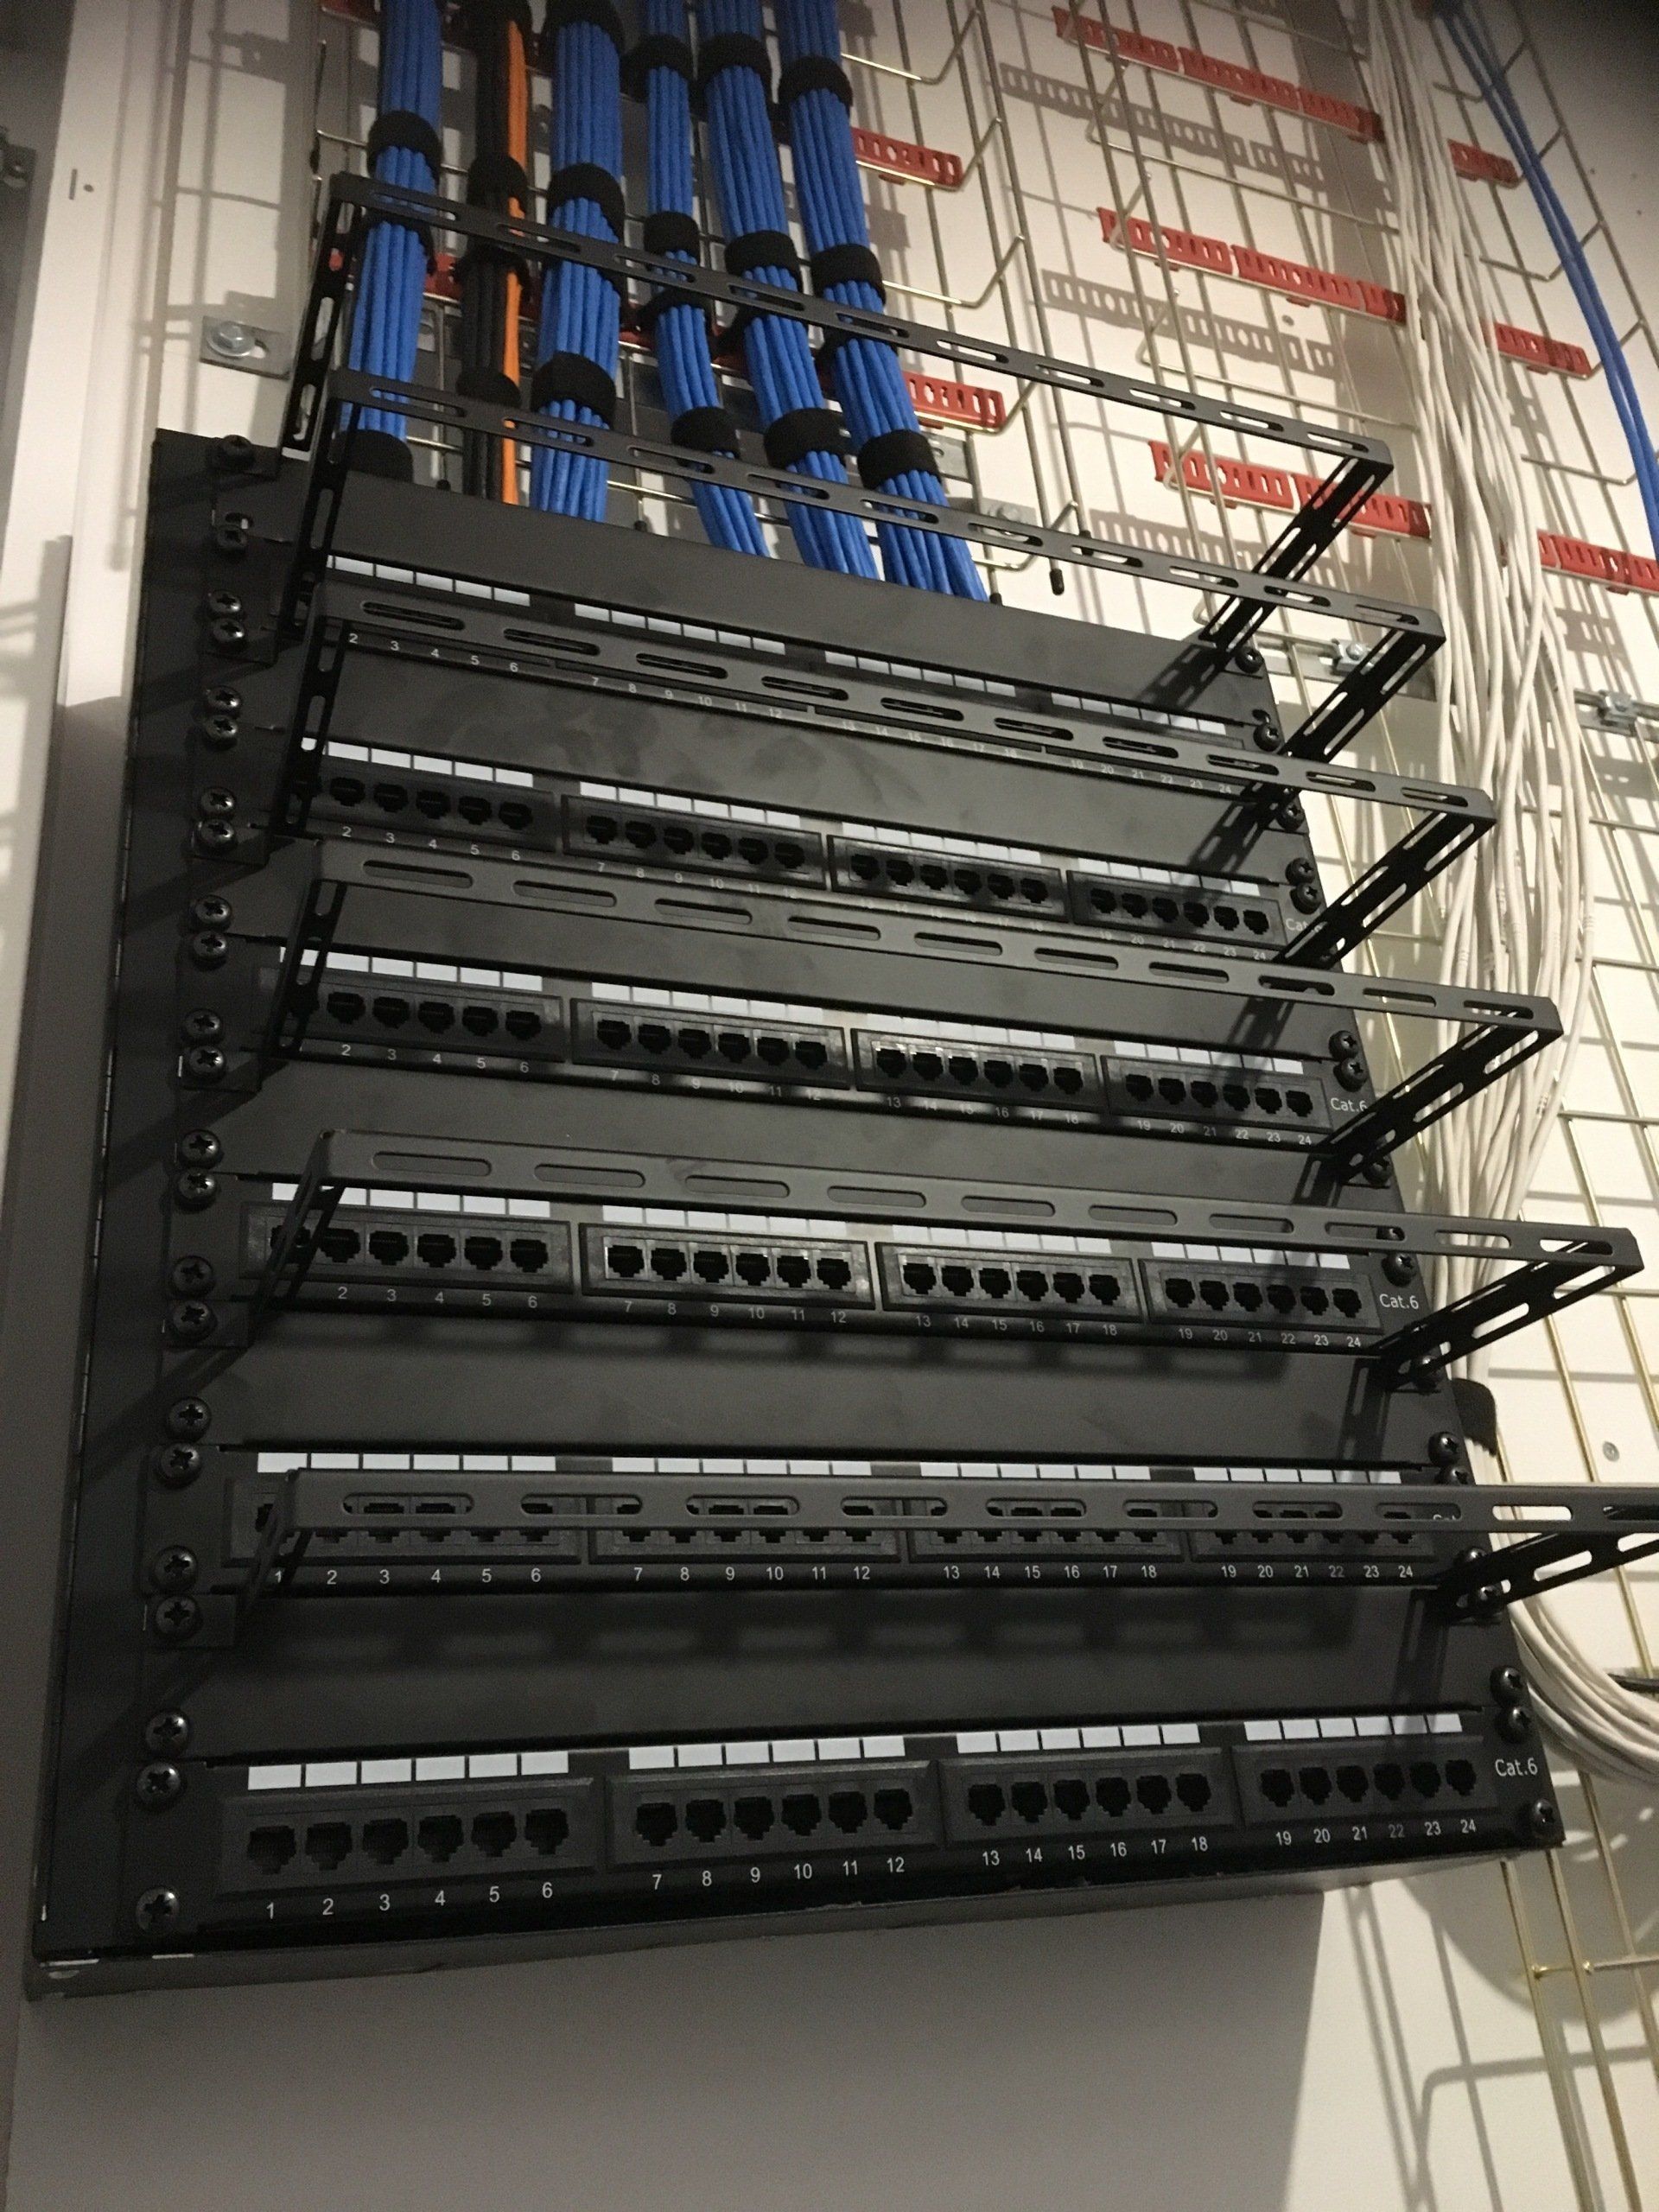
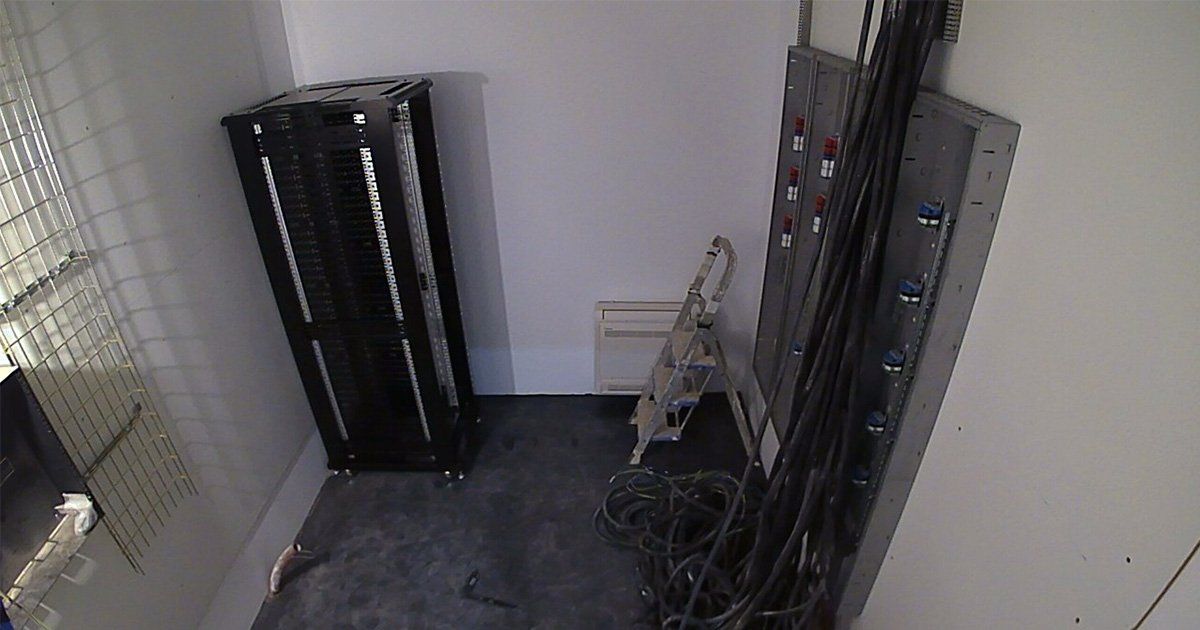
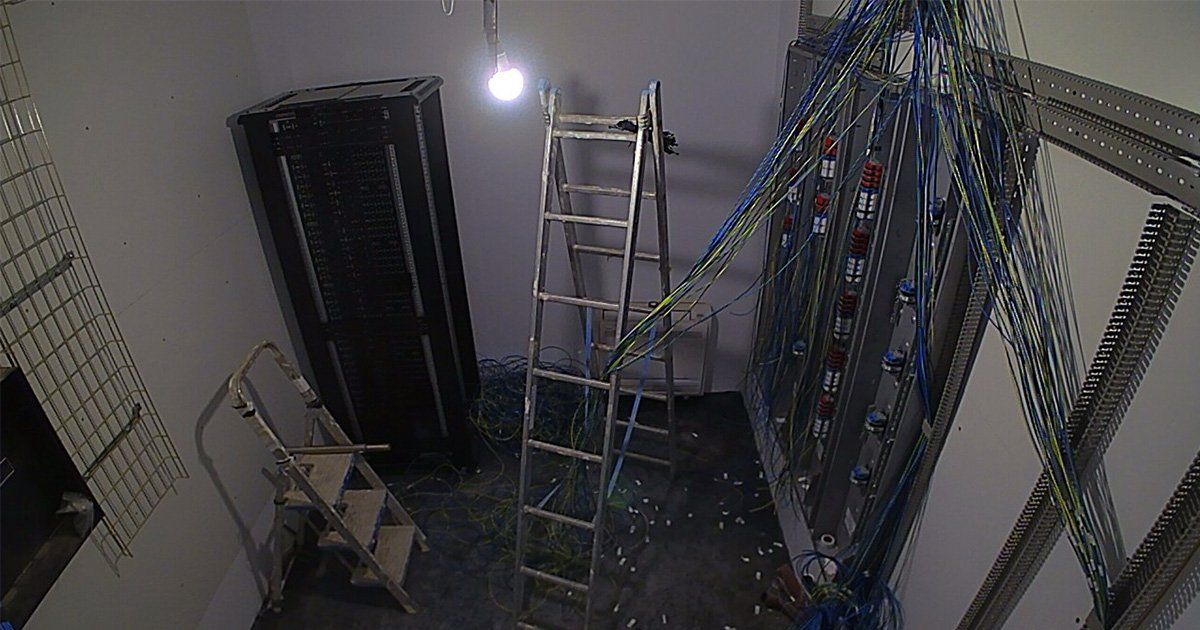
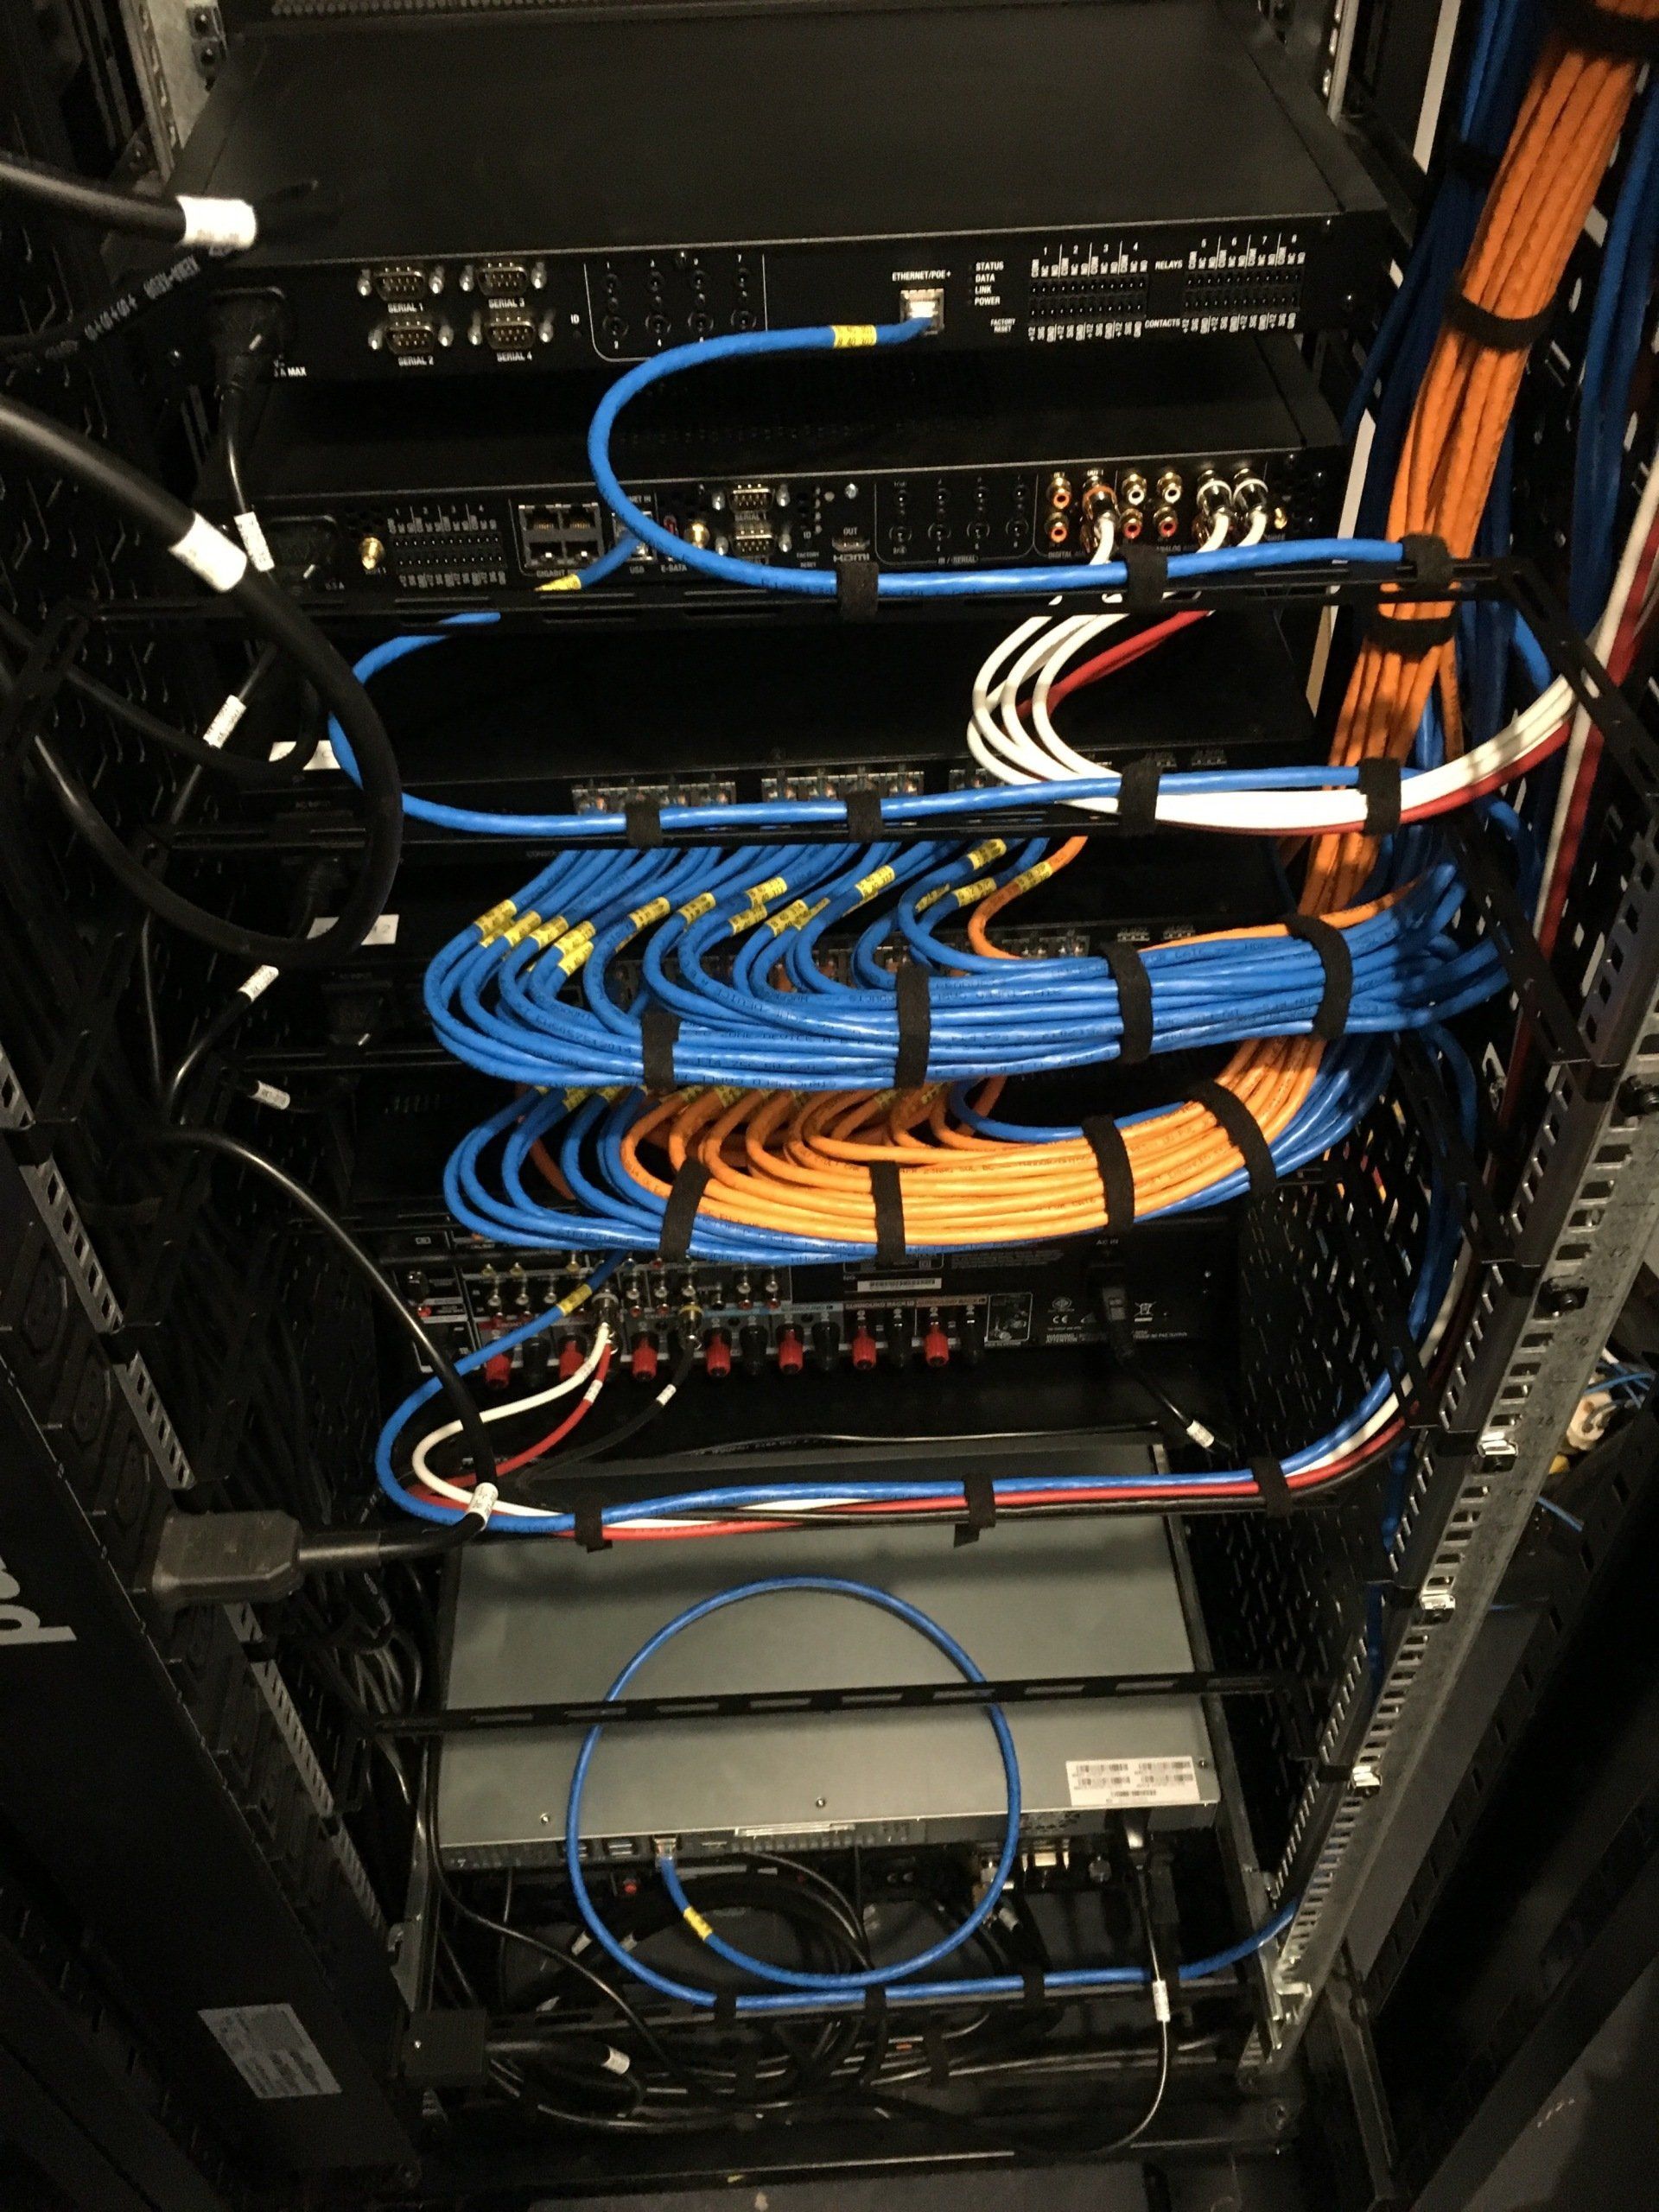
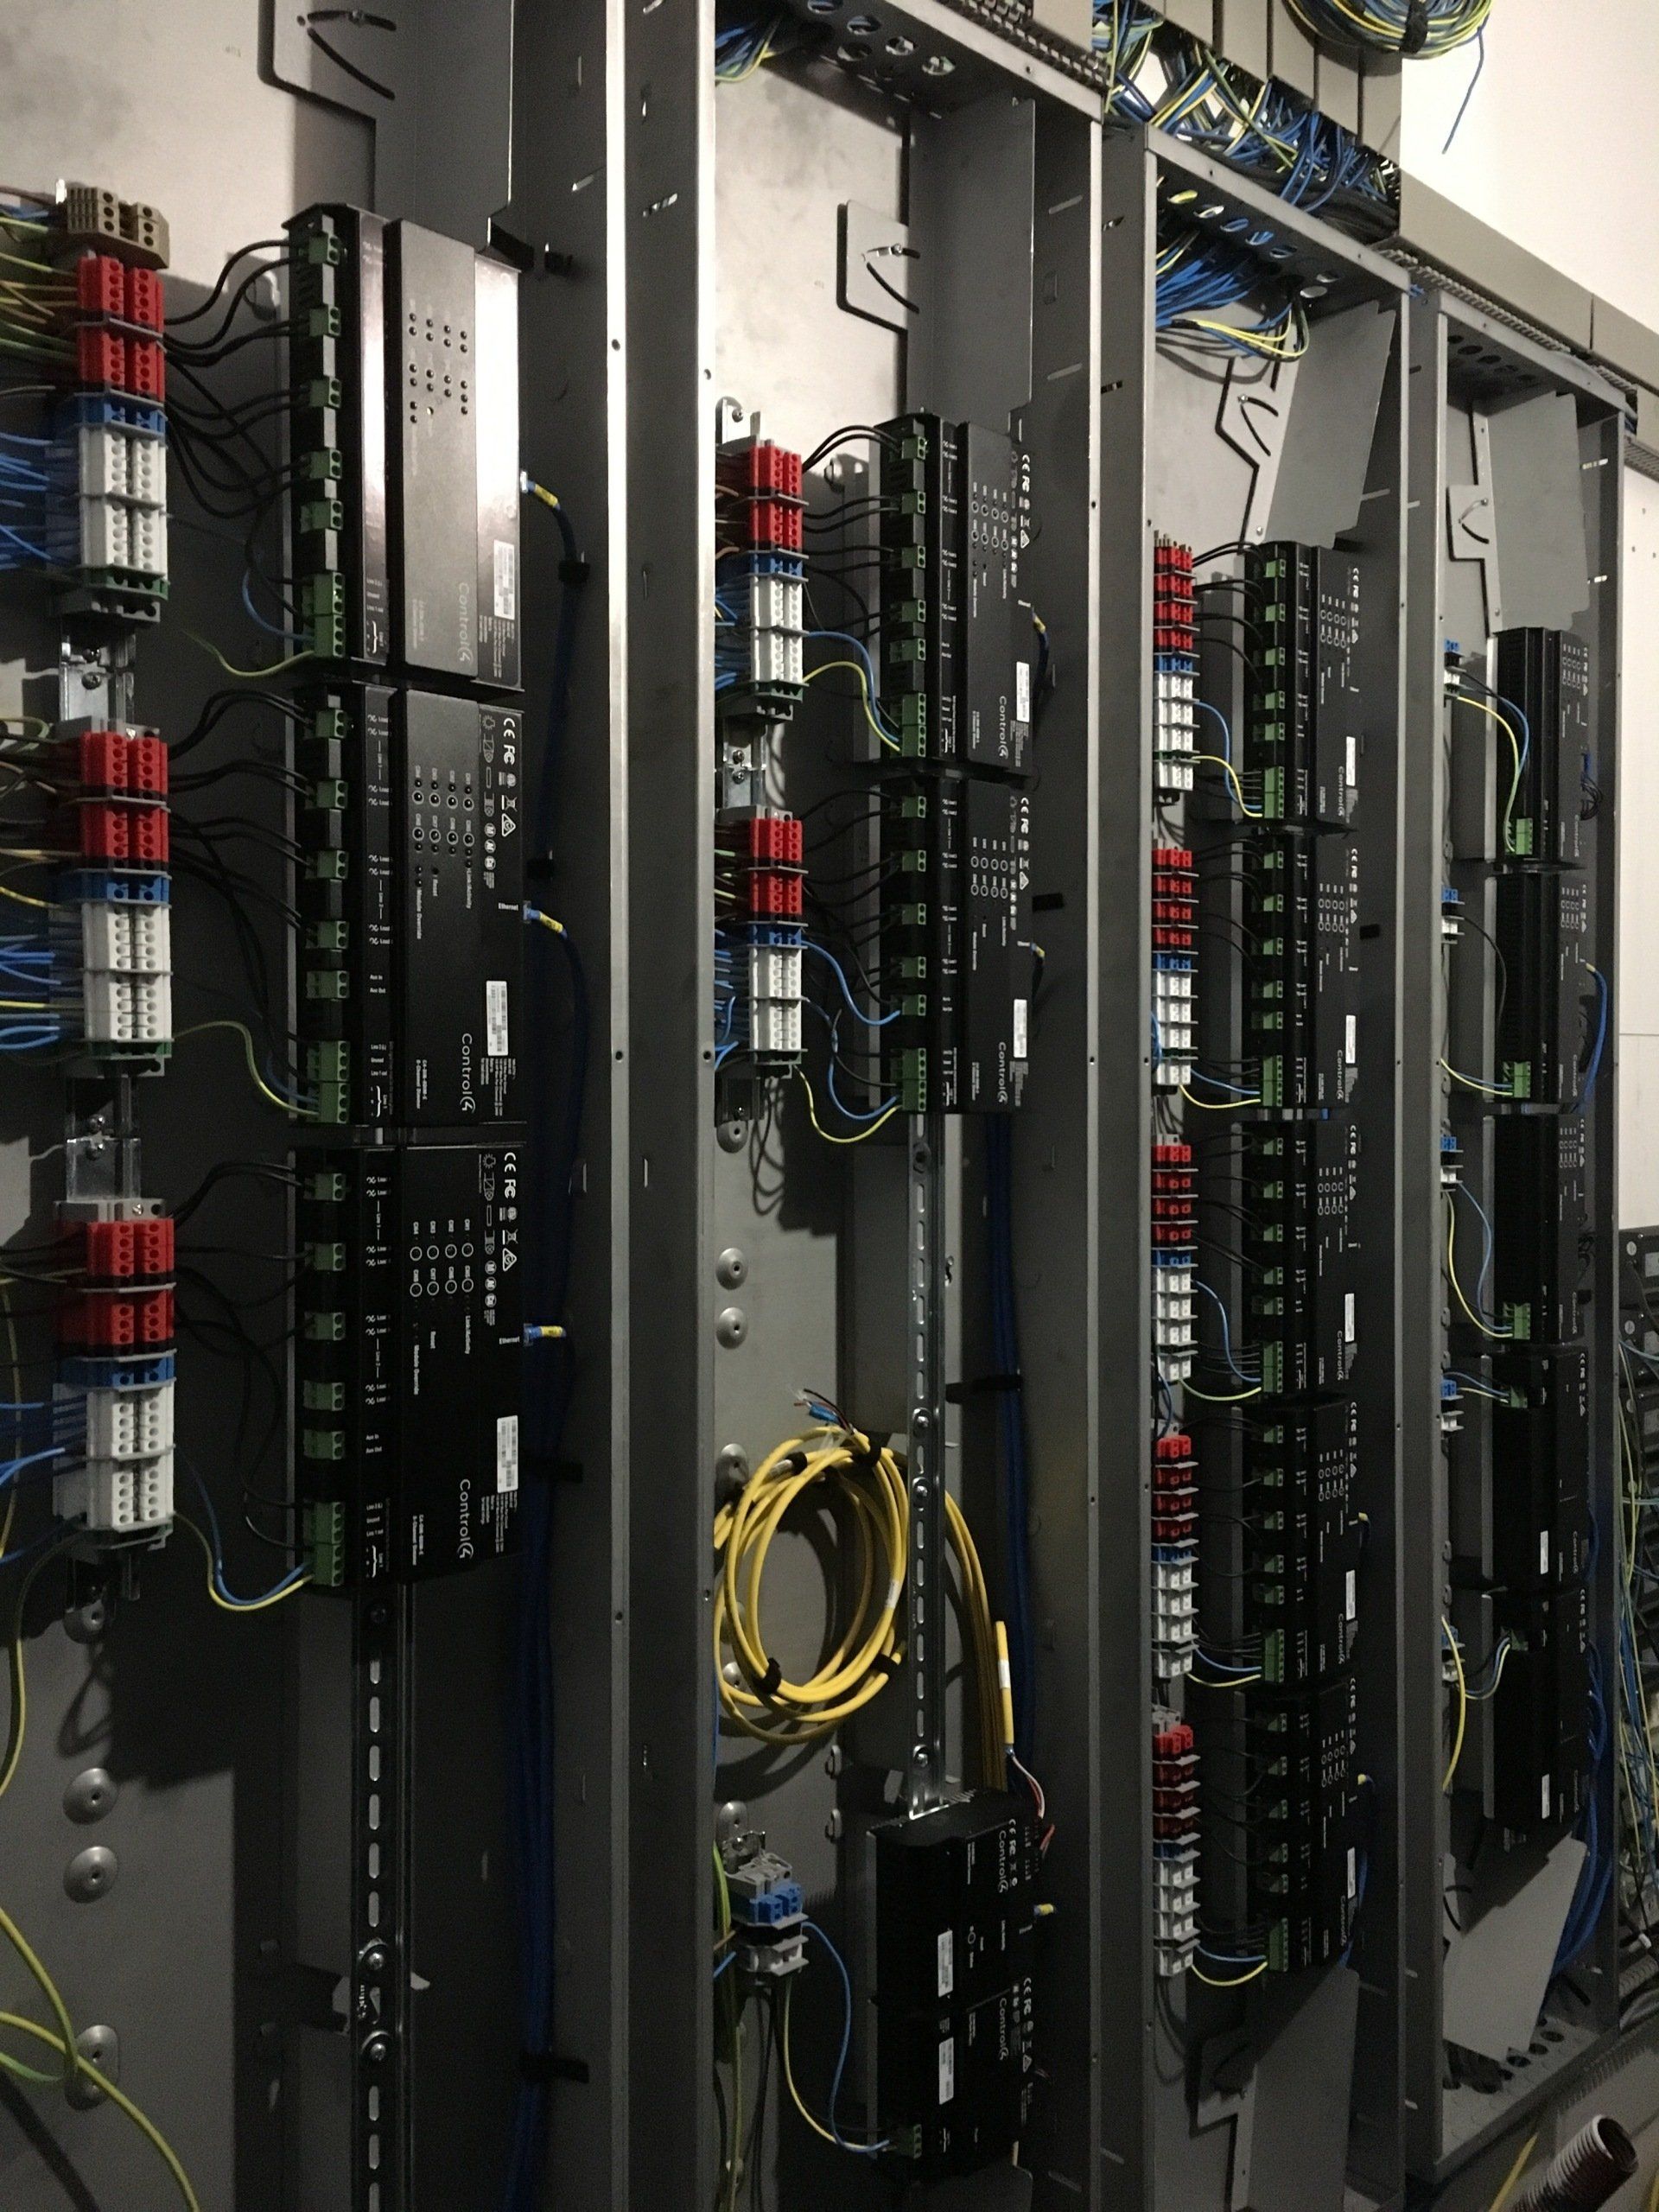
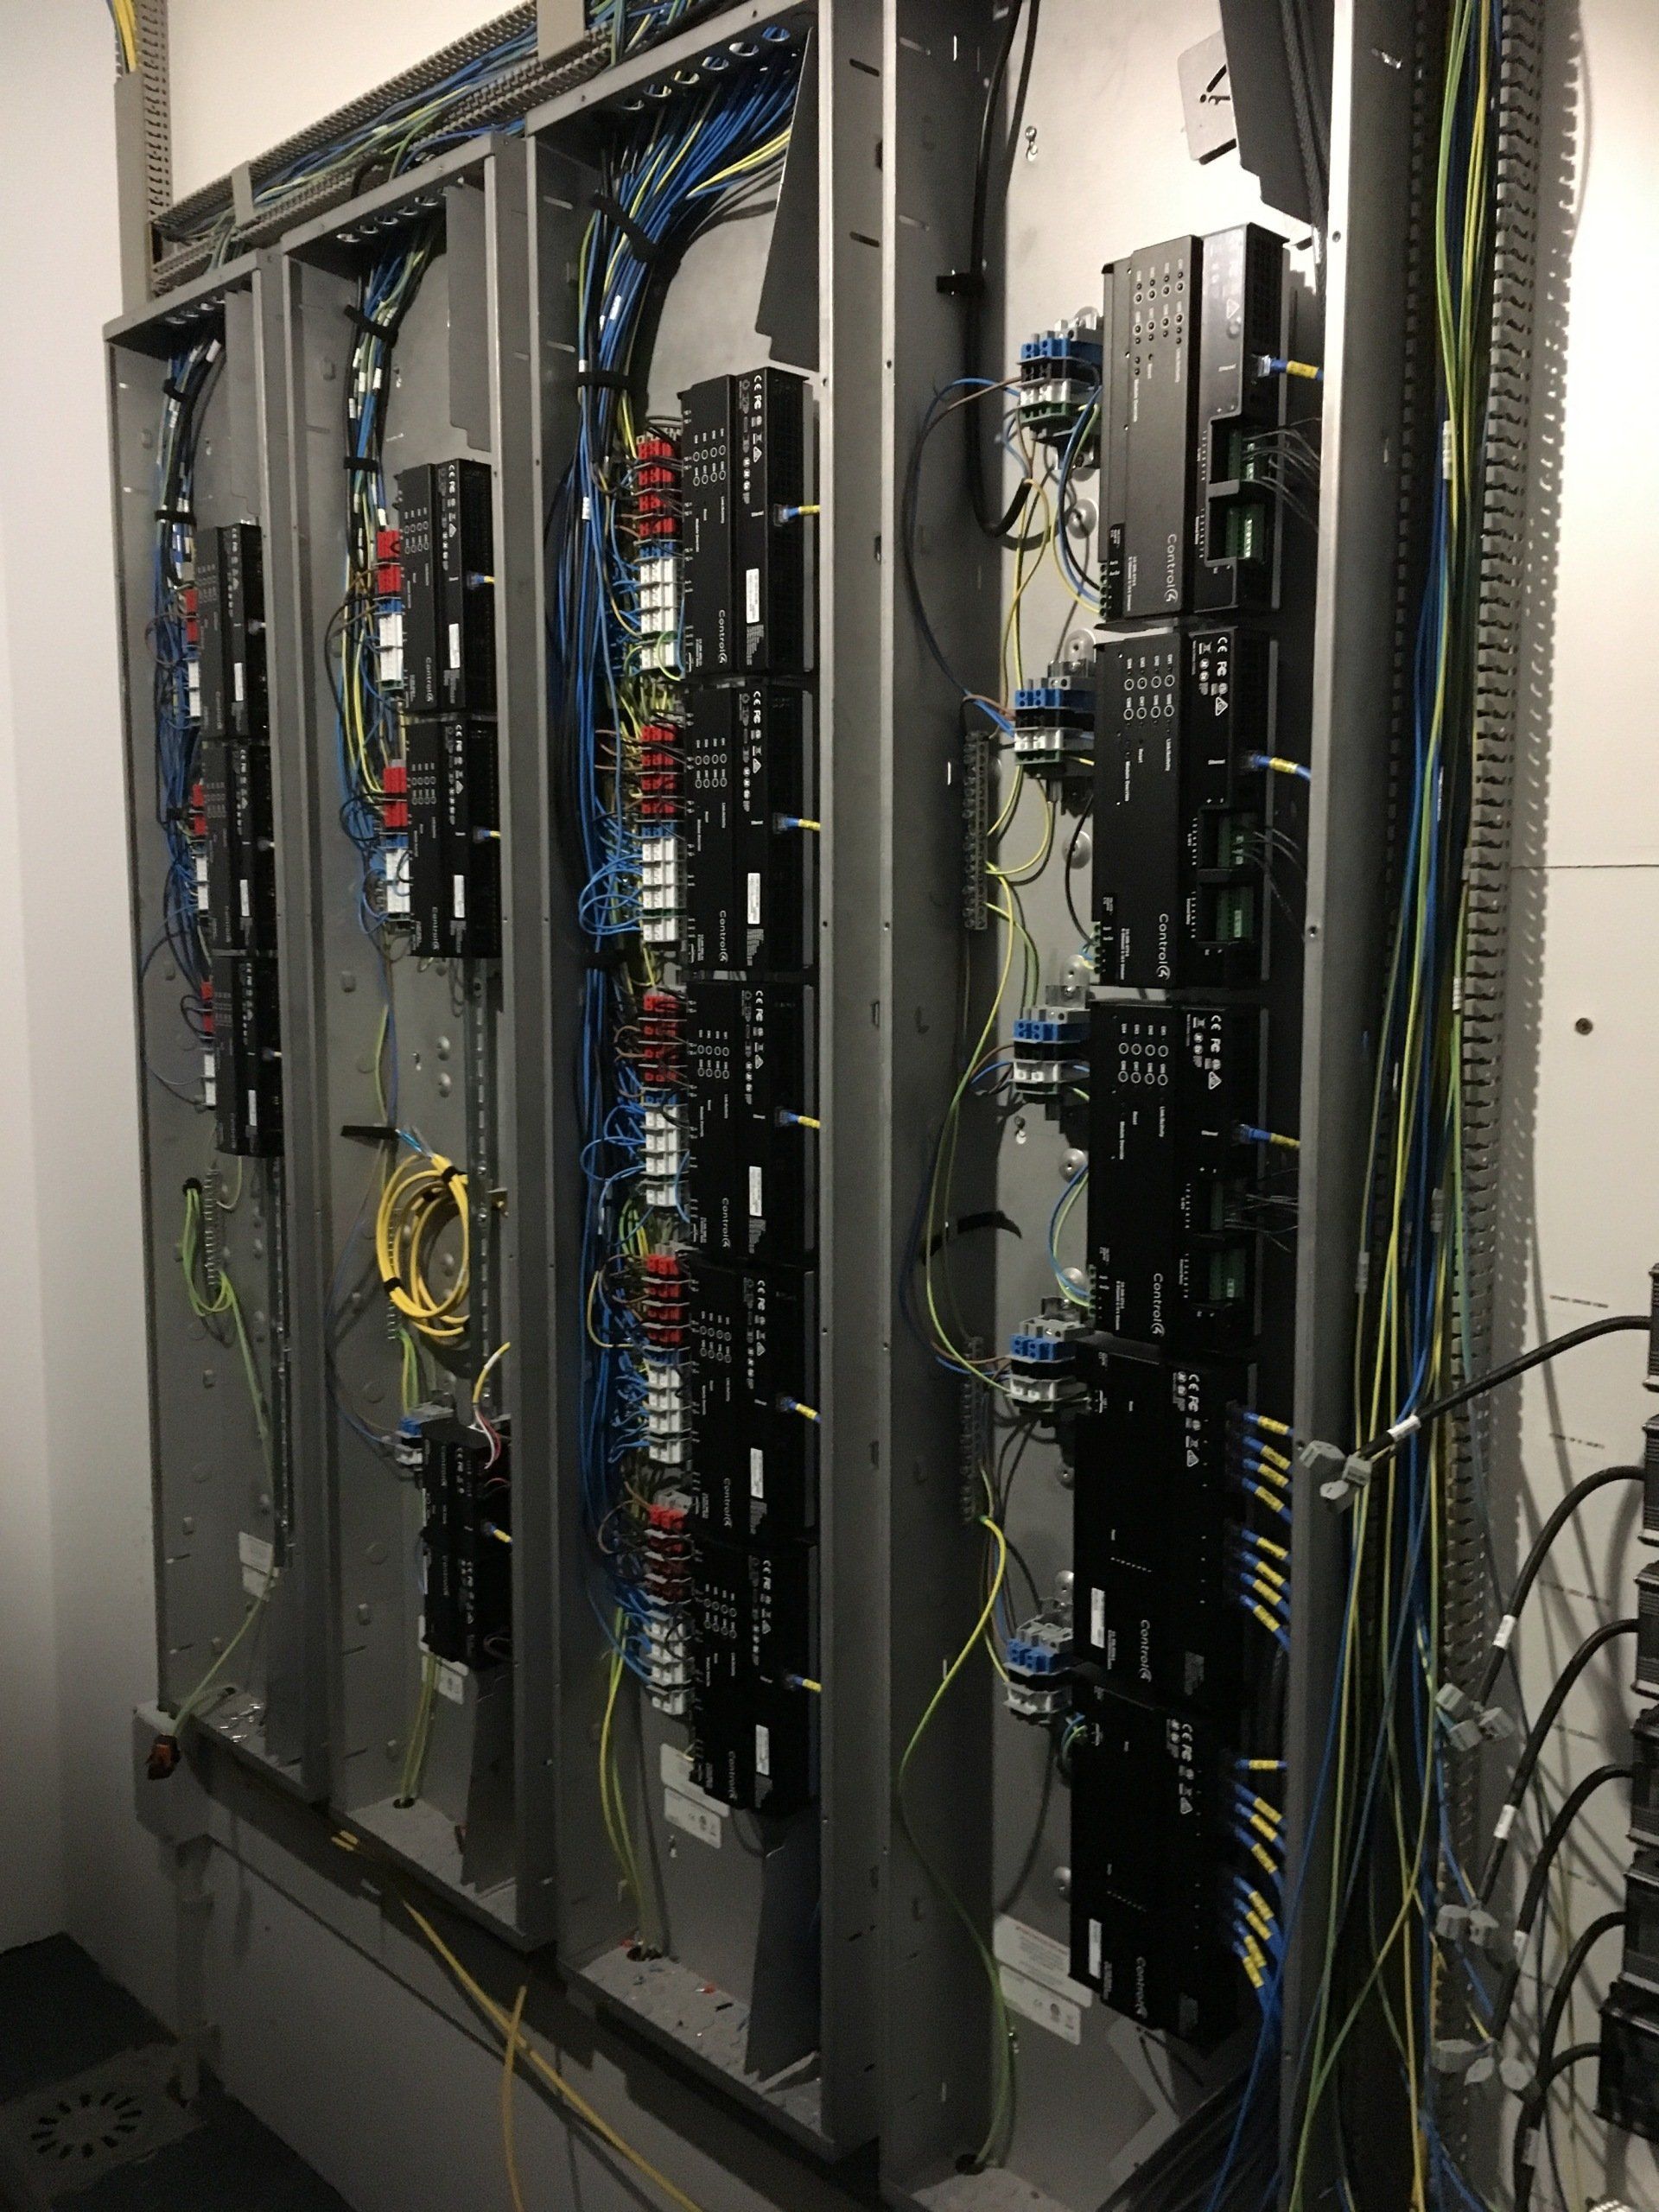
Smart home 2nd fix
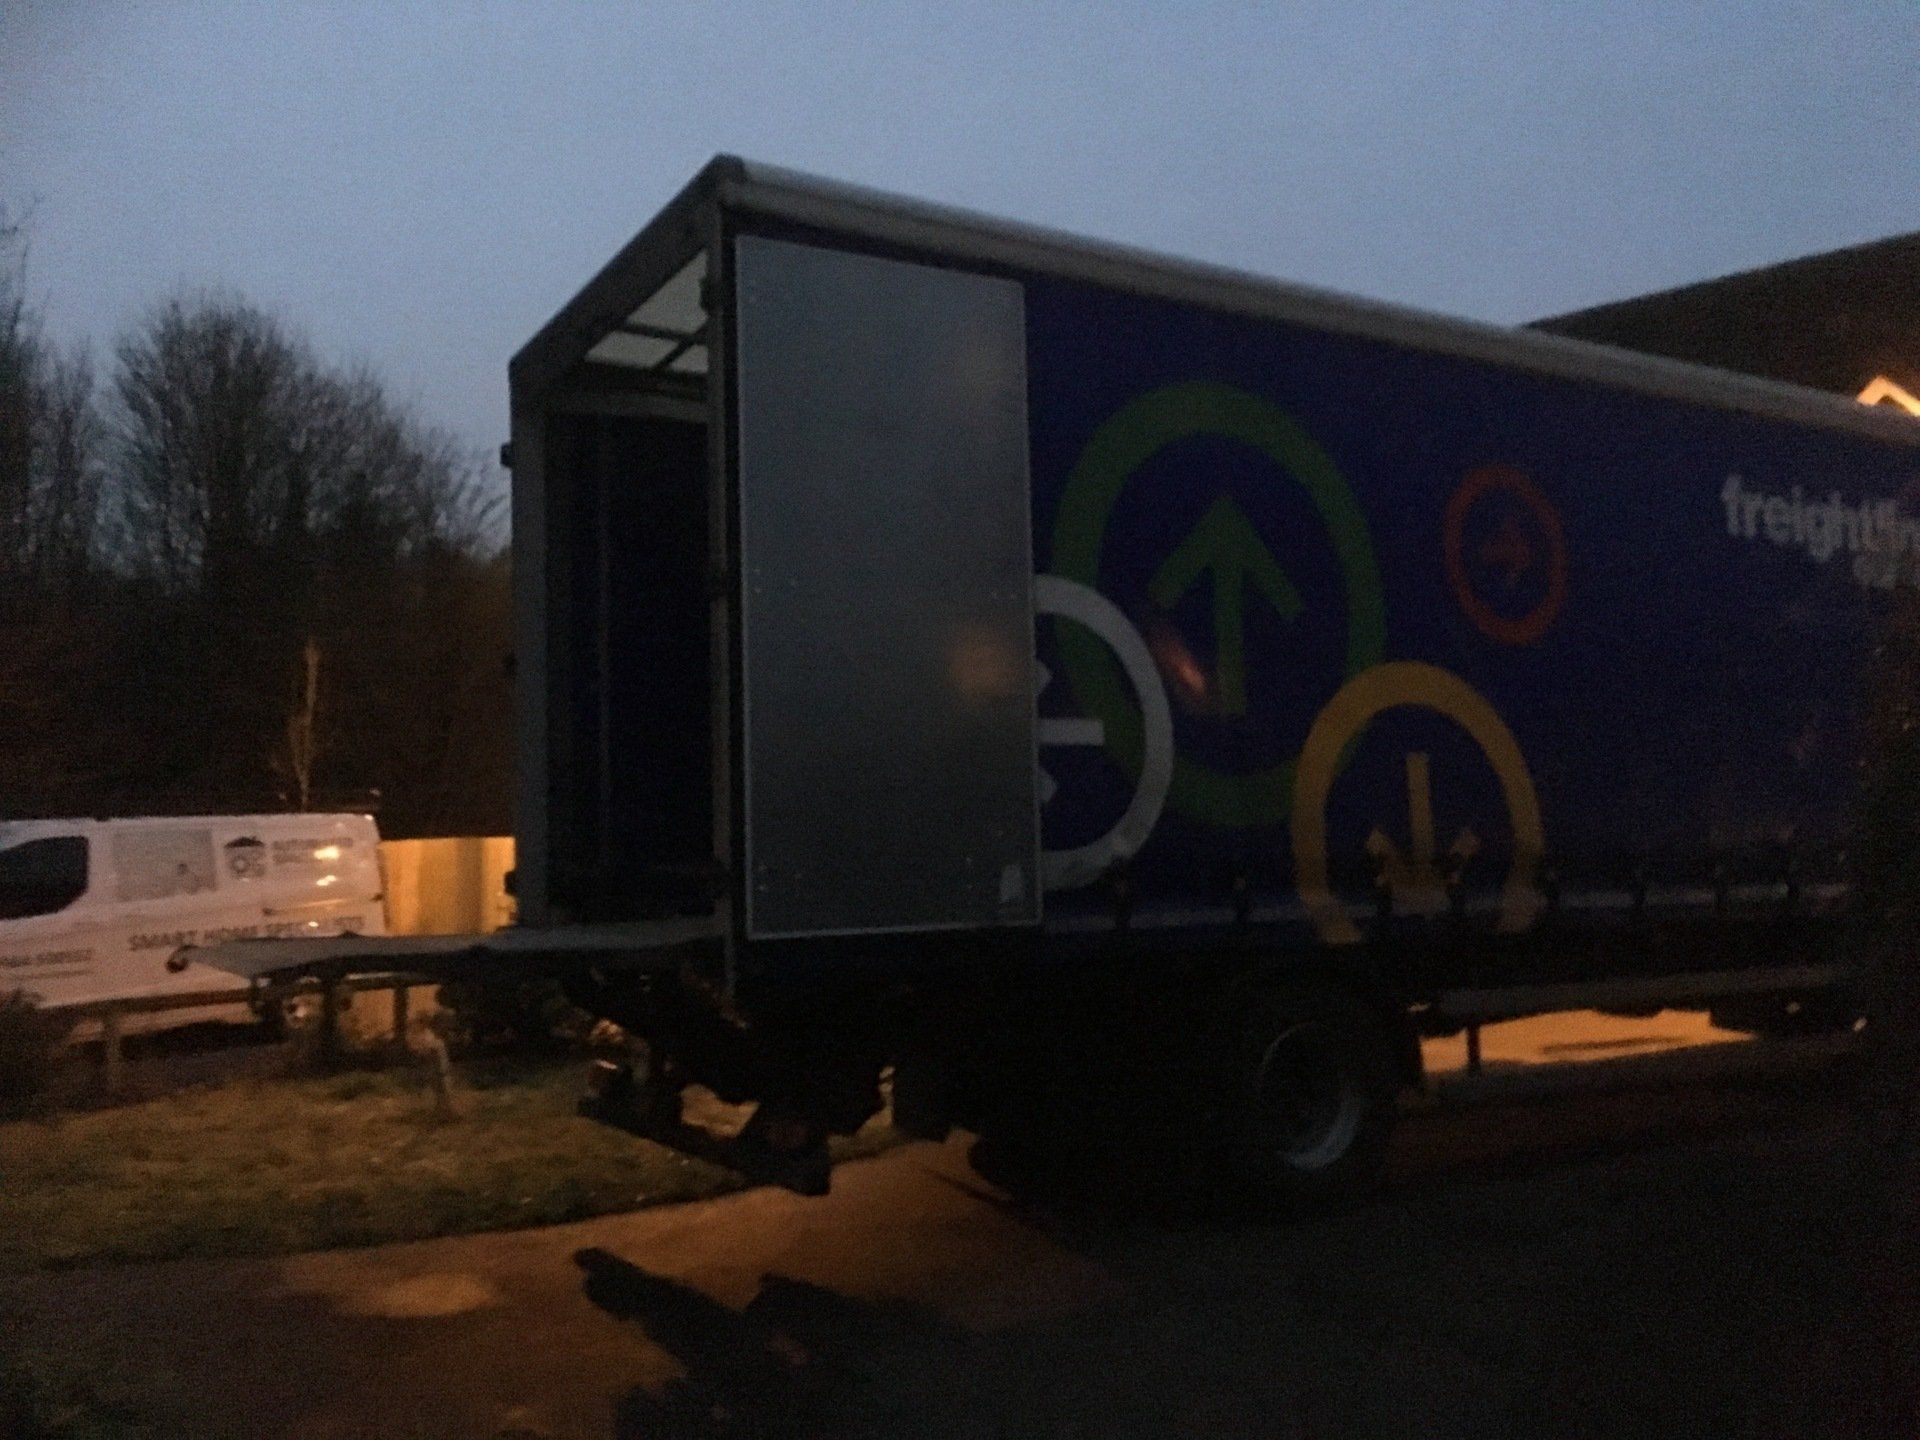
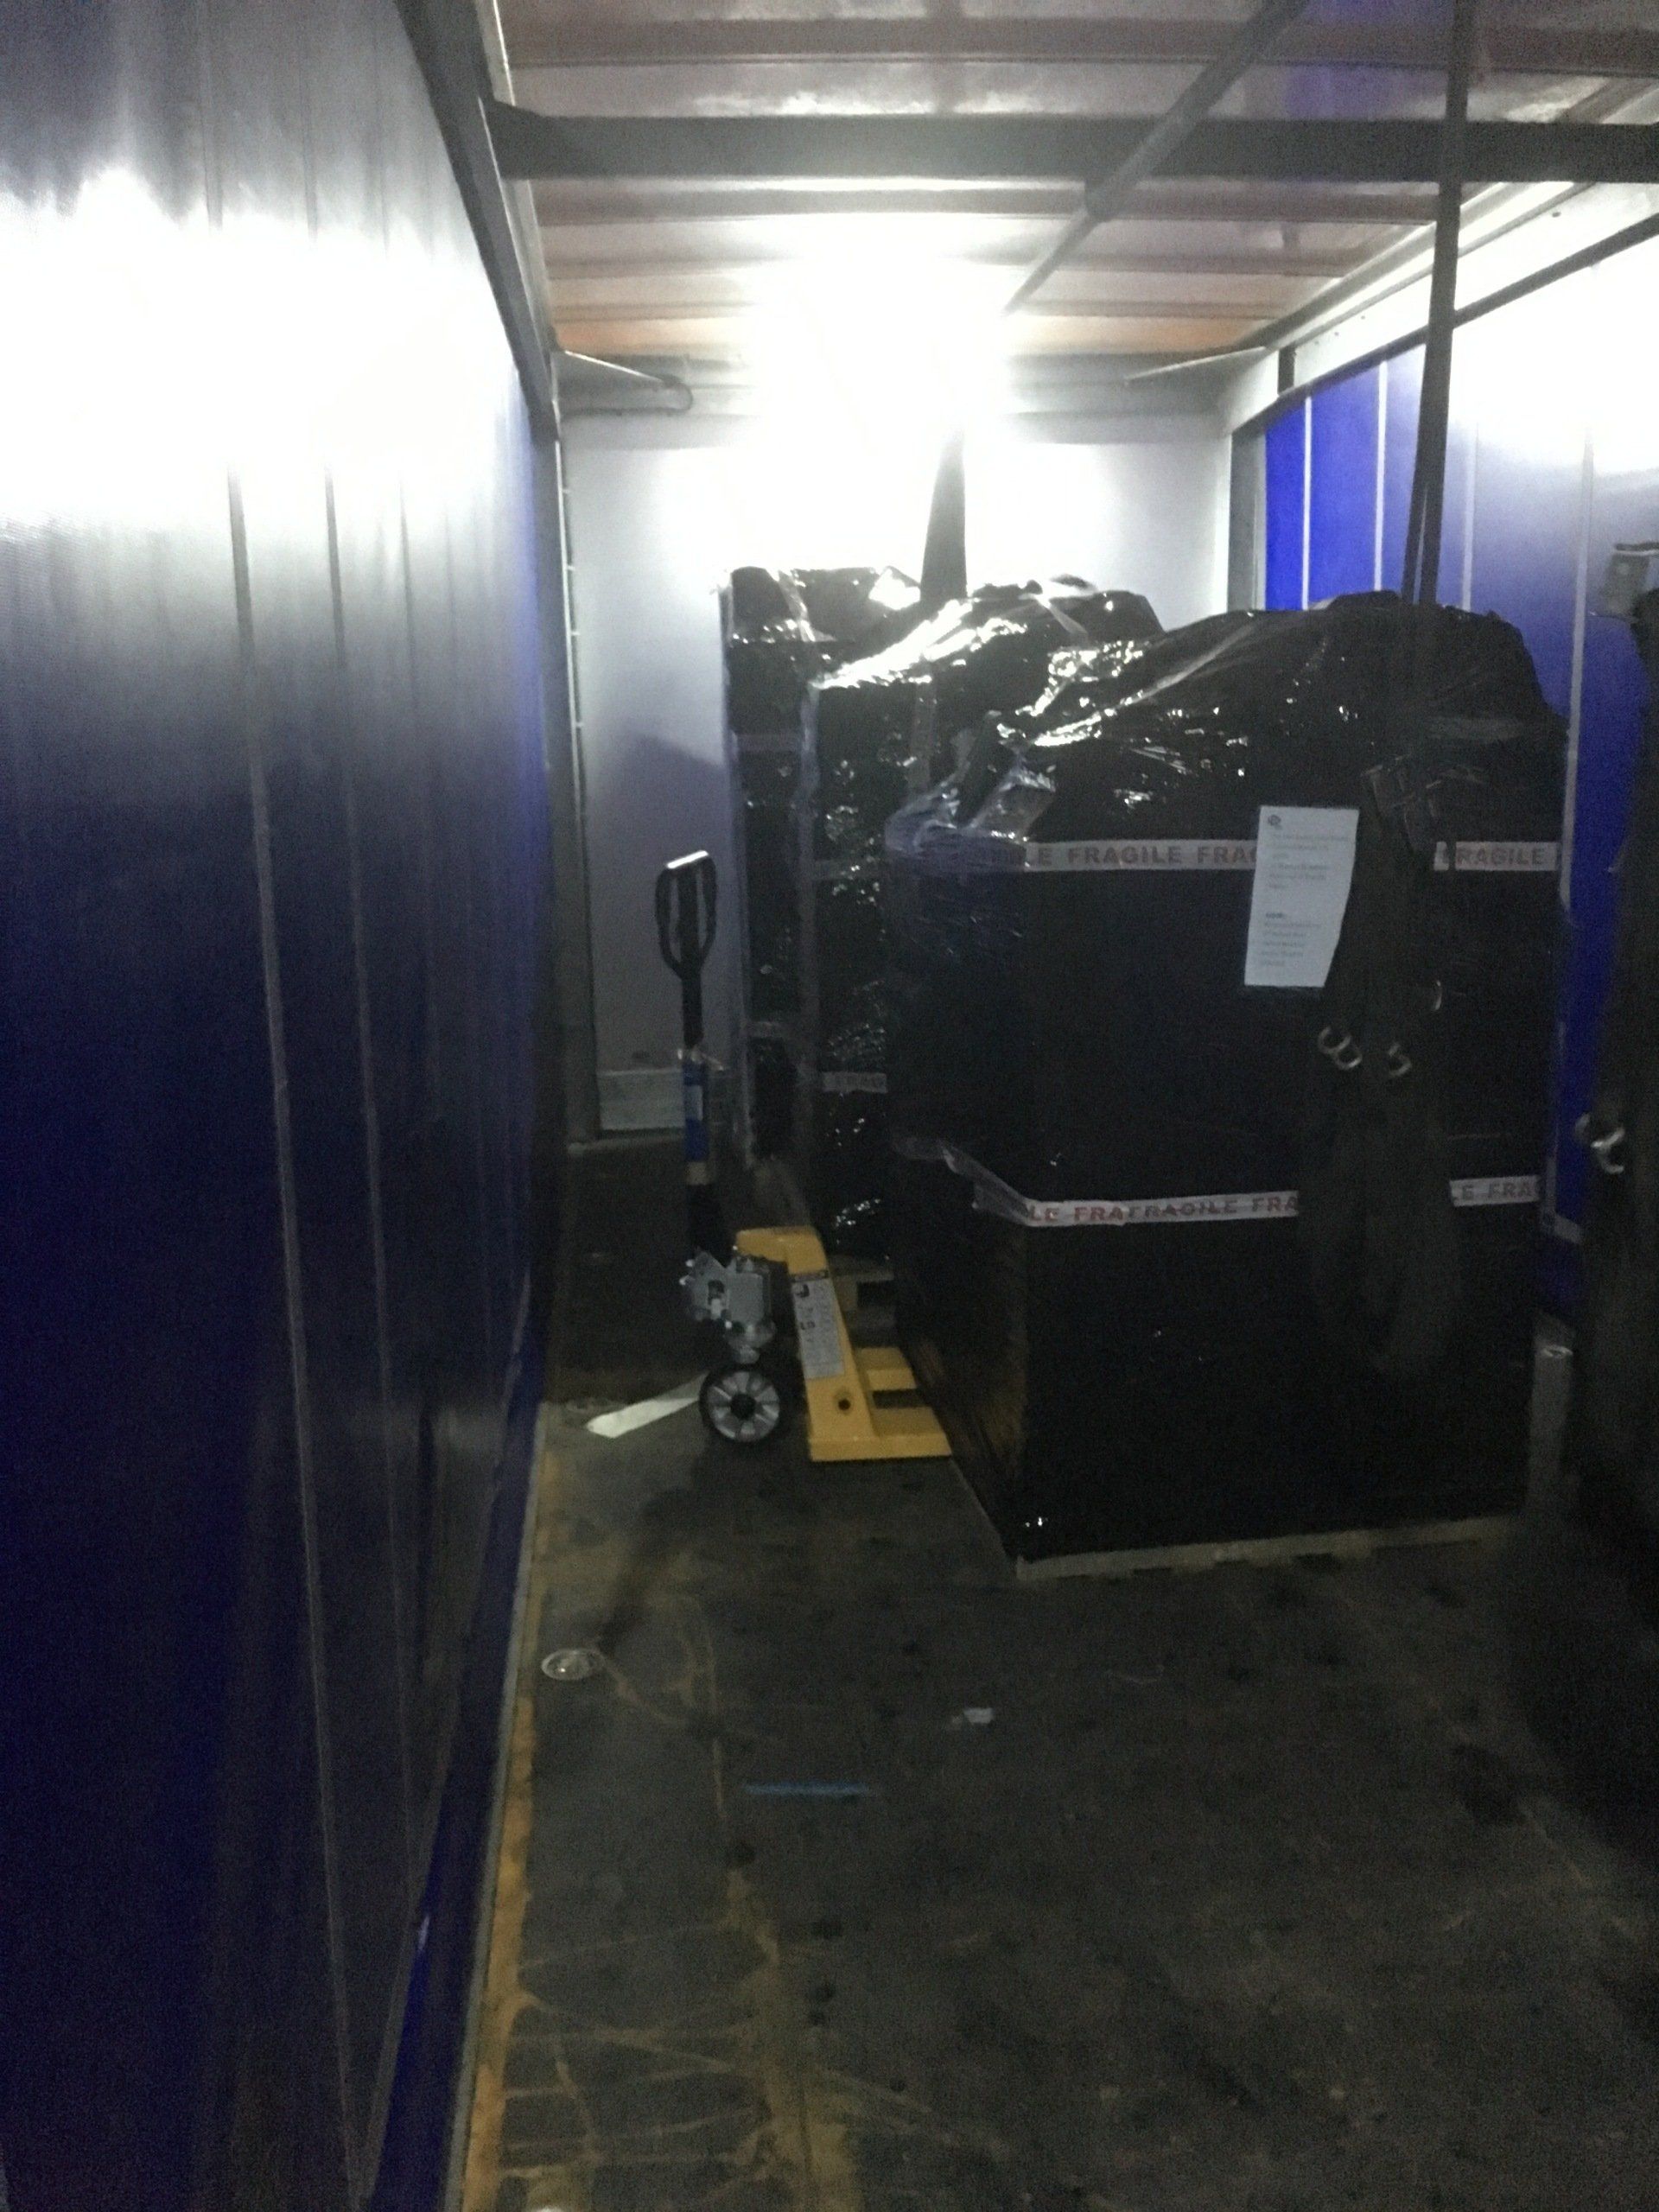
Initial soak testing of the equipment was carried out in the U.K. and then we shipped 3 pallets to the Canary Islands several weeks prior to commencement of the 2nd fix activities onsite.
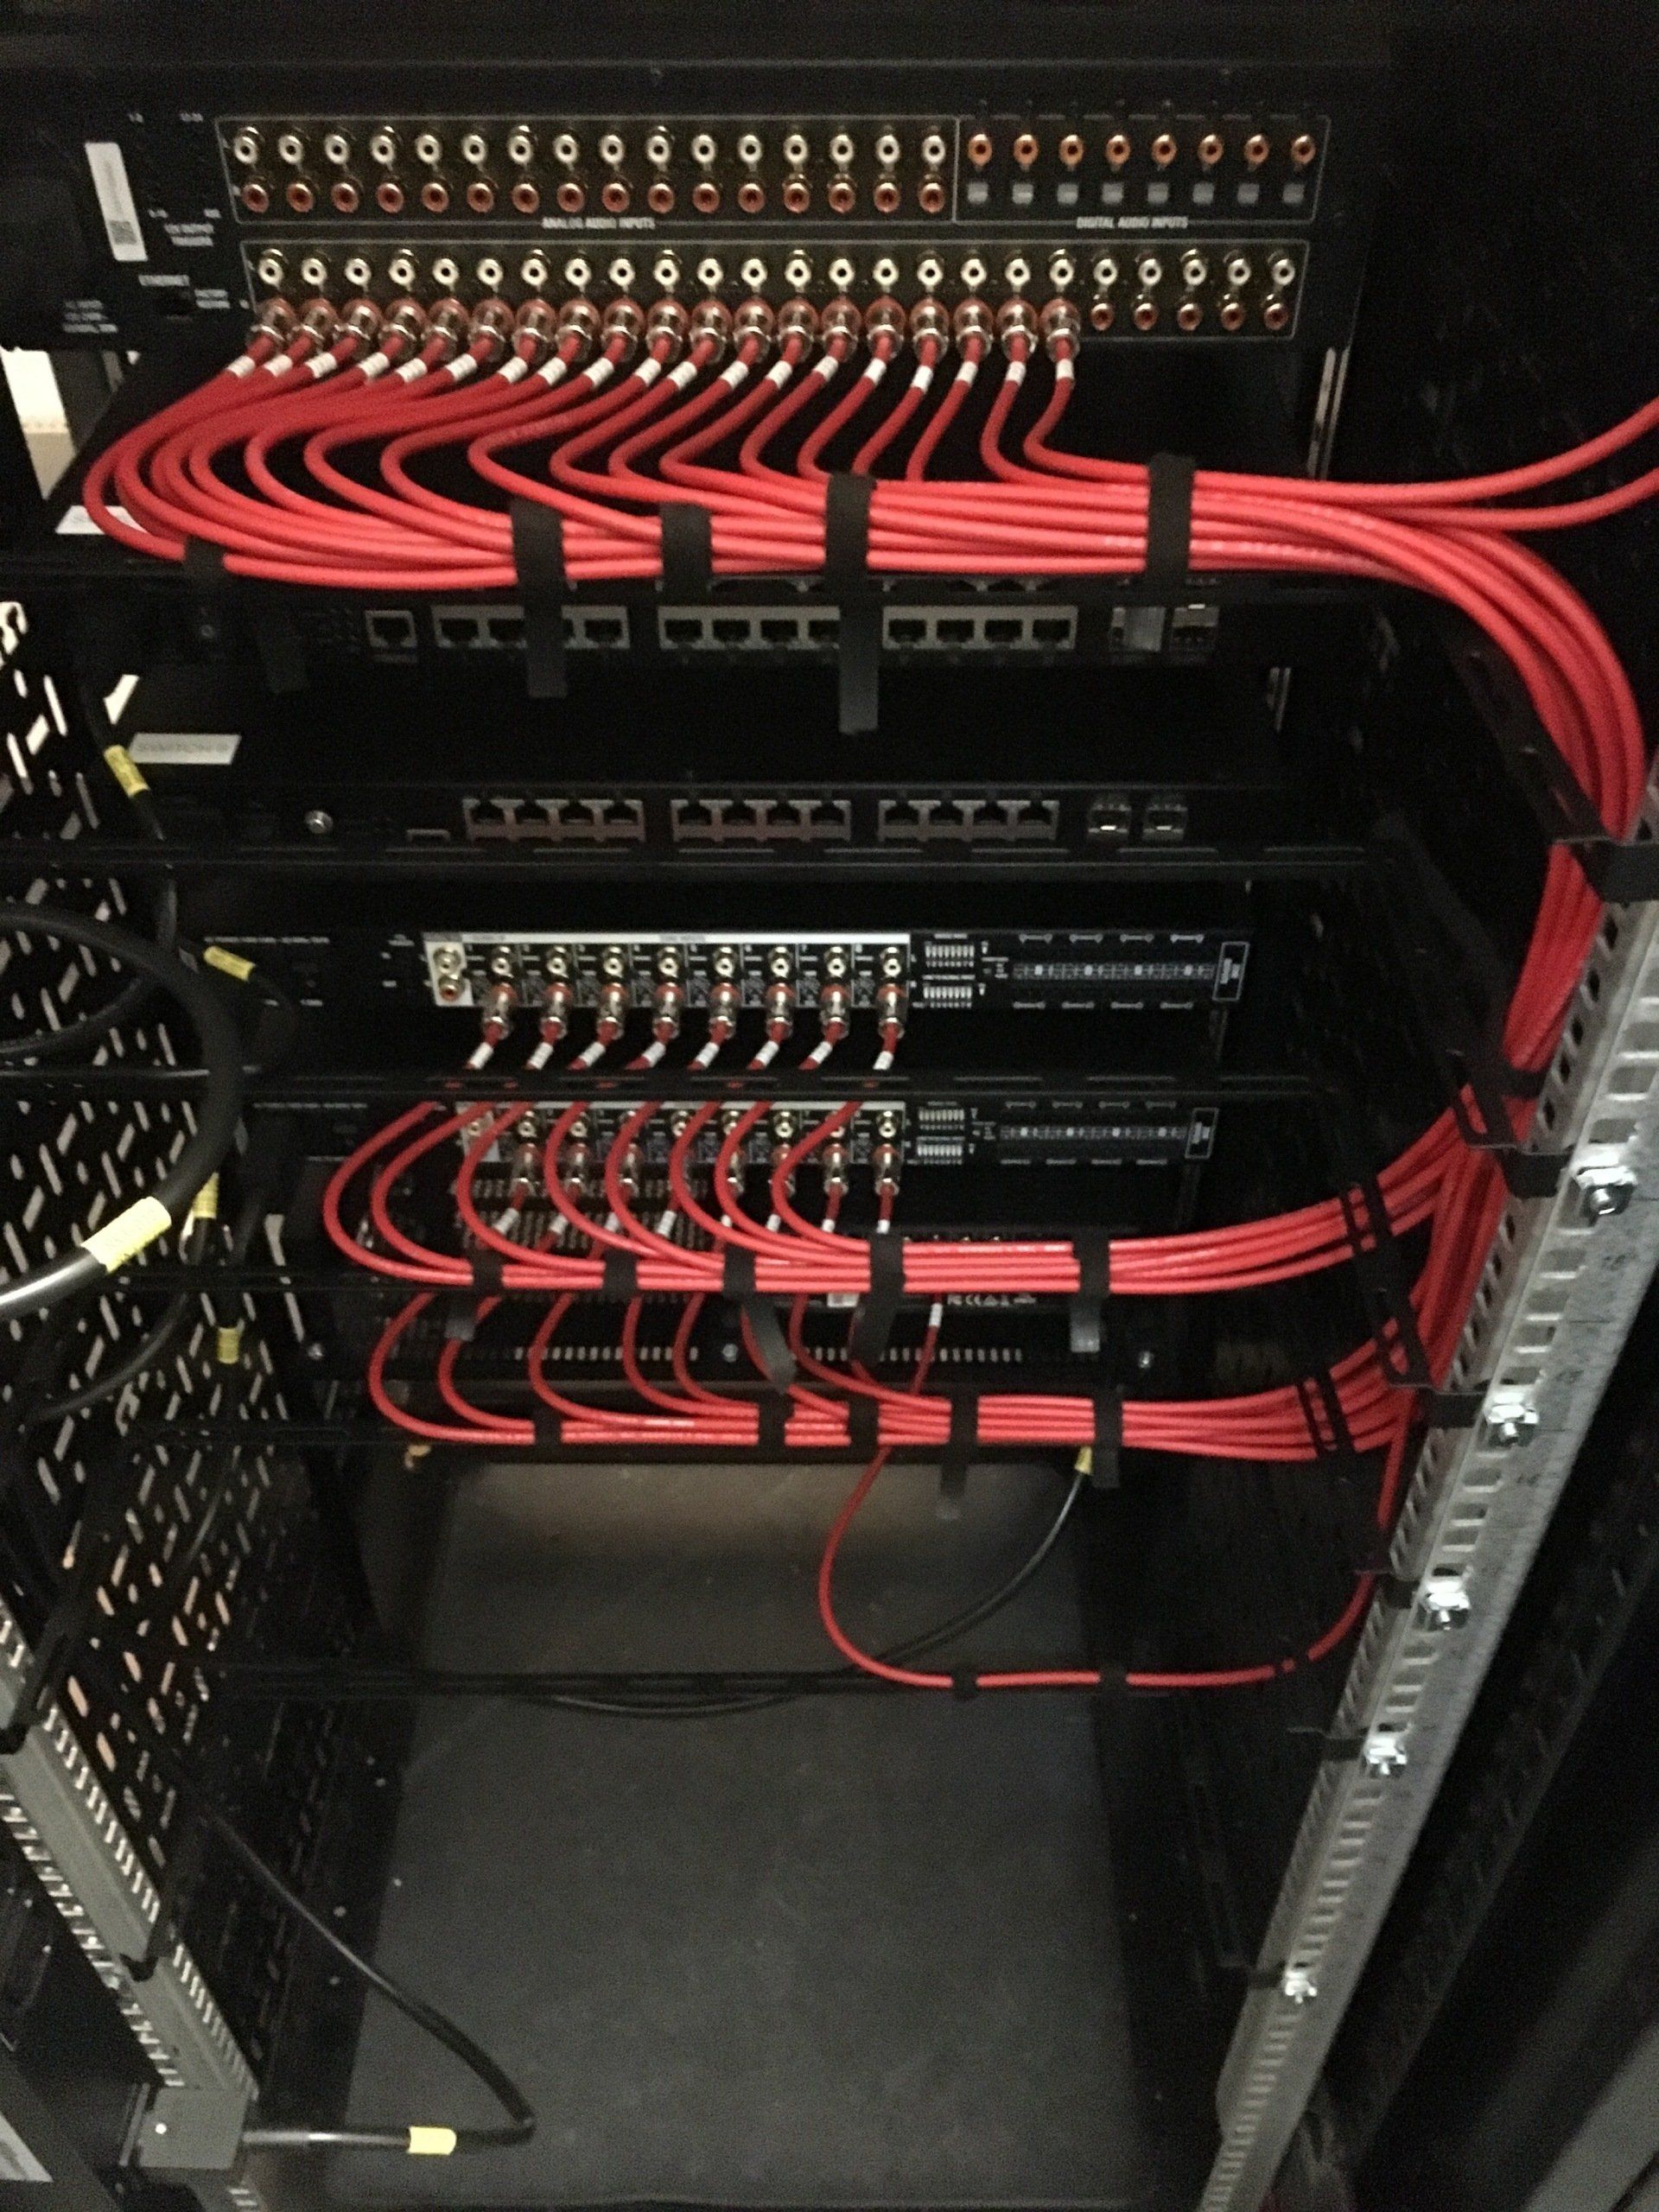
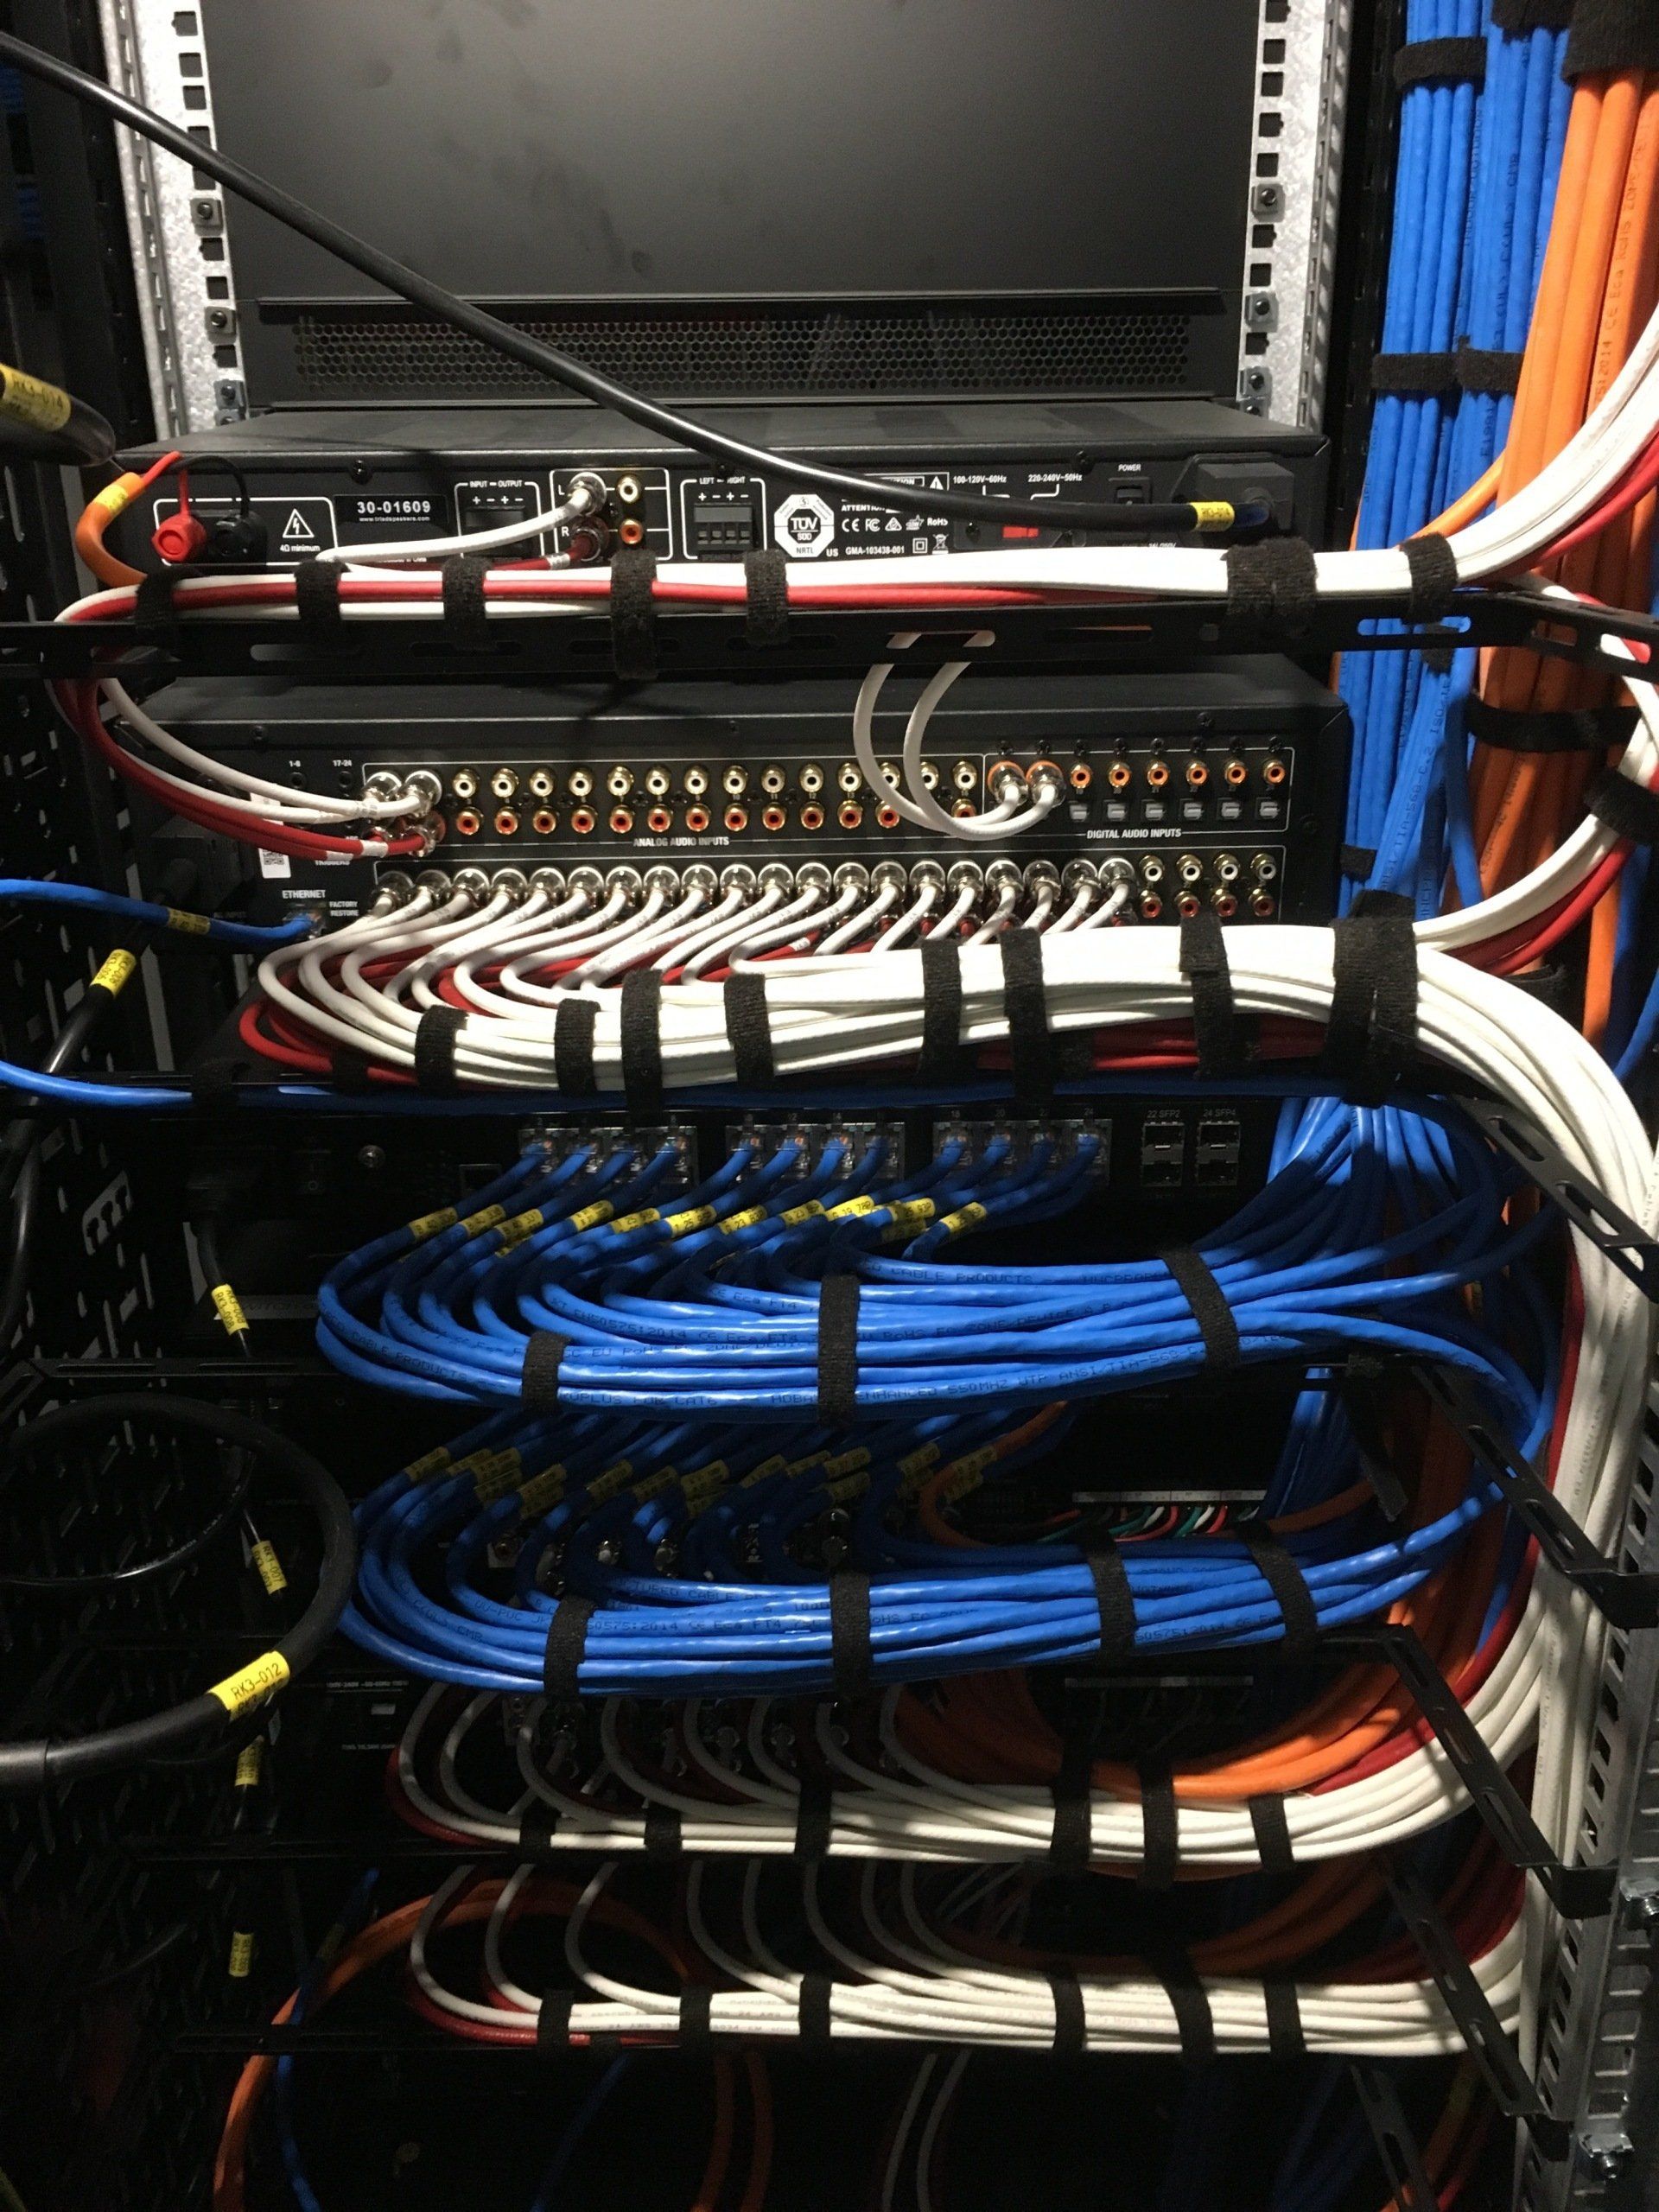
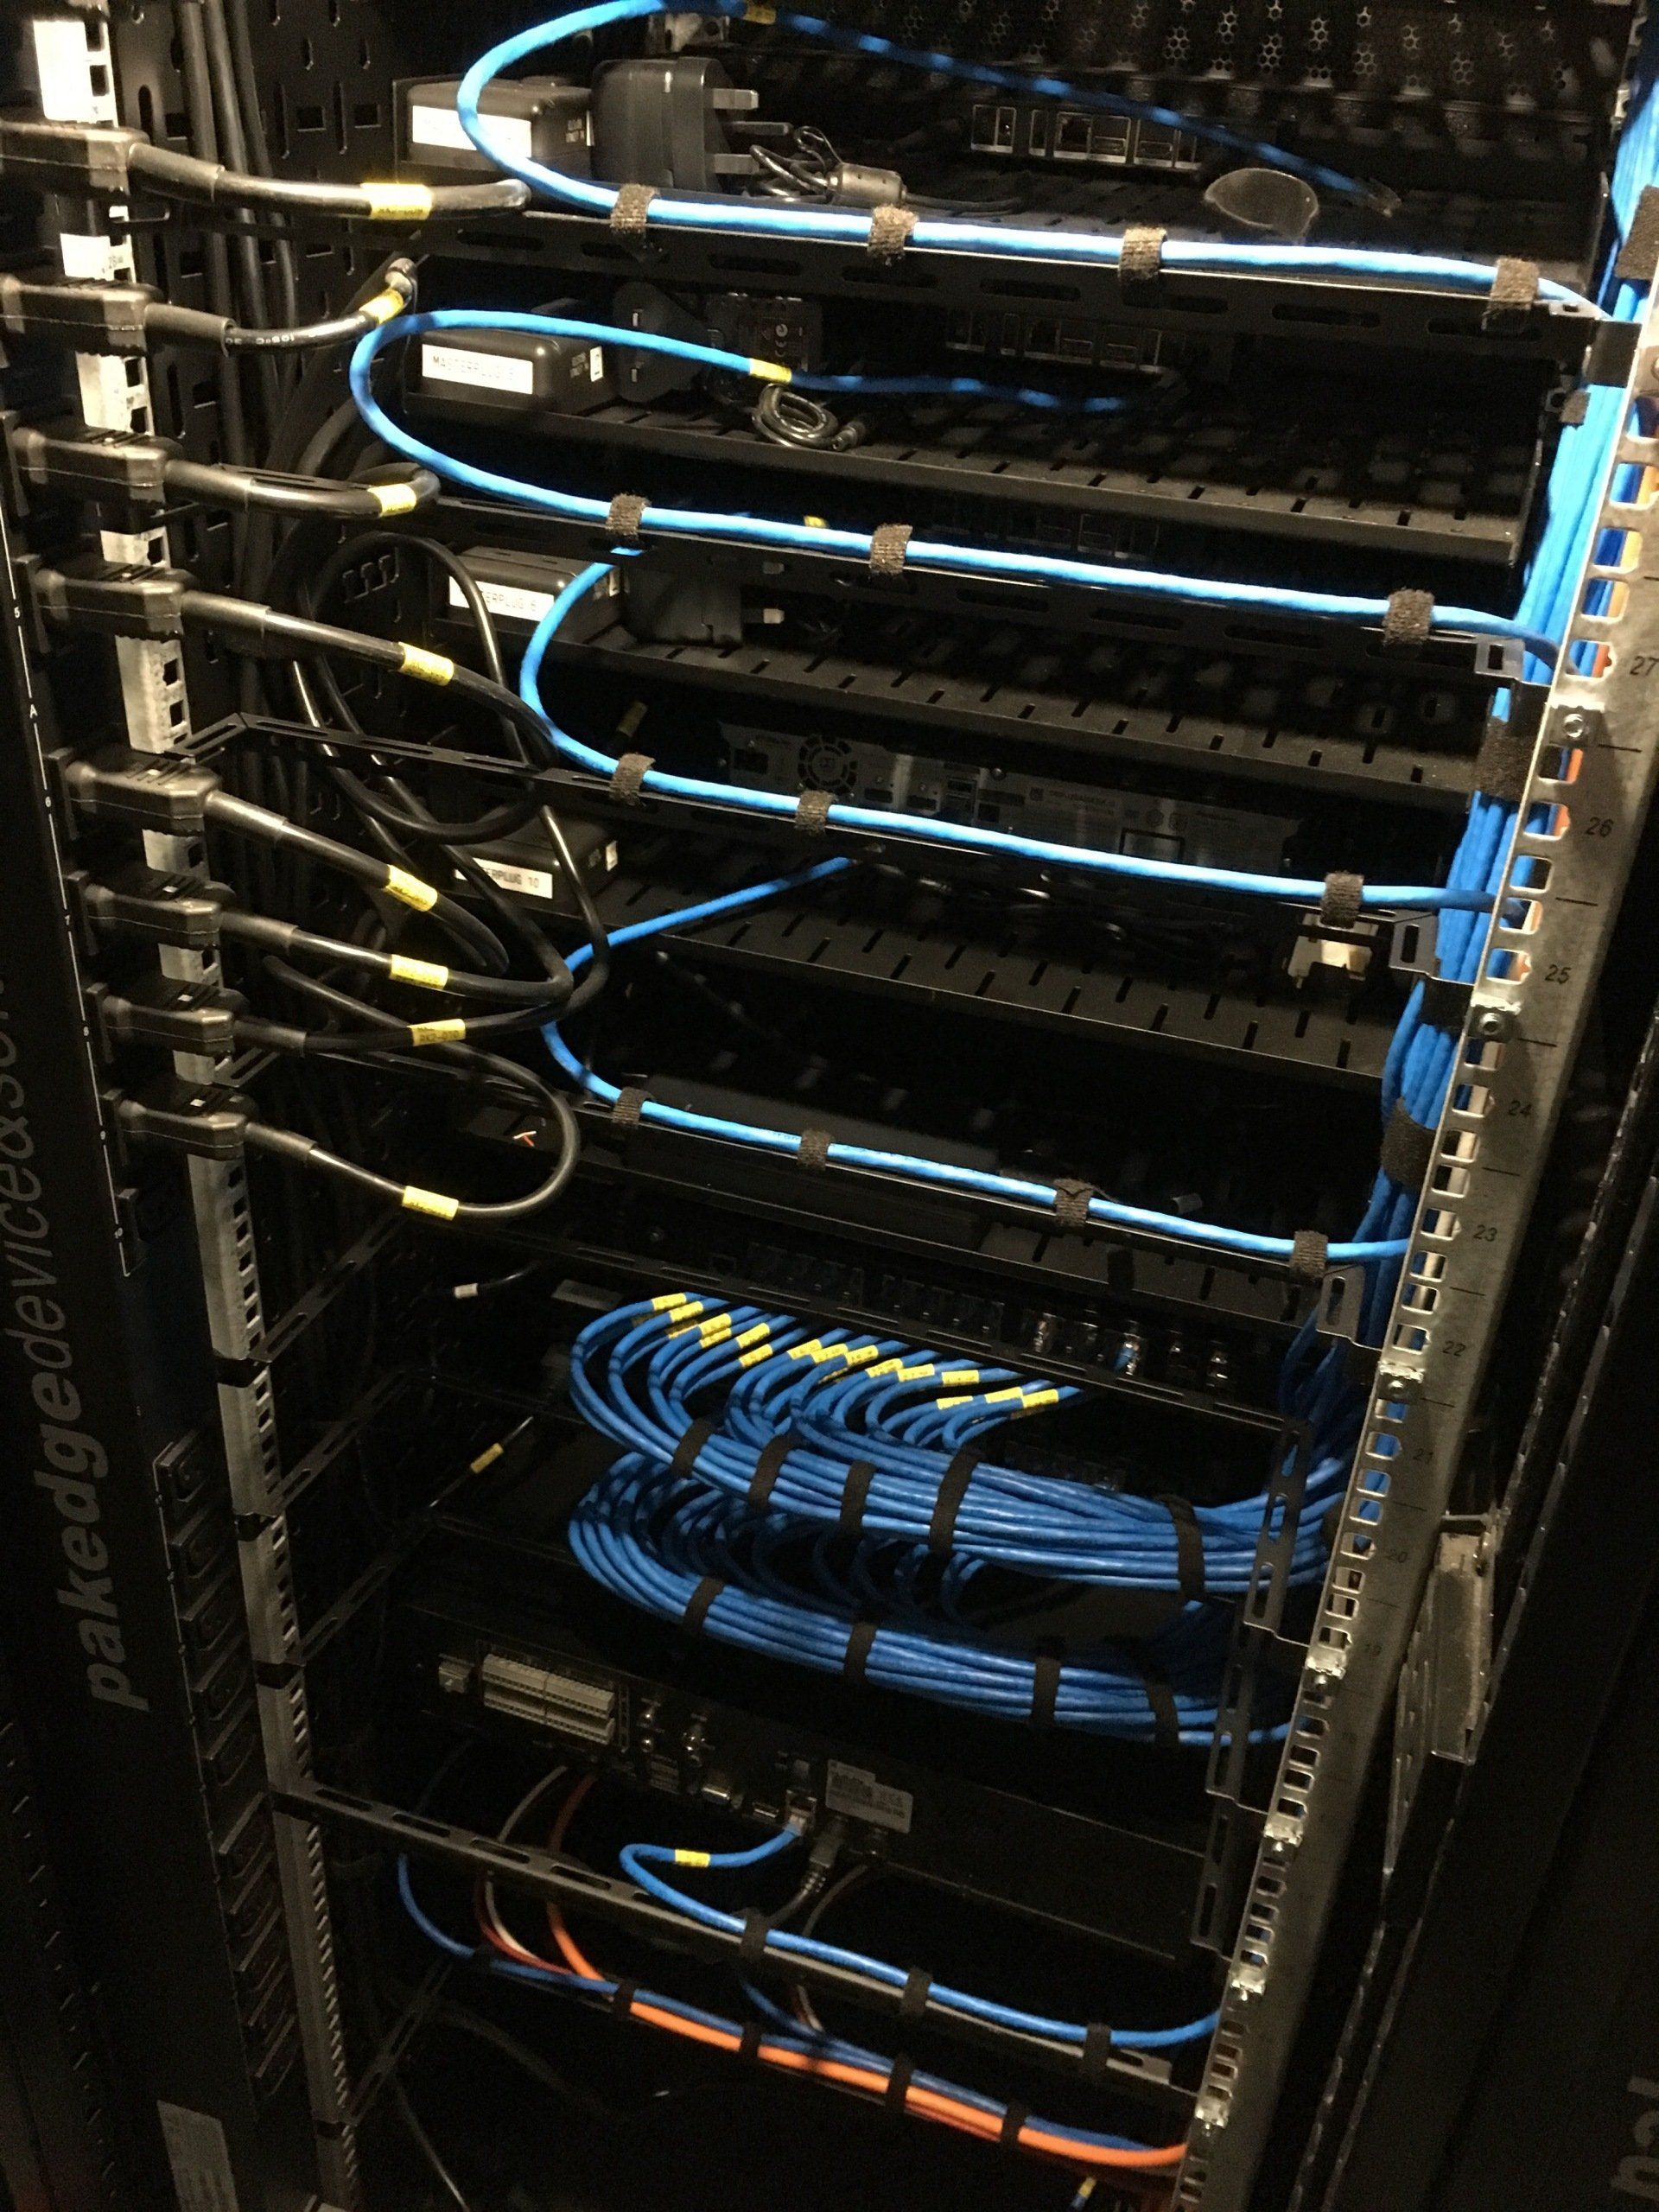
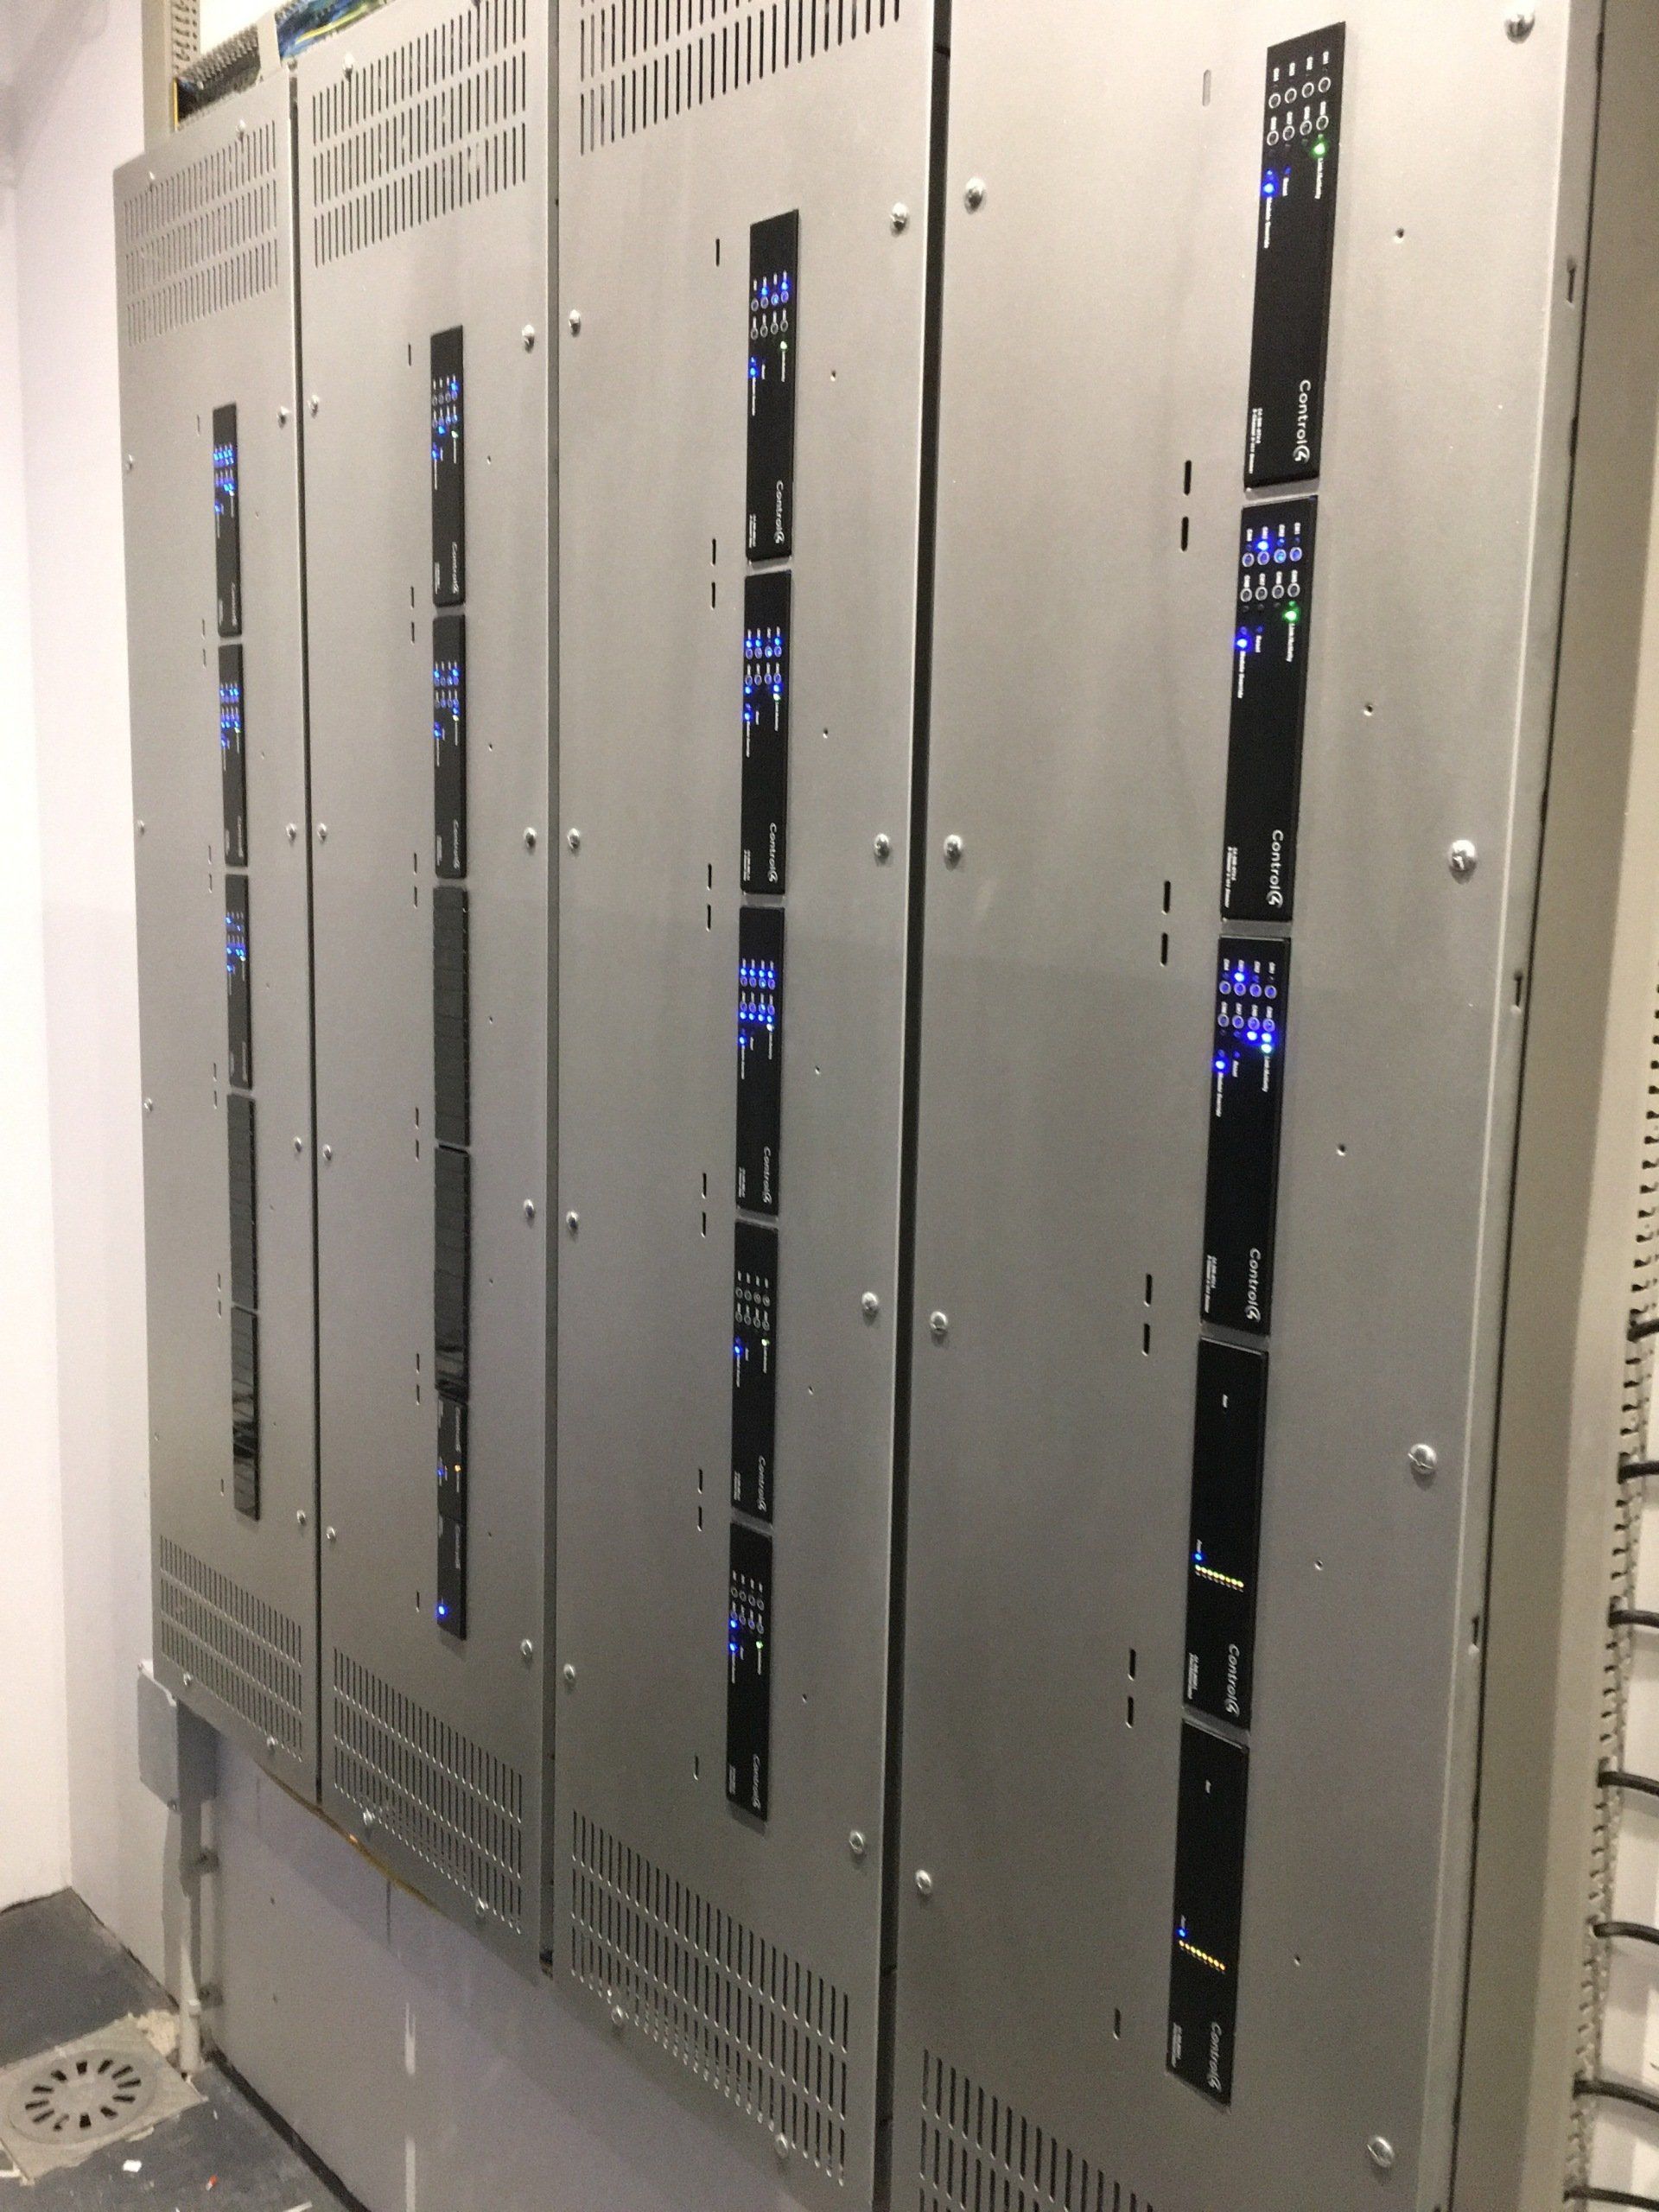
Ordinarily, we would carry out the majority of 2nd fix activities offsite at our workshop facility but on this occasion as we were transporting the server racks as flat pack items it meant we would have to lace all the relevant patch cables into the 3 x 42U server racks onsite.
During the 2nd fix we installed the relevant hardware into the server racks. We then ran the patch cables between the server racks and patch panel utilising the overhead basket trays. We then laced the patch cables into their appropriate rack and to the relevant rack mounted equipment inside the rack.
After connecting the Pakedge router to the Internet, via a radio wave line of sight modem, we then installed the relevant software on to the rack mounted equipment and updated it’s associated firmware.


Smart home 3rd fix
During the 3rd fix phase, we carried out the hardware installation around the property including:
- CCTV Cameras
- Speakers
- Wireless Access Points
- Control4® Touch Screen
- Control4® EA1 Controllers
- Control4® HDBaseT Balans
- Control4® Door Station
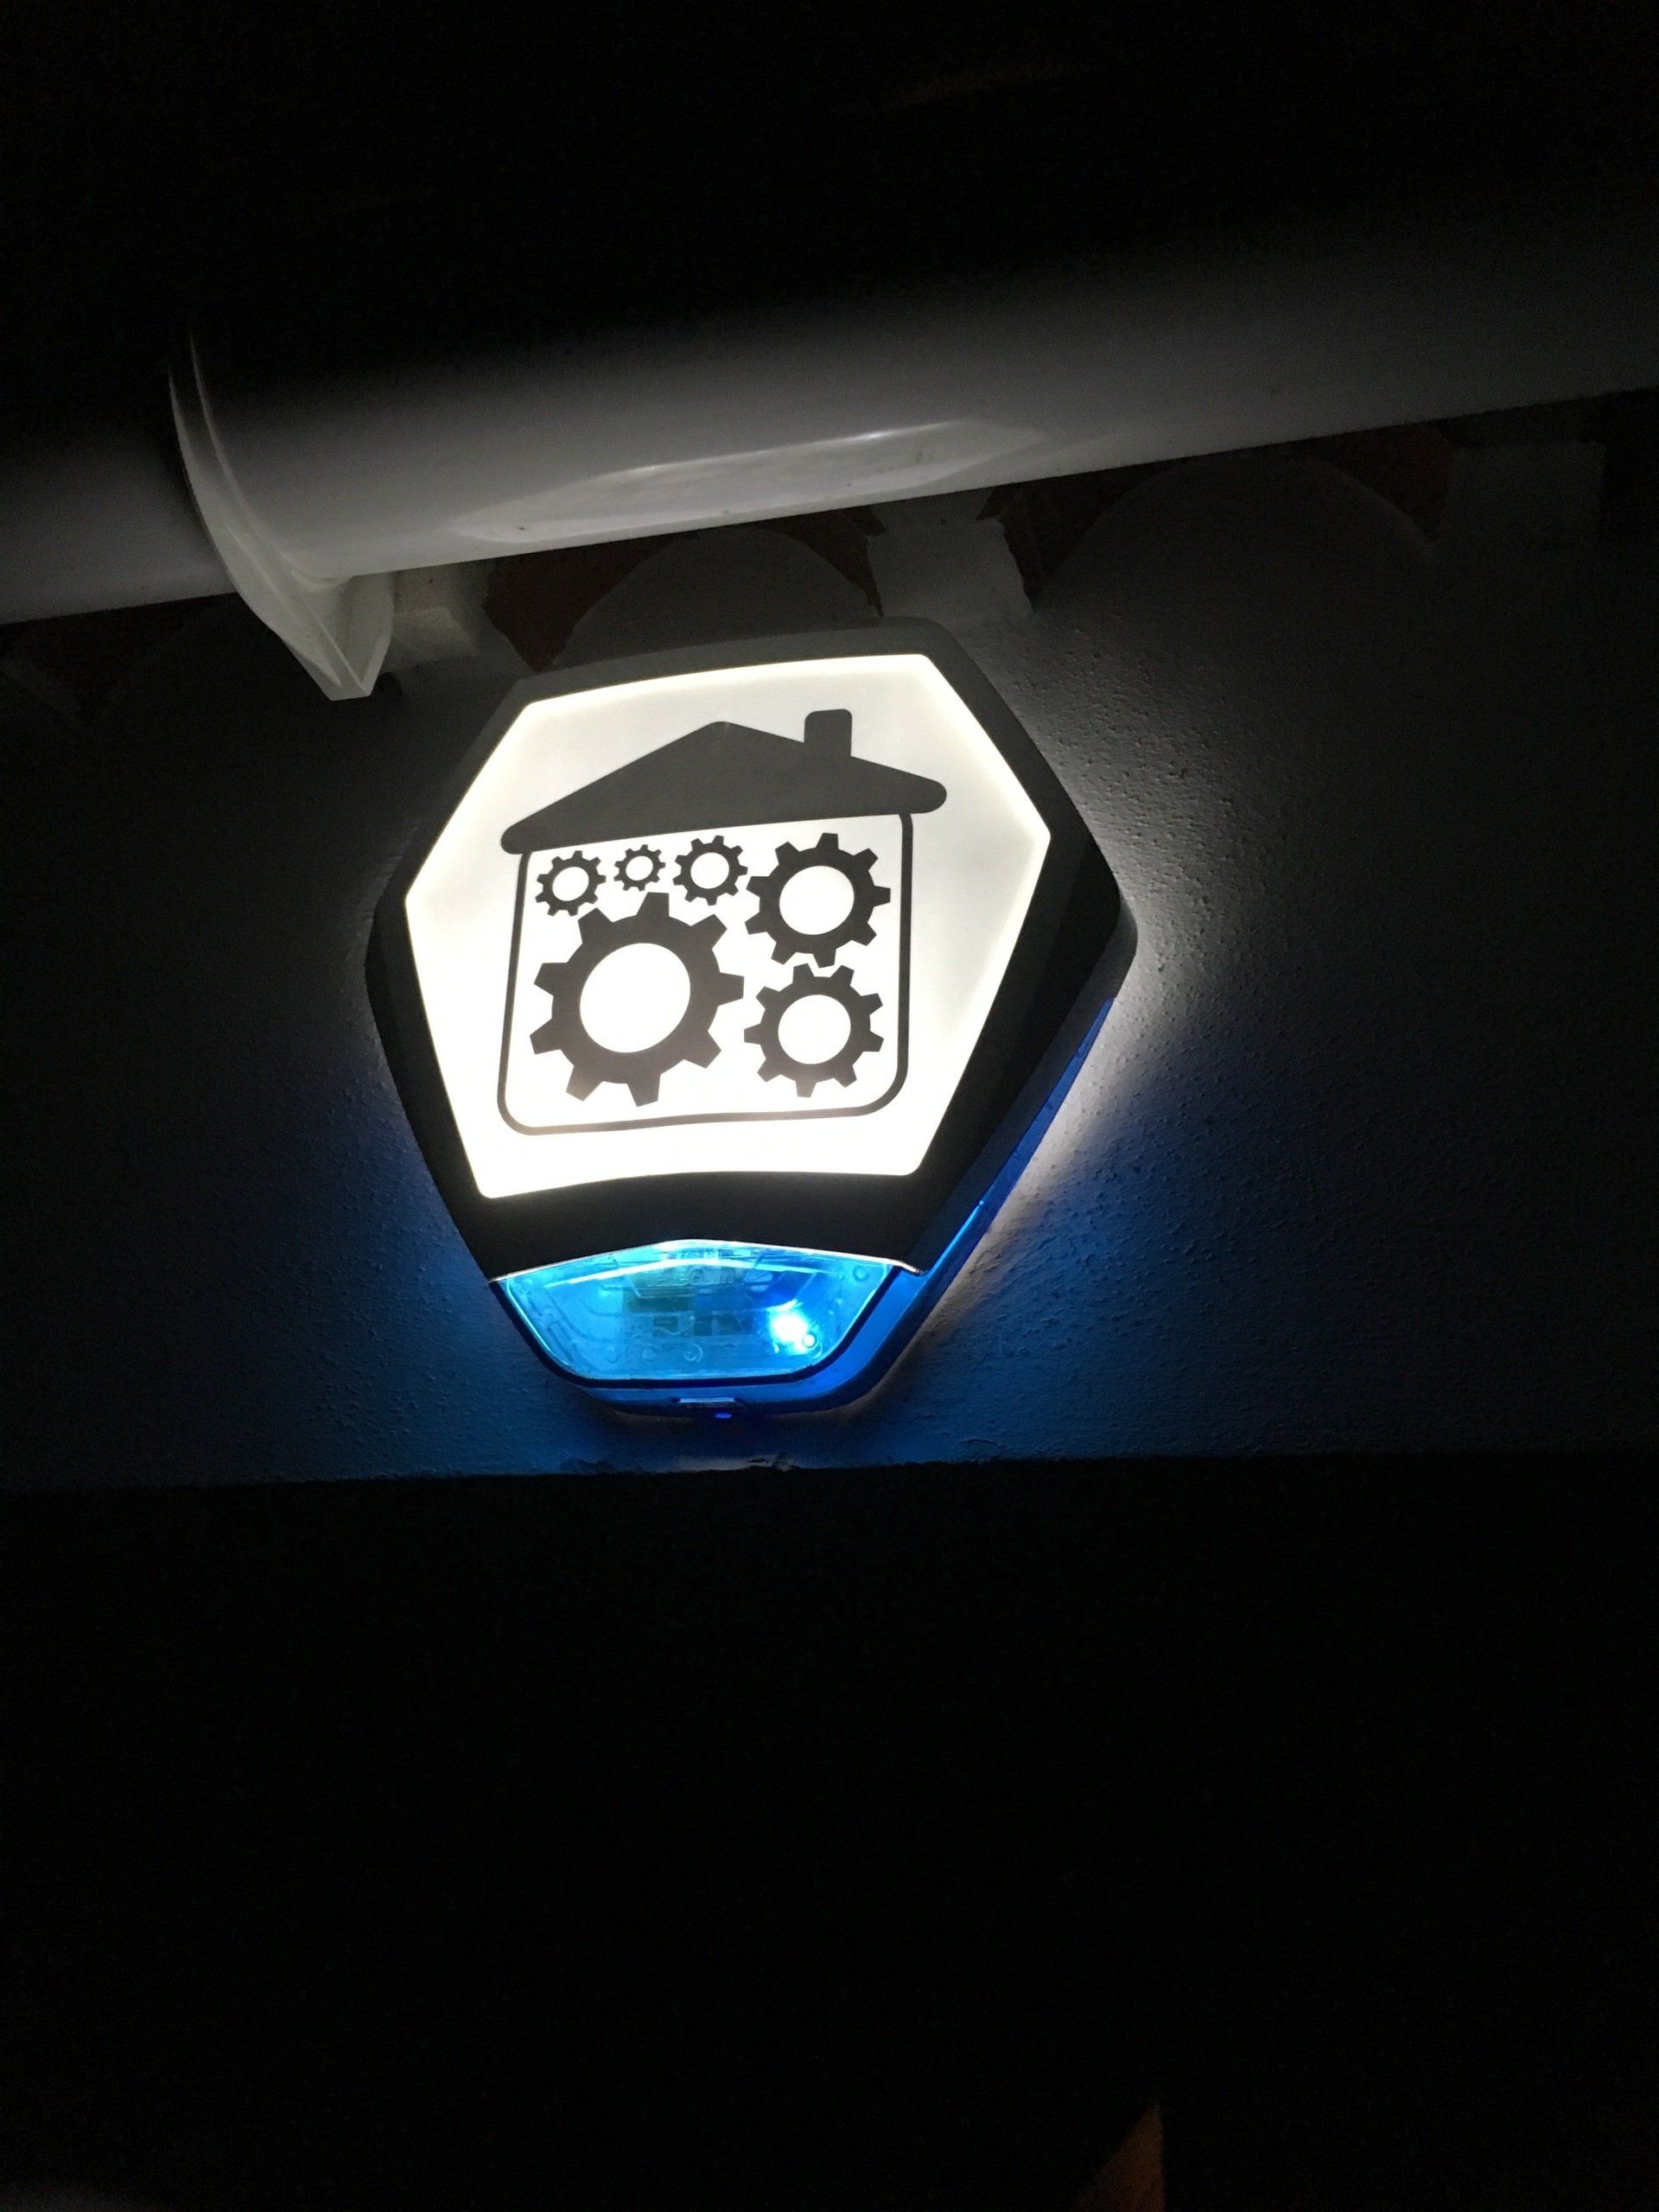
- Intruder Alarm PIRs
- Intruder Alarm Keypads
- Intruder Alarm Sounder Bell
We then commissioned all this hardware onto the network followed by updating their relevant firmware and software patches to the latest releases.
After adding the equipment inside the engineer interface of the Control4 EA5 Controller we then carried out the detailed programming of the controller to provide the functionality required by the client. This included programming numerous smart home scenes that combined the operation of many devices, at the same time, as the result of a single action by the client such as a button press. These smart home scenes could also be triggered automatically by external events e.g., external lights turning on at sunset.
We then carried out comprehensive testing of each of the sub-systems and the overall combined smart home elements.
Once we confirmed that all the systems were operating as expected we then provided the client with familiarisation training.
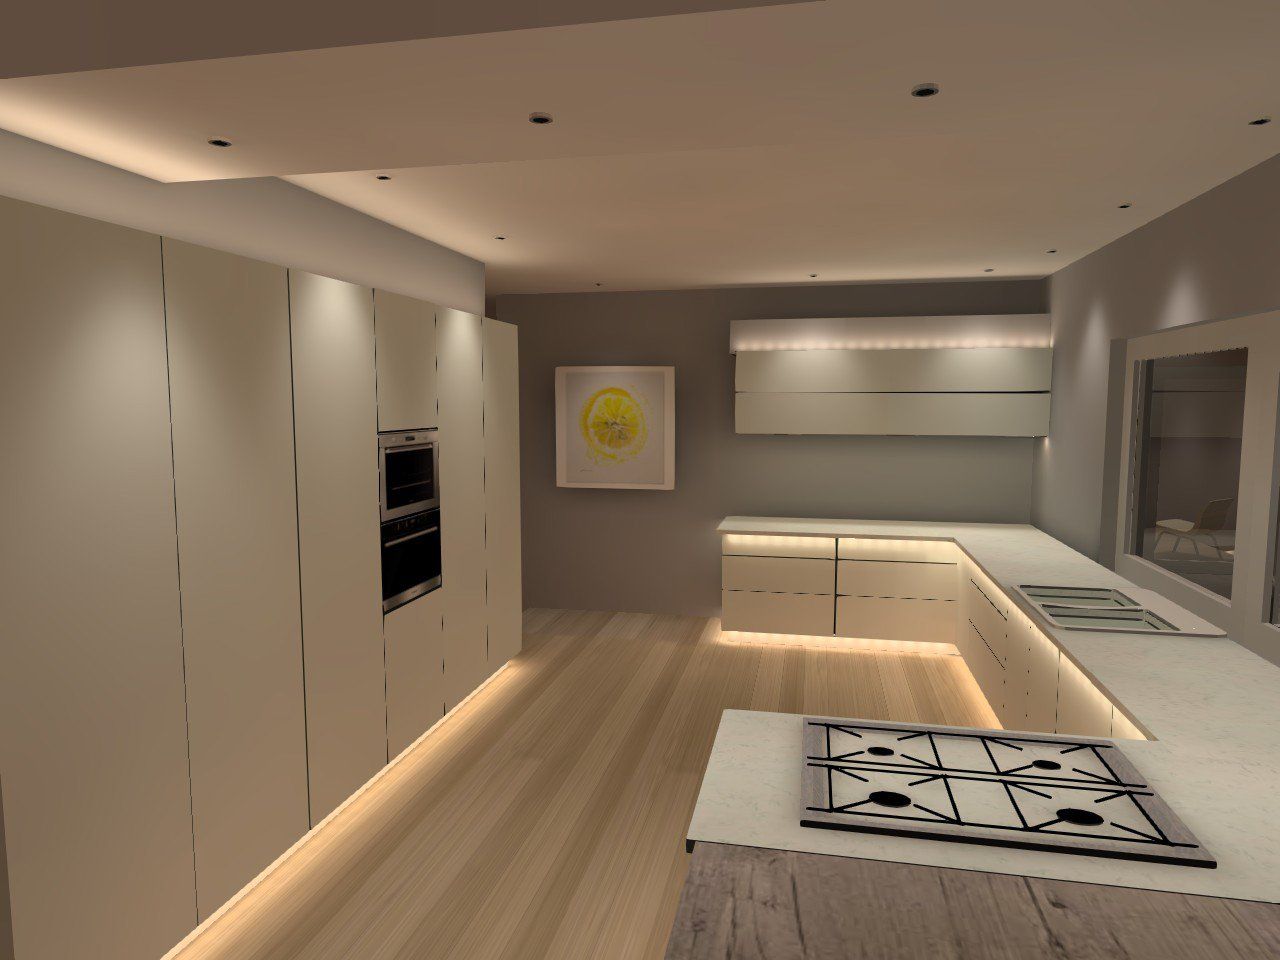
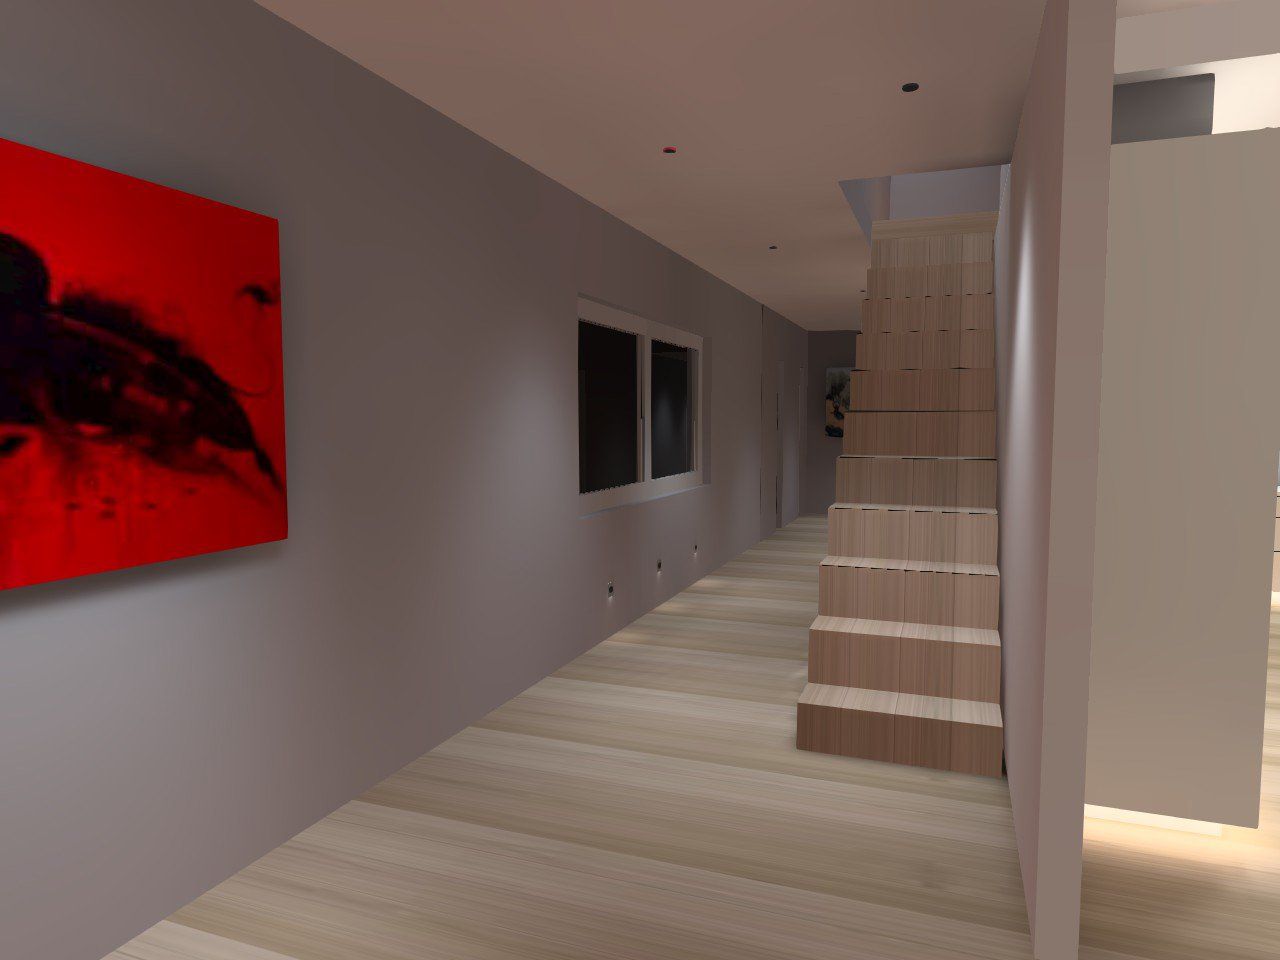
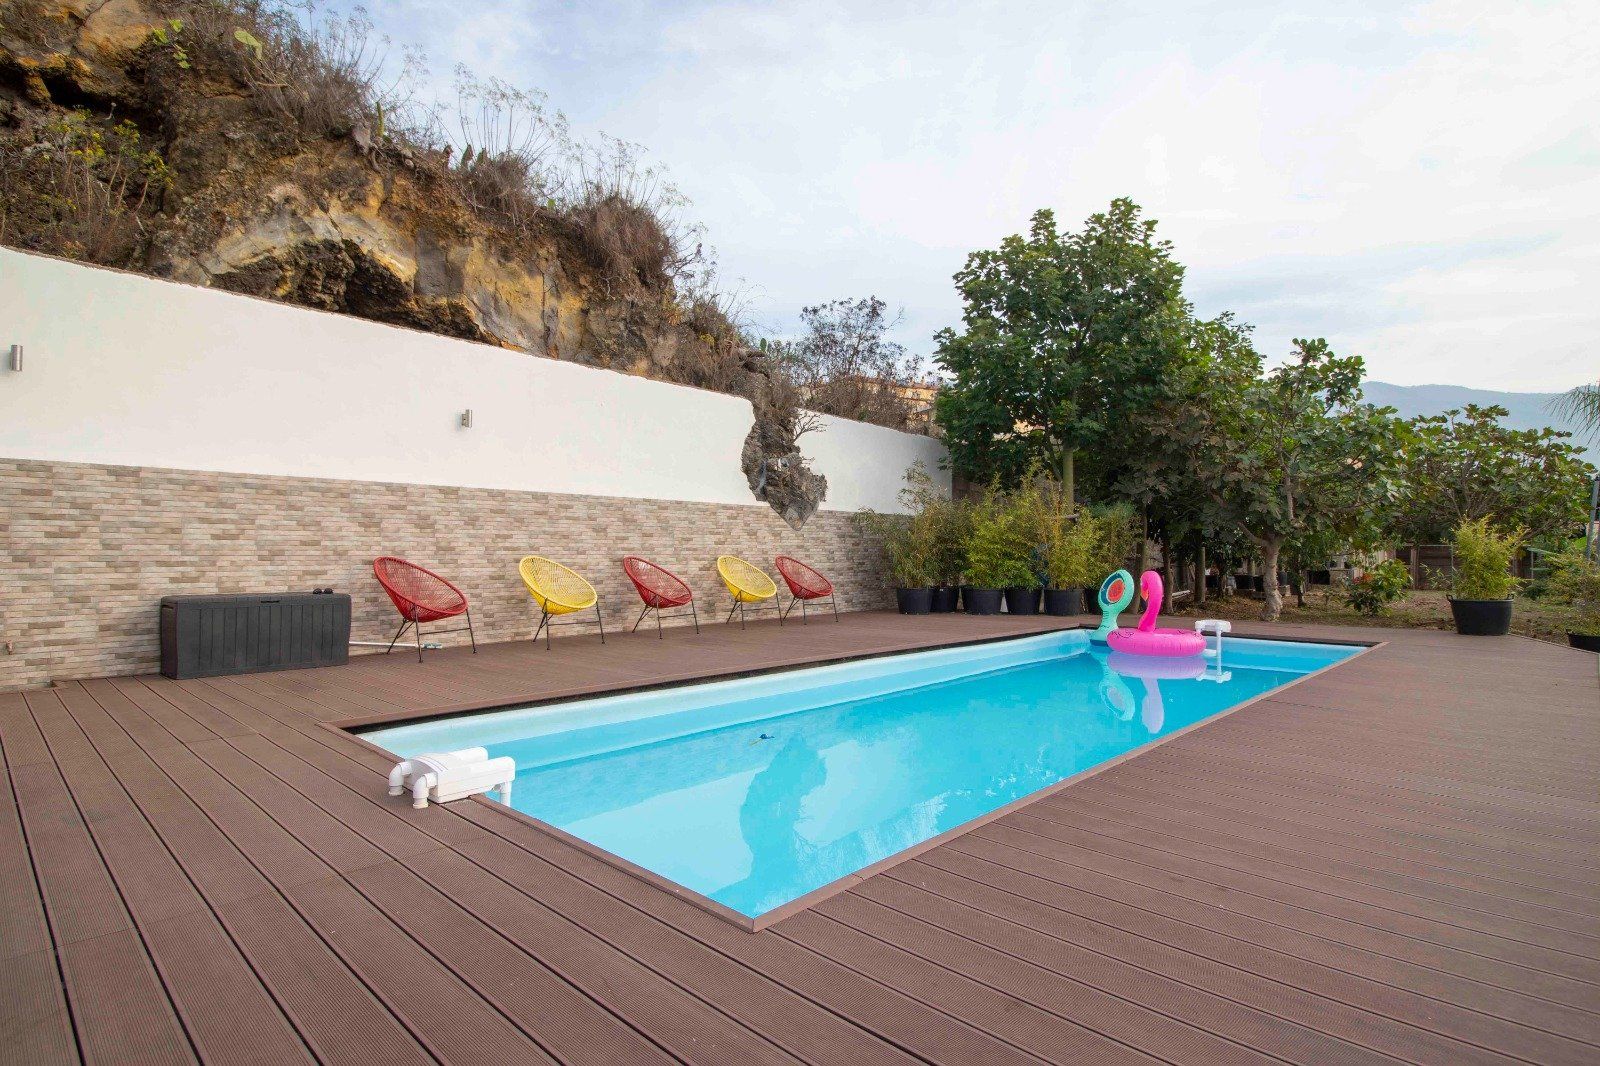
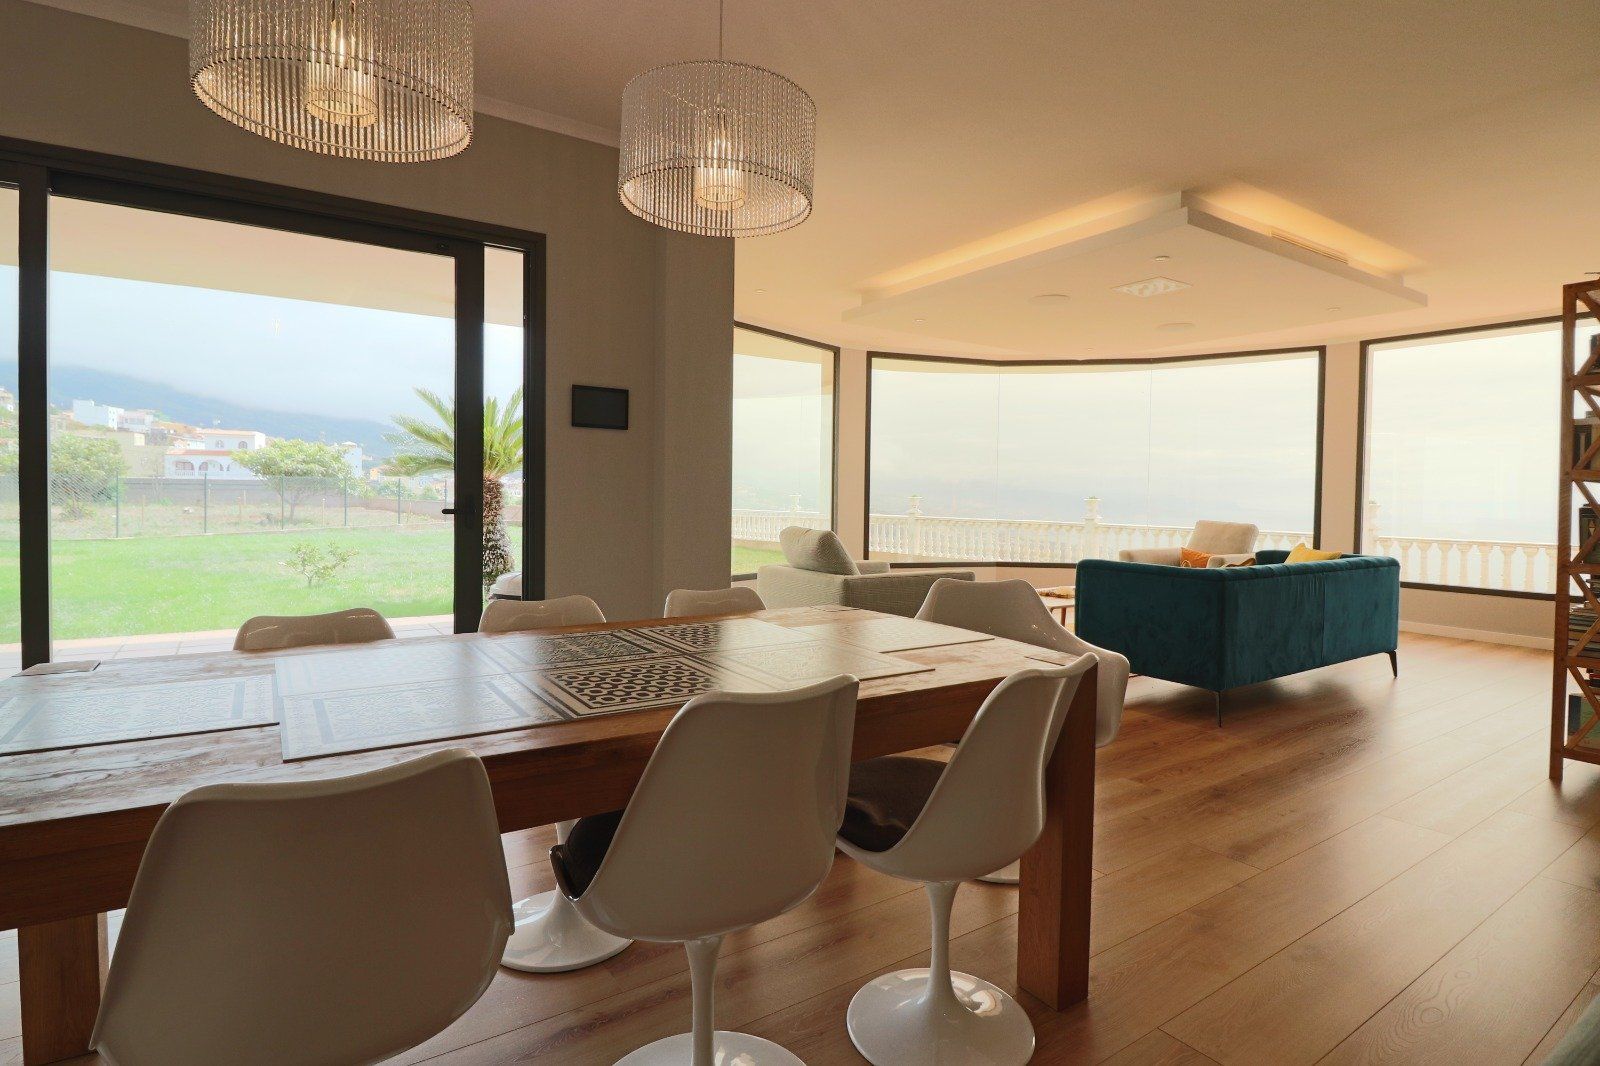
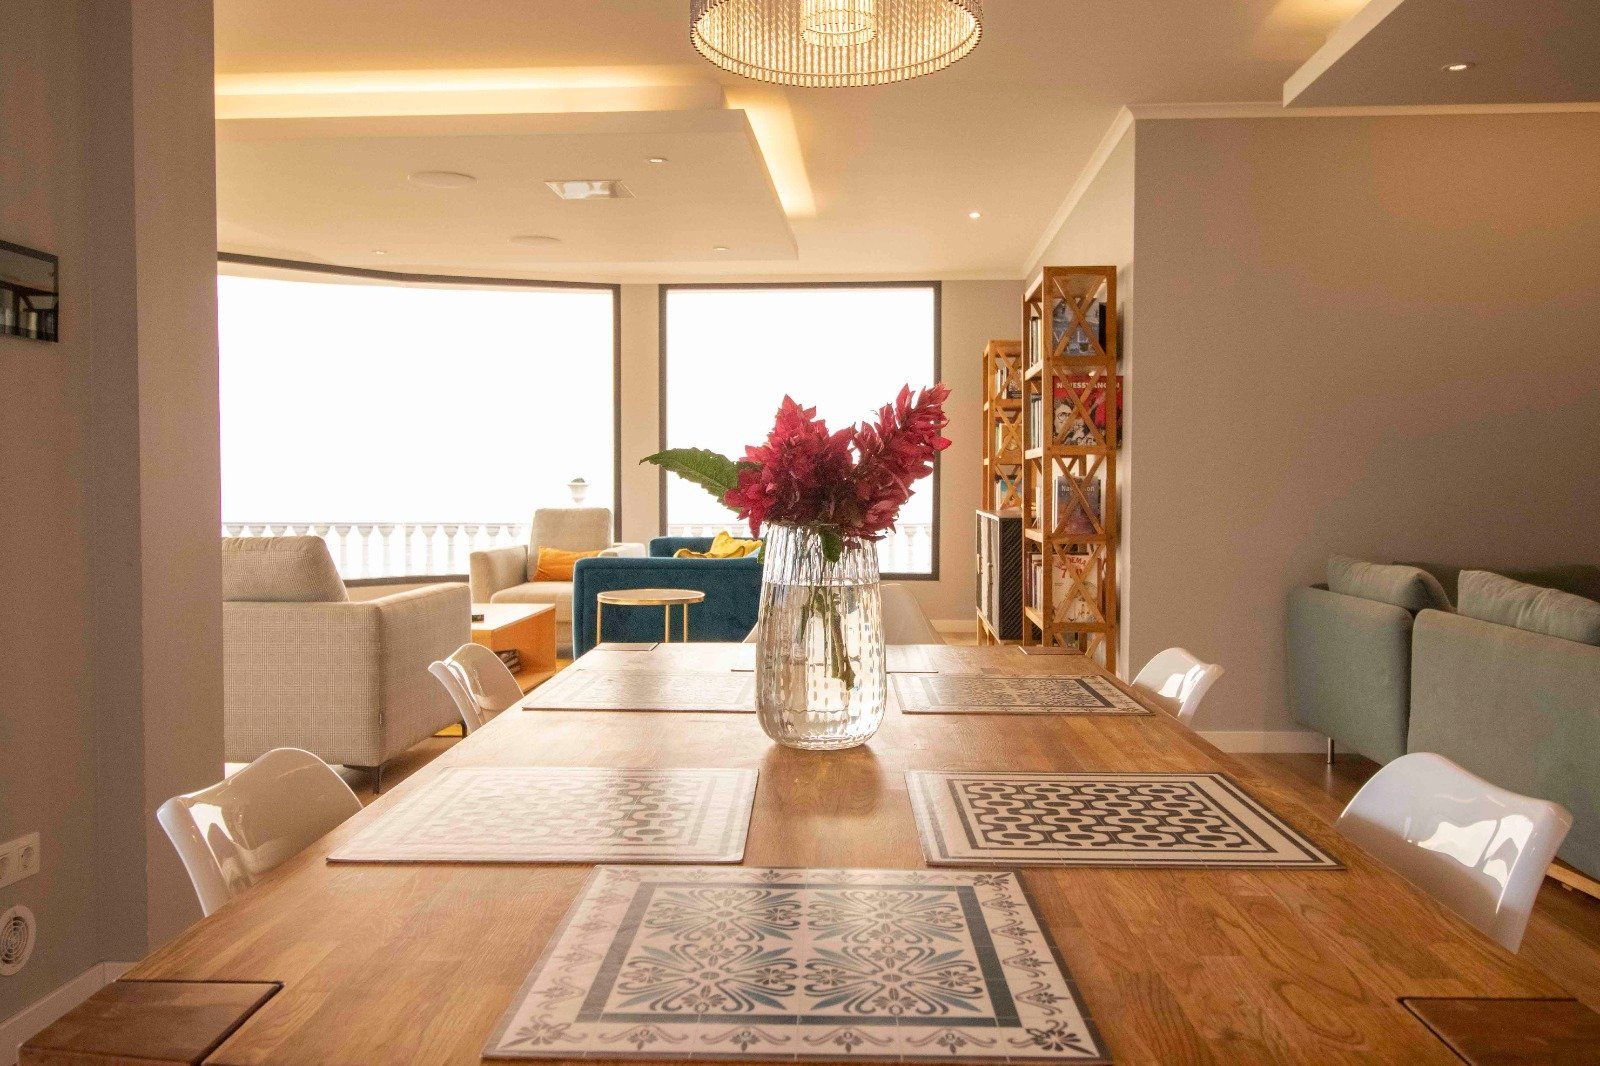
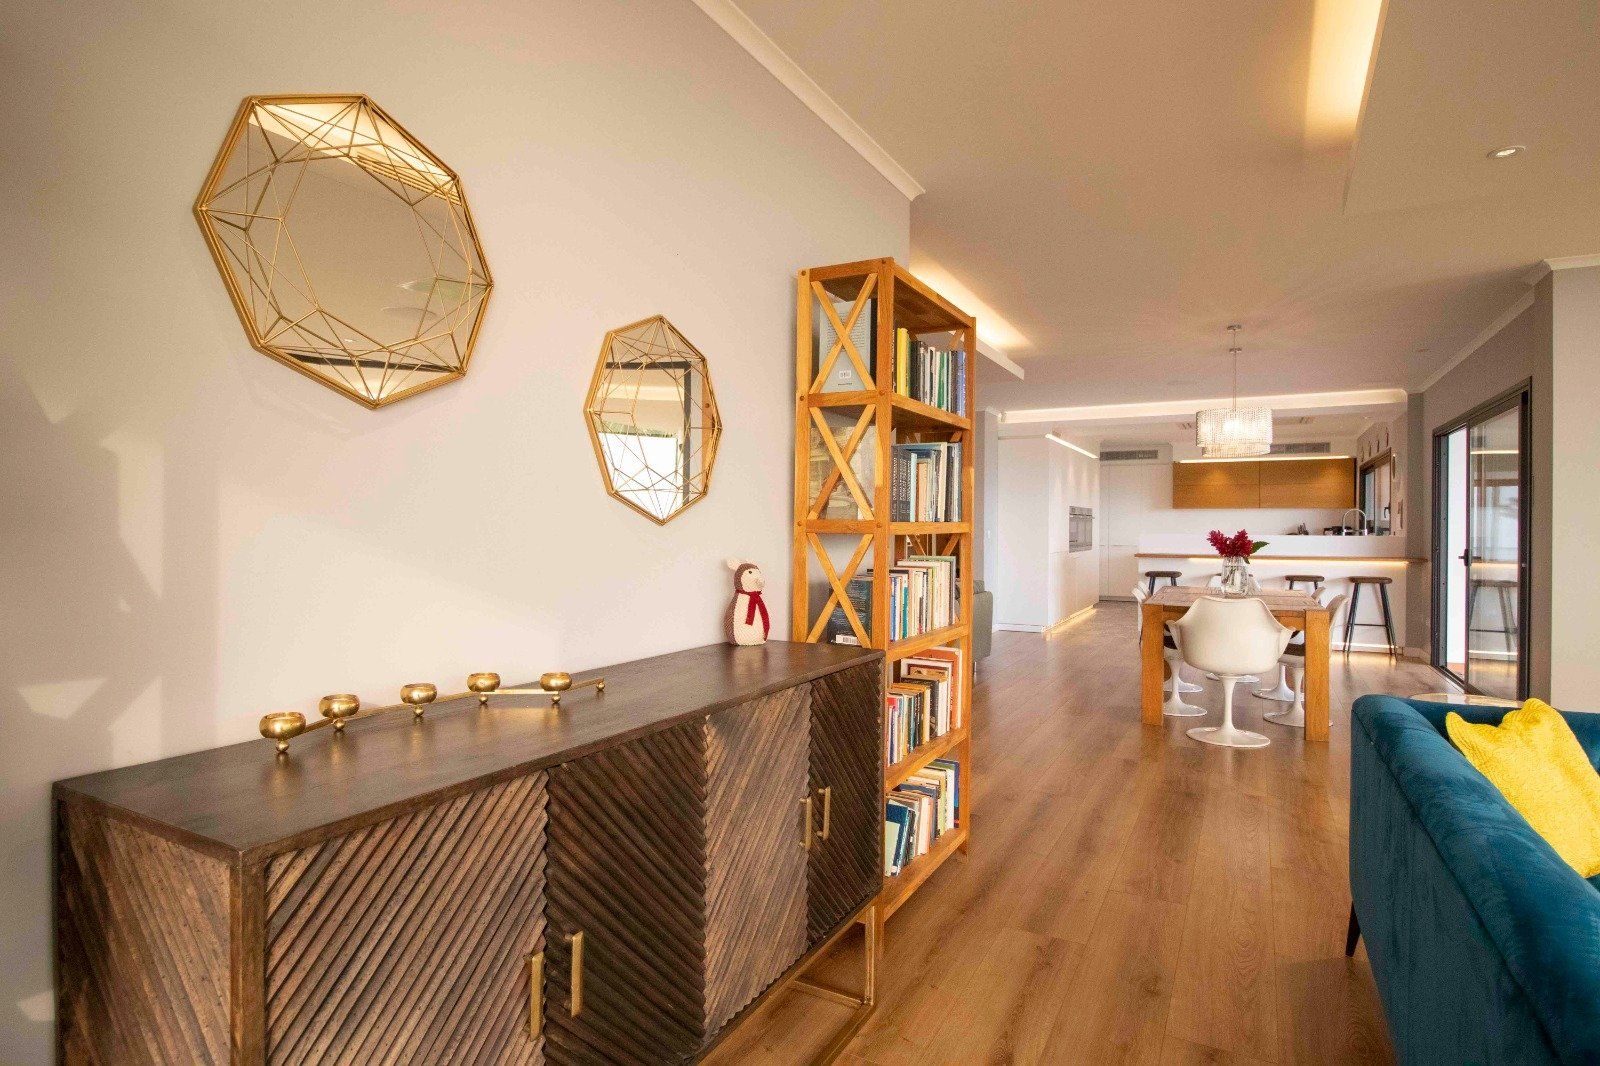
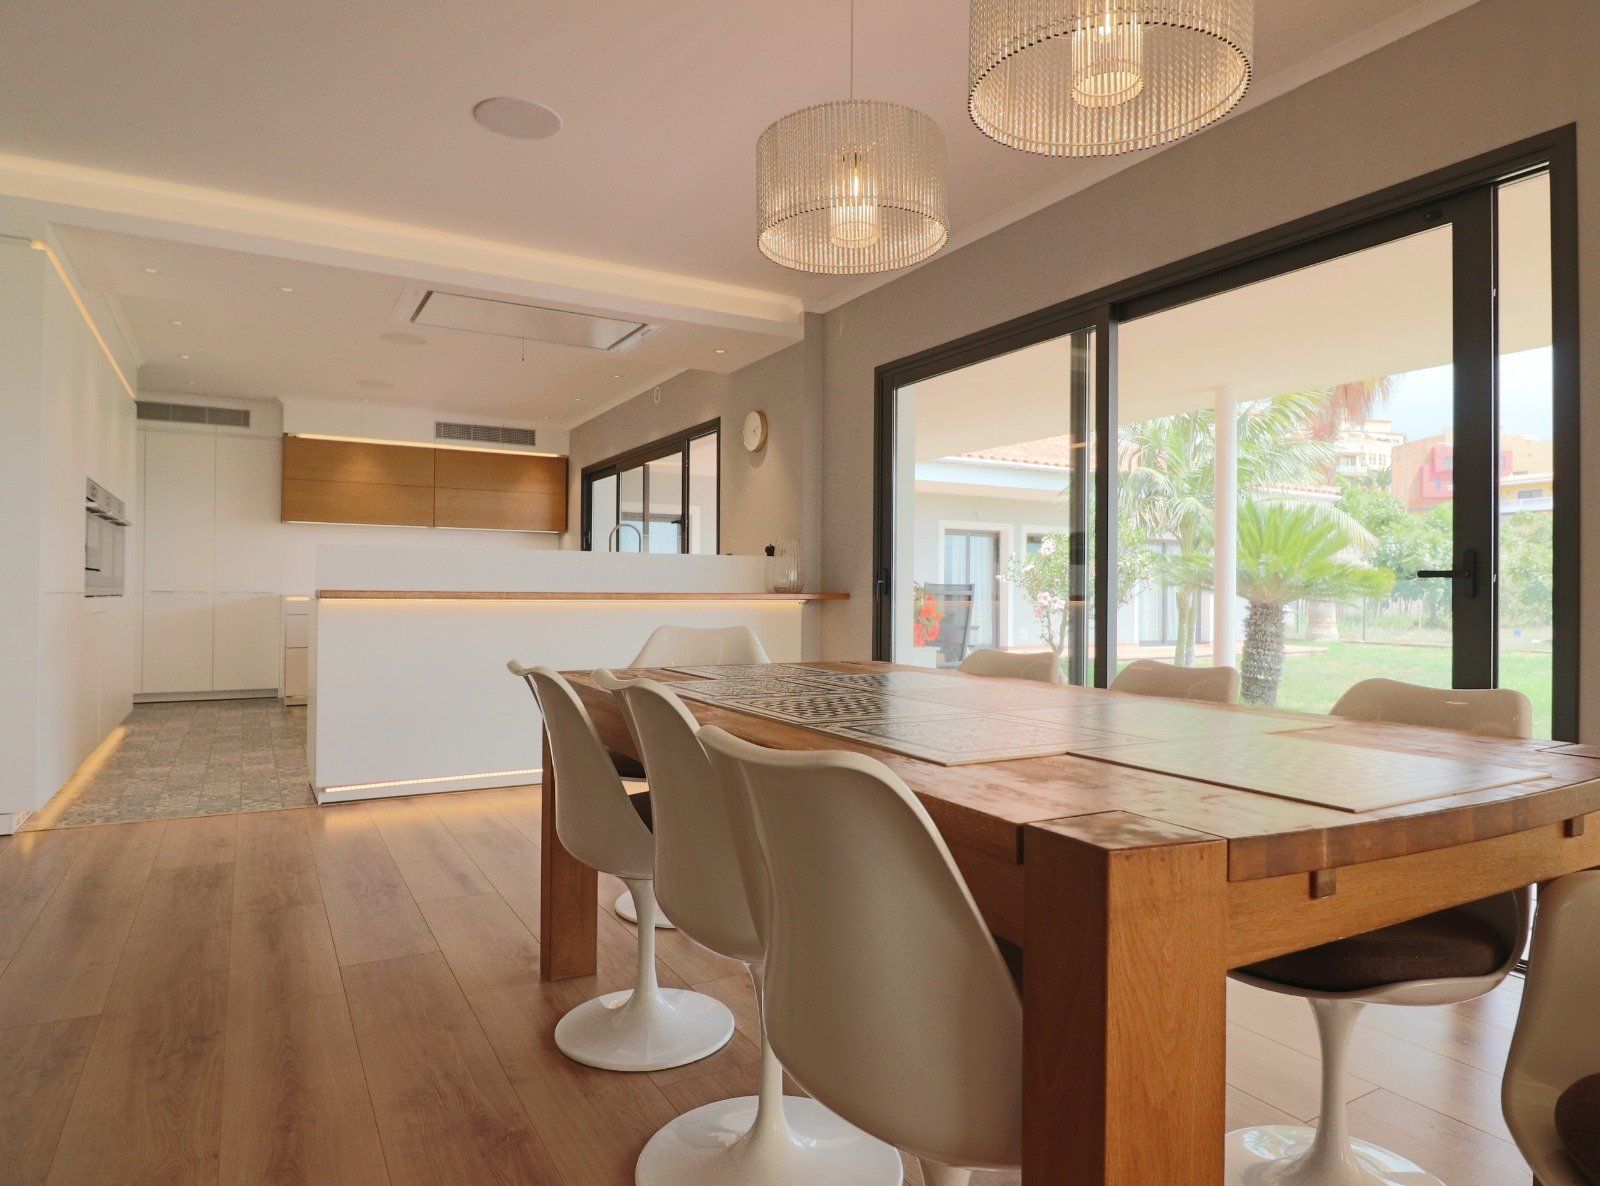
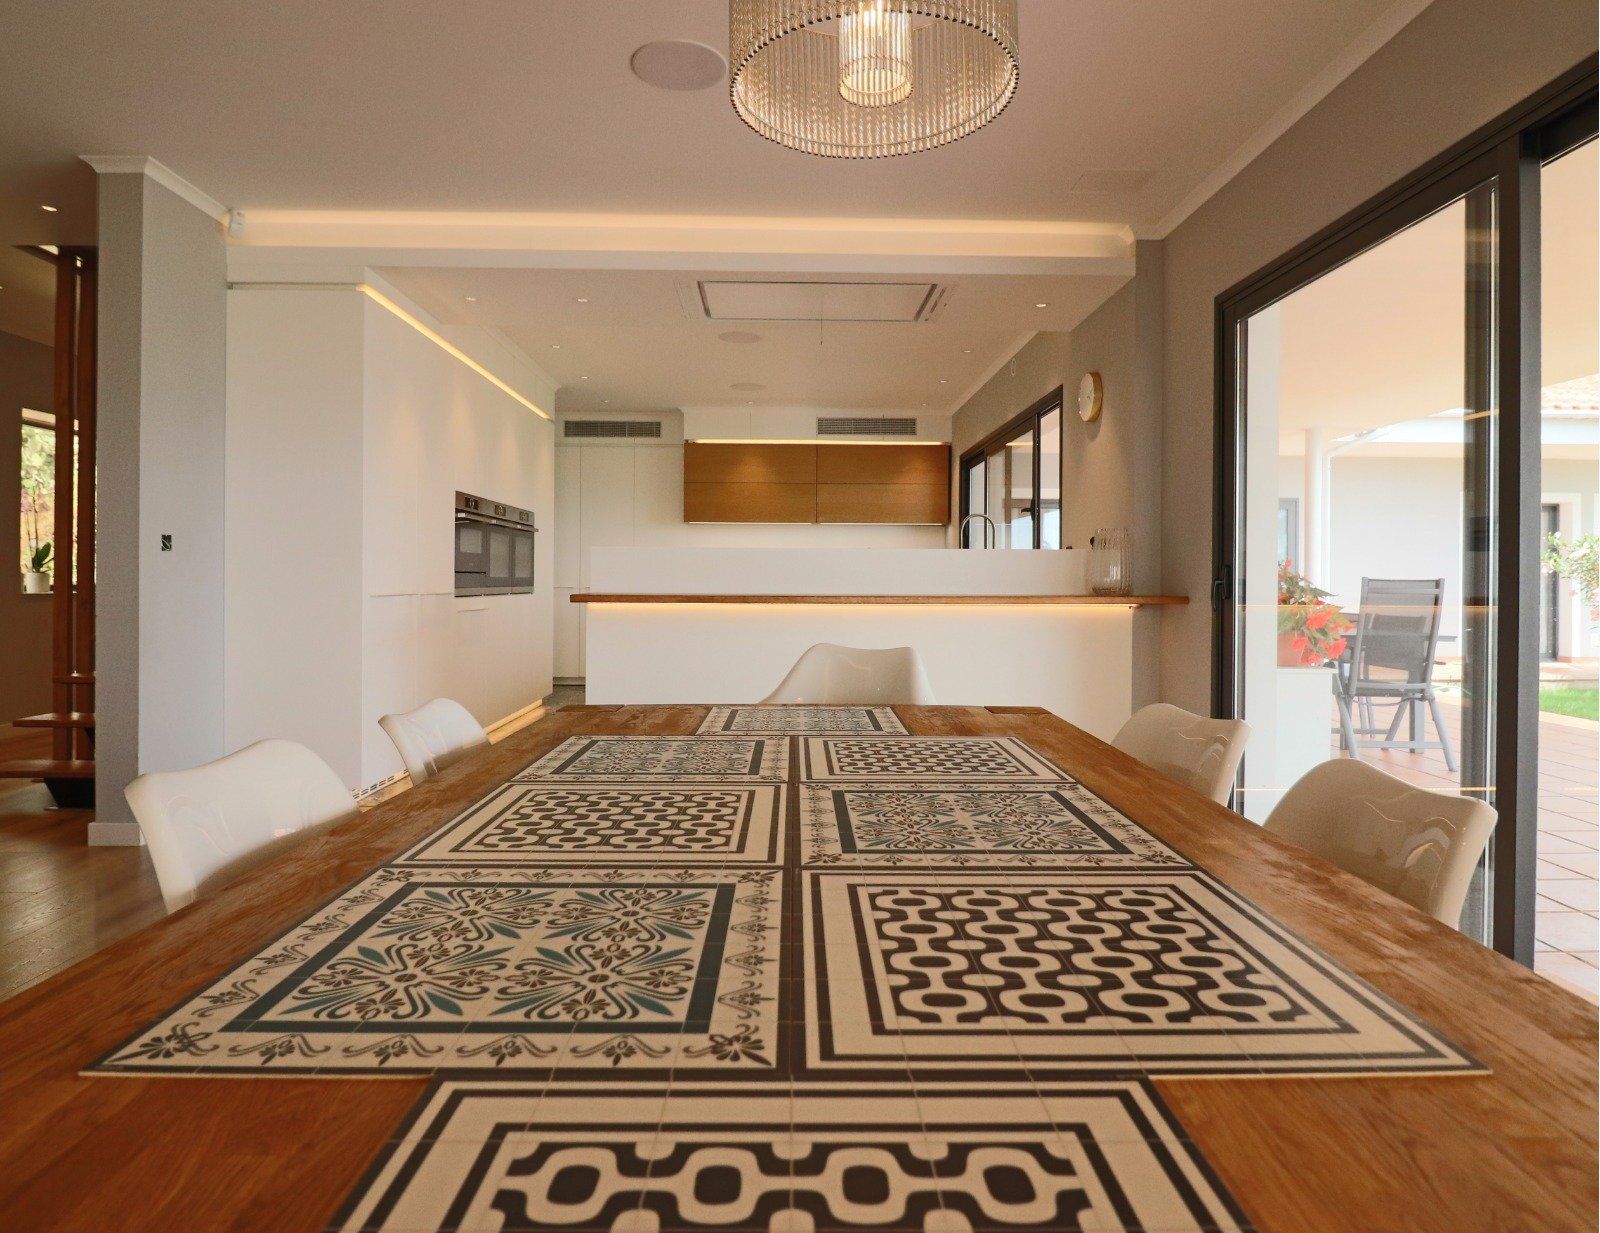
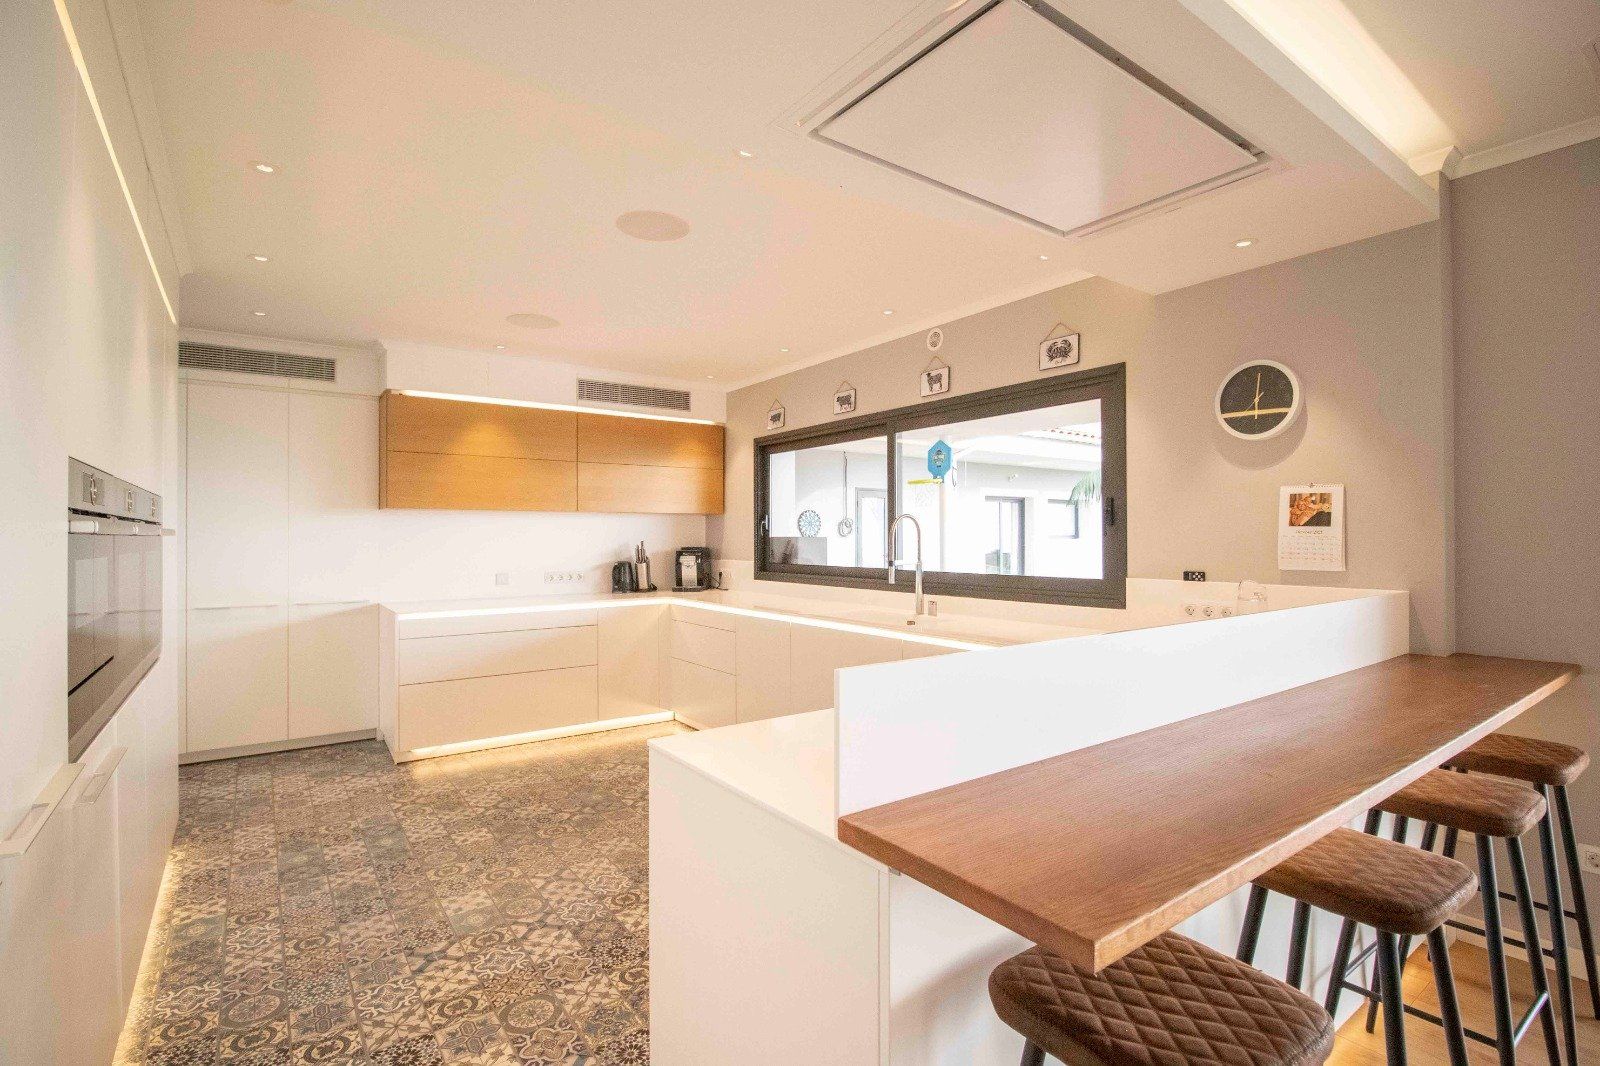
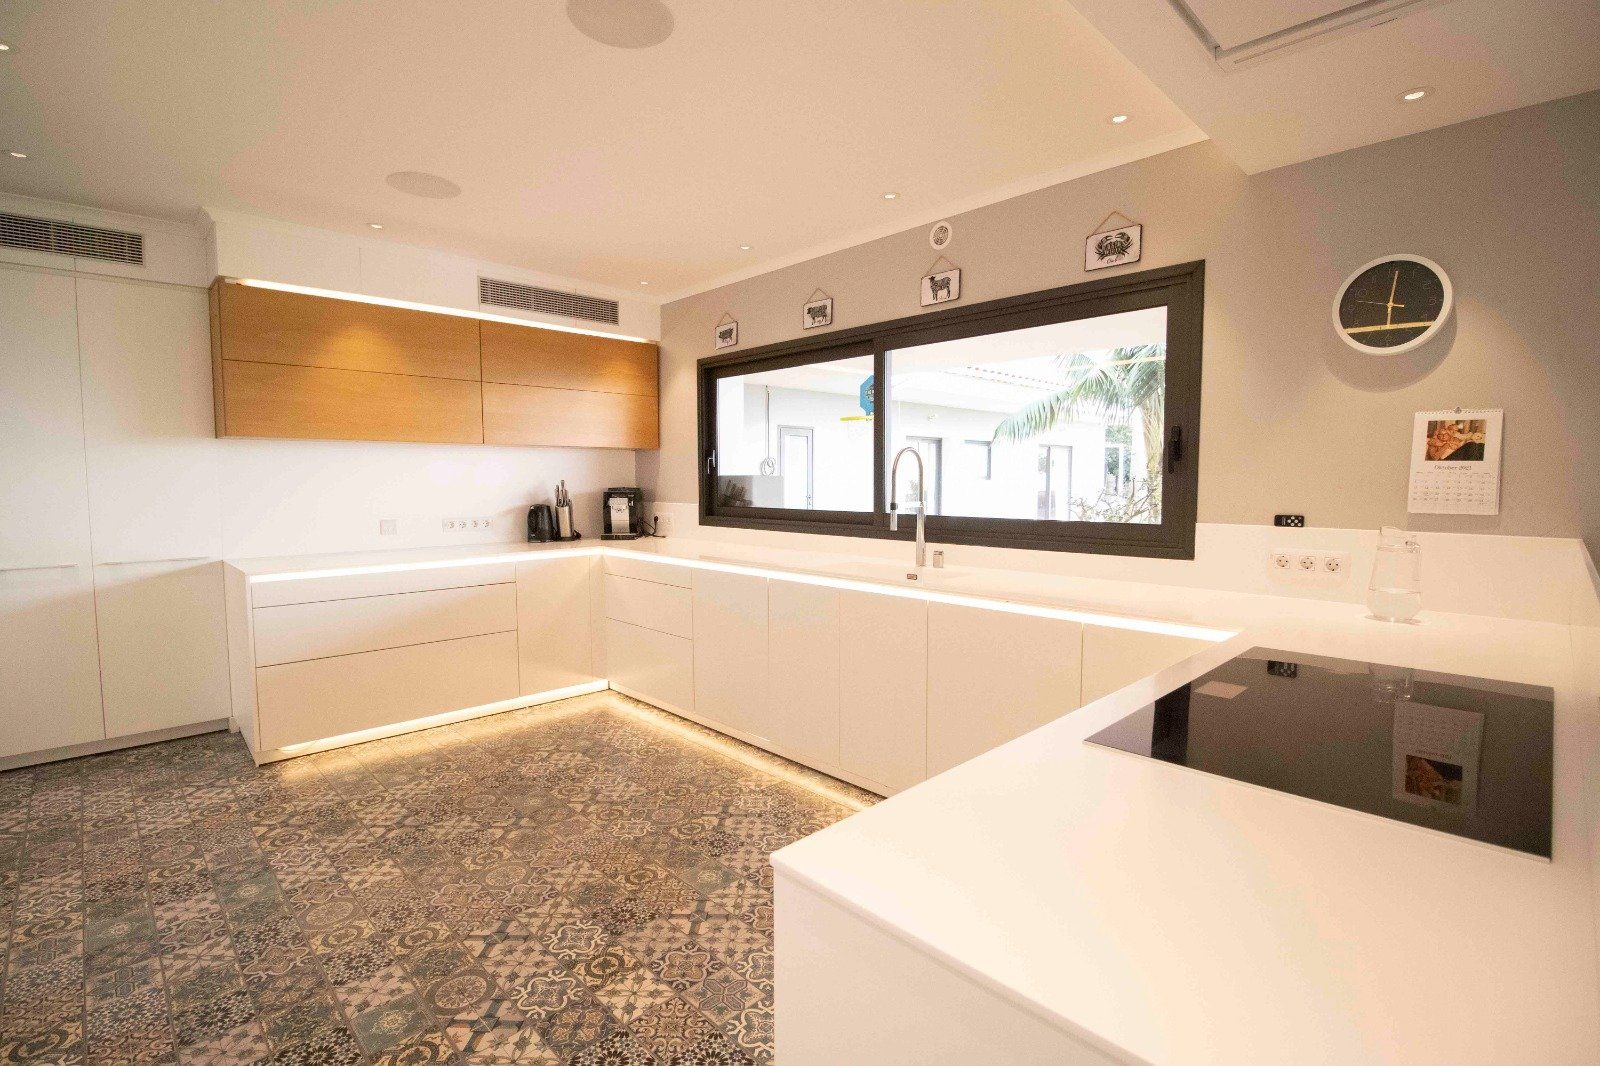
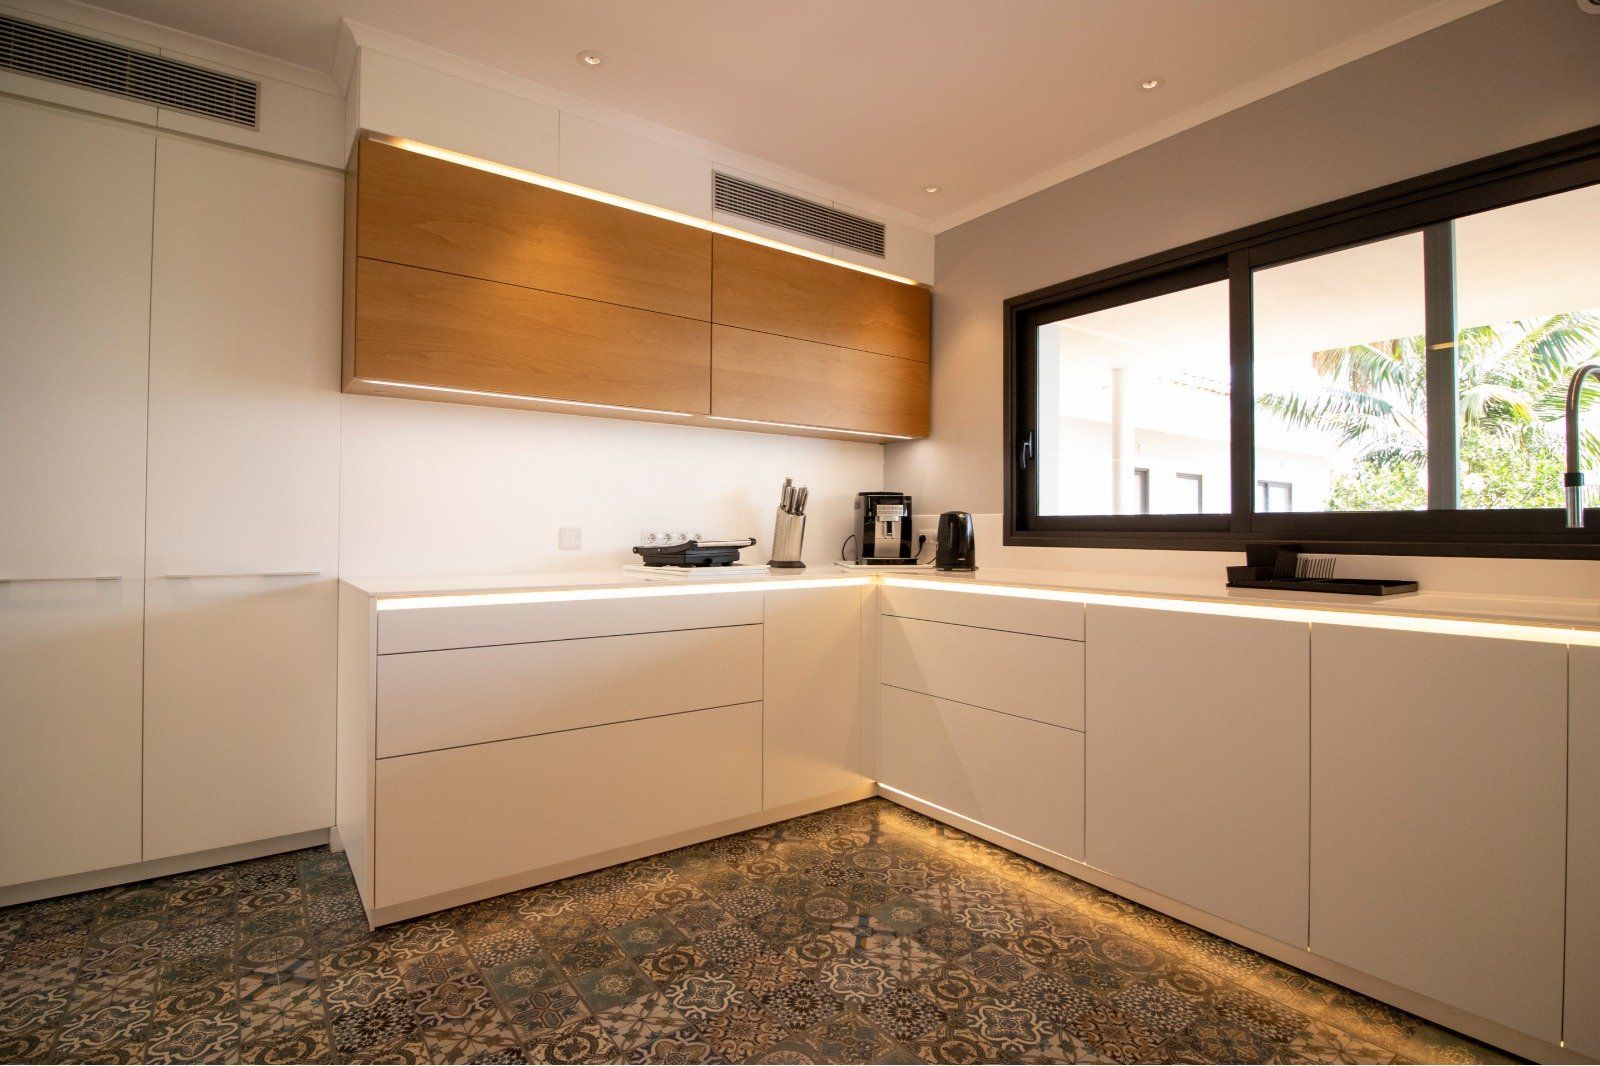
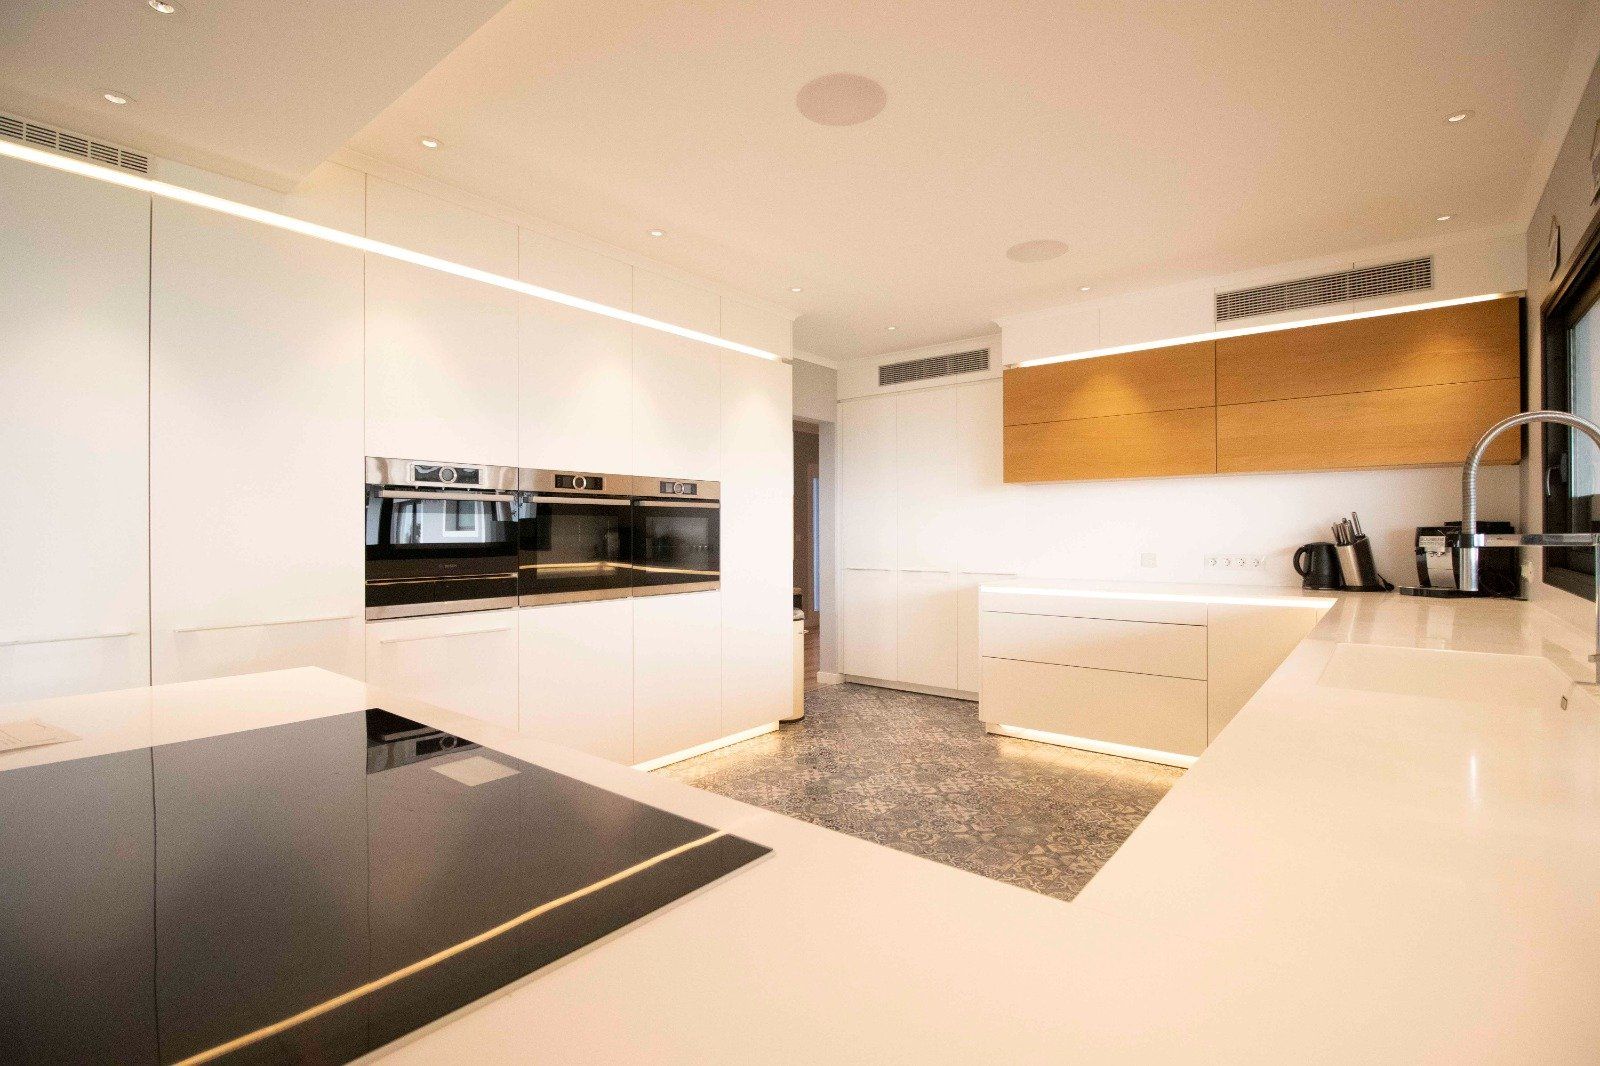
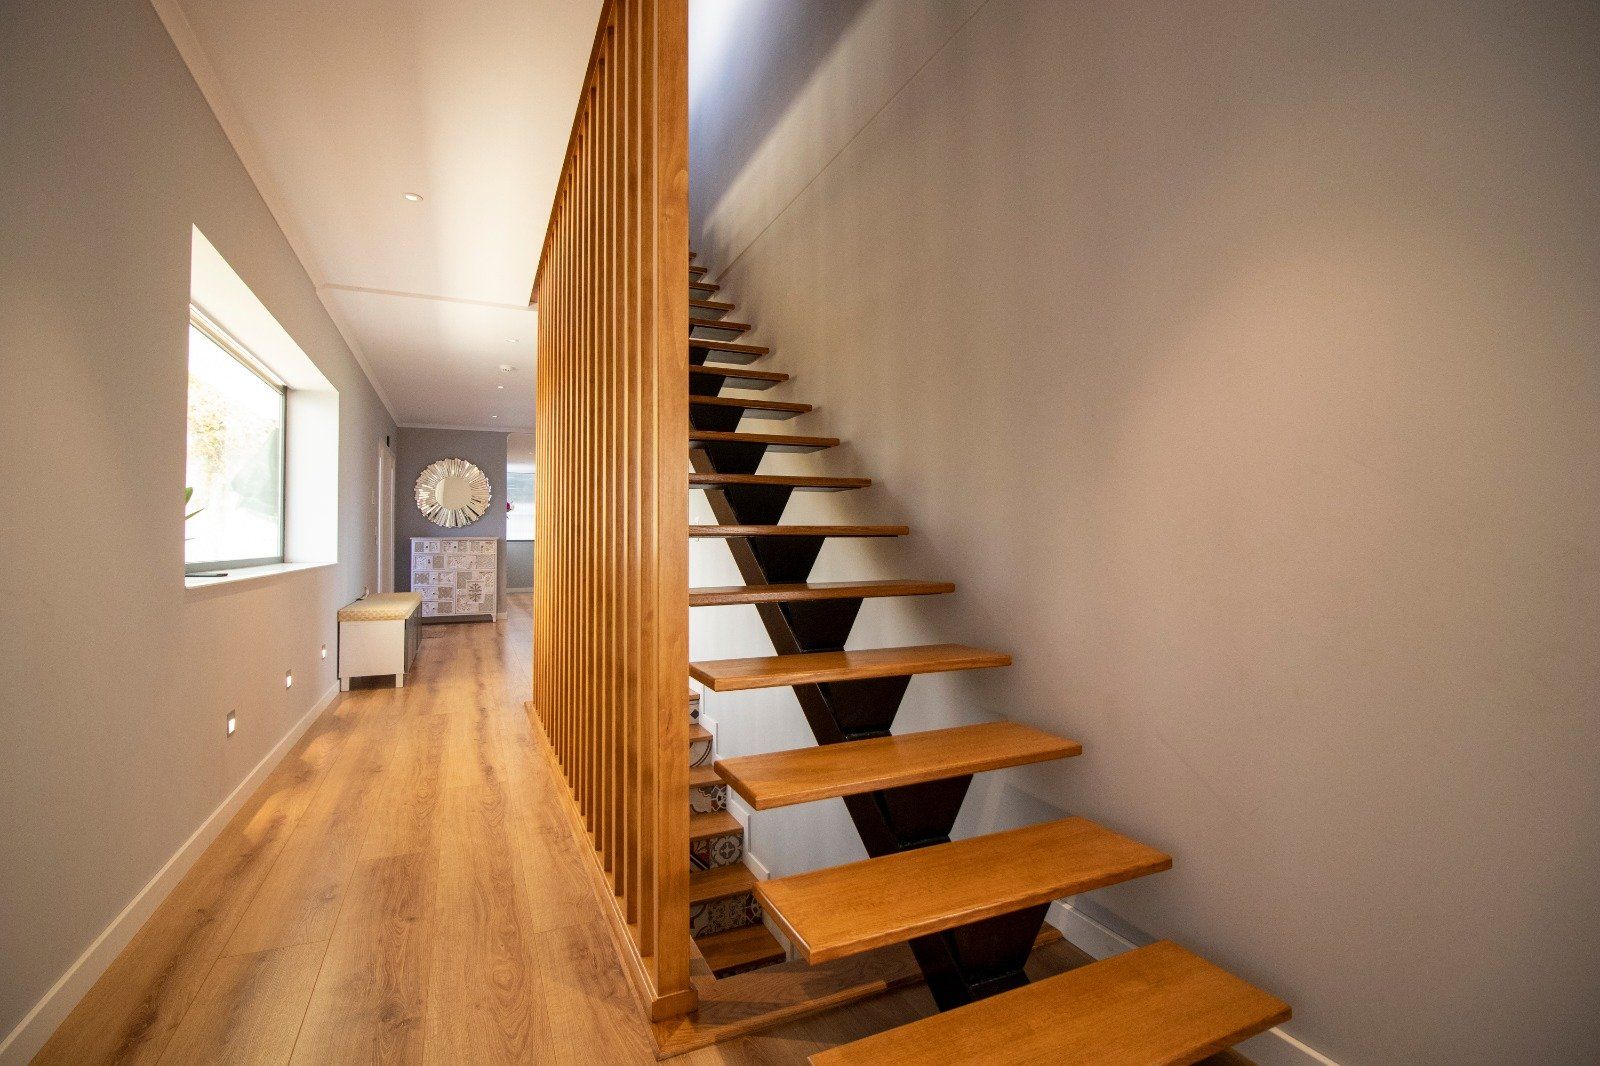
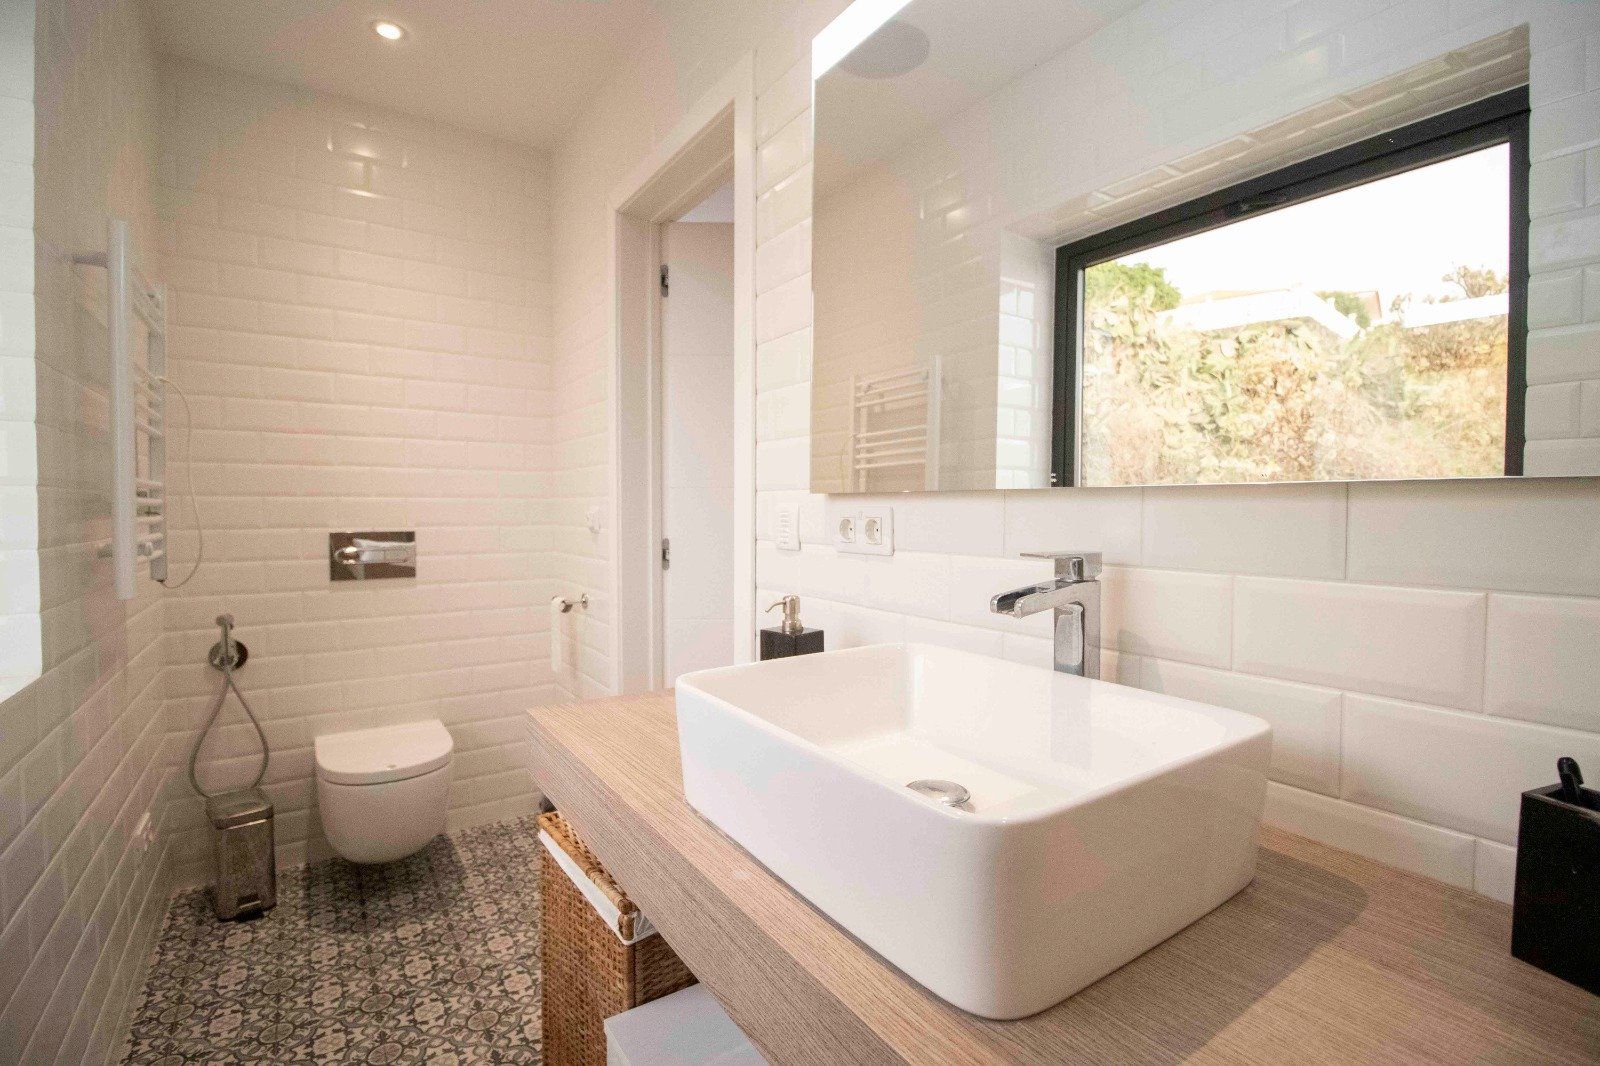
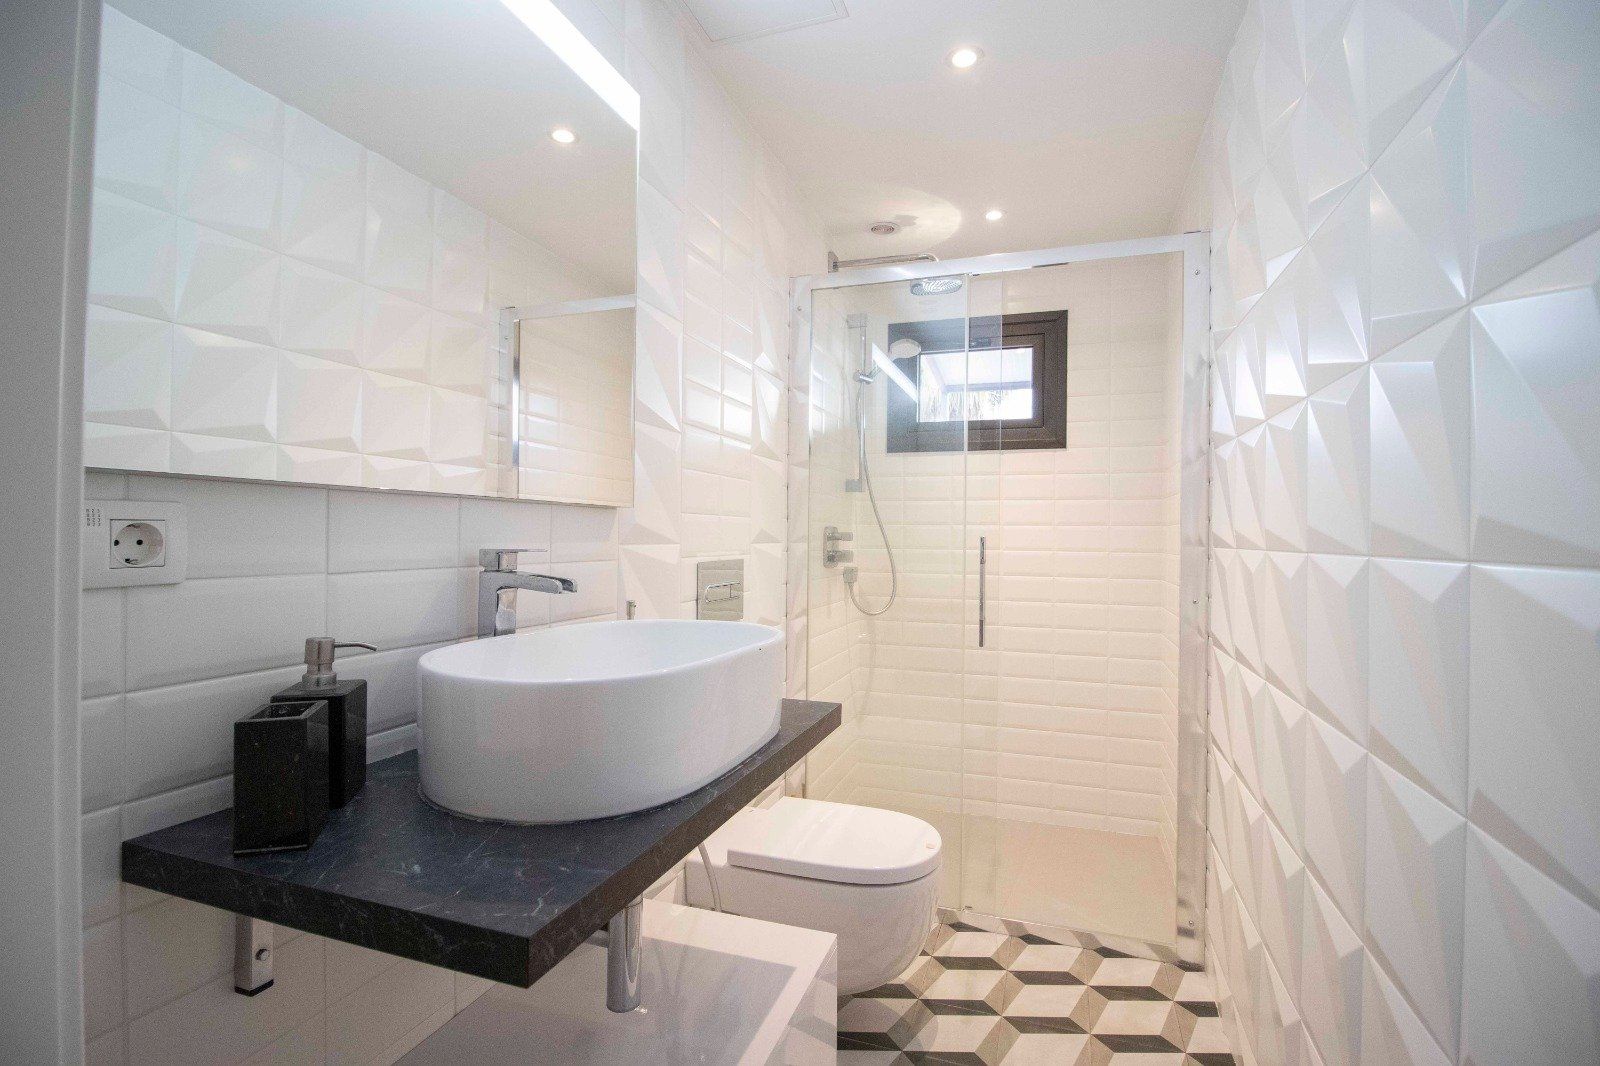
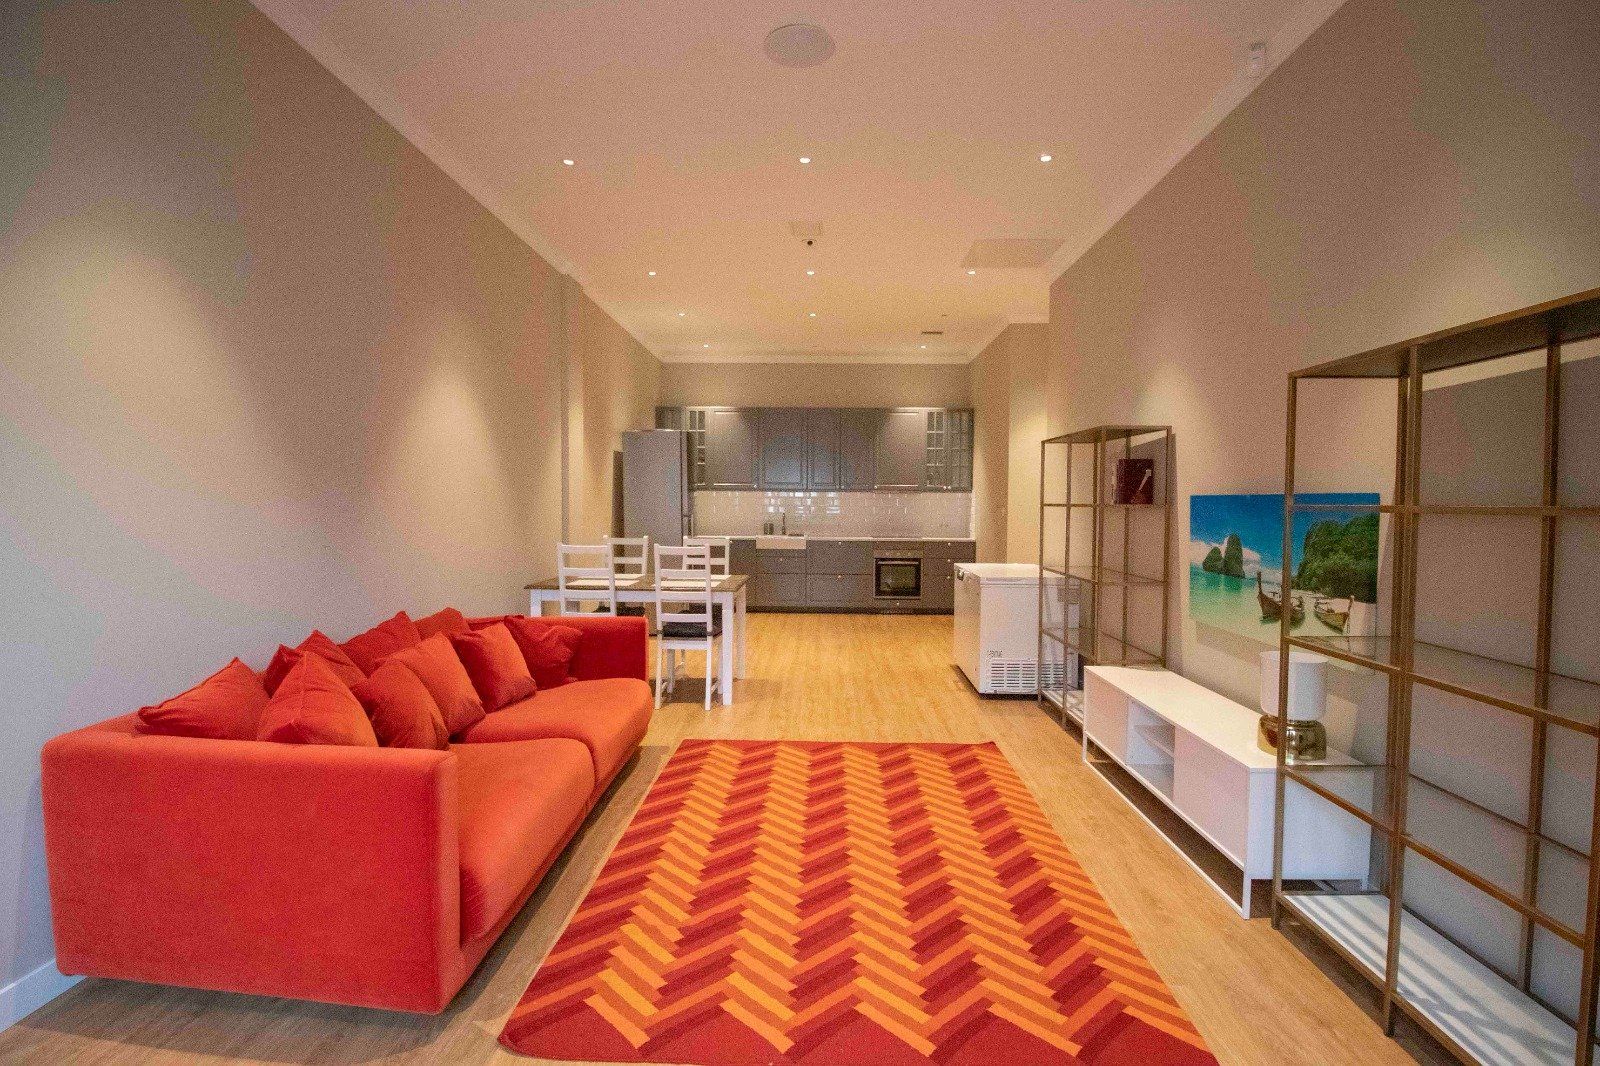
Finished smart home
After the client furnished their home...we think the end result is a fantastic place to live their best lives...with the smart home solutions seamlessly integrated…do you agree?


Overcoming specific project challenges
A project in a foreign country comes with their own special complexities and challenges, ranging from:
- Export regulations – the Canary Islands are within the European Union, however, they are outside the European Union customs territory and VAT area. This meant we had to have very exact adherence to U.K. export and VAT accounting rules
- No smart home equipment distributors or suppliers on the Canary Islands…we had to ensure we took all the correct specialised tools with us and that we shipped all the equipment and required connectors or consumables. We were able to do this because we had comprehensive design documentation that identified all the necessary equipment and interconnects.
- Language constraints with communicating with the Architect, Builders, Electrician and other specialist trades. We had to rely on limited translation services provided by the client and often referring to large format printed out versions of our detailed design documents.
- Spanish construction and electrical standards…we found that sticking to our U.K. working practices often ensured that we surpassed the Spanish construction and electrical standards.
Summary of installed equipment
Safety & Security
- LILIN CCTV System
- CCTV Cameras:
- 5 x Indoor
- 7 x Outdoor
- Network Video Recorder with 32TB HDD Storage
- Texecom Intruder Alarm
- Control4® Door Station (Internet Connected)
Home Entertainment
- 2 x Media Rooms, each with:
- 1 x Triad® LCR Soundbar
- 2 x Triad® Surround Speakers
- 1 x Triad® Subwoofer
- 1 x Denon AVRs
- Multi-Room Video
- 9 x TV Wall Sockets
- 1 x Control4® Video Matrix - 10 Input x 10 Output
- 4 x Control4® HDBaseT Balans
- 3 x Zappiti Movie Servers
- 1 x Panasonic Blu-Ray Player
- Multi-Room Audio (indoor and outdoor)
- 1 x Control4® Audio Matrix – 24 Zone
- 2 x Control4® 8 Zone Amplifiers
- 3 x Control4® Single Zone Amplifier
- Triad® In ceiling speakers – 13 Rooms
- Triad® Outdoor speakers
- 2 x On Walls Speaker
- 1 x Subwoofer
- QNAP Network Attached Storage (NAS) Server with 32TB HDD Storage
Smart Lighting
- 348 x Indoor and Outdoor Collingwood Lighting LED Light Fixtures
- Control4® Centralised Lighting Panels
- 93 x Circuits of Lights
- 5 x 8 Load Dimmer Modules
- 5 x 8 Load Relay Modules
- 3 x 8 Load 0-10v Modules
- 2 x Ethernet Switches
- 1 x Bus Power Supply (for keypads)
- 1 x Bus Ethernet Power Supply (for keypads)
- 4 x 5 Slot Lighting Panels
- 25 x Collingwood Lighting LED Drivers
- 28 x Control4® Wired Keypads
Smart Home Control System
- Control4® Controller(s)
- 1 x EA5
- 4 x EA1s
- Control4® Control IO Extender
- Smart Home Scenes
Intelligent Networking
- 3 x Surgex Surge Protection & Power Conditioners
- 3 x Pakedge® 20 Port PDUs
- 1 x Pakedge® Router
- Pakedge® Wireless Access Points:
- 5 x Indoor
- 1 x Outdoor
- 6 x Pakedge® 24 Port Managed Network Switches
- 70 x RJ-45 Wall Data Sockets
- 6 x 24 Port Patch Panel (144 Ports)
- 3 x 42U Racks
- 1 x Furman UPS
User Experience
- 1 x Control4® 10" Touch Screen
- 4 x Control4® Remote Controls
- Mobile Phone Access
Book a Free of Charge & No Obligation Initial Consultation
Use the form below to book a Free of Charge & No Obligation Initial Consultation...to discuss how we could help you with your specific project.
Note: Search for a suitable date and time. Next complete the relevant details in the form to provisionally book your consultation. We will then get in touch with you to confirm your consultation.
Click here to book using our online scheduling tool

View our other projects
Click the button below to visit the Portfolio section of our website to view our other projects